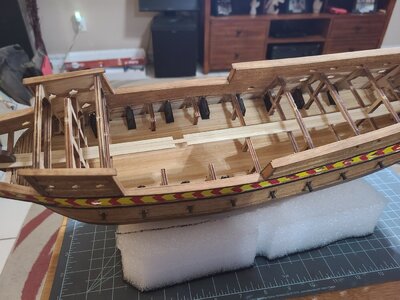
The second deck has been planked. I scraped the deck on the bow and midships where it will be visible. I did not scrape the areas where the next deck will cover it from site.
New to my toolbox are 4 Grobet Riffler Files, 3 in cut 0 and one cut 2. To try them out I worked on the decking I didn't scrape. I figured it would be good practice since it will not be visible for much longer. My intention was to just do a small portion but the process of using the rifflers turned out to be addictive and I've nearly finished the entire deck!
View attachment 274808
View attachment 274809
View attachment 274810
Also New to the toolbox are some Smith regulators, shown here with the Smith Little Torch I've had for a few years but have never used. With the proper tip it is capable of a 1/8" flame. As I have it it will be capable of a 1 1/2" (possibly smaller) pencil flame. I'm familiar using full size oxy/acetylene torches, can't wait to use this little one.
View attachment 274813
Thank you for your interest and looking in.
Glenn


")


