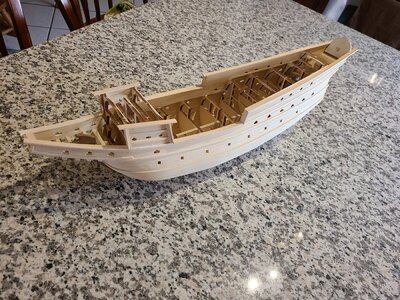
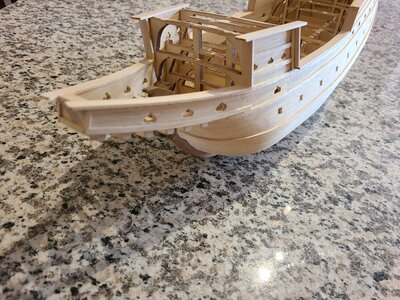
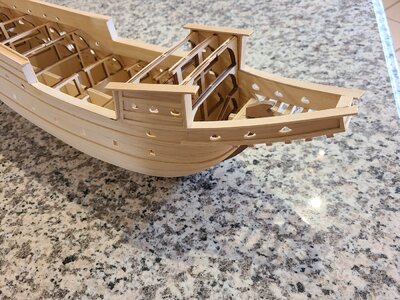
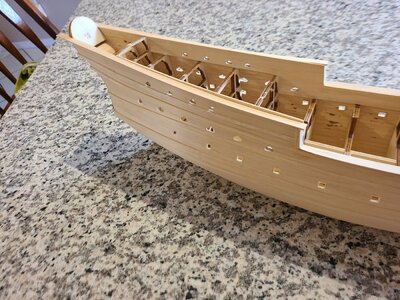
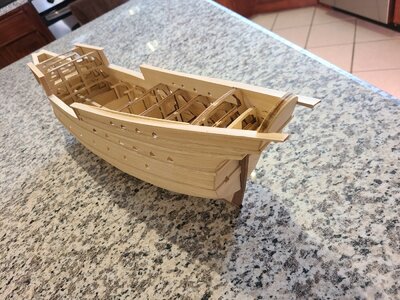
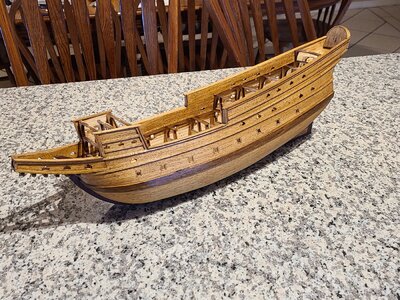
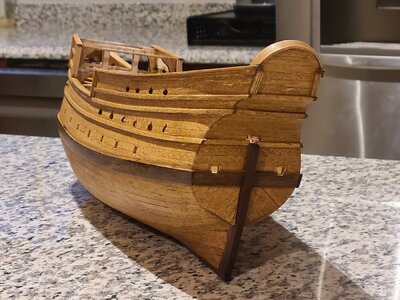
Santiago de Compostela-Disar Model 1:72

While waiting for the wood strips to arrive I was looking ahead in the instructions and am curious about the cannons. They are unlike any I have seen before.View attachment 265868

View attachment 265869

View attachment 265871

Quick research via Google showed me that these may represent the older breech loaded cannon. I've been around firearms my entire life and am familiar with what a breech loaded weapon is, but these cannon are new to me. I'm unable to find much information on them, can anyone help me by providing more information?

Thank you for looking,
Glenn
Hi Stan. Please let me check my sources and I’ll tell you something soon....
Greetings
 
Some pictures of my progress. I am tapering the planking at the Bow only so far, may need to start to also taper towards the stern as well.

I was attempting to plank without any nails, but was unable to properly clamp it up. I am removing the nails once the glue dries. This is a single plank model, I'll figure out the finish as I go along. Wetting the wood around the holes after the nail is removed helps close them up, but not completely. I'll try various methods to fill them when the time comes-I've plenty of cutoffs to experiment on.

So far no heat has been used, only soaking the planks in water prior to shaping and installing. I've only used PVA, this is why progress has been so slow-often a single plank in the evening after I get off work.


View attachment 256894

View attachment 256895

View attachment 256896

View attachment 256897

View attachment 256898

View attachment 256899

View attachment 256900

View attachment 256901

It's not perfect but for my first planking job I'm happy with the way it is progressing.

Thank you for looking,
Glenn
Hi Glen. Looking good. I’m also on my first real ship and have also taken the approach to just attempt a good model. My only advice is that it is your ship build it as such and enjoy it. Cheers Grant
 
Time for some pics.


View attachment 265684

View attachment 265685

View attachment 265686

View attachment 265687

View attachment 265688

View attachment 265689

The next pics show what I was talking about previously, the thickness between the inner and outer panels that make up the bulwarks (hope I'm using the correct terminology). AoS was quick to ship the strips I ordered (ordered Sunday received Wednesday) so I'm starting on the top rails next.
View attachment 265690

View attachment 265691

View attachment 265692

As always comments, suggestions and critiques are very welcome.

Thanks for taking the time to look!
Glenn
Awesome build- I’m enjoying your work
 
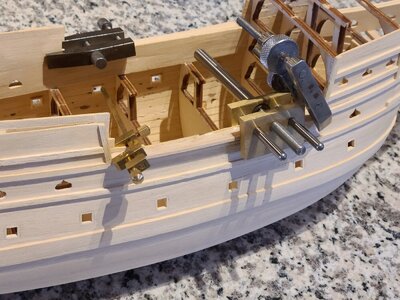
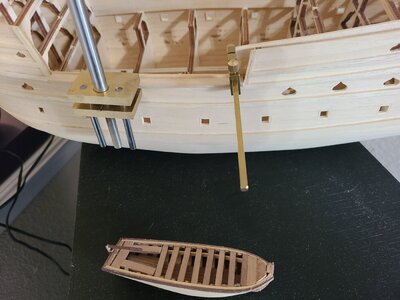
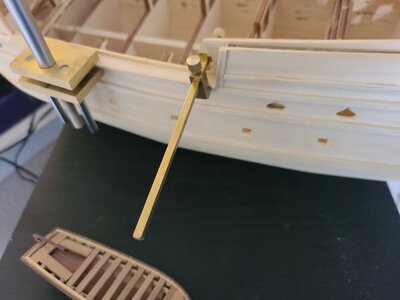
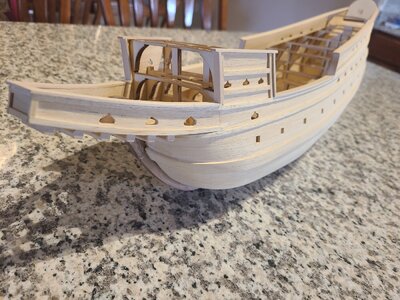
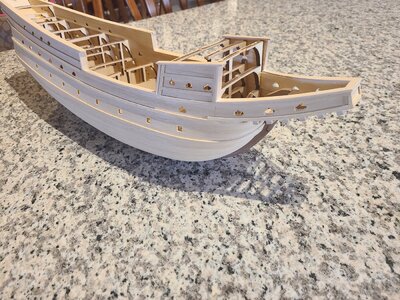
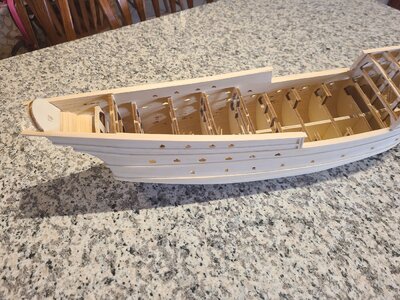
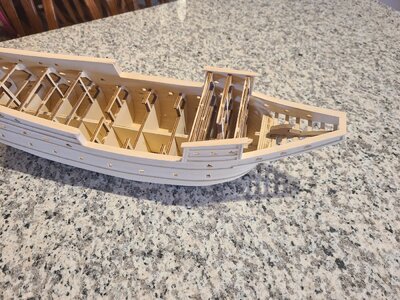
A few pics adding a top rails while it was clamped in place.

20211028_165526.jpg

20211028_163247.jpg

20211028_163256.jpg

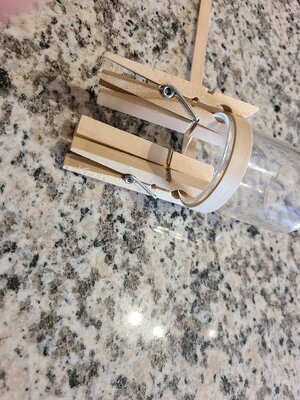
The clamps came in a watchmaking tool lot I got from Ebay. I'm not a watchmaker but the tools have been useful for some of my various hobbies. The machinists clamps came in a machine tool lot, again Ebay.

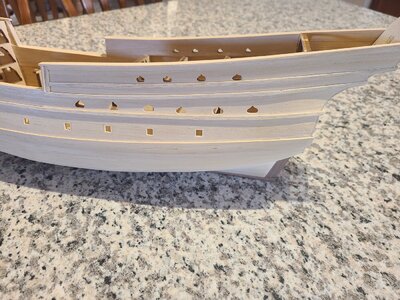
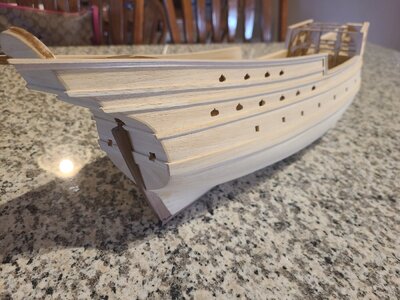
Next some pics of the toprails in place before shaping with sandpaper and cleanup with rifflers.

20211030_160405.jpg

20211030_160410.jpg

20211030_160415.jpg

20211030_160420.jpg

20211030_160449.jpg

Thank you for looking,
Glenn
 
The toprails are made of lime wood I purchased from Jason at Ages of Sail. This is what he recommended when I needed more boxwood strips to replace what I had broken from the kit. The toprails are 1.5 x 8 mm.

I have to say this limewood is great to work with compared to the boxwood included in the kit. The boxwood is larger grained, easy to dent and brittle when bending. The lime wood is tight grained, harder to dent yet easily bent.

This is after a couple of hours soaking in room temperature water and no heat:
20211030_160844.jpg

Overnight to dry with little to no springback when removed.

Had I known this limewood was so forgiving before I probably would have spent the $15 and ordered it along with the kit when I purchased it.
 
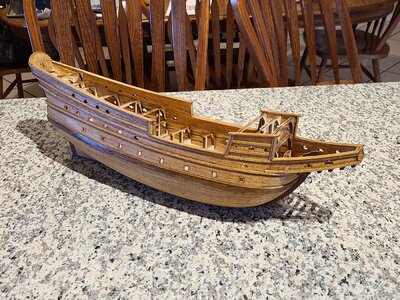
Here is after shaping the toprails.

20211031_092027.jpg

20211031_092037.jpg

20211031_092051.jpg

20211031_092104.jpg

20211031_092114.jpg

20211031_092121.jpg

Due to the varying width I had a choice of keeping the width of the top rail constant, or keeping the overhang constant. I chose to keep the overhang constant, matching the 1.5mm thickness of the wales.

Thank you for looking and all of the likes.
Glenn
 
Back
Top