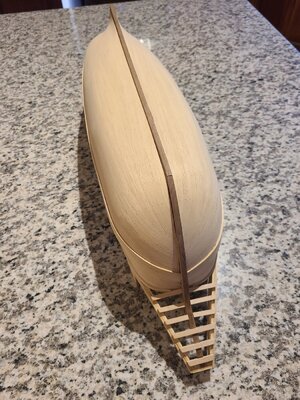
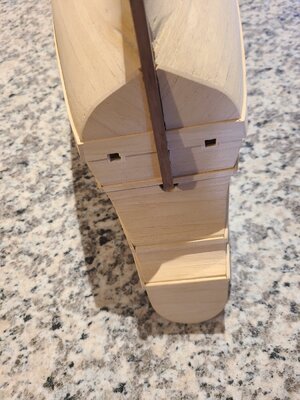
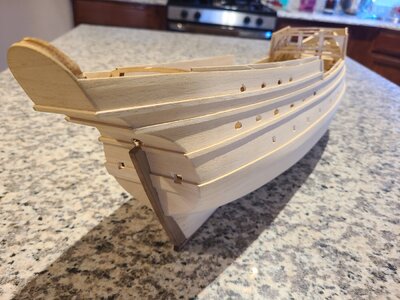
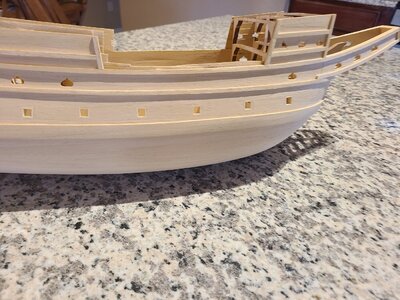
First up was the launch, a mini kit within the kit.
View attachment 254134
This turned out to be a Plank on Frame build. Something I didn't like was the Cello Tape holding the stock into bundles-had to deal with the adhesive.
Starting with the false keel and frames, I discovered the first error.
View attachment 254135
Look closely at the frame numbers listed for the sheet, then the numbers on the right pointing to the photo of the completed framework. Take the transom as an example-#13 on the sheet, but #2 on the photo. This had me scratching my head for a bit but I sorted it out.
Here's the completed fish skeleton:
View attachment 254136
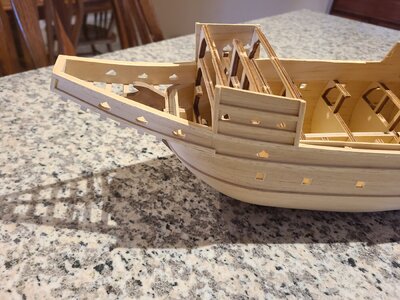
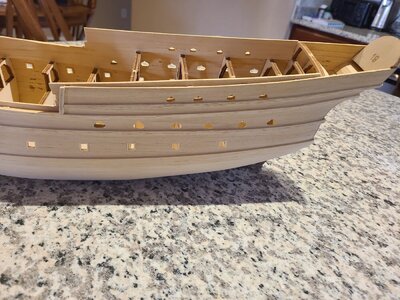
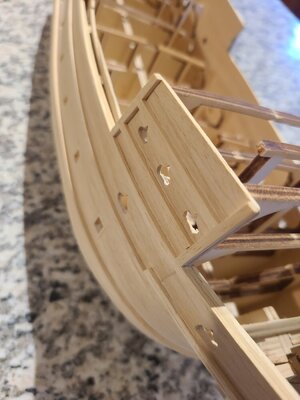
I didn't take photos until after I had planked the hull. My method was to soak the planks, use my round nose pliers to coax the required curve into the plank, then glue on the plank using PVA. Hellman PVA is what I'm using, I believe it came from Hobby Lobby. I did this over a period of evenings while watching TV with the Admiral, clamping the planks with my fingers until the glue took hold. I worked top to bottom, beginning at the stem taking 2-3 steps to glue each plank. One port then one starboard in an attempt to keep the keel as straight as possible.
View attachment 254137
View attachment 254138View attachment 254139View attachment 254140
View attachment 254141View attachment 254142
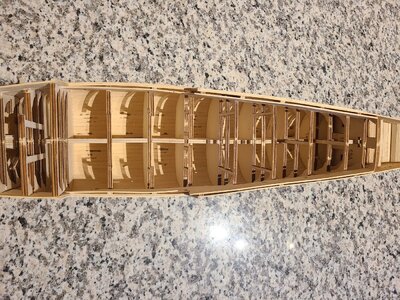
Next I added the keel, interior floor planking and seats. Not perfectly symmetrical but not too bad.
View attachment 254146
View attachment 254144View attachment 254145
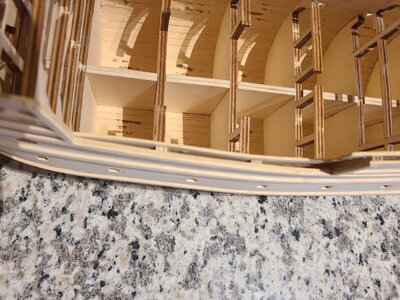
Finally the rub rails, rudder and tiller. The darker 1mm x 1mm outer rails gave me the most trouble on this small craft. The grain was diagonal so they wanted to splinter when I tried to bend them. I finally had success by soaking them for a full day, then placing them in hot (near boiling) water for a while (10-20 minutes). I finally got them to bend without splitting with just enough to finish.
View attachment 254147View attachment 254148View attachment 254150
The only thing the instructions call for that I haven't done-and may not do-is add the oar locks using the small bit of 1mm brass wire.
I think I going to finish it with Danish Oil, but for now it will stay as-is while I start on the ship itself.
Thanks for looking,
Glenn


