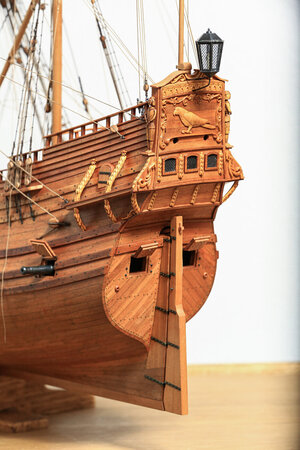
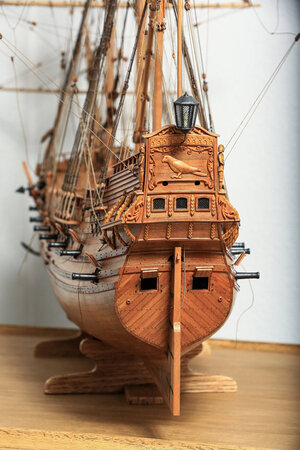
Pinnace Papegojan 1627 - 1/48 [COMPLETED BUILD]

Great work. Love the way you hang out the anchors.
Even your anchors look great, scratch?
Two different knots for big (1) and small (2) anchor.

Zrzut ekranu 2021-09-1 o 13.35.38.png
The second knot was what I know on English ships of the line.
 
Thank you very much Paul and Uwe BeerBeer

@Steef66 thank you :)

Have a look at 1st page of this log. You can see process how I made anchors.
Anchor was cut out from brass on water-jet cutter... long time ago I had this idea to make my life easier and I found some local company with this machine. Simple drawing in Corel Draw and after few days it was ready... it cost me almost nothing for cutting, because it was so small and fast... basically I just paid for brass ROTF

I've never heard to be honest that knot used be me on large anchor was used only by Engish Navy.
Inside clinch as far as I always seen or read it was used on large (heavy) anchors... I've seen it on Dutch, British, French, Spanish vessels... so I'm not so sure it was reserved for English... unlikely I think ;)
Still knot no 1, which is anchor bend (round turn and a half hitch) is most of the time seen on models.

However, I was more persuaded to represent both knots for different size of the anchors... which I did.
Hopefully correct ROTF but...who knows ROTF
 
Thanks Matt and your right about the knot. I had it wrong in my mind. I remember when reading Ashley and there was mentioned that it was written in the admirality handbook by Biddlecomp. Not special on English ships.
Wrong thinking or reading. :)
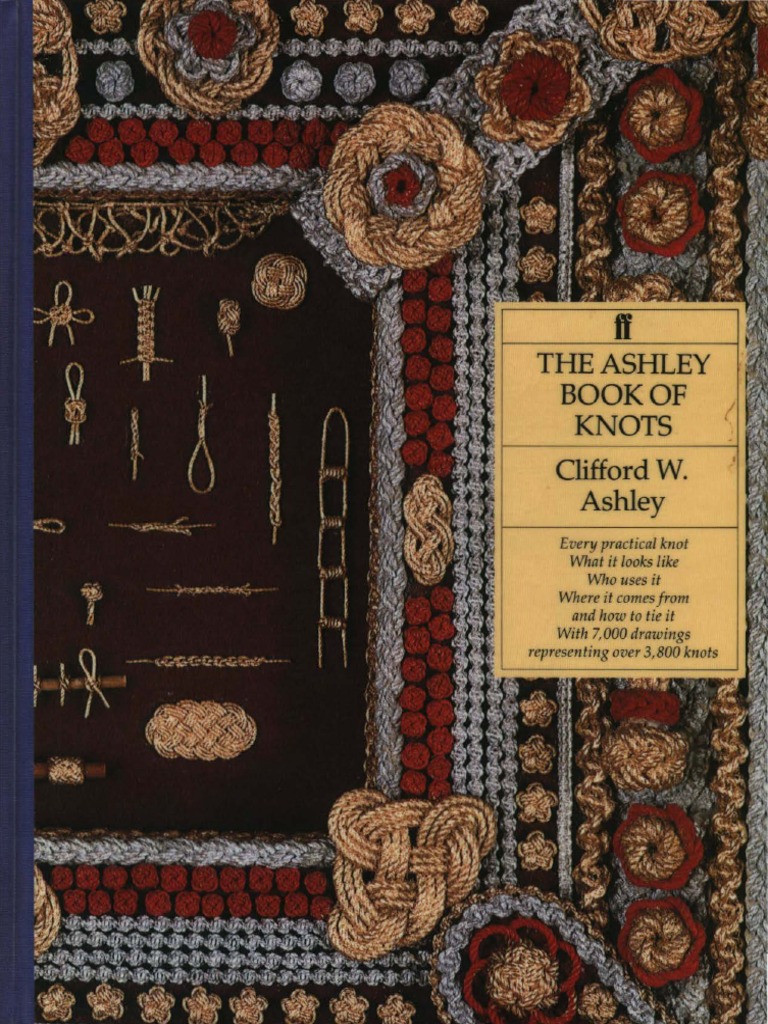
The Ashley's book of knots page 309

This book is a must read. Free legal download link
 
Hello Mati,

what a great build and rigging, love it.

I have two questions though.

First, may you tell me the color codes (Talia & Tytan) you used for your rope :-)

Second, and I am sorry for telling, you made your stays right handed.


"... which is Main Mast Stay 3x16 thread no. 120, gave me 1,65mm rope."


When I roughly calculate the size, the circumference is around 9.8 inch.

1,65 * 48 = 79,2 mm Diameter. This led to a circumference of 248.814 mm == 9,795826772 inch.


It was technically not possible to do hawser-laid (right handed) rope bigger then 9 inch at this time, thats why cable laid rope were used.


Cite: "Cables (grelins) Closed, usually S-twisted, a cable is a rope of 9 inches (229 mm) circumference or 73 mm diameter and upwards, consisting of at least three 3-strand hawsers which have been closed to become S-twist. Before the 19th century it was the only reliable means of making ropes larger than 9 inches in circumference."
Source: Damien Sanders, Knowing the Ropes, 2009, p.8

cheers

Dirk
 
@Dubz

Hi Dirk,

Thank you very much for your comment.
For Tytan threads I always use 2502 - Natural.
In fact Tytan 360 threads are available only in 2 colors - white and natural color.
I found 2502 working great for final color I'm aiming for.

For Tytan 250, 120, 60 or 40 I'm also using 2502.

I stoped using Talia. I found Tytan more suitable for me and final rope looks much better, but I was also using some beige, off-white colors... sometimes beige - light grey mix.

Regarding second part of your post.
"... which is Main Mast Stay 3x16 thread no. 120, gave me 1,65mm rope." as far I remember this refer to Talia made rope, which I didn't use.
I was not happy with rope look made of Talia... and diameter.
So stays are made actually also using Tytan treads... I don't have my notes with me... but it was Tytan 40... and 3x5 or 3x6... I think... not more or less for sure.
Anyway... main stay finally has a little bit less then 1,6mm... probably somewhere around 1,58mm. So very close to 9 inch.

You referred to fantastic publication, which I've never seen before. Already saved to my stash ROTF
It's hard to not agree with D. Sanders who is probably walking encyclopedia of rigging.

I can't recall now from where... but I also remember reading something about rope diameter and technical abilities through different ages (but I don't think it was D. Sanders)
...and I had this in the back of my mind that it was some certain rope diameter (around 73mm / 9 inch circumference) where they have limited ability to make.

When I was deciding about main stay for my model I was considering to use cable as a main stay (I still have cable rope made for this purpose), but then being so close to 9 inch. I bet on hawser. For fore stay or other stays I didn't have doubt to use hawser.

I was also looking at some other models, drawings, plans... etc... and yes for bigger vessels with much thicker stays I see they are made of cables.
However, some of them like old model of Hollandische Zweidecker... still has right hand rope used for main stay... but in other hand anchor rope it's hawse too... not a cable... so it doesn't make sense :D

Beside D. Sanders publication and other source, which I can recall (most likely based on D. Sanders) I've never seen such detailed explanation regarding stays or rigging.
I guess it's most of the time neglected due to doubts of the other authors (???)
Anyway... it's always great to discover some new information.

It's possible to change main stay on my model without damage. I didn't use glue to attach stay. It's made this way... just in case.
However, this process will be problematic... but not impossible.
I think I will keep this way... due to such a close match to 9 inch. circumference.

By the way Dirk, you are building beautiful models! Really high class!

Cheers,
Matt
 
Last edited:
Hi All,

So I'm done with another painful step :D
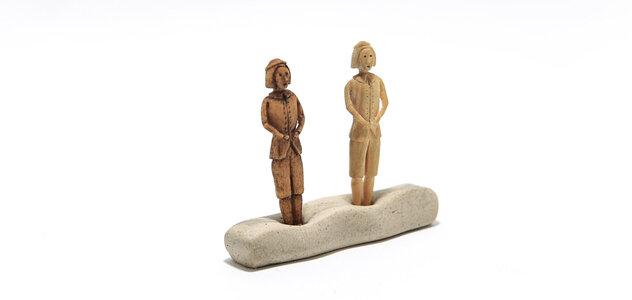
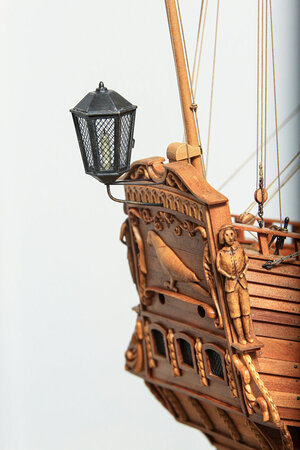
It is no secret that I'm poor sculptor... but I had to carve these two little fellas to complete stern decorations.

Of course it could be better... but I think this is a peak of my skills at the moment ROTF
That's why I'm trying to avoid vessels with carvings ROTF

I still have to do two soldier heads for bow decoration.

Anyway... this is how it looks now.
Carving made out of Laotian boxwood.

5DM34963.JPG

5DM34970.JPG

5DM34975.JPG


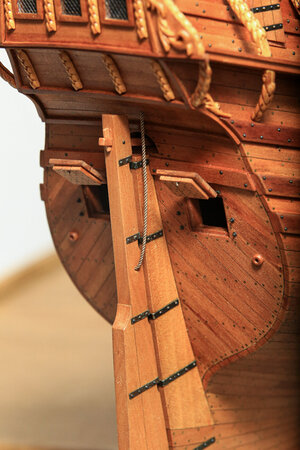
I've made also rudder pendant (preventer)

5DM34981.JPG


At that stage I could also install lantern.

5DM34983.JPG


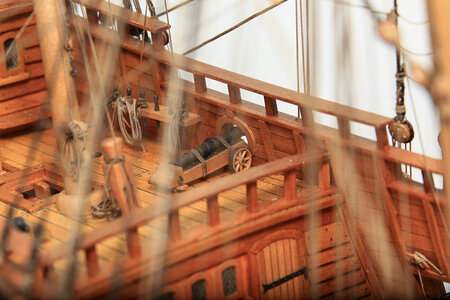
...also last pieces of armament - two bombards...

5DM34986.JPG


Cheers,
Matt
 
Hi All,

I've started painful process of arranging ropes around belaying pins, cleats, etc...

Not much place for hand or fingers so it's really :mad::mad::mad:
...biggest drama will be to reach belaying pins around main mast ROTF

I was thinking for long how to lay the ropes... and I've decided to go with coils laying down on the deck.
Rope was first laid on the pin around 3-4 times and then remaining rope was formed into coil.


View attachment 252456

View attachment 252457

View attachment 252459

View attachment 252458

View attachment 252455


Cheers,
Matt
You have produced extremely well done work all around. The rope falls on the deck make a good touch of a working ship. This is a log and photo stream that invites and receives time from me to study. Well done! Rich (PT-2)
 
Good looking gun !!!
May I ask, how you make such a wheel?
With the spokes it will be the same method like for a ships wheel, I guess
 
Thank you All for many likes.

Thank you @PT-2, @Steef66 , @dockattner and @Uwek for you comments :)

Uwe,
Unfortunately I don't have photo how wheels were made.
However, I will try to explain this :)

It's just thin wooden rod for spokes made on drawing plate and then just smoothen and sanded out on micro drill with sand paper.
For wheel rim (hoop) - it's just piece of wood strip formed soak wet on pencil :) to have nice and round hoops. Strip was taped to the pencil to dry completely and then cut and glued to have desired rim. Then rim got 8 symmetrical holes for spokes. Drilled by hand. Spokes were inserted through that holes, trimmed, sanded and finally whole wheel got copper ring.

Cheers,
Matt
 
Hi All,

So I'm done with another painful step :D
It is no secret that I'm poor sculptor... but I had to carve these two little fellas to complete stern decorations.

Of course it could be better... but I think this is a peak of my skills at the moment ROTF
That's why I'm trying to avoid vessels with carvings ROTF

I still have to do two soldier heads for bow decoration.

Anyway... this is how it looks now.
Carving made out of Laotian boxwood.

View attachment 254520

View attachment 254521

View attachment 254522


I've made also rudder pendant (preventer)

View attachment 254523


At that stage I could also install lantern.

View attachment 254524


...also last pieces of armament - two bombards...

View attachment 254525


Cheers,
Matt
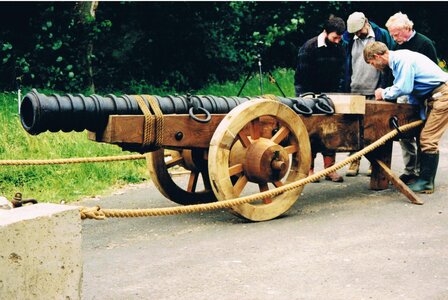
Looking at the cannon carriage with the spoked wheel puzzles me and I would like to know your source for that. I have only seen solid wheels before in the books and photos that I have. Rich
 
@PT-2

Hi Rich,

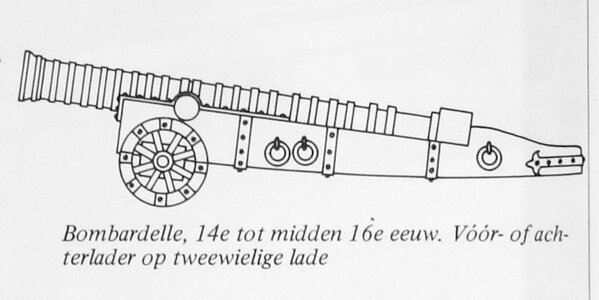
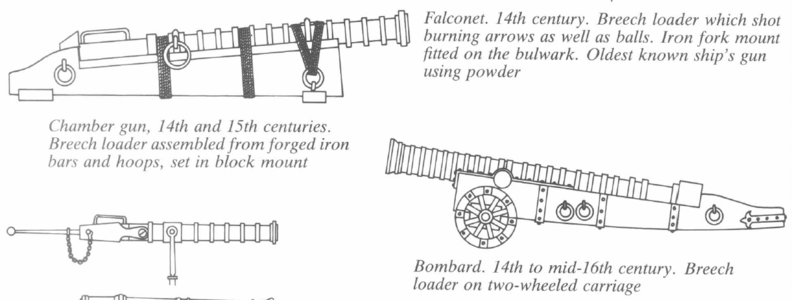
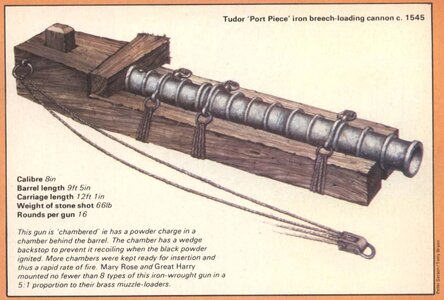
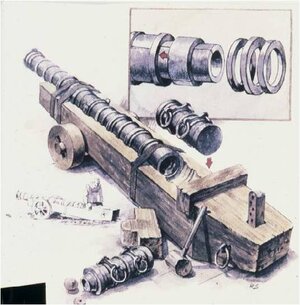
It's hard to find any good or legit source of information how this chamber cannon/ bombard should look in Dutch/Swedish vessel.
No proper drawings or plans exist for that kind of vessel.
Model, which unfortunately I've choose it's based on cardboard model. Great design and publication, but just as cardboard model.
I had this idea to convert it to wooden... which I did.

After few years, when I actually started proper research I found out that design of the ship has quite few flaws and that's most likely doesn't really match to 1627.
...but it was too far to skip the project.

Ok.... long story... short :)
I'm not even sure if this kind f vessel had chamber gun/ bombard... but it was as a part of the model, which is my base so I've decided to include this cannon.

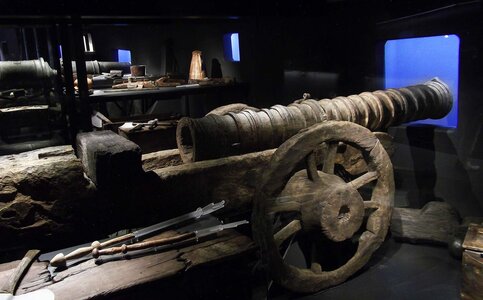
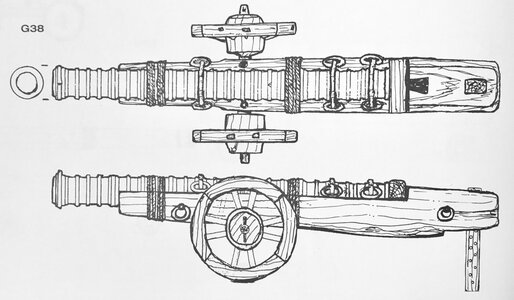
I was thinking about the look of this kind of cannon... and I was looking at some other vessels, wrecks, publications, etc....

Stephan already mentioned one. W. zu Mondfeld.

Zrzut ekranu 2021-09-7 o 21.37.44.png


Then I saw Mary Rose wrecked discovery and spoked wheels were in use already, so I didn't have any doubts it was possible (I was thinking also on solid wheels)

iron-gun-from-the-Mary-Rose.jpg

e3c60e921fa16af7cbcffc5b0eb8f875.jpg

DSC00440.JPG

photo-3.jpg

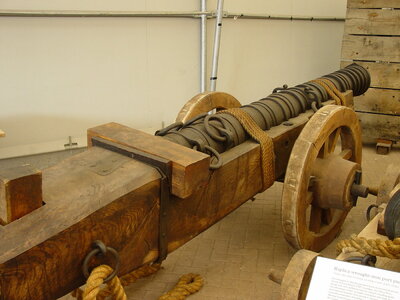
I found some other variations as well...

fcvjhf.jpg

Picture7.jpg

So in fact... and with honest... bombards on my model are made as mix of few variants :)


Cheers,
Matt
 
Indeed... very interesting :)
However, I need to learn German first ROTF
...but still drawings are interesting enough ROTF

Cheers,
Matt
 
Back
Top