-

Win a Free Custom Engraved Brass Coin!!!
As a way to introduce our brass coins to the community, we will raffle off a free coin during the month of August. Follow link ABOVE for instructions for entering.
-

PRE-ORDER SHIPS IN SCALE TODAY!
The beloved Ships in Scale Magazine is back and charting a new course for 2026!
Discover new skills, new techniques, and new inspirations in every issue.
NOTE THAT OUR FIRST ISSUE WILL BE JAN/FEB 2026
You are using an out of date browser. It may not display this or other websites correctly.
You should upgrade or use an alternative browser.
You should upgrade or use an alternative browser.
Santisima Trinidad Cross-Section 1:90 Kit Build
- Thread starter Kurt Konrath
- Start date
- Watchers 25
Kurt Konrath
Kurt Konrath
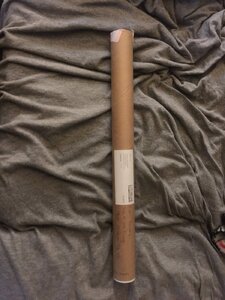
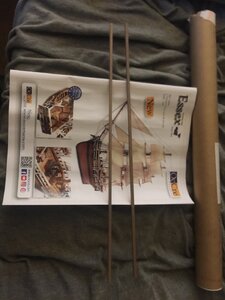
OK, so I found the OcCre home website, and used the spare parts link to request a new piece of lumber.
Now to wait and see if they send one. Good thing I have other projects to keep me busy in the mean time.
Now to wait and see if they send one. Good thing I have other projects to keep me busy in the mean time.
Kurt Konrath
Kurt Konrath
I have big tools in garage, scroll saw, belt and disc sander and spindle sander.
My work area, is also known as kitchen table...….
But that doesn't include the shelf in closet in back room with kits in storage.
My work area, is also known as kitchen table...….
But that doesn't include the shelf in closet in back room with kits in storage.
Kurt Konrath
Kurt Konrath
I do have a 3rd bedroom in house I have full of my model railroad hobby stuff, and stacks of things to work on filling shelves. But for some reason the Admiral insist I keep a small bed in room for when my son comes to visit, as it was his room years ago. I have it piled with tools and books as well.
I have a 3 bedroom house and a full basement, the whole basement is my wood shop
Kurt Konrath
Kurt Konrath
Kurt Konrath
Kurt Konrath
Fun part is remembering where I stopped at!
Kurt Konrath
Kurt Konrath
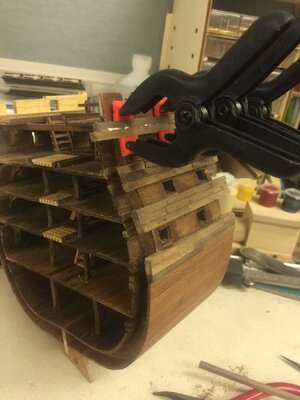
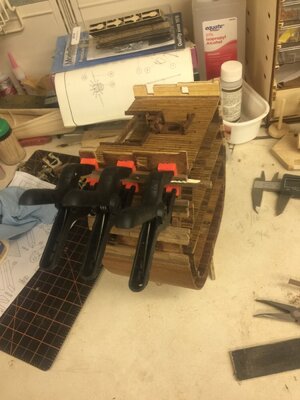
Well after a year break and house purchase along with moving workshop which is still a mess but I pulled out my cross section kit to resume work on it!
So after some review and checking where I left off I got new wood attached today!
I measured from opposite side to gap top rows of whales on back side of hull.
Now to wait on glue to dry and start filling in hull planks between whales.
Then get it all a good sanding to even up with other parts of hull
I can say it’s not perfect but it’s my first time to use individual length planks on exterior.
Kurt Konrath
Kurt Konrath
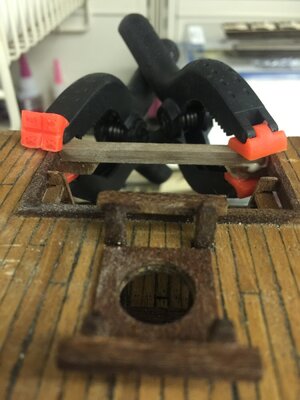
Ok more slow progress. On upper deck beam I cut beam as indicated at 45 angle and added new upper beam crossing the gap resting on ends of lower beams previously cut out
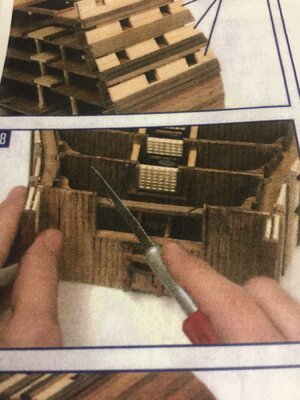
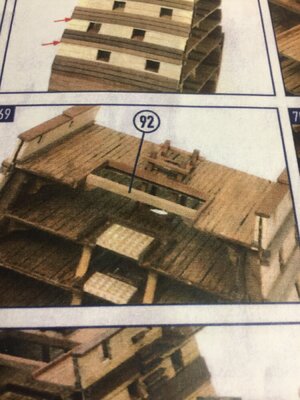
And how mine came out
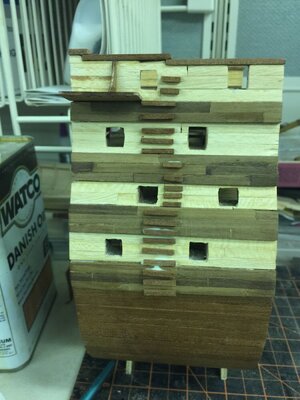
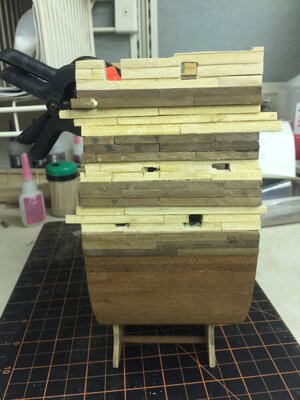
And I finally got side planks glued in on second side. Now to cut out cannon holes and sand smooth.
Next up is installing channels and boarding steps and the majority of hull work will be done


And how mine came out

And I finally got side planks glued in on second side. Now to cut out cannon holes and sand smooth.

Next up is installing channels and boarding steps and the majority of hull work will be done
Kurt Konrath
Kurt Konrath
So for this weeks work I got last of whales and planks sanded down.
I install gunwales on top of each side
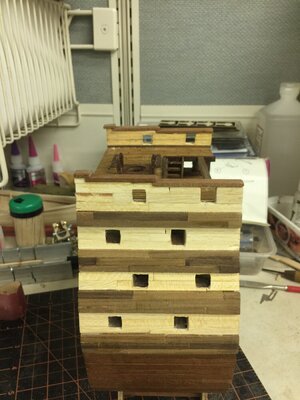
And then after I found where I had stored them I installed the channels for chain plates on each side
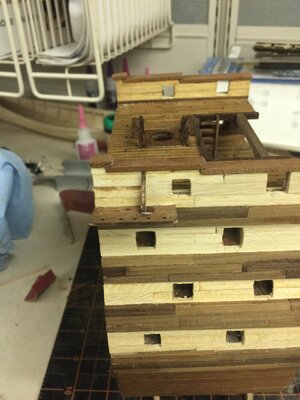
Now all that is left on hull structure are to install boarding steps. That should allow for final clear coat of oil and then to move one to working the outfitting of hull and start on mast, sails and rigging!
Slowly getting there but I am back working in shipyard again so a I can’t complain too much
Kurt
I install gunwales on top of each side

And then after I found where I had stored them I installed the channels for chain plates on each side

Now all that is left on hull structure are to install boarding steps. That should allow for final clear coat of oil and then to move one to working the outfitting of hull and start on mast, sails and rigging!
Slowly getting there but I am back working in shipyard again so a I can’t complain too much
Kurt
Kurt Konrath
Kurt Konrath
Good to see you back at the bench Kurt.I would revisit those gunports though - some of them do not look at all that square.

Gunports are just roughed in until I get ready to glue metal frames that came with kit. I will square and match them up at that time


