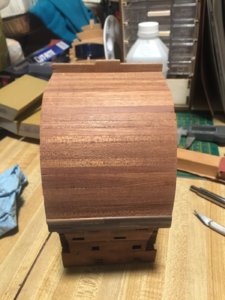
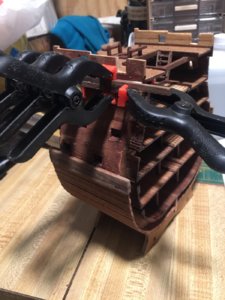
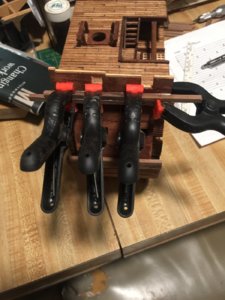
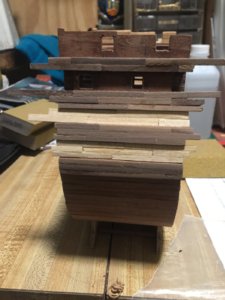
Santisima Trinidad Cross-Section 1:90 Kit Build

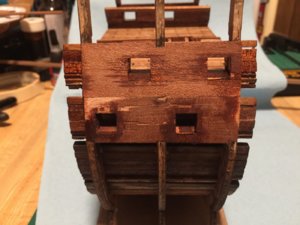
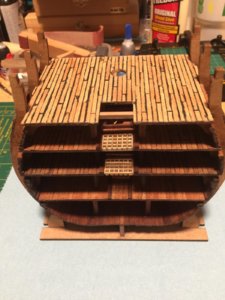
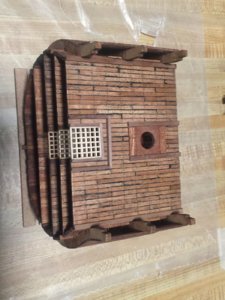
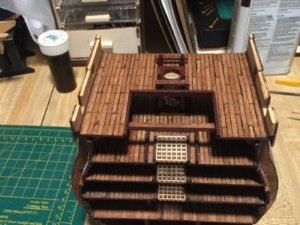
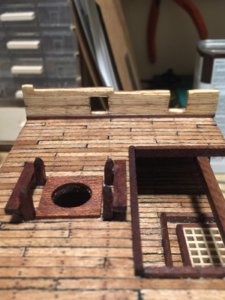
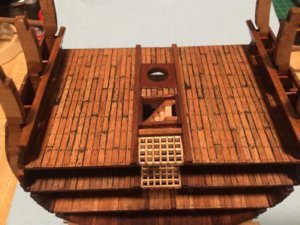
The 2nd Battery deck and gun port boxes are now completed and installed.

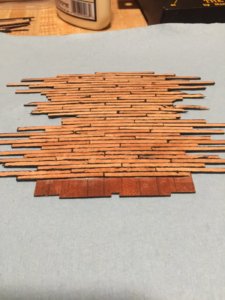
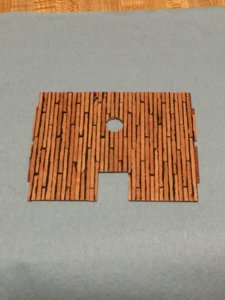
I tried yet another method on this deck in that after gluing down separate planks and letting it dry I did light sanding and then scrapped the deck to get a very fine smith surface before adding tree nail holes and staining.

With three applications and rub down of Watco Natural Danish oil on the deck.

Decks are looking better as I read and learn from others build logs!

Keep up the work guys, your teaching us newbies at this work. Even though I started my first kits about 15 years ago it’s been over ten years since I last worked a kit!252BF3A1-B555-4DF8-A8A3-8738B00E0D13.jpegBC300A55-BF92-4C57-BDC1-F81FF28F3796.jpeg
 
Ok so first I want to say I am no way an expert on anything but I thought I would show how I am doing my decks.

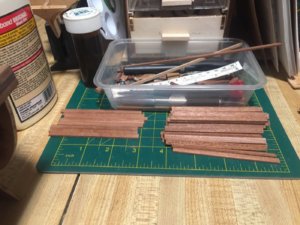
First I cut my deck plank stock to 50mm length. Then I stacked them in piles about 10 deep and clamped them and painted edges black. This is what I learned from another build blog.

I next marked my deck tops with lines 1mm apart to represent frame locations. These are used to line up plank butt stagger.

I started by taping a small square in center to keeps rows straight.

Then using guide I had made I started gluing planks down about three rows at a time.
5D0909A4-CA53-4A2C-9392-2215C4C6159B.jpeg

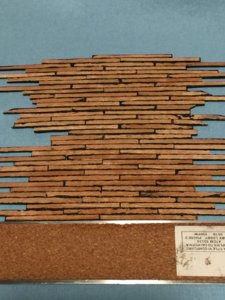
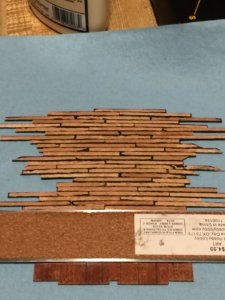
I then used a ruler to gently push on edges of planks to keep them tight and straight in line.
F691D934-1E51-4F40-83B1-3410BBAA885F.jpeg

After wards I flipped the ruler over on top of new planks and pressed down to keep planks flat.
6C8A9A7C-CACA-4E29-A598-4F55D0940E73.jpeg

Then repeat until one side is done.

When the deck is completely planked I let it dry about half an hour and trimmed the excess plank length to edges of deck base to clean it up
4CA8AD3E-5E3E-462C-8F83-B6354AC76518.jpeg

Lastly I cleaned up side notches for frames and then test fit the deck in frames.
61384E53-E55D-41C5-A620-B471EA410F91.jpeg

Later this week I will finish deck with tree nail holes, staining then scrapping and finally treat with a few coats of Watco Danish Oil.

Then it will be ready to install. Four of five decks almost done!!!!
 
Well the easy deck work is done now! 5 levels of decks completed.

A0576209-E823-4CE9-B231-BEC178DFCDCC.jpeg

Now to start the outer hull planking.

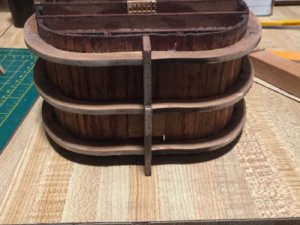
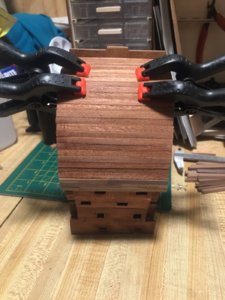
The first row of whales are completed.


8F3CAB16-E05B-41D7-BA45-E996CAAA8A99.jpeg

I have cut lumber for lower hull planks to length. Now to sand width to get even size for lower planks to fit between keel and first whale. 25 planks to sand per side
5CE0C30B-D73E-4DCA-A3A4-4BE36C05E3F2.jpeg
 
After a lot of sanding and repeated test fitting I got planks for one side of lower hull done.

Then the fun part of installing. I followed kit instructions and started at both ends and worked my way to middle.

Last two planks to go in needed some final sanding to drop in the gap. But all planks are basically same width.

F76312FC-6EE2-420D-9D0E-A87514A3DB49.jpeg

Then repeat all again later for other side!
 
Great work:)
Did you plan to have the hull coppering and give you section the color of TrafalgarQuestion-Mark
 
Here a link to a Spanish site
https://www.todoababor.es/historia/perfiles-del-navio-santisima-trinidad/
I got most of my reference about the S.T. there the info are quite accurate as they cooperate with the Madrid naval museum.
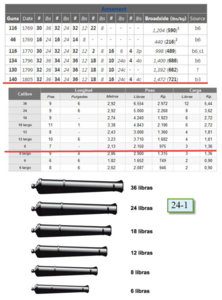
Another note about OcCre kit in dimension (scale) the gun supplied with the kit are not accurate for the top deck (or any deck) they supplied regular long gun but the real ship was armed with sea howitzer (carronade) on the top deck.
Here the 2 link of my build of the section and the ship you will find all my research there
https://shipsofscale.com/sosforums/...tisima-trinidad-at-1-90-occre-kit-16800.3613/
https://shipsofscale.com/sosforums/...kit-15800-build-from-2004-to-2012.3603/page-2
In the end any finish appearance (paint not paint)(gun rigging or not)(copper hull or not) are valid and it all come to what you want.
Me I build my model for my son and he request it to be accurate so……………;) So I went crazy :p
2020-03-30_08-28-55.png
1a.JPG
 
I didn’t notice early but wood for white planks was not flat and didn’t match up well.

Lots of sanding and filling small gaps.

I think I am going with late life look.

Cooper hull and painted sides should help hide minor errors!
 
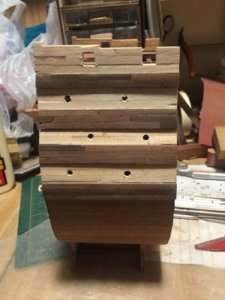
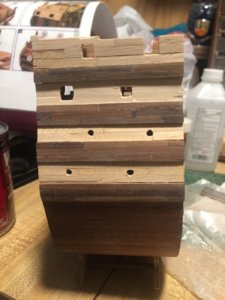
Ok I found a major error in the instructions and my build following them.

When you get to photo 26 which shows how to install lowest level of gun ports it tells you to install the gun port opening closest to left side.

Works for one side but not the other.

Because the gun ports stagger offset between decks the opposite side has to be opposite from first as the top side is the same on both sides.

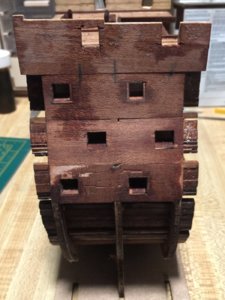
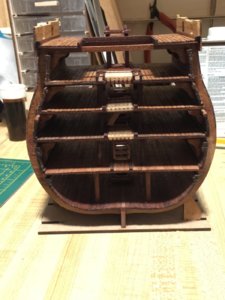
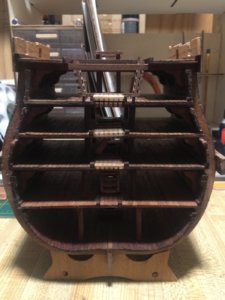
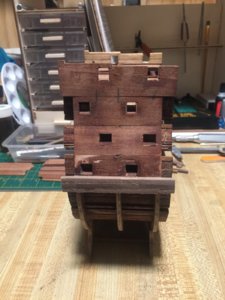
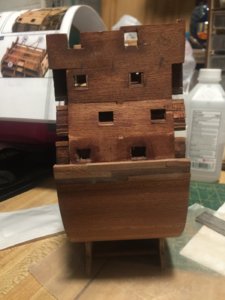
This caused my three lower gun ports to be wrong on second side. See photos of each side to understand issues.

First photo without planking shows top rows aligned underneath each other due to bottom starting wrong.

Way to late in build to correct now.

Just Mack this the back side of display!

398F5E97-57D9-481D-A4E0-9B33FE166972.jpeg9E7162F1-18ED-4BA7-8CA4-260EBD084E87.jpeg
 
Ok I have a minor problem with my build and need help!

Somehow I cut up my whale board stock and I am one stick short for last upper rows and center beam on upper deck.

I need 12” of 4mm x 4mm African Walnut stock to complete this phase of hull construction.

So does anybody know of a source I can order from!

Dave said he didn’t have the African Walnut in the lumber yard so I need another place to get some.

Has anyone tried getting extra wood from OcCre who made this kit?

Any suggestion welcome

Kurt
 
Back
Top