Santisima Trinidad Cross-Section 1:90 Kit Build

Ok after break due to both good and bad weather I got a minor but important task done.

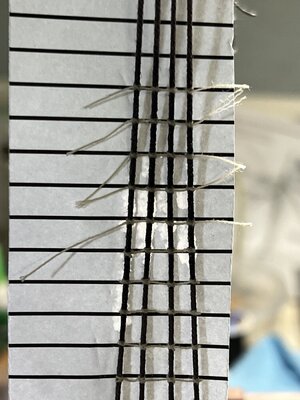
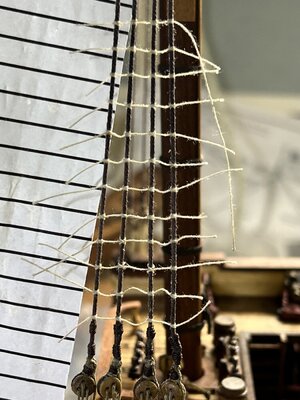
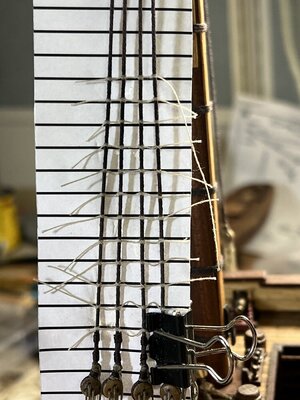
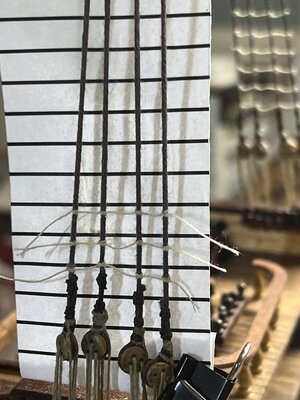
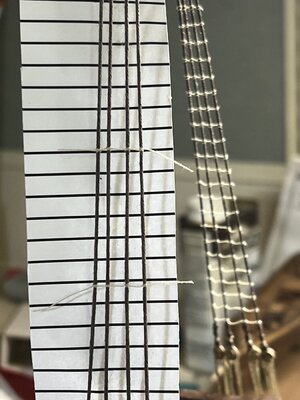
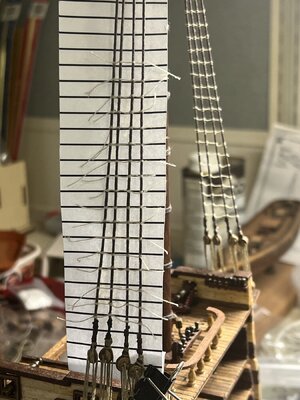
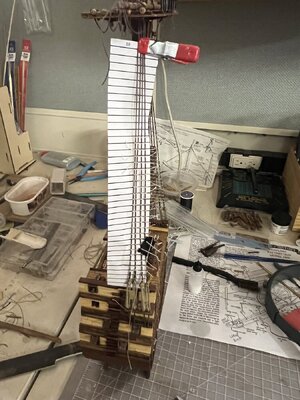
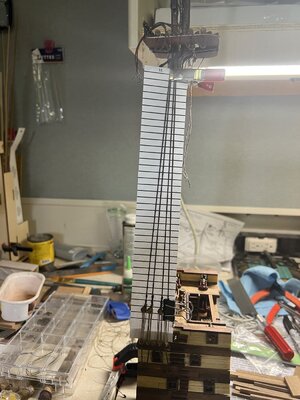
I made a spacer diagram for ratlines to keep them even. I counted the number shown on plans and used it as guide to get what looks like good spacing down.

I have one piece clipped in place and next up will be more knot tying followed by more and more knots!
3ABC5C6F-2BD5-47B4-9338-CA48C71E9CF9.jpeg
 
Ok after break due to both good and bad weather I got a minor but important task done.

I made a spacer diagram for ratlines to keep them even. I counted the number shown on plans and used it as guide to get what looks like good spacing down.

I have one piece clipped in place and next up will be more knot tying followed by more and more knots!

View attachment 361410
Thats a sure-fire way to get them even spaced and level.
 
I use Microsoft Office Excel all day at work and home, so I use excel to print different spaced patterns to get multiple sheets to test what works best.

I saved my file with different tabs for spacing for quick reference in future on other projects.

I can send anyone who want the file, so you can print and use them.
 
Ok got the plank marking done on lower deck. I did a light stain with a product from my model railroad supplies and then sealed with two coats of Watco Natural Danish OilView attachment 136774

Then I installed the deck. I did make on change from sequence in plans. I attached parts #23 to deck before installing. Plans called to do it after deck is glued in frames and that seemed harder to me.

I had to make my own parts as they were not included in supply stock. I read about on the other build log of this kit so I knew of this issue. I stained the deck Battens with Burnt Umber from my railroad stock.

The company is called Hunterline. They sell many shades and colors of stains. The are rubbing alcohol based products. Colors can be diluted with more 70% alcohol as needed. The company is based in Canada!
Did you use the kit-included, kit-recommended Tanganika wood and stain it or use another variety?
 
I used what came in the kit and just stained it lightly and used Danish Oil from Watco.
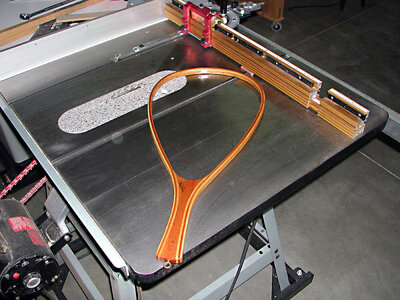
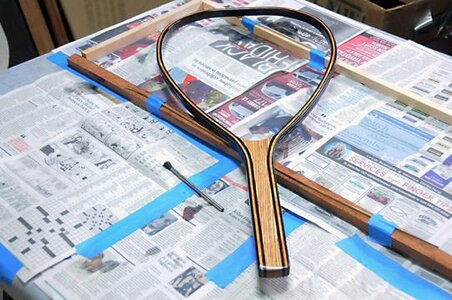
Watco is a good finish. Danish Oil. It really can make the grain of the wood 'pop' and after it cures for 3 or 4 days, you can apply just about any clear coat you like. I also build fishing nets for fly fishing, Watco followed by a great spar urethane provides a lasting protection.NetFinished1.jpgIMG_1367.JPG
 
Last edited:
Watco is a good finish. Danish Oil. It really can make the grain of the wood 'pop' and after it cures for 3 or 4 days, you can apply just about any clear coat you like. I also build fishing nets for fly fishing, Watco followed by a great spar urethane provides a lasting protection.View attachment 367120View attachment 367121
A man of many talents! Do you make the net from scratch as well?
 
After some time off for work and model trains I am finally back at the workbench.

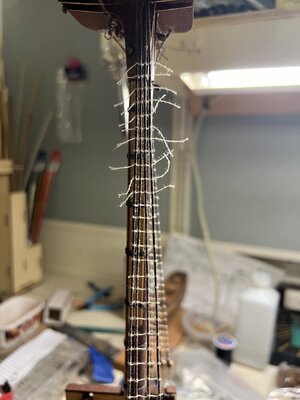
I finally started the other side of lower main mast ratlines. Maybe the first side difficulties made me put this off for a while.

I got bottom three rows done first.
IMG_0862.jpeg

Then I jumped up a few rows to due middle section and upper section with one row each to help hold the shroud spacing. I will see how this works to get more even look!

IMG_0863.jpeg
 
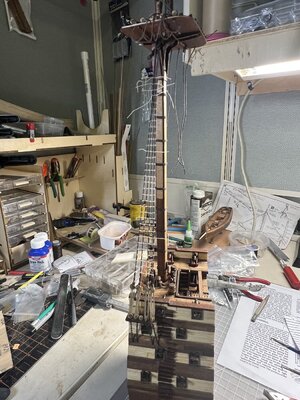
Well after a few months off for other tasks and hobbies I forced myself to get back in the shipyard.

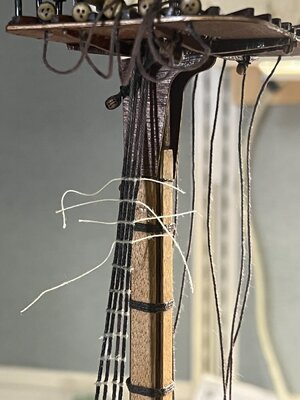
I have finally finish ratlines on lower shrouds of second side of the mast.

Now to let glue dry and trim ends down.

Then to drop lines from crows nest and attach those ratlines. Then I will be ready to start upper mast shrouds and start ratlines all over again!

IMG_1592.jpeg
 
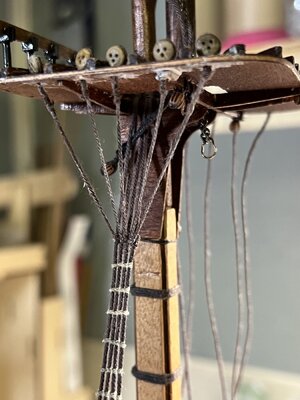
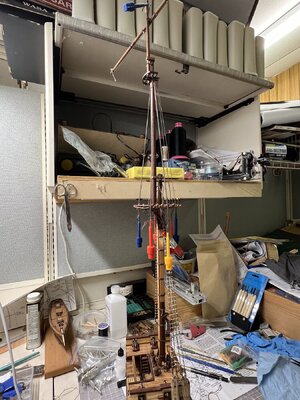
Ok ready for next level up almost!

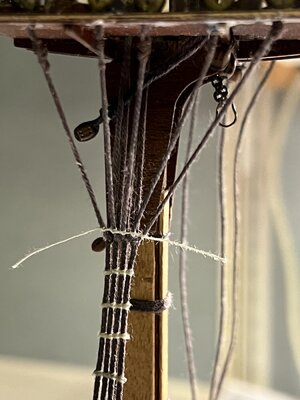
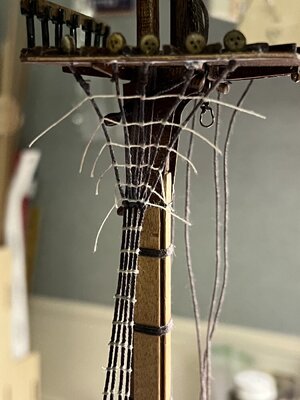
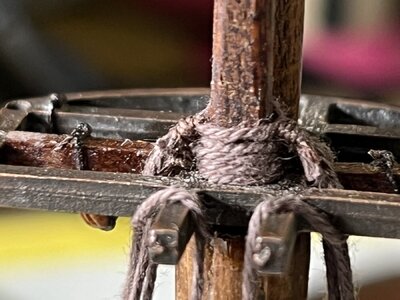
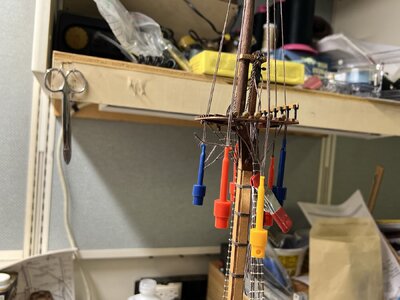
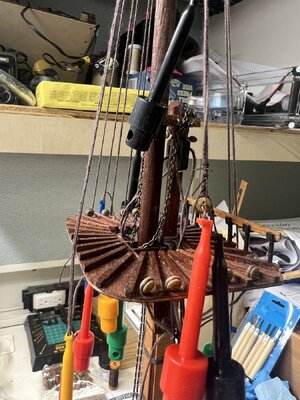
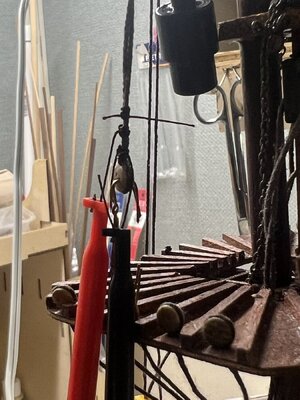
I placed lines in place for shrouds and secured each set with lashing in proper stack sequence.

Of course this level has five shrouds so the odd single line, which I did the adding and lashing of a line at center to keep it centered and anchored to the mast.

I got to use my new clips I bought for rigging and the help hold lines with just enough tension while adding and placing more shrouds.


IMG_1608.jpegIMG_1607.jpegIMG_1606.jpeg
 
Back
Top