• Win a Free Custom Engraved Brass Coin!!!
    As a way to introduce our brass coins to the community, we will raffle off a free coin during the month of August. Follow link ABOVE for instructions for entering.

School for Shipmodel Building School for model ship building

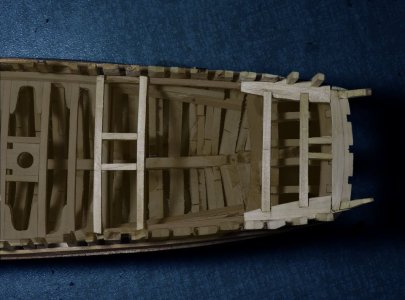
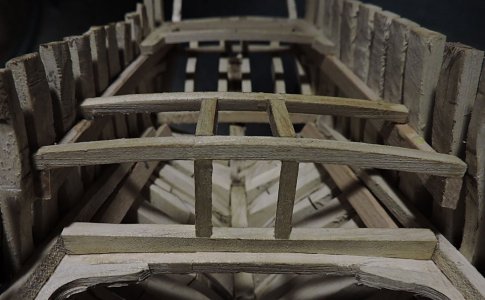
The upper deck is built like the main deck starting from both ends and working to the center or an open area that does not have any deck structures. It is done this way so any structures are in place and any adjustments and placement of beams are done where it does not matter. Looking at the picture the companionway is framed in and at the stern the opening fot the rudder and tiller is set in place.

upper deck10.jpg

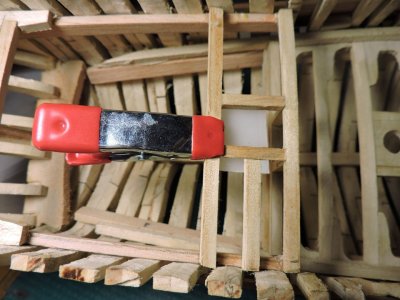
A the front of the upper deck supports are put in place for the companion way opening. A short beam is also added from the center of the carling. The clamp is holding a piece of plastic under the beams, so the shot beam has something to sit on while the glue sets.


upper deck11.jpgupper deck12.jpg
 
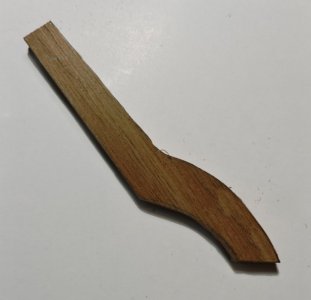
The next deck structure is a grating, so it has to be framed in. I am assembling this section off the model because it it so much easier than trying to place and hold the carlings in place on the model.

upper deck13.jpgupper deck14.jpgupper deck15.jpg

As one unit i can now place it in the deck

upper deck16.jpg
 
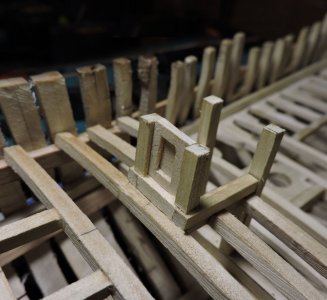
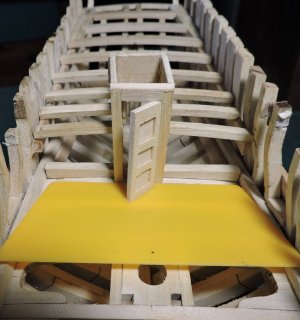
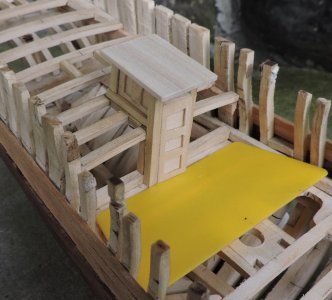
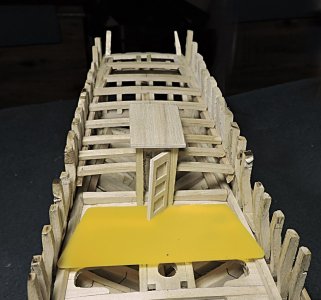
The upper deck is now done and time to construct the companion way, first cutting out the deck beam.

upper deck17.jpg

Then adding the door frames and the coaming for the companion way to sit on

upper deck18.jpg

you can see the actual coamings painted red.

DSCN7058.JPG
 
This ends the heavy construction of the ship. Starting with over size frame blanks the frames were assembled then the hull framed in. The frames were over size blanks and once the hull is framed in it has to be shaped. Next the decks are built. Up to this point as the builder you have gained some knife experience and fabrication deck knees. Also any misfitting joinery or errors get covered up. In a shipyard this next phase of the build is called the upper works, and everything shows and the work is getting smaller and a bit more refined.

upper deck19.jpg

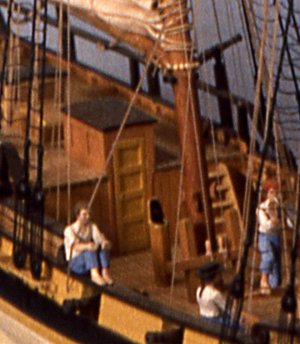
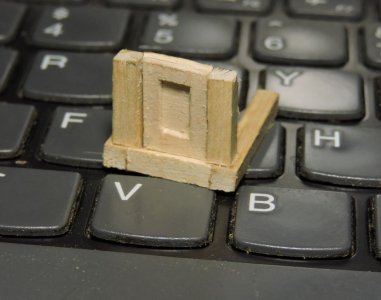
Looking at Harold Hahn's model we see the companion way has inset panels

a24companion way.jpg
 
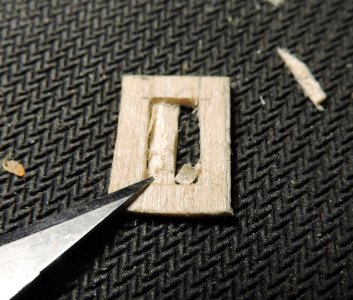
Now for some shop talk the first attempt for the sides of the companion way was to cut out the panel. I started with Basswood and after five tries the tiny piece kept breaking along the grain. Maybe the Basswood is just too soft so i tried a piece of Boxwood and discovered the boxwood was way to hard to cut with a knife. You would have to go over and over the same cut to get through the hard Boxwood. Taking into consideration there are 8 panels to cut this would take way too long.

upper deck23.jpg

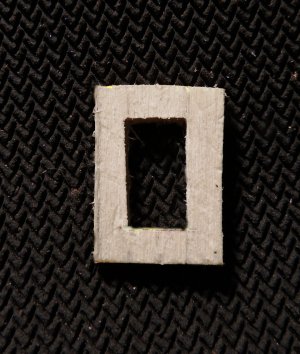
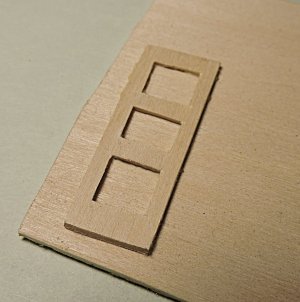
Going back to the Basswood after all the tries i used a new sharp blade and very delicately cut away the panel.

upper deck24.jpg

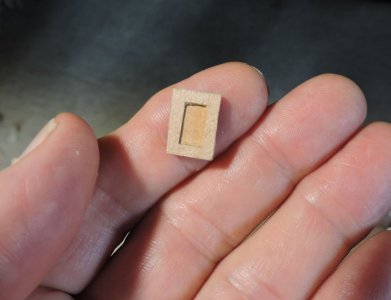
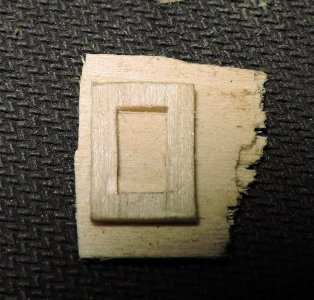
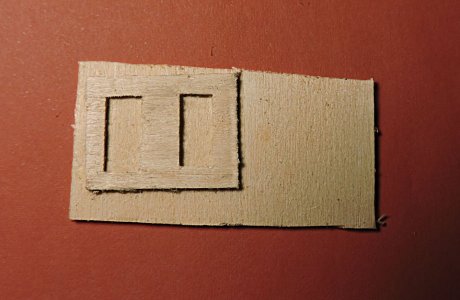
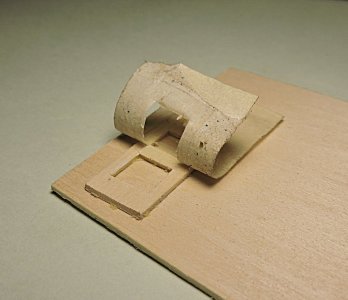
Next i glued the open panel to a backing piece with the grain running at a 90 degree. This made the panel quite strong.

upper deck25.jpg

and successfully completed the back panel.

upper deck22.jpgupper deck26.jpg
 
A part of scratch building what i enjoy is problem solving and with the difficulty of making that one back panel i needed a better way. The smaller the part the bigger the mistakes. Just a sliver to much of a cut will show up on a small piece as opposed to a large timber. The pieces also become delicate and working on it for half an hour then breaking it or making a bad cut will require starting over and sometimes over and over again.
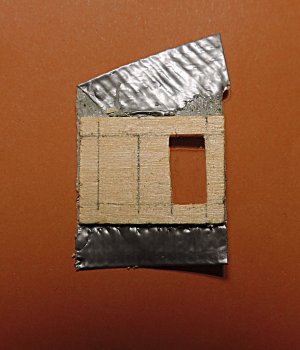
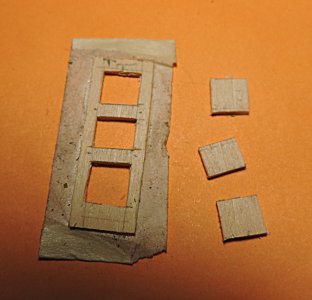
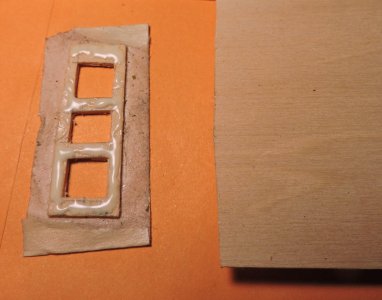
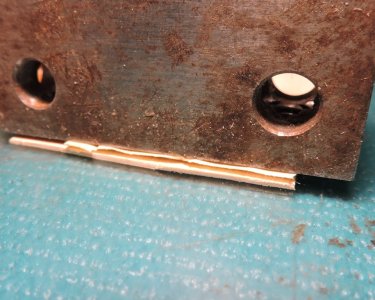
The problem at hand is the delicate nature of the piece breaking along the grain, to solve the problem i took the panel and stuck it to a piece of tape leaving tabs so i can hold the piece down. By using the tape it gave made the piece much stronger along the grain and i was able to cut out the panel without breaking.

upper deck20.jpg

Once done the cut-out panel is glued cross grain to the backing piece. Now all i have to do is trim along the outer edges and give the face a light sanding.


upper deck21.jpg
 
Last edited:
Now for some shop talk the first attempt for the sides of the companion way was to cut out the panel. I started with Basswood and after five tries the tiny piece kept breaking along the grain. Maybe the Basswood is just too soft so i tried a piece of Boxwood and discovered the boxwood was way to hard to cut with a knife. You would have to go over and over the same cut to get through the hard Boxwood. Taking into consideration there are 8 panels to cut this would take way too long.

View attachment 558628

Going back to the Basswood after all the tries i used a new sharp blade and very delicately cut away the panel.

View attachment 558629

Next i glued the open panel to a backing piece with the grain running at a 90 degree. This made the panel quite strong.

View attachment 558630

and successfully completed the back panel.

View attachment 558627View attachment 558631
I'm glad I'm not the only one who has to re-learn this lesson every time.:rolleyes:
 
I'm glad I'm not the only one who has to re-learn this lesson every time

there are times a builder shows a nice piece of work and did not tell you it took 5 tries. Scratch building is teaching yourself new tricks all along the way. Or the good old saying "i knew that was going to happen" or "by now i should know better" the big one "wow it worked"
scratch building is like the principles of quantum reality as a wave of probabilities you don't know the outcome until you try
 
Last edited:
there are times a builder shows a nice piece of work and did not tell you it took 5 tries. Scratch building is teaching yourself new tricks all along the way. Or the good old saying "i knew that was going to happen" or "by now i should know better" the big one "wow it worked"
scratch building is like the principles of quantum reality as a wave of probabilities you don't know the outcome until you try
That Dave says this, and structures his instructions with this in mind, is one reason that this is the best scratch building tutorial I have come across.
 
Back
Top