• Ships of Scale has incorportated an extra level of security when you log In. Please follow on-screen prompts to acknowledge that you are not a robot via a "Check Box" or a "Pictorial Check Box Puzzle". This is needed due to higher level of AI Activity Security.
  • SUBSCRIBE TO SHIPS IN SCALE TODAY!

    The beloved Ships in Scale Magazine is back and charting a new course for 2026!
    Discover new skills, new techniques, and new inspirations in every issue.

    NOTE THAT OUR NEXT ISSUE WILL BE July/August 2026
  • Win a Free Custom Engraved Brass Coin!!!
    As a way to introduce our brass coins to the community, we will raffle off a free coin during the month of August. Follow link ABOVE for instructions for entering.

School for Shipmodel Building School for model ship building

Good morning model shipwrights


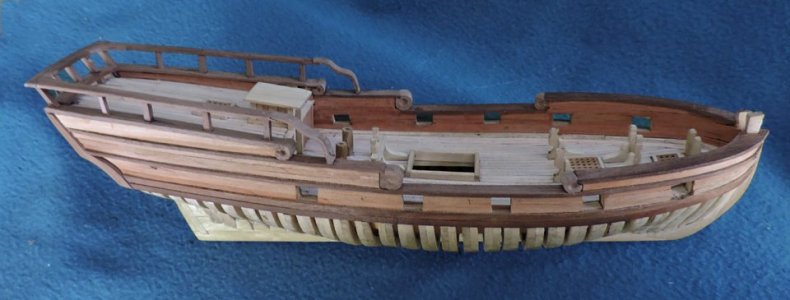
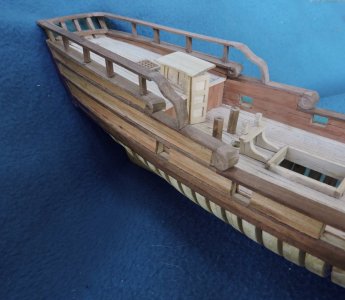
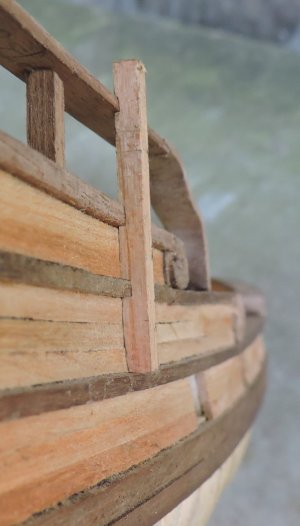
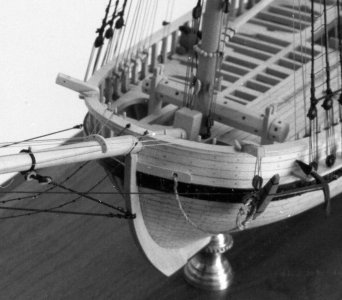
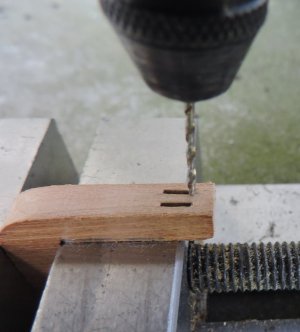
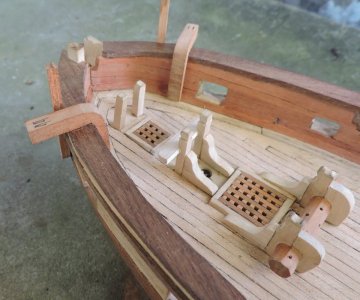
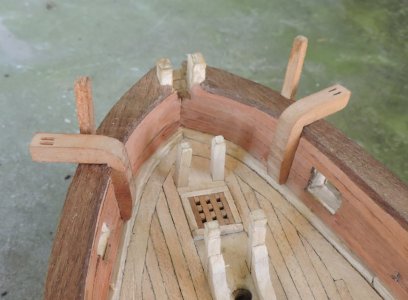
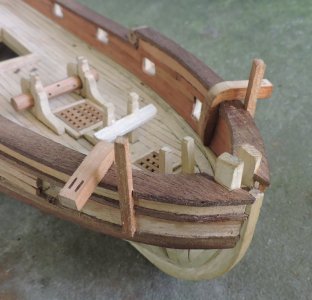
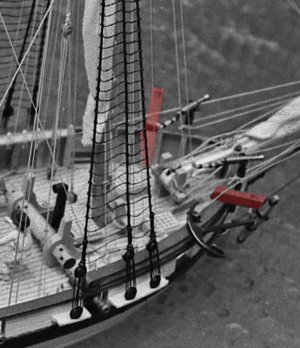
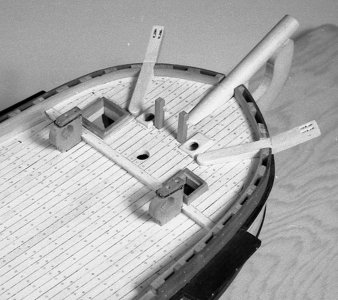
at some point the model be it scratch built or kit built or kit bashed the fit and finish becomes more apparent. It is about finer and finer woodworking and not so much about the subject. The swivel gun mounts are a simple piece, so the focus is on fitting them to the hull. Anyone viewing the model may or may not know much about the historical correctness of the subject, but workmanship is noticed by everyone.

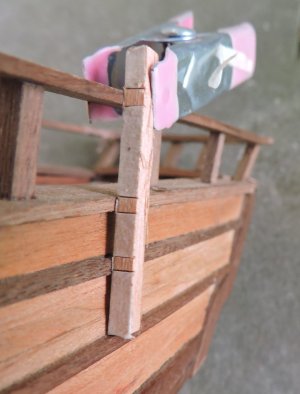
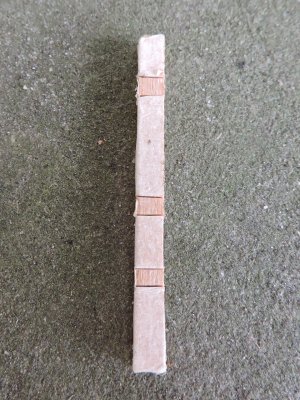
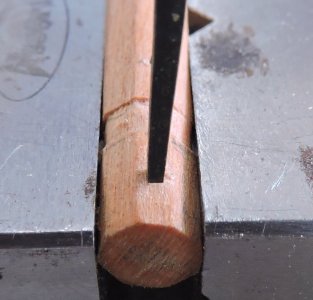
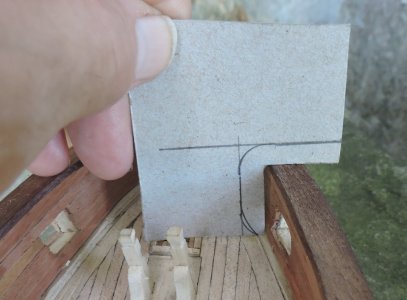
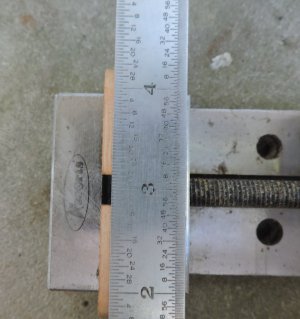
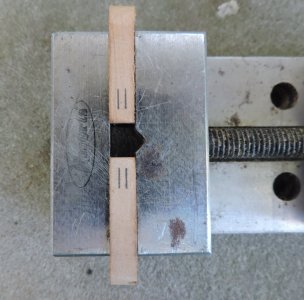
to fit the mount i used masking tape because i could see a cut made at the edge of the post and i was able to get a clean marking for the notches that fit over the moldings.


post1.jpg

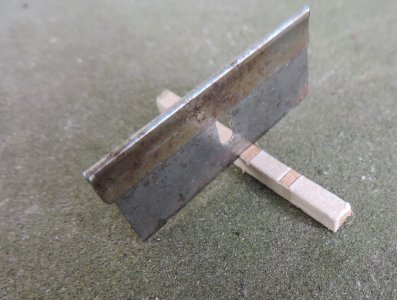
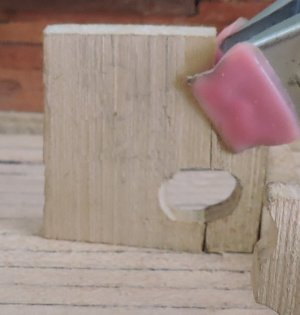
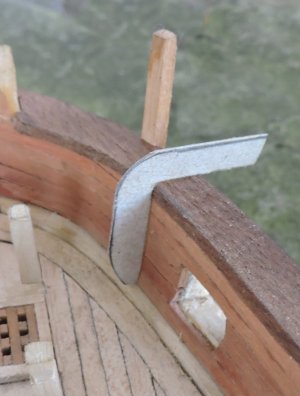
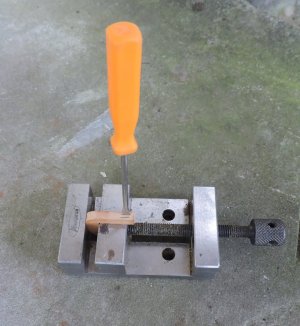
next is to use a razor blade and make a stop cut. Moving the razor blade you can actually feel the edge of the masking tape so line up the cut and press the razor into the wood.

post3.jpg

The tape edge will give to a very accurate cut

post2.jpg

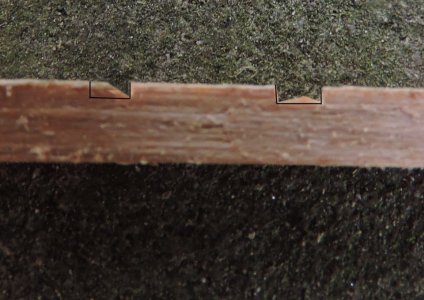
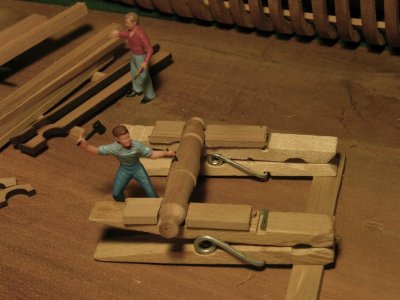
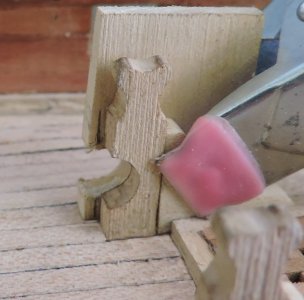
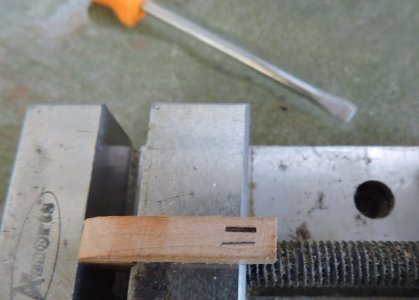
One thing about building model ships is there is a lot of repetition you had to carve 12 scrolls now there are 8 swivel gun posts and 3 notched per post. A system works best and helps to eliminate redo's . Once you made the stop cuts your next cut is on an angle downward then another angle cut in the opposite direction leaving a tiny bump in the center which is shaved away by the tip of the knife. I buy Exact-o blades by the pack of 100 fine clean cuts are made with sharp blades.

post4.jpg

The fit is tight just the way i wanted it but not every notch is a winner. i did remake two posts because the notch was not right. Do not fear having to remake parts it is part of the process. This is an advantage to scratch building you have extra material to redo parts, a kit provides one part you mess it up and there is no backup.

post5.jpg
 
Last edited:
The last thing i will add are the swivel guns because i am still man handling the model and no doubt about it i will break them. So, let's move on to the binnacle. Starting with a block of wood, a vice and a knife. I could start with the sides and build the box because that is how a scratch builder and someone bent on historical accuracy would build it.

binnacle1.jpg

But that is not how i approach the piece, my idea is what the final piece looks like so starting with a block of wood cut to size.

binnacle4.jpg

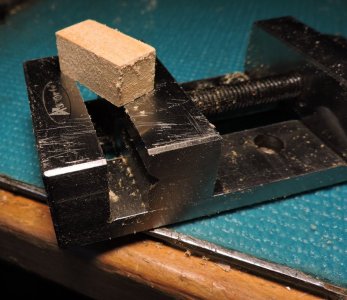
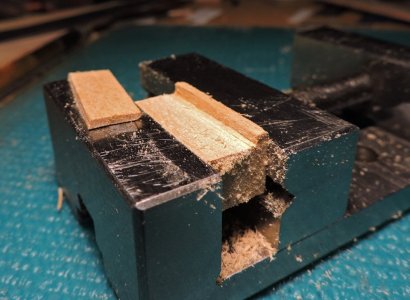
placing the block in the vice slightly above the jaw surface

binnacle5.jpg

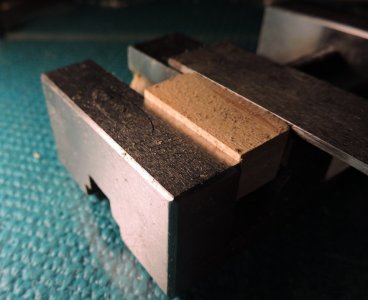
using a razor saw i made a cut along the top of the vice

binnacle7.jpg

binnacle6.jpg

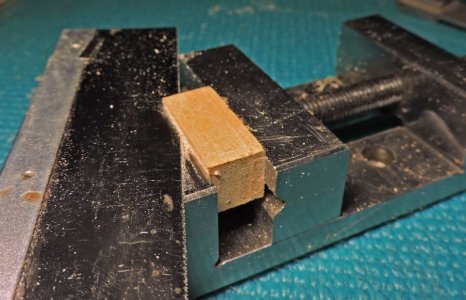
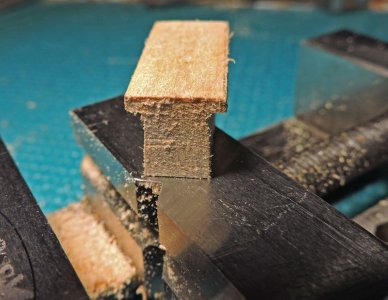
flipped the block 90 degrees and cut the side down

binnacle8.jpg

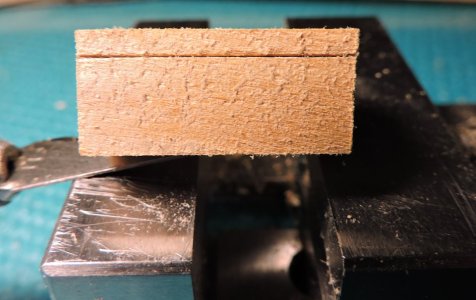
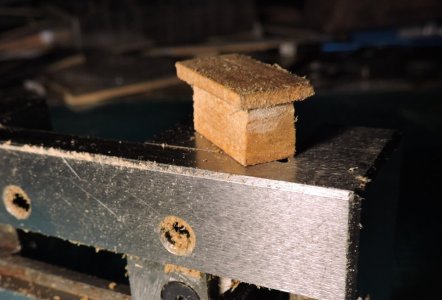
i did this on both sides and ended up with a T shaped block

binnacle9.jpg

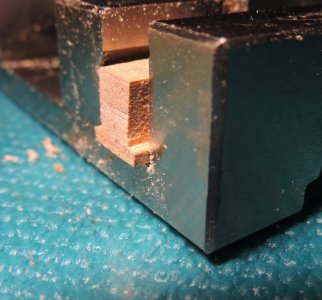
Same with the ends

binnacle10.jpg

the final block

binnacle11.jpg
 
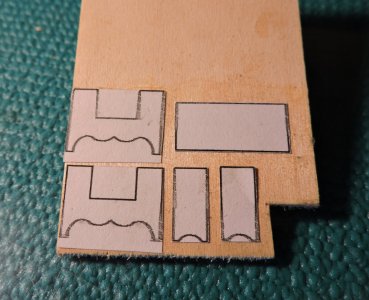
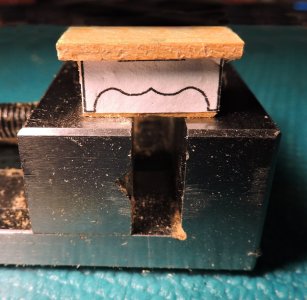
Taking the pattern from the plans, i rubber cemented it to the front and back of the block

binnacle12.jpg

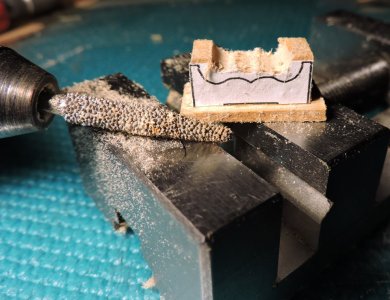
Using a bur in the Dremel tool i hogged out the wood

binnacle13.jpg

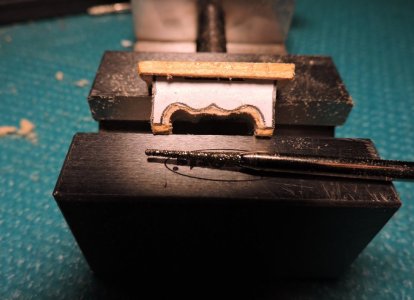
The closer i got to the line i used finer and finer burs

binnacle14.jpg

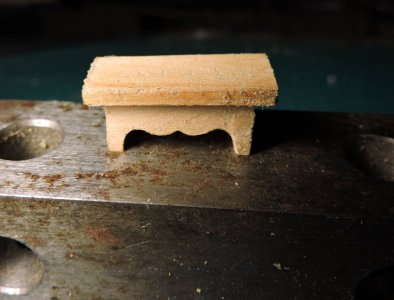
cut and sanded i now have the bottom of the binnacle

binnacle15.jpg
 
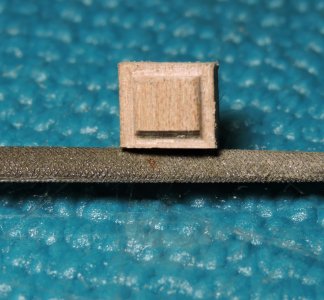
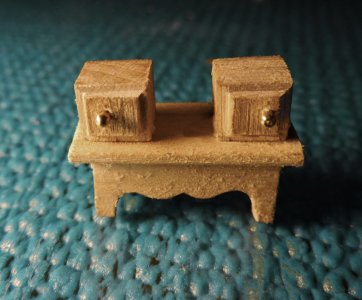
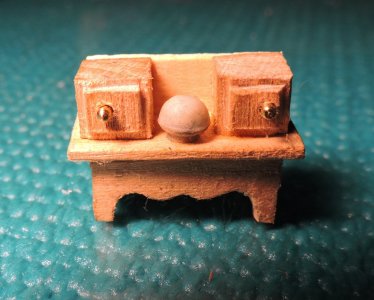
The top part is made up of 2 blocks that i cut a door into

binnacle16.jpg

i found some out of scale brass belaying pins which i cut down and used for doorknobs.

binnacle17.jpg

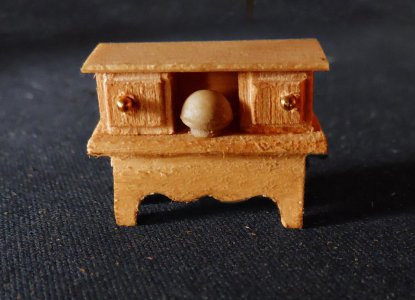
Added the back panel and the top

binnacle18.jpgbinnacle19.jpg

The piece looks fuzzy because you are looking very, very close and the wood used is Basswood which is prone to being fuzzy. However with a little scraping Basswood will finish up nicely.
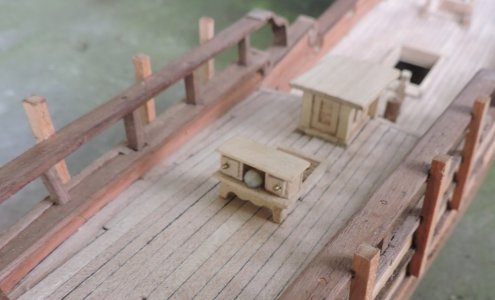
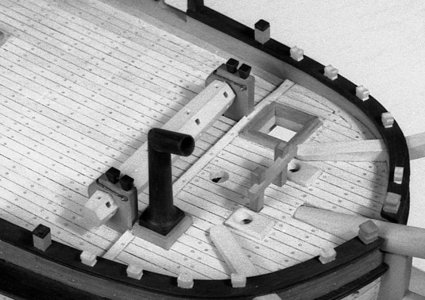
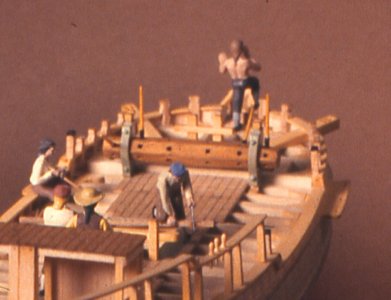
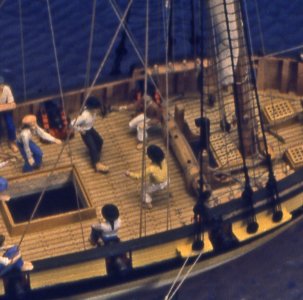
The binnacle in place aboard the Sir Edward Hawke


binnacle.jpg
 
True historical accuracy is more a myth than a fact
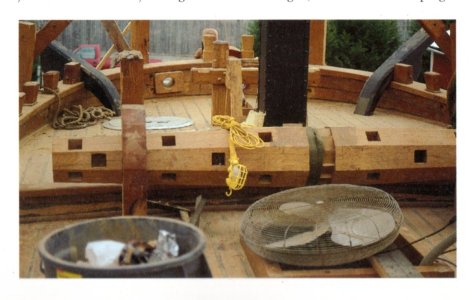
today's lecture is on historical accuracy in model building and if it is actually possible if the subject was built hundreds of years ago and there is not a single clue left to study? As a model builder you have choices a best guess based on period practices, copy contemporary sources or go with a so what it's only a hobby. This week was about adding the windlass to the Sir Edward Hawke the ship itself is long gone so to get within historical boundaries let's look at options.

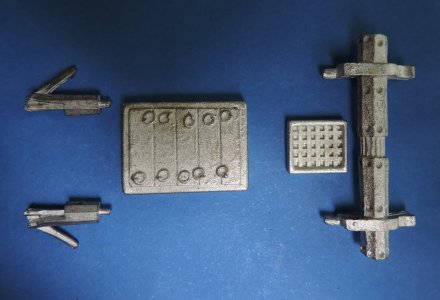
here we have what is found in a kit of a colonial schooner so can we trust the designer of the kit doing the proper research?

cast parts.jpg

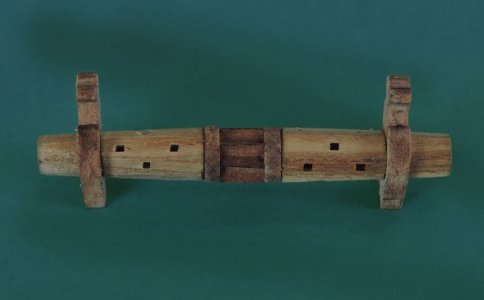
Well first of all a windlass is made of wood so here is where kit bashing comes in, you use what was in the kit as a pattern and remake the part.


windlass36.jpg

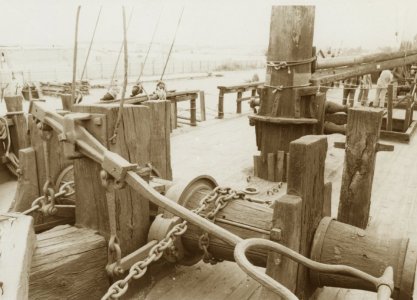
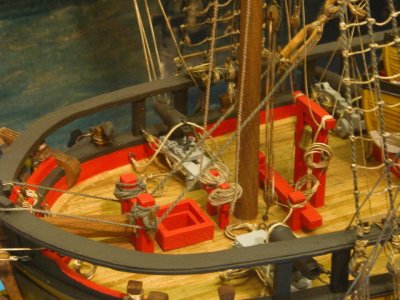
The question still remains did you make a windlass that would have been used on a colonial schooner? That is hard to say for sure but looking at a ship replica which is a reconstruction of a no longer existing ship. The source you used is quite reasonable and the arm chair experts can argue the point all day long.

foredeck.JPG
 
Last edited:
It is almost impossible to use primary sources but if you dig deep enough in research you might find drawings which i doubt because ship builders would not do drawings for a windlass. Or find a real windlass and copy it.

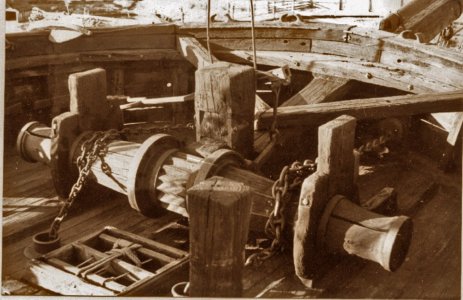
windlass1.jpgwindlass2.jpgwindlass3.jpg

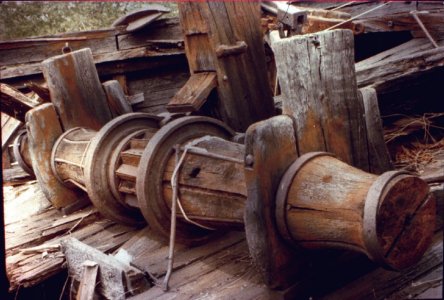
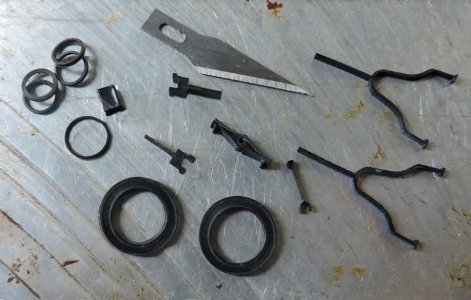
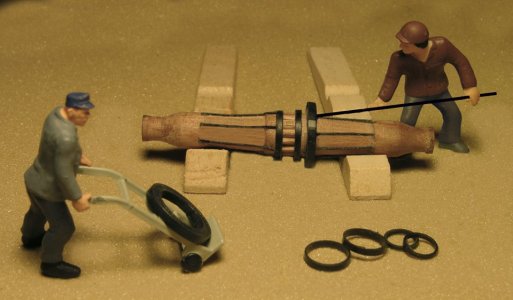
The problem here is this windlass is dated 1840s the Sir Edward Hawke was built in the 1760s so wrong time period plus the fact to model this windlass would be advanced model building. first, you have to CNC mill all the parts and the windlass barrel to very close tolerances, cut the ratchet teeth and assemble the windlass or 3D model the parts.

windlass parts1.jpgwindlass parts2.jpgwindlass parts3.jpgwindlass parts4.jpg
 
The source i used for a windlass for the Sir Edward Hawke is Harold Hahn who did extensive research on colonial ship building and consulted Howard Chapelle. Hahn also had quite a large library. so, let's look at what he did for a colonial schooner windlass. All but one did not have a ratchet in the center they were just a simple log with square holes. But between a simple log windlass to a ratchet type to the type use in the 1840's a windlass went through changes.

hahn1.jpghahn2.jpghahn3.jpghahn4.jpghahn5.jpg

 
OK that is the lecture on historical accuracy so lets all go into the shop and make a windlass for the Sir Edward Hawke.

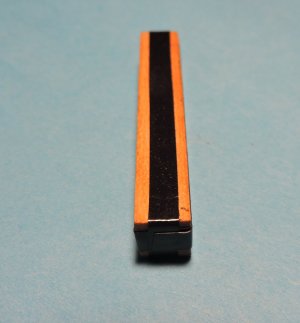
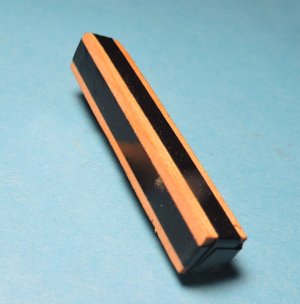
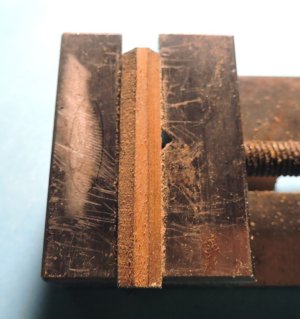
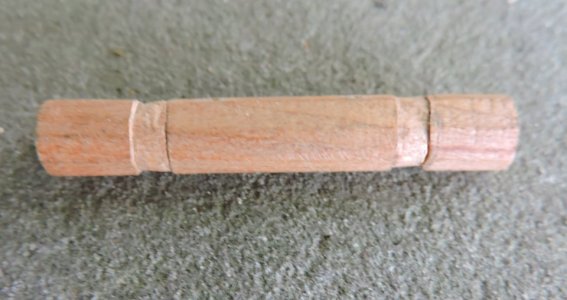
starting with a square piece of Cherry cut to length i used electrical tape strips cut to the width of one side of the 6 sided polygon "a Hexagon". which happens to be .140. i just eyed the strip down the center on all 4 sides.


shaping1.jpgshaping2.jpg

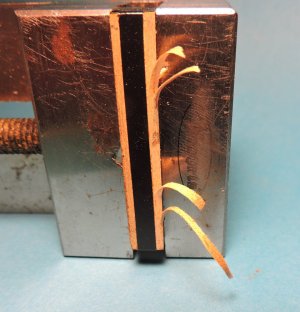
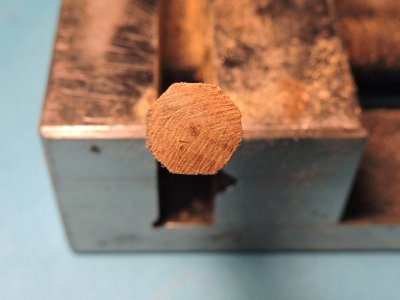
Next step is to shave down the square edges This is easy when you cut in the right direction wood does have a grain direction besides just cutting either with the grain or cross grain. In one direction the cut shaves very clean in the opposite direction it cuts in short chunks.

shaping3.jpg

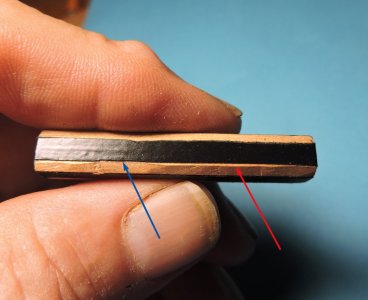
At this stage watch your cuts you want to cut to the tape edge shown by the blue arrow by carefully removing the wood shown by the red arrow.

shaping5.jpg

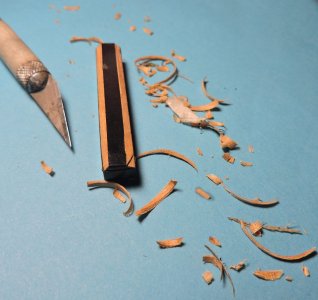
it is a matter of hand cutting

shaping4.jpg

once you removed the bulk of the wood next i held the piece in a vice and sanded areas where the side was narrow.

shaping6.jpg

just by hand and eye you can get an accurate hexagon

shaping7.jpg

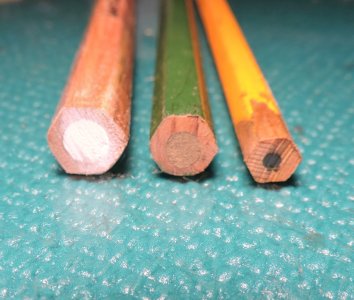
Or you can use a pencil just scrape off the paint. The problem is the center so you will need to paint the end.

DSCN4353.JPG
 
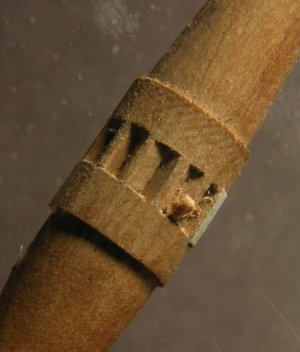
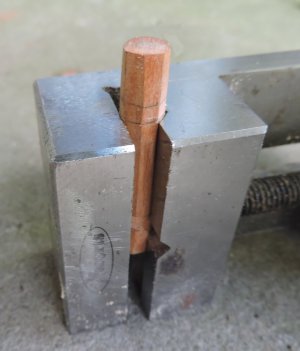
Next step is to mark and cut where the windlass fits into the upper posts. You can freehand making your stop cuts around the windlass but odds are you will miss where you started and where you finish. This is why i will place the piece in a vice and use the flat vice surface to cut all the way around. This insures i am straight and end where i started.

shaping8.jpgshaping9.jpg
 
Last edited:
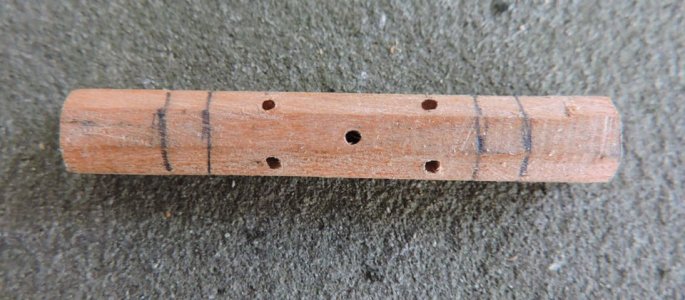
Making round holes square starts with drill around hole

holes1.jpg

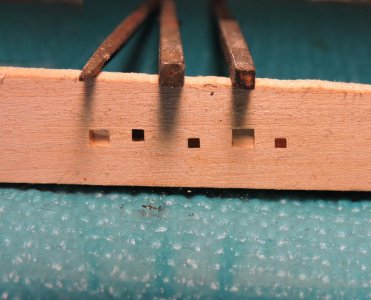
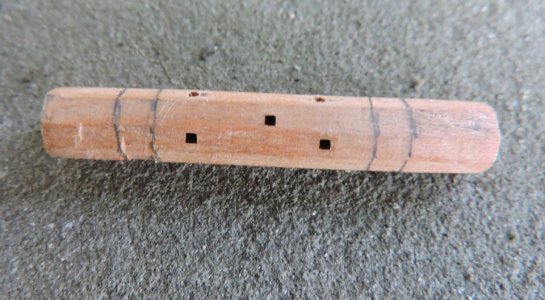
then using a square punch i have square needle files i use. if you do not have square files grind the tip of a finishing nail square.

DSCN4346.JPG

Tap the end into the round hole and you turn it square

holes3.jpg

holes2.jpg
 
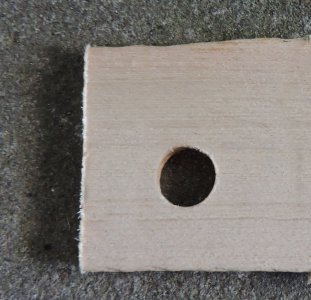
mounting your windlass to the model starts with drilling a hole in a piece of wood then cutting the piece a little off center through the hole

install0.jpg

placing the pieces against the post you can see the hole is not round, that is fine at this point you want to get the height right.

install1.jpg

With the correct height flip the piece and line up the edge of the hole and mark where the center of the hole will be. note the pencil mark it is not exactly along the edge which is common when marking with a pencil this is why i use tape to mark an edge or scribe in the edge.

install2.jpg

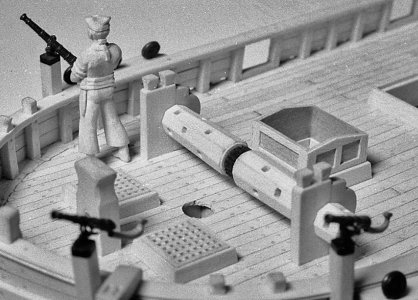
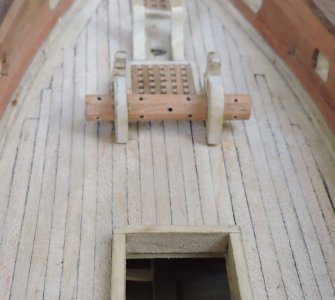
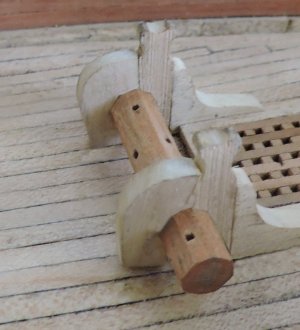
and there you have it the windlass is on deck. Once again historically accurate i cannot say for sure but i did foot note what i based it on. you can make any windlass you choose or buy one ready made that is the fun and joy in semi scratch building you have total control of the outcome of the model.

install3.jpg

install4.jpg
 
Last edited:
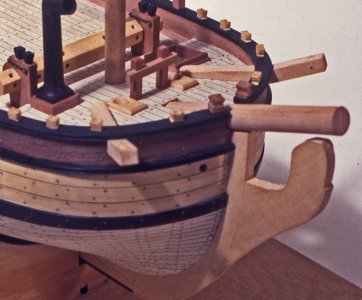
Then there is a fact some ships did not even have a windlass like the ships built on the Great lakes during the war of 1812. We can confirm the Sir Edward Hawke did indeed have a windlass because it is drawn on the original admiralty plans.

h6.jpg
 
I'm amazed by the detail and the tools you use to achieve the end goal. Also, the models we build are based on research that is long gone, which we must accept as accurate. You should truly have a certificate of merit.
Thank you for this school of thought and modeling methods
 
I'm amazed by the detail and the tools you use to achieve the end goal. Also, the models we build are based on research that is long gone, which we must accept as accurate. You should truly have a certificate of merit.
Thank you for this school of thought and modeling methods

When the subject come up about scratch building it is often said "but you need a shop full of tools" that can be true depending on what you're doing but also scratch or semi-scratch only requires basic hand tools and perhaps a Dremel tool. Getting down to details comes from model building in general you develop skills over time or doing a piece over and over.

Research is out there in what i would call general terms, that is how things were done in any given time period and location. But to build a historically accurate model is as you said the information is long gone on any particular ship. The best we can do is an educated guess. It would be nice if the author of a build project or the designer of a kit listed their sources and what they based their work on.

a certificate of merit well thank you for that. Here in North America we do not have any organization with master builders who can judge or set standards. The community of model ship building is a mashup of kit builders to master builders with no standards and the idea of it is your model so do what you want which in its own right is fine. There are no gate keepers no one to judge what is good or bad or just ugly what is historically correct and what is not.
Here in the school we do have discussions and peer reviews and standards so if you are interested in finer modeling keep watching there are upcoming projects that might interest you and challenge you.
 
Back
Top