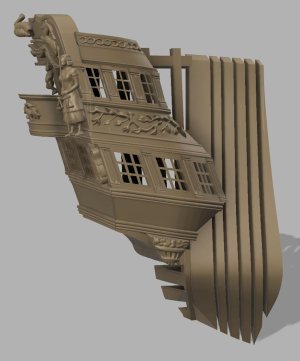
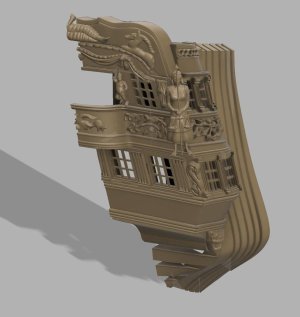
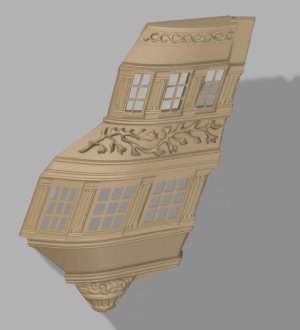
Scratch building the Alfred Stern

anyhow where is where the project stands
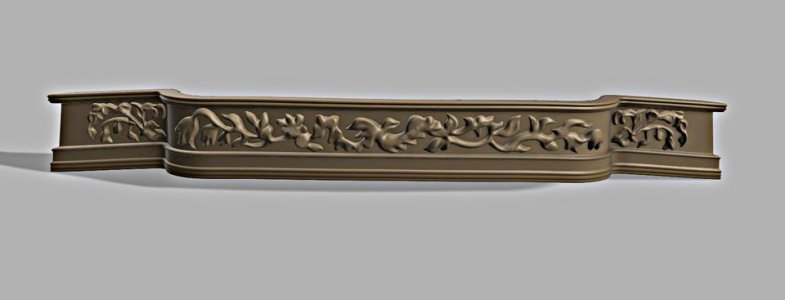
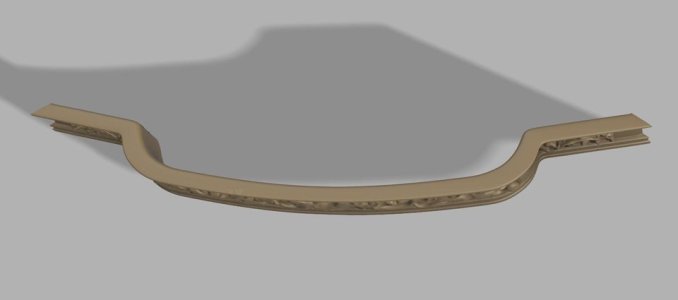
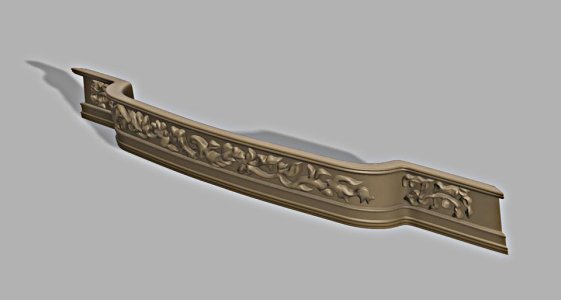
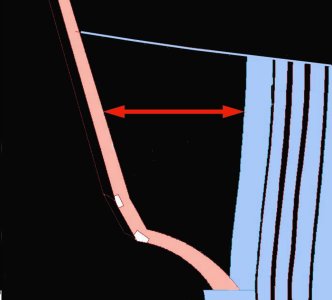
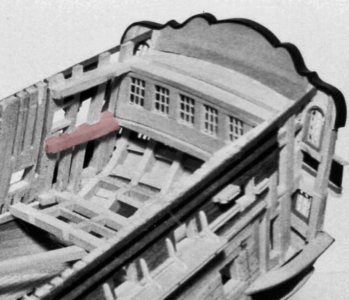
the pictures are screen captures from the 3D model created in fusion360

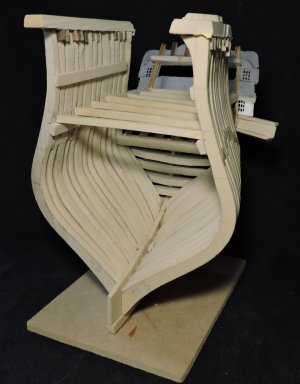
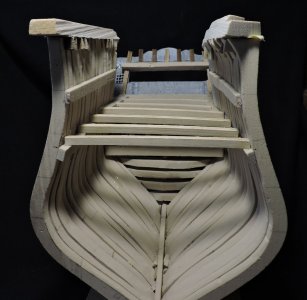
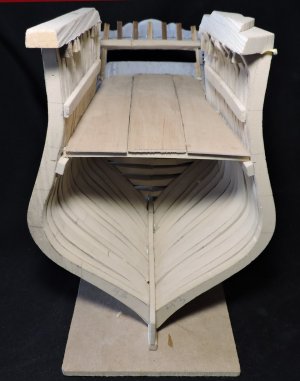
At this point i finished all the framing and transoms now it is time to build the stern structure up from the top wing transom.
First i have to figure out how to actually do it.
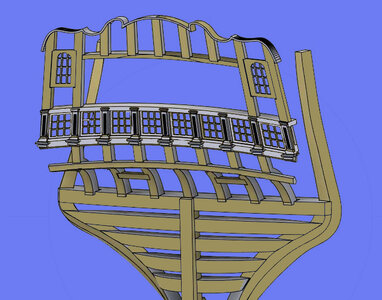
windows3.jpg


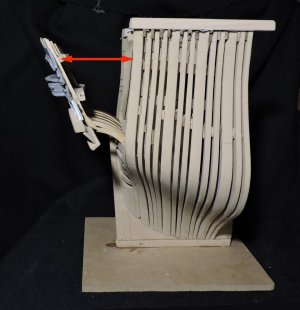
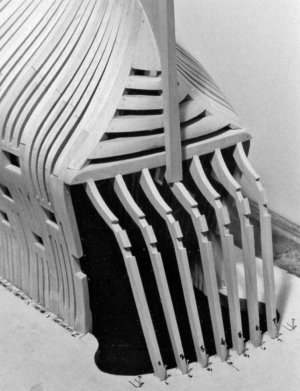
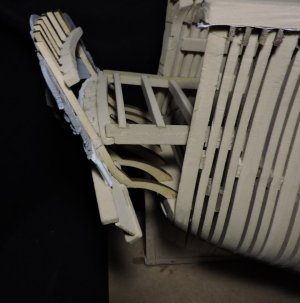
the stern timbers slant inward toward the center
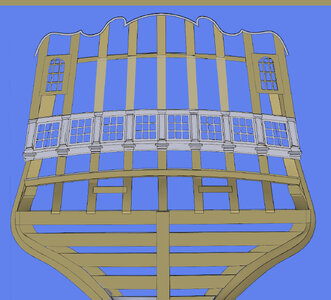
windows5.jpg

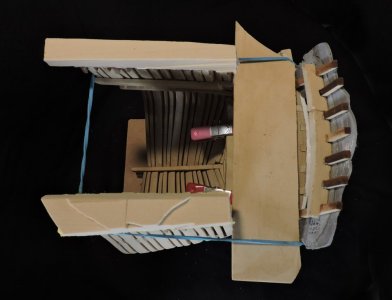
So i will approach setting the timbers by using the two upper transom pieces tinted red, looking at the inside of the stern.
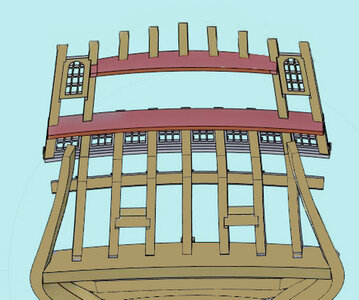
windows4.jpg

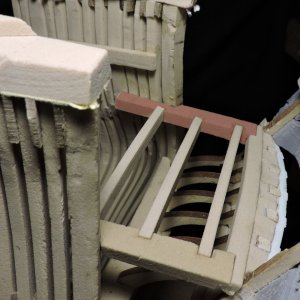
once the transom pieces are in place i will have to cut away the 5 stern timbers where the balcony goes.
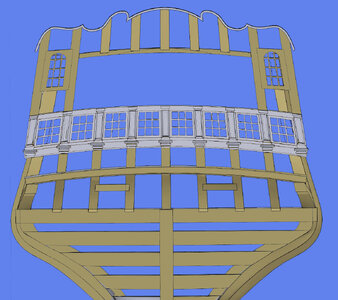
windows6.jpg

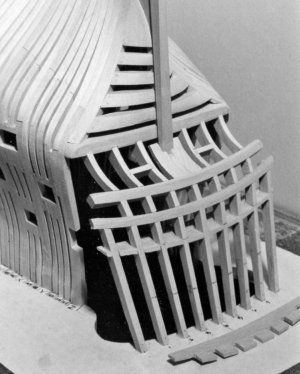
i can see this is going to be a delicate structure, the stern also has a slant back exactly at the correct angle and there isn't much holding everything in place.
 
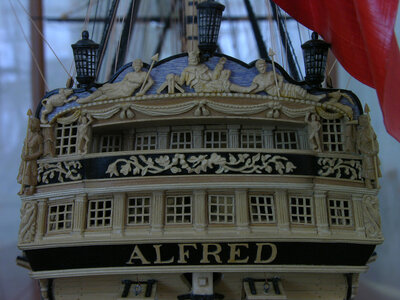
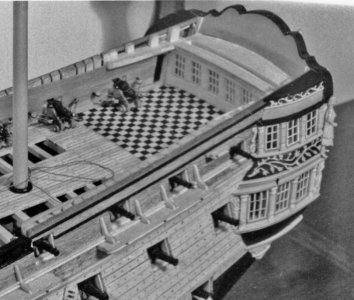
there is no doubt about it Harold Hahn was a master builder he did the lower row of windows, moldings and pillars in 1/8 scale now that is extremely tiny and delicate work.

MASTER PHOTO.jpg

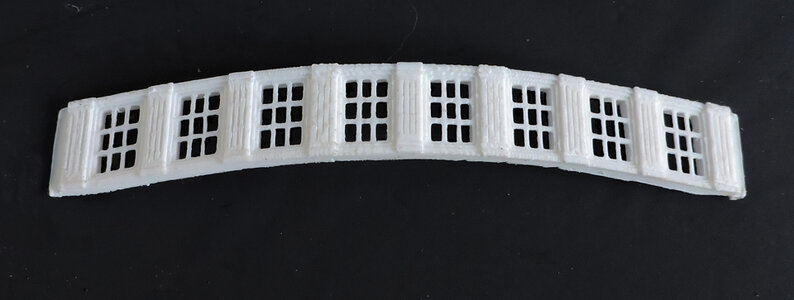
my goal is a reproduction of his model and not to recreate the methods and materials he used. So i turned to 3D modeling and 3D printing. when finished the 3D print will blend into the wood structure, and you will not be able to tell what is wood and what is printed. My thinking here is to use the 3d printed part as a belt to hold the stern timbers in place until more of the structure is built.

windows1.jpg


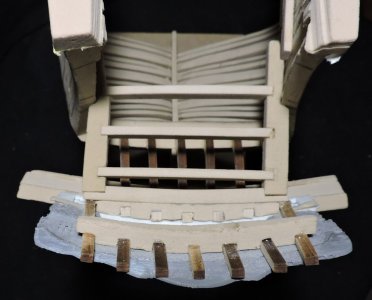
the stern also has an arc which is designed into the 3D model

windows2.jpg
 
WoW! the last post was back in August
i have not abandoned the project major home repairs had to be done, cleaning out a room used for storage yup just a lot of things needed to be done. i do hope to get back on the project soon.

you would think being retired would give you plenty of time to do all the things you want. But the reality is time is slip sliding away.

lucky for us in Ohio we do not have to deal with extreme weather events. No hurricanes. temperatures over 100 degrees just a cool summer breeze off lake Erie. but it is fall and winter is coming. Last few winters have been very mild so lucked out again.
More indoor time coming up
 
Last edited:
i took the Alfred stern project off the shelf and dusted it off. It has been a while so i need to refresh myself as to where i left off and where to start again.
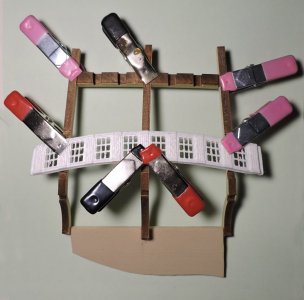
i decided to build the stern off the hull., but i need to make sure what i build will fit back to the hull one it is finished. The stern timbers slant to the center so i measured the end timber notches in the transom and cut a scrap piece to fit between the two outer timbers, also making a notch for the center timber. This gives me the location of the timbers so they will fit back on the main transom. Using the upper most transom piece i set the tops of the timbers in the notches.
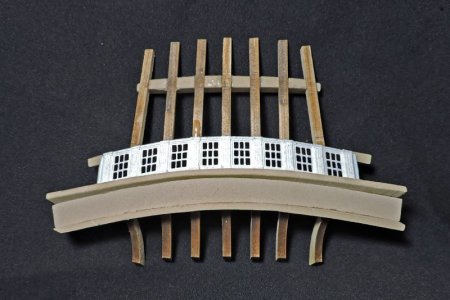
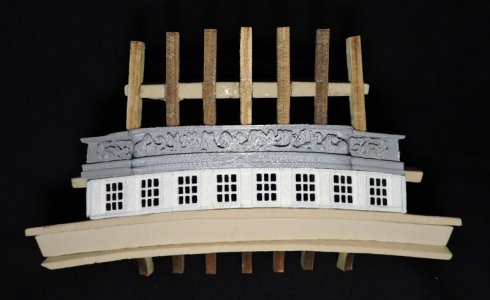
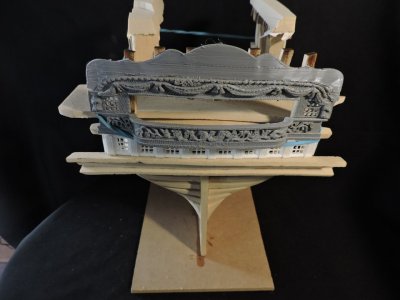
The timbers fall between the windows so i used the 3d printed window piece and glued it in place.
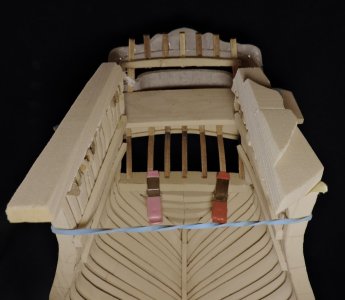

stern build.jpg
 
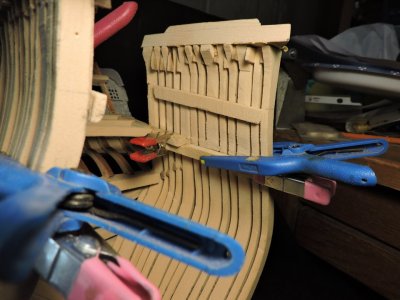
looking at the inside of the stern. Placing the two deck transom pieces in place gives me the shape and structure of the stern. i am building the stern off the hull because it is much easier to handle, i can turn it in all directions and it makes it easier to clanp pieced together.

windows8.jpg
 
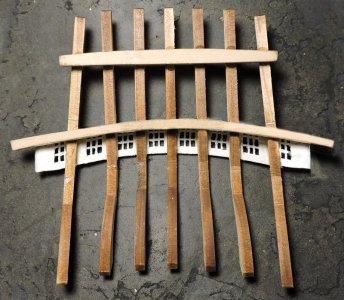
in order to strengthen the timbers so they do not break off from the windows i added pieces for the lower moldings and filled in between the moldings. i left this section long so when i fix the stern to the hull i can trim it back.

windows7.jpg
 
The project started off as a scratch built stern from the original plans. Well, that did not work out very well and i had to redraw all the frame shapes. But at this point i was not going to break down the new frame drawings and create a laser cutting file. I learned from the first time around. So i built the second set of frames by hand to test the new drawings. The project went from a stern build to a test mockup so i can try a "how to" build the stern and fitting parts and figuring the sequence of building so i do not build myself into a dead end and have to rip things apart.
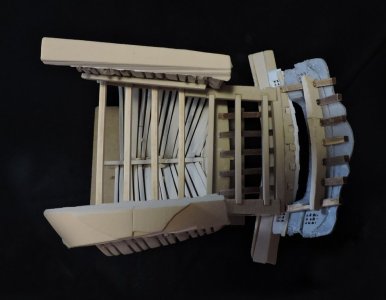
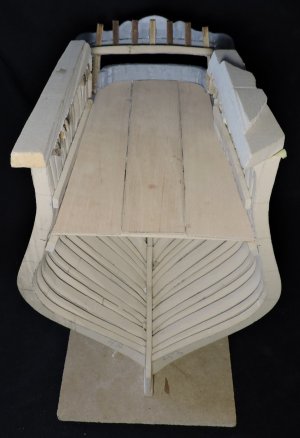
So now it is back to the drawings to create the next section which is the balcony. This was modeled in 3D

FP_05a.jpgFP_05b.jpgFP_05c.jpg
 
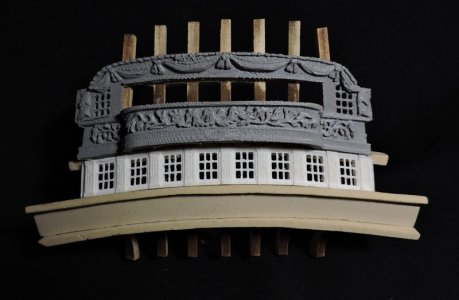
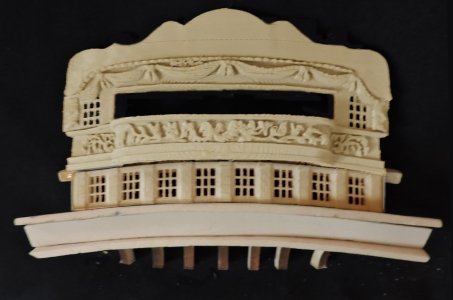
i printed out the balcony and glued it to the stern above the windows,

balcony1.jpg

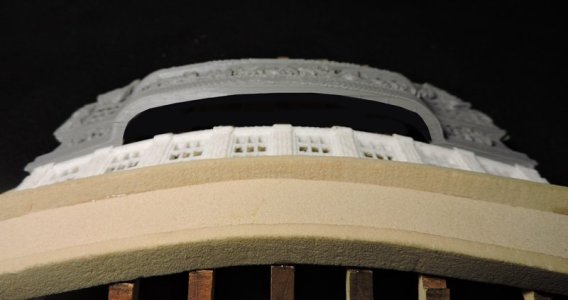
when you look from the bottom up there is no floor to the balcony. That is part of the deck structure and will be added once the stern pieces is attached to the hull and the deck beams are put in.

balcony2.jpg
 
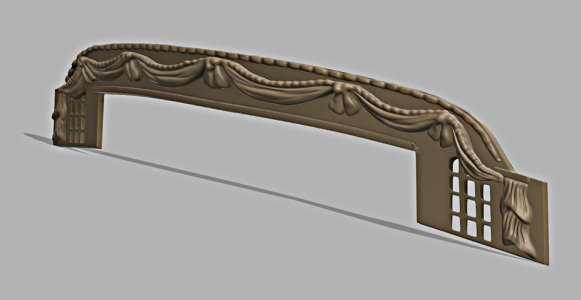
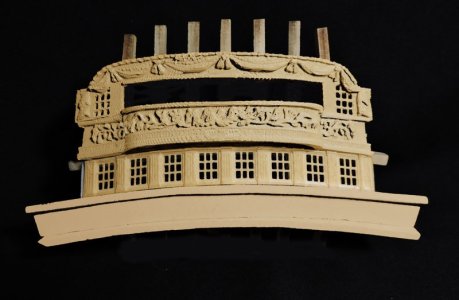
the next section of the stern is the upper arched piece that goes above the balcony and the two upper windows. Once again it is back to 3D modeling to make the pieces.

FP_033.jpg

each one of the sections has an arch to it

FP_031.jpg

setting the piece in place on the stern.

draps.jpg

the stern timbers behind the balcony have to be cut out and the back wall of the cabin installed. The back wall sits on the deck so it will be done once the stern is fitted to the hull and the decks built.
 
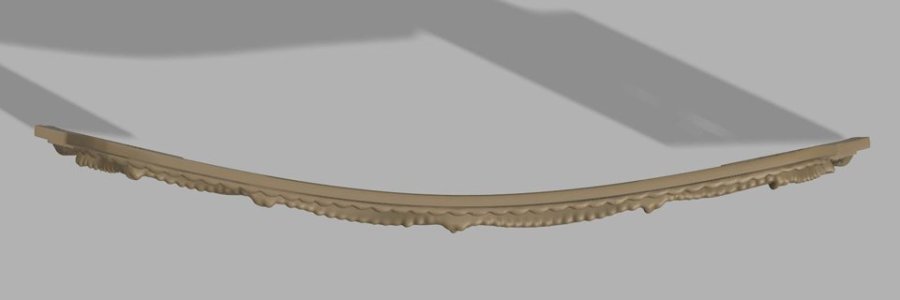
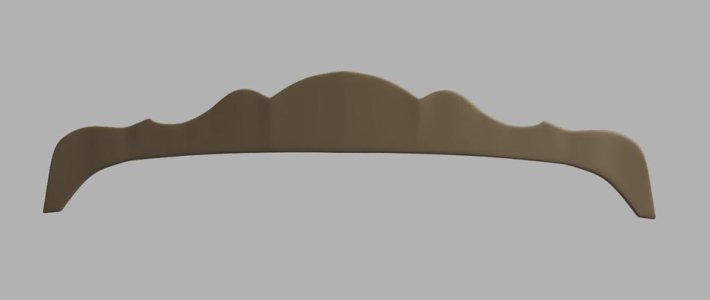
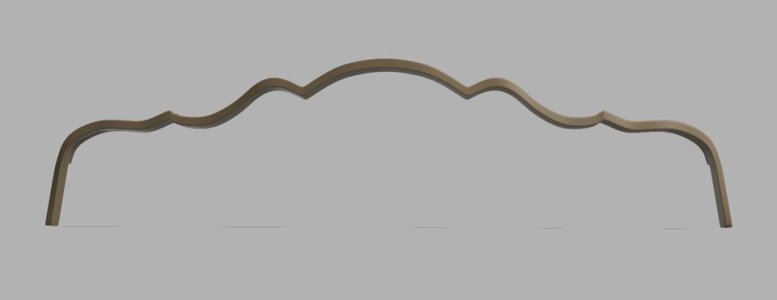
i will model and print the upper section and the cap rail view from the front and top showing the arc of the stern.

FP_02b.jpg

FP_02a.jpg

the cap rail cutting that piece out of wood is something i would have to think about. The complex profile shape is on thing but it also has an arc to it.

FP_01a.jpgFP_01b.jpg

wait a minute am i building a wooden ship model or a plastic model? so far the stern pieces are all 3D printed. I am calling the build a mockup of the stern. So it is a little of both. right now it is an exercise in how it is built rather the what it is built out of.
 
Back
Top