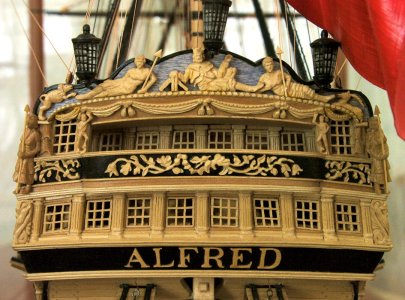
Scratch building the Alfred Stern

but if i want to show off the interior of the cabin the there is more building to be done, let's take a look at the drawing there are more timbering between the last frame Z and the stern timbers
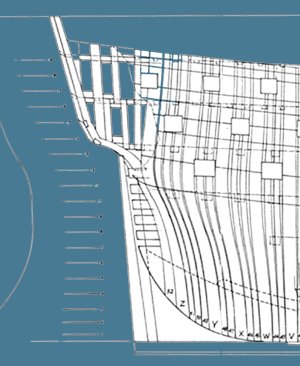
alfred lines2.jpg


you can see the timbering on Hahn's model

img669.jpg

having built a 3D model i can split the hull and take a look from the inside. What your seeing here is inside the cabin and the cabin floor that extends to the balcony.

split hull1.jpg

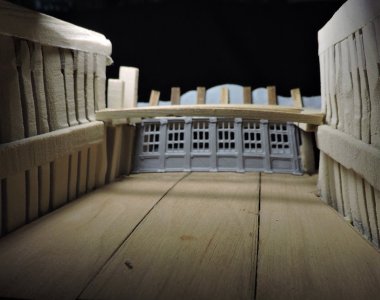
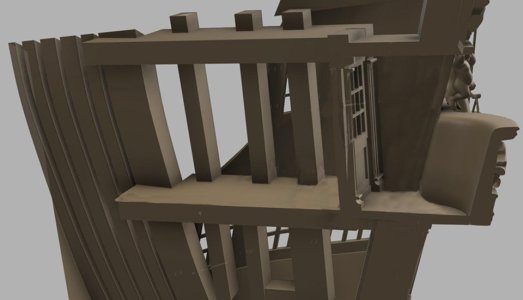
looking from a view outside the cabin you see the rear wall of the cabin and the space between the wall and the balcony is a doorway so you can walk from the cabin through the gallery and out on the balcony.
split hull7.jpg

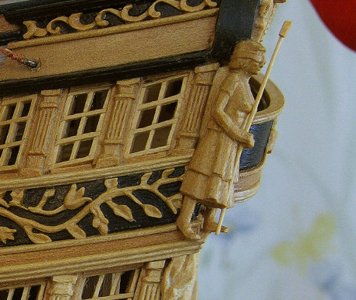
a view of the back wall. notice the statue is defying gravity and just floating in the air. I have studied the structure of the stern timbers and have yet to come up with a solution to the floating statue. I did calculate the size and weight and if carved from Oak it would weigh in at a few hundred pounds. So it needs something strong and sturdy to stand on and not just a small molding.

split hull2.jpg
 
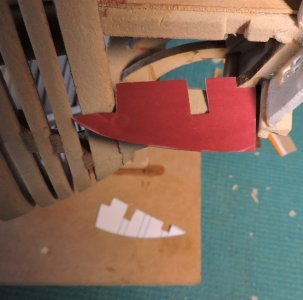
to start the gallery i made cardboard templates, at this point in the build i am using what i call relative scale. I started off following the plans to this point but any slight shift in placing parts while building and the + or - in the size of the parts the structure may or may not be a match back to the drawings. So now the parts are made to fit what i built

final8.jpg

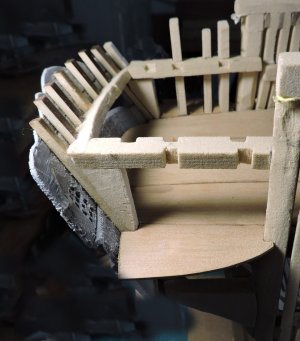
now for the timbering i put in the clamps that hold the deck beams and notched for the vertical timbers,


final2.jpg

the timbers in place

final3.jpg

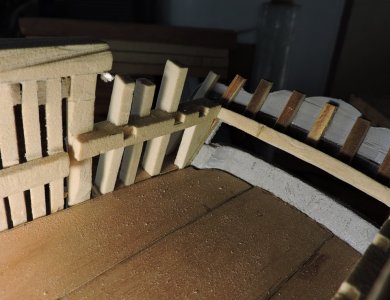
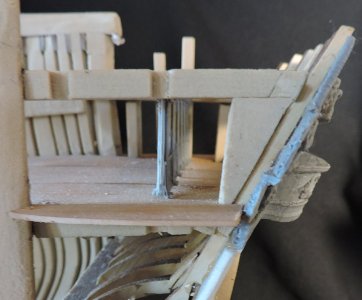
looking from the inside you can see the notches for the deck beams

final4.jpg

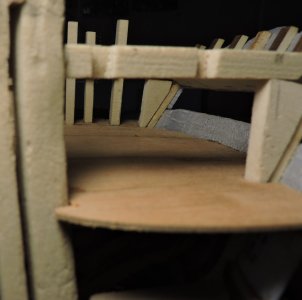
looking across the placement of the vertical timbers create two doorways that go from the cabin to the balcony

final1.jpg
 
Last edited:
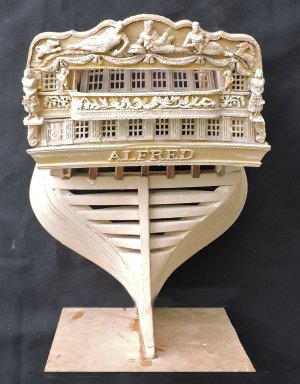
The build started out as a fine finished prototype model for a possible semi-kit. A semi-kit is not a kit with all the pieces and parts in a box the idea is to create laser cut parts, 3D printed parts and milled material for thos who wanted to build up the frames. What a builder would be doing is to design their own kit from available materials.

final12.jpg


The build requires accurate building and fitting making adjustments all along the way.
 
The build started out as a fine finished prototype model for a possible semi-kit. A semi-kit is not a kit with all the pieces and parts in a box the idea is to create laser cut parts, 3D printed parts and milled material for thos who wanted to build up the frames. What a builder would be doing is to design their own kit from available materials.

View attachment 501312


The build requires accurate building and fitting making adjustments all along the way.
amazing work
 
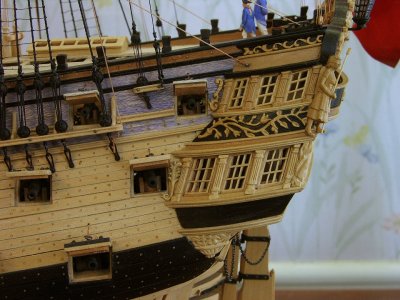
Harold's Hahns original model has sections painted black and a light blue. .

final15.jpgfinal16.jpg

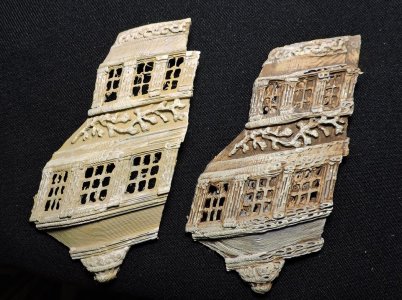
This model can be finished in any number of ways. you can make the printed parts match the wood framing or make them look like old ivory or an old model that has been around for 100 years


DSCN8602.jpg
 
As i was building the prototype there were several issues and i was not going to go back and thy to fix everything. I decided to end the build here and present it as a group build. The concept is not offer a box of parts and everyone just build the stern model.

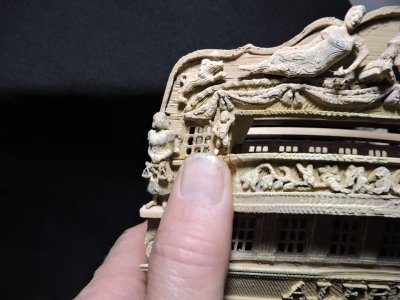
for me the printer i have is a filament printer not capable of doing fine detail and the figures are indeed small. I did manage to get detail all the way down to the scales held by the figure to the left of my thumb But you can see the arm in the figure above did not print nor did the spear that the figure was holding. Bottom line is the printing of parts are quite poor quality. If a build group does form and there are members here who do 3D resin printing i have all the files.


DSCN8590.jpg

another issue i ran into is the hand of man that is building accurate enough, so all the printed parts fit the structure. That is a big part of this build. one way to go about this build is to print all the parts and build the structure to the printed parts or the other way around and scale the printed parts to match your build of the structure. The corner of the stern and side gallery is a major pain in the to fit together.

final14.jpg
 
one thing the bothered me was the figure at the corner of the stern. I rolled around enough logs in my tree service days to know that figure would weigh a few hundred pounds and no way would it stand on a very narrow molding

5190.jpg

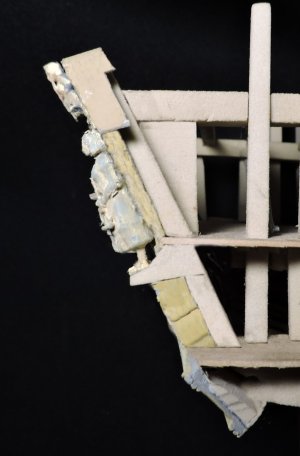
I thought about it and came up with my own solution. Here is a cross section of the stern at the corner. I created a stool that sits on top of the swan carving below and mortices into the stern timber. The figure would also be attached to the stern timber. i did not finish the stool piece but it can be molder to blend in with the molding that runs along the bottom of the balcony.

final11.jpg
 
the files for 3D printed parts can be used as is or painted in any way you like or you can copy parts in wood and use only the carvings


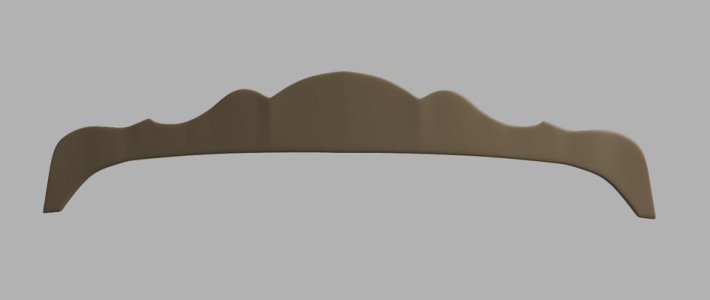
the upper back piece can be made of wood or use the printed part


FP_02b.jpg

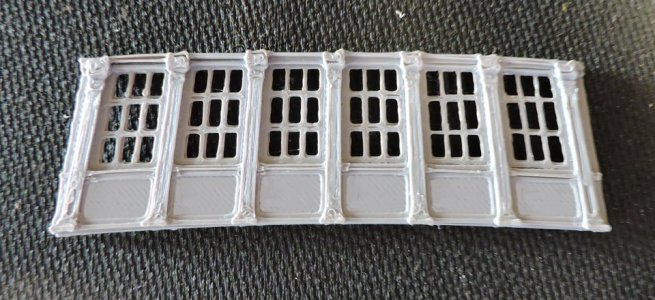
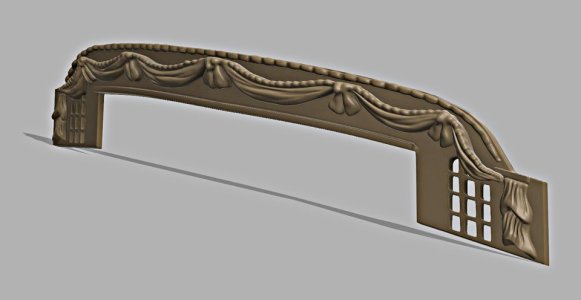
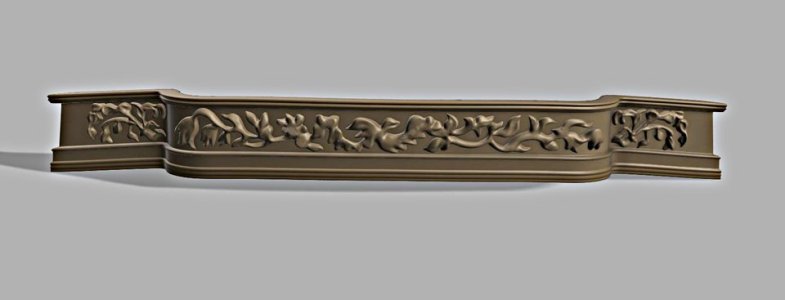
cut out the drapes and or windows and just use those on a hand made wood piece

FP_033.jpg

FP_05a.jpg
 
in carpentry you have your rough carpenters who build the main structure and once that is done then the finish carpenters come in and do the finer detail such as doors, moldings, floors and paneled walls etc. The same was true in shipyards you had your ship carpenter crew who framed the hull and built the deck structure, upper works etc. Once that was done then the next crew stepped in to lay the decking, moldings and so forth. The final crew were the artisans who did the carvings
This is where i am ending this project with the structure, should a group form that wanted to carry the model to a fine finish with doing the cabin floor, paneling, making the doors to the balcony etc. Planking the hull, adding the gun deck i will be happy to assist and make available laser parts and print files. You do not even have to build the model if you are into printing you can refine the print files and offer parts. OR if you ambitious you can turn the entire thing into a kit. This is all copyright free drawings and files.
This is to teach how a project is created from scratch and all the bugs and fitting issues are resolved working from scratch the build can be any scale the drawings, laser cutting and printing can all be scaled.
by the way i also have the stern of the Hancock but now i am moving on to the school of model ship building and a new plank on frame project.


THE END.
 
Good day to you. I have a great desire to learn. It always gives me a thrill to open old Harold Hann"s files and look at his drawings with enthusiasm. It would be amazingly generous of you to tell me, and maybe someone else interested, the approximate dimensions for 3D printing. My printer tank is 68x121 mm. I would like to look at your patterns of the aft gallery in more detail, will it be possible to place them on this printer?
 
Good day to you. I have a great desire to learn. It always gives me a thrill to open old Harold Hann"s files and look at his drawings with enthusiasm. It would be amazingly generous of you to tell me, and maybe someone else interested, the approximate dimensions for 3D printing. My printer tank is 68x121 mm. I would like to look at your patterns of the aft gallery in more detail, will it be possible to place them on this printer?

you can scale the model to whatever you printer will print

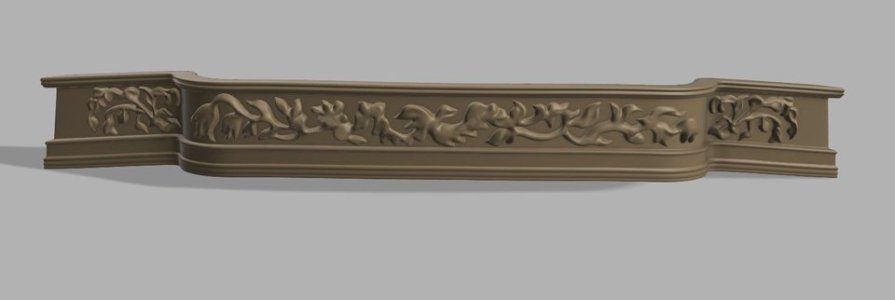
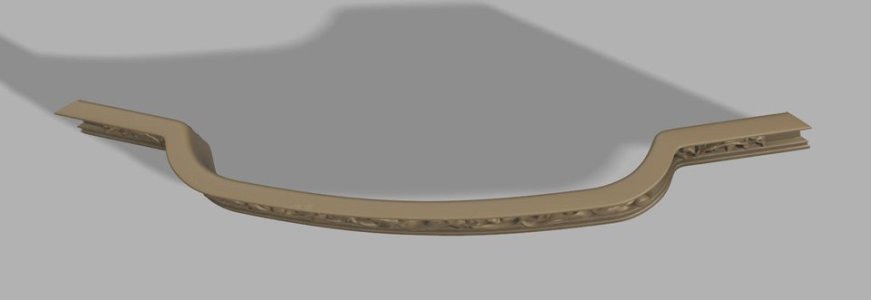
lets take this part from end to end it is 150.00 mm and 15.5 mm high at a scale of 3/16 = i foot.


FP_05a.jpgFP_05b.jpg

i tried to post the STL or the OBJ file but they are too big for the forum to handle. So then i tried to post a print file which is small only 2 megs but the forum will not recognize a G code file.

if you want to play around with the files PM me and i can link you to google account so you can down load the files.
 
Back
Top