As for the Wasa, the story is that the kingdom didn't want to waste its gold for shipp decoration since it was in limted supply; and as you mentioned, they did use a quite colorfull pallet of basic colors to create contrast and richness; some of those pigments were found still on the original vessel at the museum...So on that, yes it is true and confirmed...
-

Win a Free Custom Engraved Brass Coin!!!
As a way to introduce our brass coins to the community, we will raffle off a free coin during the month of August. Follow link ABOVE for instructions for entering.
-

PRE-ORDER SHIPS IN SCALE TODAY!
The beloved Ships in Scale Magazine is back and charting a new course for 2026!
Discover new skills, new techniques, and new inspirations in every issue.
NOTE THAT OUR FIRST ISSUE WILL BE JAN/FEB 2026
You are using an out of date browser. It may not display this or other websites correctly.
You should upgrade or use an alternative browser.
You should upgrade or use an alternative browser.
Soleil Royal 1671 modified Heller kit
- Thread starter GuyM
- Start date
- Watchers 17
-
- Tags
- heller soleil royal
Good day So....Here is ''frankenstein'' before base paint......You'll notice I brought the bottom strakes up about 1/8th of an inch, which is the farthest It would make sense if the whole symmetry is to stay and bring at least the top strake over the rear gunports in a projection, which is how the ship would have been built. But bringing the second one forced an angle too steep and destroyed the symmetry unless all of them were to be modified, and then the gallery wouldn't fit right anymore. This is the result of a lot of scraping, digging and scuffing the plastic, (and my fingers!) and making some planking grooves which are hard to see on the pics.
The first pic is before the rear side gallery, the second is with...It isn't permanently installed, but just there to give a better idea....
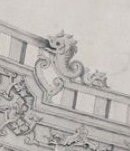
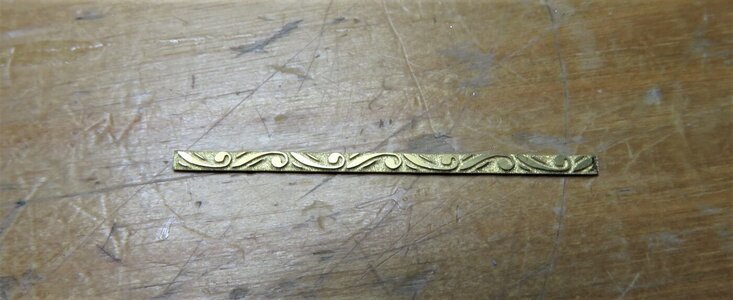
I did replace the molding above the top gunports with a decorated one, because I believe that, just like the Royal Lous it had at least one at that level; but putting another one didn't fit the whole scheme. put a pic of the molding up close for the design.....And that's only one side done......Fortunately, a lot of the surgery work is done on the other side....
Waiting for comments
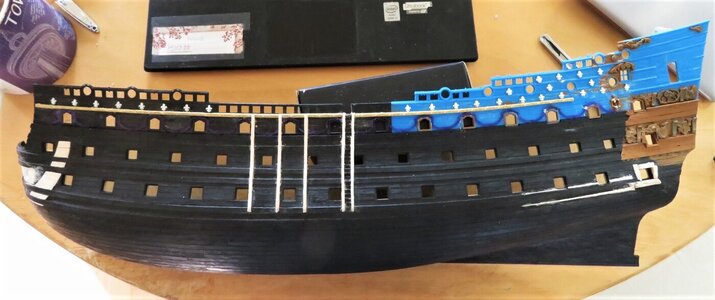
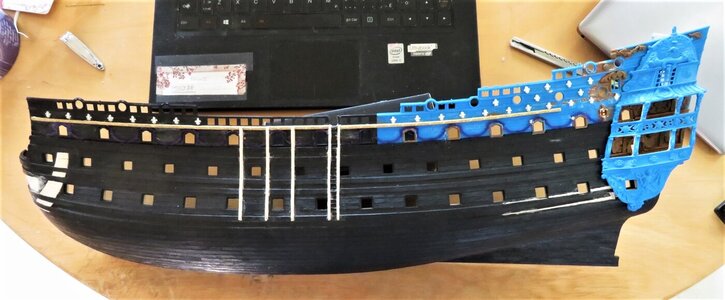


Your modifications are very well done, Guy. It is interesting to me that you have chosen to glue-in the upper bulwarks before assembling the hull halves. I can see that this makes for an easier and continuous application of the new decorative strake above the main deck guns. Will you be making transitional ornaments for each successive step in the sheer railings?
Hmm....I'm sorry I don't get what you're suggesting....Your modifications are very well done, Guy. It is interesting to me that you have chosen to glue-in the upper bulwarks before assembling the hull halves. I can see that this makes for an easier and continuous application of the new decorative strake above the main deck guns. Will you be making transitional ornaments for each successive step in the sheer railings?
I decided to get all of the side together for two reasons first is that the vertical boat slides were giving me issues to make a clean straight cut at the level; second reason is it was easier to align with the natural curve of the hull and the horizontal molding is metal and doesn't necessarily want to behave in a fluid gentle curve once cut.....
As for any more decor, I remember Dasia's comment about the more subdued and better taste decoration of the ship compared to previous ones.....And from there, interpretation is the essence )))
)))
As for any more decor, I remember Dasia's comment about the more subdued and better taste decoration of the ship compared to previous ones.....And from there, interpretation is the essence
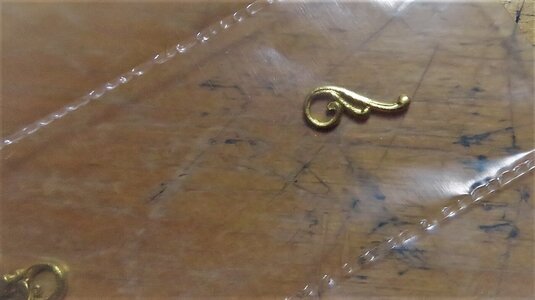
Those will serve well. There just needs to be something there to provide a sense of transition. The parts you found have a pleasing shape.
Well, they're not high definition of what you did, and I think they are similar to the ones found on one of the wooden Soleil Royal ship kits...
But it will have to do, unless I can find something that would be more appropriat to the general theme of the decoration....They do complement the strake molding though
But it will have to do, unless I can find something that would be more appropriat to the general theme of the decoration....They do complement the strake molding though
These are good! I might consider a styrene backer just to give them some bulk/depth. It’s an easy thing to file the styrene to the outside shape of the part.
I was thinking of gluing two together...
That’ll work well.
So, today I show you Frankenstein with make-up
Those are base flat colors only and are darker than the finished product will look like; the idea here is to try to get some shading inthe small hidden areas and some depth on the the different surfaces, at least I hope ....As well it will allow for thinner coats and more control than directly on the plastic, which I had bad experiences with the coverage.....I don't work with air brush as I wouldn't be experienced enough to use it correctly. Therefore regular paint brush it is
 ) beside one side gallery, it has been 35 years
 ))
))
I also mixed the colors I will be using; there are 6 mixes and three straight ones....
Old white, Cyan blue, azurite blue, ocre red, ''ventre de biche'' or beigereworked, yellow gold, and the regular black, gold and tan; all are flat finish colors....
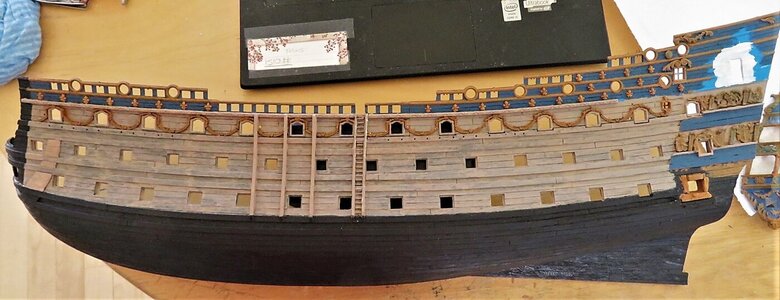
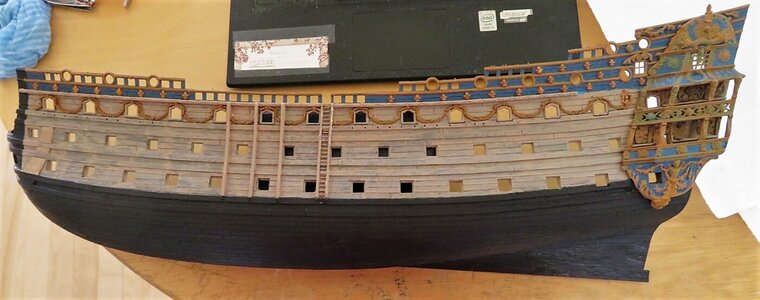
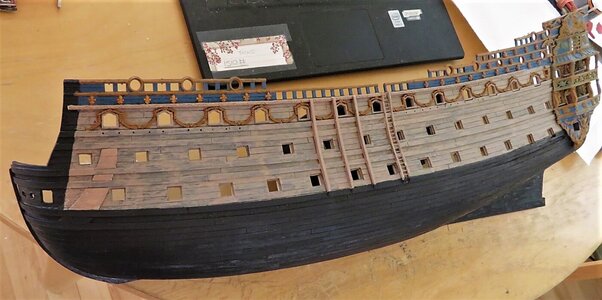
Those are base flat colors only and are darker than the finished product will look like; the idea here is to try to get some shading inthe small hidden areas and some depth on the the different surfaces, at least I hope
I also mixed the colors I will be using; there are 6 mixes and three straight ones....
Old white, Cyan blue, azurite blue, ocre red, ''ventre de biche'' or beigereworked, yellow gold, and the regular black, gold and tan; all are flat finish colors....


That is all off to a promising start, Guy. I will be interested to see how the undercoat accentuates the topcoat.
My advice would be to take as much time with the paint as necessary; you will only regret shortcuts.


