-

Win a Free Custom Engraved Brass Coin!!!
As a way to introduce our brass coins to the community, we will raffle off a free coin during the month of August. Follow link ABOVE for instructions for entering.
-

PRE-ORDER SHIPS IN SCALE TODAY!
The beloved Ships in Scale Magazine is back and charting a new course for 2026!
Discover new skills, new techniques, and new inspirations in every issue.
NOTE THAT OUR FIRST ISSUE WILL BE JAN/FEB 2026
You are using an out of date browser. It may not display this or other websites correctly.
You should upgrade or use an alternative browser.
You should upgrade or use an alternative browser.
Sovereign of the Seas Mantua 1:78 Greatly Enhanced - Vince P. [COMPLETED BUILD]
- Joined
- Nov 26, 2018
- Messages
- 546
- Points
- 343

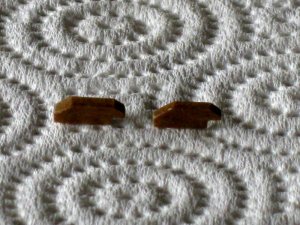
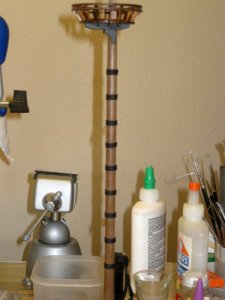
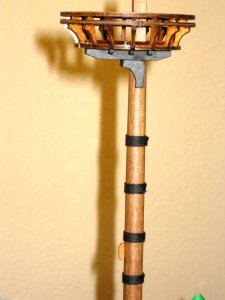
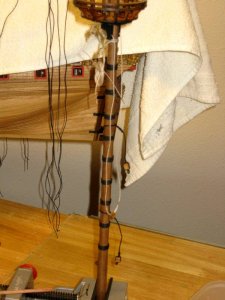
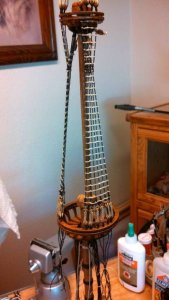
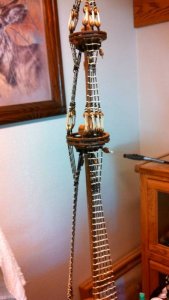
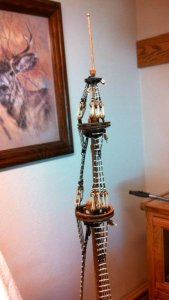
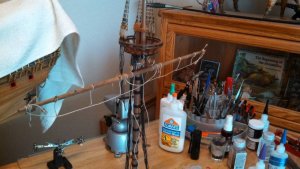
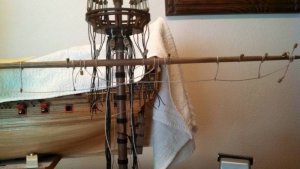
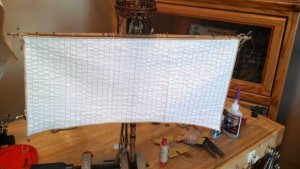
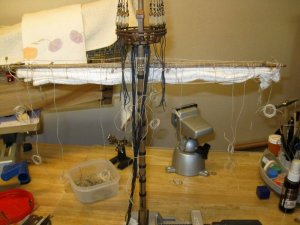
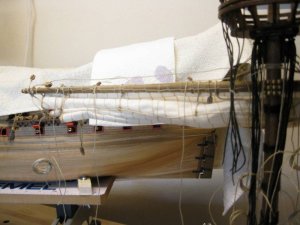
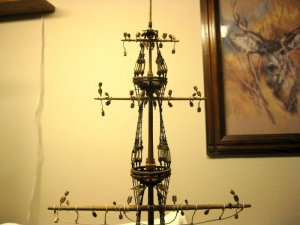
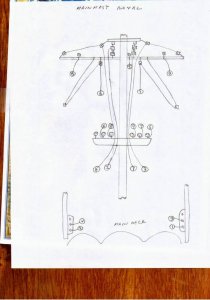
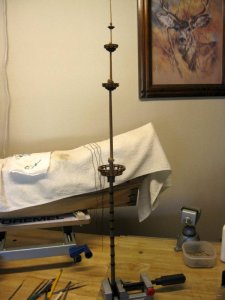
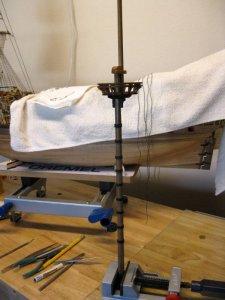
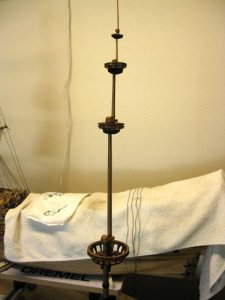
Constructing the mainmast. Since this is the tallest mast, you can get an idea how big this ship will be. Like the foremast, I will build the entire mast including the yards and sails and all corresponding rigging before setting it on the ship. Next up is installing the needed blocks to the trees.
Vince P.
Vince P.


- Joined
- Nov 26, 2018
- Messages
- 546
- Points
- 343

For those of you that might build this kit from Mantua, here is some info on errors in the plans:
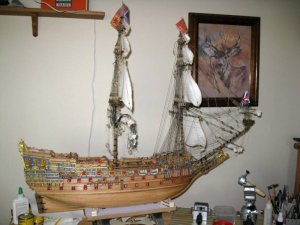
After I set the completed foremast on the ship, I started looking into the mainmast. The plans call for cutting the lower section to 360mm. I set this piece down into the ship temporarily and something did not look right. According to other completed models and some drawings of the actual SOS, the lower crowsnest of the mainmast should be slightly higher that the same on the foremast. The top rail of the crowsnest on the foremast is about even with the tree on the mainmast. With the mainmast section cut to 360mm as detailed in the plans, the crowsnest is considerably lower than the foremast. In order for the mainmast crowsnest to sit at the correct level, it was necessary to increase the lower section to 407mm from 360mm.
Along with this, it is necessary to adjust the mizenmast to correspond to the change in height of the mainmast. The plans call for the lower section of the mizenmast to be 320mm. Increase this to 385mm. Then all of the mast tops are in correct alignment.
Vince P.

- Joined
- Nov 26, 2018
- Messages
- 546
- Points
- 343

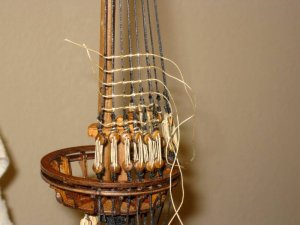
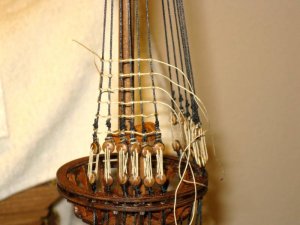
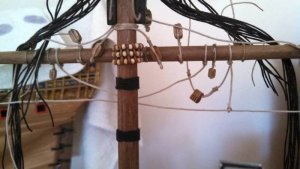
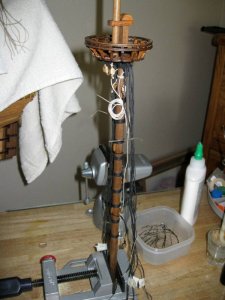
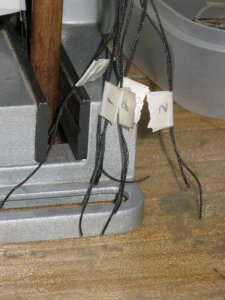
Since I am completely assembling the masts off ship, I wrap the lower shrouds to be rigged later on the ship. The shrouds are wrapped in pairs. One piece of rope goes around the mast top from fore to aft to make a pair. Usually the pairs are wrapped starting on the starboard side and then the port side and back to starboard and so on. This ship has 10 shrouds on each side which is 5 pairs to a side. Later when rigging them to the deadeyes, they must be rigged in the correct order starting from the starboard side, pair 1, then to port, pair 1, and back to starboard pair 2, and so on. Also, the shroud in each pair that wraps from the fore side of the mast must be rigged first and then the other in the pair. This is necessary so the shrouds do not bunch up and cross each other at the mast top. You will really see the mess when rattling towards the upper end of the shrouds, if it is not done this way. I simply number the pairs on each side as they are wrapped, and make the forward one of each pair a little longer. Later when rigging them just take them in numerical order and the longer of each pair first.
Vince P.
Vince P.


- Joined
- Nov 26, 2018
- Messages
- 546
- Points
- 343

- Joined
- Nov 26, 2018
- Messages
- 546
- Points
- 343

- Joined
- Nov 26, 2018
- Messages
- 546
- Points
- 343

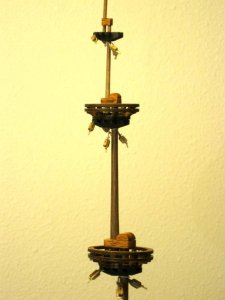
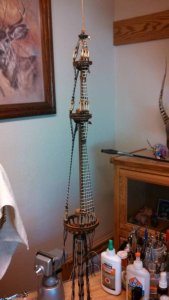
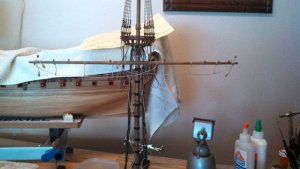
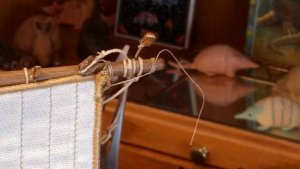
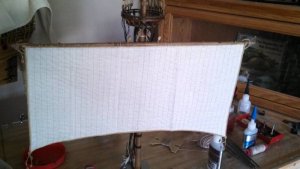
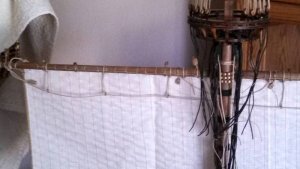
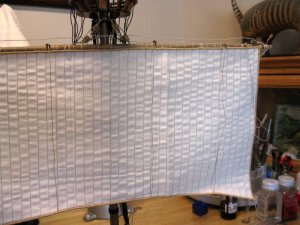
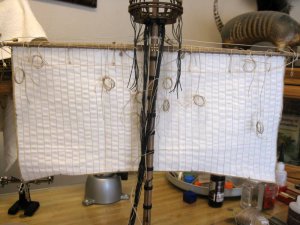
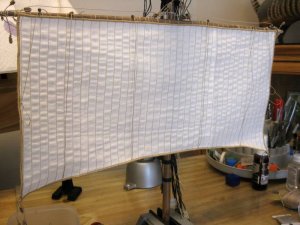
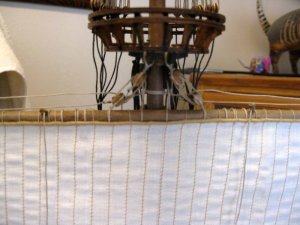
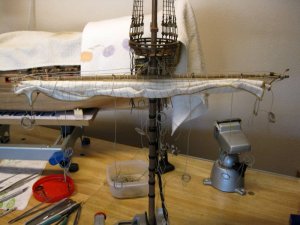
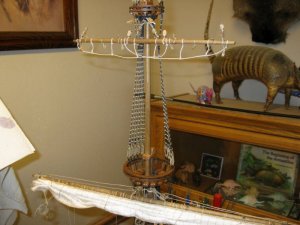
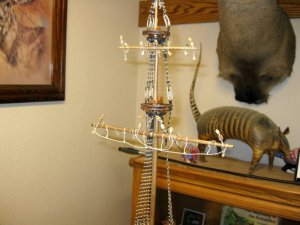
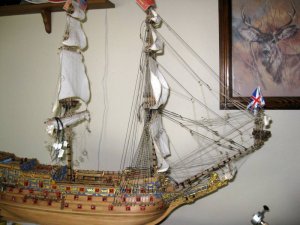
The main mast is finished. As I said before, when working on the masts, I am completing as much as possible before stepping them on into the ship. This may seem unorthodox to some, but for me it is a matter of necessity. When assembling the masts and rigging them, especially with sails, it is necessary to rotate them many times in order to access all sides. With the sheer size of this model and the fact that my work bench is in a corner of the room, rotating the whole ship with the masts in place is very cumbersome and somewhat hazardous. Having the mast in a movable table vise makes it very easy to rotate in any direction, even tilting if necessary. After the mast is stepped, it will still be necessary to rotate it some in order to finish the lower shrouds and attach the running rigging to the deck belay points, but nowhere as much as with the masts assembled on the ship. For this model, this method has worked very nicely for me.
Next up is to step the mast and finished it's rigging. That is a fun part that I really enjoy.
Vince P.
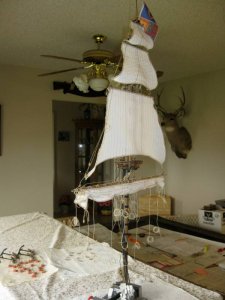
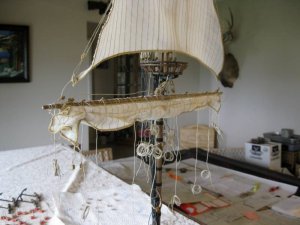
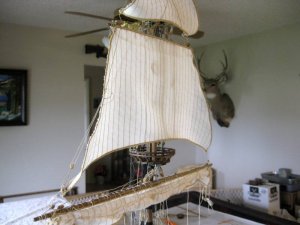
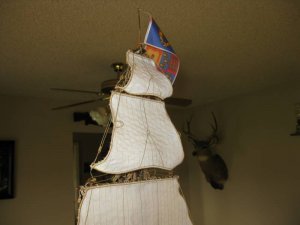
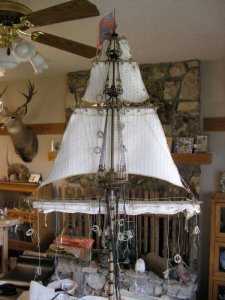
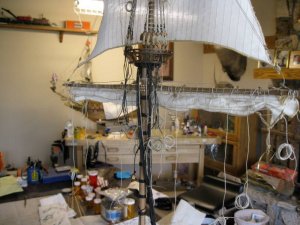
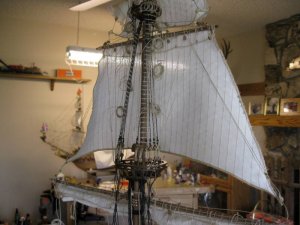
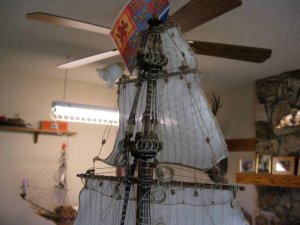
Next up is to step the mast and finished it's rigging. That is a fun part that I really enjoy.
Vince P.


- Joined
- Nov 26, 2018
- Messages
- 546
- Points
- 343

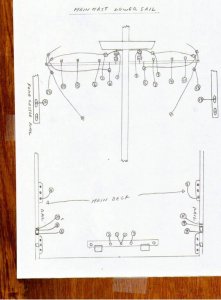
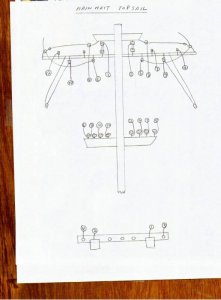
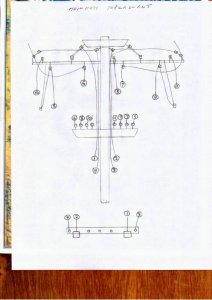
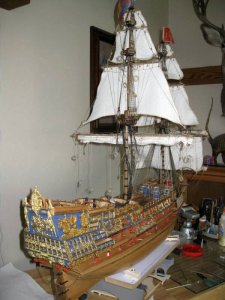
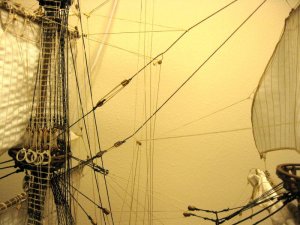
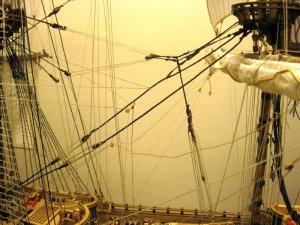
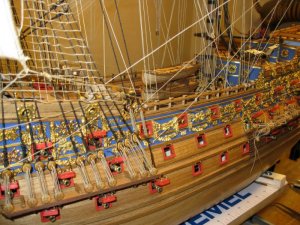
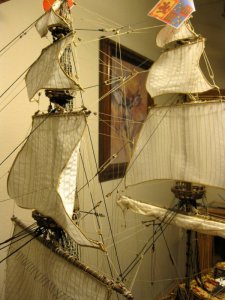
The main mast standing and running rigging is completed with the exception of the lower shrouds. They are up next and the last to be completed, since it makes it much easier to access the decks for belaying the rigging without them in the way. The shrouds are not my favorite part, since rattling is a tedious and sometime boring job. But any part of ship building is still fun for me.
As I had mentioned earlier in this log, I literally doubled the number of pin rails and belay points from the kit plans. With the more complex rigging scheme I used, and the addition of sails, I used most every belay point and then some.
Vince P.
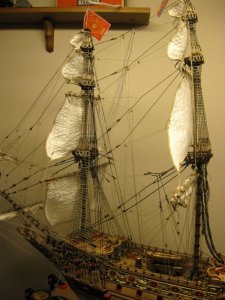
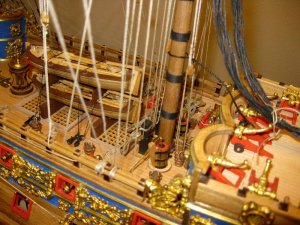
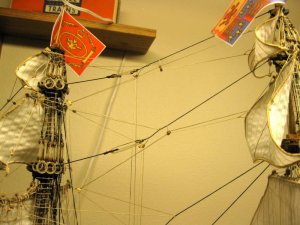
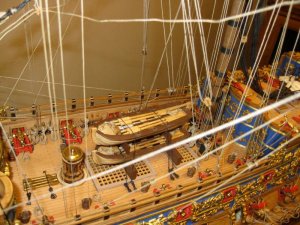
As I had mentioned earlier in this log, I literally doubled the number of pin rails and belay points from the kit plans. With the more complex rigging scheme I used, and the addition of sails, I used most every belay point and then some.
Vince P.


