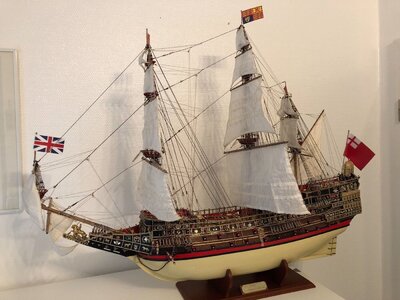
Sovereign of the Seas - Sergal 1:78 (with hopefully many added details)

Almost back-to-back – work in progress updates

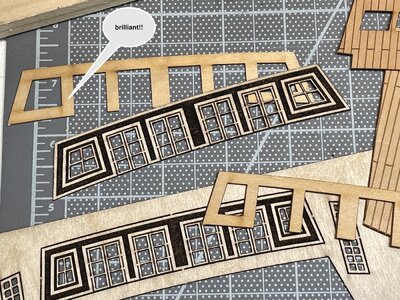
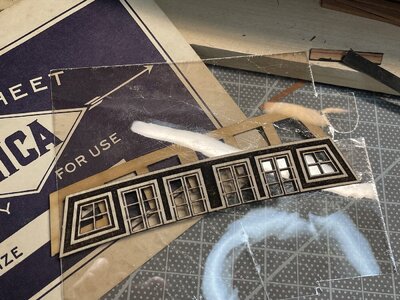
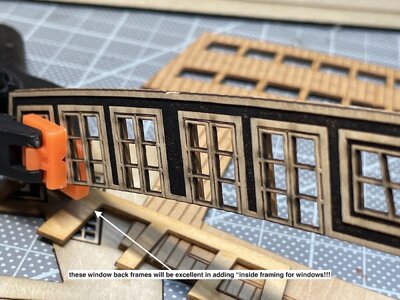
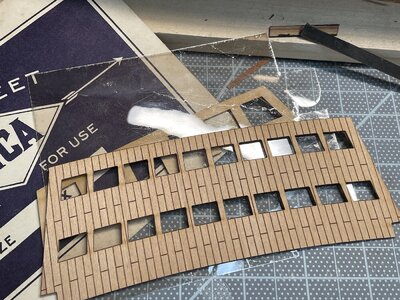
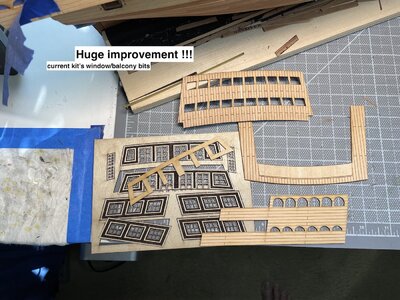
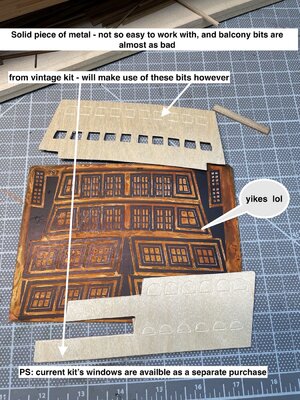
Also for noting the Great Upgrades in the current kit compared to its vintage release; as well as more changes that will be made for this build from kit instructions.

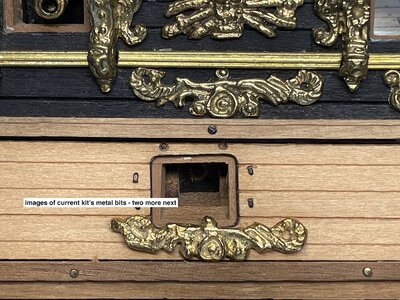
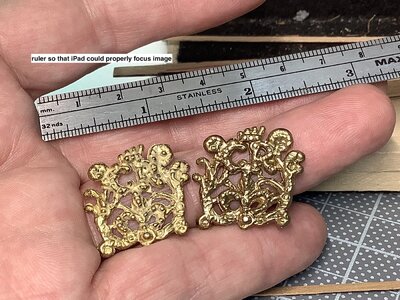
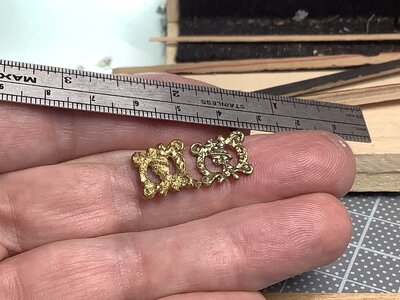
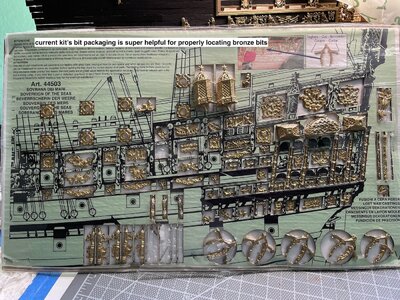
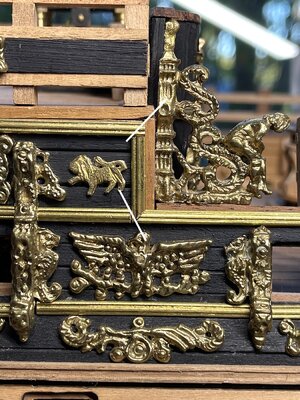
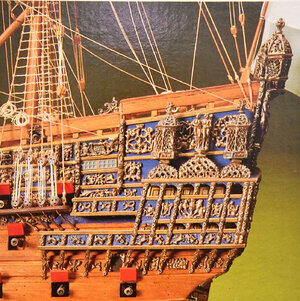
Those of you who have been so kind to follow along know that I have been very negative about the current kit’s very poor 600+ metal bits (the heart of this ship no less) Current kit no longer includes solid bronze well detailed decorative bits, instead supply white metal bits that are electroplated with a “gold” plating, that somehow also preclude earlier solid bronze very good details. That said, stern area upgrades within the current kit are super Excellent. Will use all of the included bits.

As always so appreciate the amount of visits this log receives, as well as the kind likes, and comments from some SOS members. Thank You…

PS: If Sergal had kept the solid bronze 600+ bits as well as the kit’s new upgrades this kit might be one of the best, in general, kits on the market today.
It is unfortunate that no other manufacturer is producing this amazing ship. Hopefully now with 3D printing – possibly a new kit might become available in the future.

It’s hard to recommend this current kit given its high retail price point – North of $1000 USD, and about €850+tax in Europe – Hmmmm – these negatives are, of course, my subjective opinions…

PS!! Big Kudos to builders who completed this vintage kit – much more of a difficult build IMO – I’ve seen (and study) superb images of the old kit

Cheers,
1.jpeg2.jpeg3.jpeg4.jpeg5.jpeg6.jpeg7.jpeg8.jpeg9.jpeg10.jpeg11.jpeg12.JPG13.JPG14.jpeg
 
Your ship has an amazing quantity of ornaments. It is such a pleasure to look at. What an interesting tip to make macro shots focus better, thanks.
 
Bryian and Daniel thanks for your posts appreciated.

Note - correction form my post yesterday - there is another of this ship available from DeAgostini in 1/84th scale - though from what I understand all 'gold" decorative bits will require a coat of gold colored paint. MSRP $1.300 USD $1,600 in CA after paying tax
Very true, Oldflyer. My build of the Sovereign is based off the DeAgostini kit. That kit is more suitable for beginners due to the extensive illustrated instructions, but it is costly. The materials are adequate, but the cast metal decorations are less historically accurate for the hull side decorations than the Mantua kit, and bit more accurate for the stern decorations. No kit available has fully accurate decorations for HMS Sovereign of the Seas. :(
 
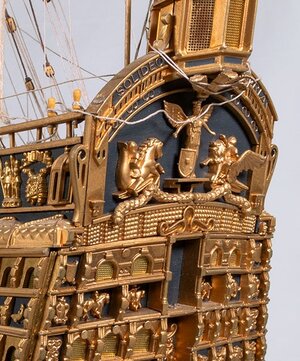
One LAST thought, I also learned from Nigel sometime back when I was exploring buying a SotS kit - he posted that the official DeAgostini site for this kit miss-represents images of their completed product with an image of the stern that is NOT of the kit's finished product - but, actually from a custom bashed example (possibly) from their kit??. Impressive stern but may cross the line to 'false advertising"??

Nigel if you happen upon this thread - please post some clarifications lol

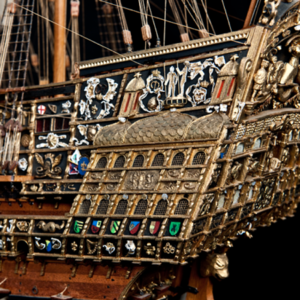
1st image from their site
2nd actual results - close but no cigar.

Kurt, to your point - Yes the stern is in fact much closer to the early 1:1 my Sergal is possibly from much later example after several re-builds.
Your project will be the "acid test" indeed - you are obsessed (a big compliment) trying to get it right - kudos Thumbsup......
The massive work that you will need to articulate with the 500+brightwork bits will certainly be challenging --- way, in this world, beyond a skill set that I will ever be capable of.

hms_sovereign_10_3_3_1.pngphotosgrid-desktop-sovereign-01-1_optmzd_80.jpeg
 
Oldflyer,I suspect the model used in Deagostini's marketing video is a bashed version of Amati's plans/now defunct kit.I could be wrong, but that is the closest to the model in the video.The part work is massively different, not only in details but also geometry of the hull,decklines etc

I did advise you about the superior quality of the vintage Sergal castings but looking at your pics,I am shocked just how much better they are.Whilst the stern on the Sergal kit is different to the contemporary references the rest is pretty good.Chris Watton won a Gold Medal using this kit and he mainly just reworked the stern (this was using an older kit)

Wish Sergal would retool the ornaments, this was an amazing kit in it's day, now sadly it is showing it's age.

Kind Regards

Nigel
 
Nigel,
Thanks for the update - Yes you did, so kindly, warn me about the current kit's shortcomings in regard to the castings. Glad that I located a vintage
example that was for sale.
I will try to locate Chris Watton's example - He is a brilliant builder. He is currently working (with Amati - I think) on a new kit of the HMS Victory - images so far seem brilliant - destined to be "the" kit for this ship!!!

Nice to hear from you Nigel - we do go way back - :)

Regards,
 
Oldflyer,I suspect the model used in Deagostini's marketing video is a bashed version of Amati's plans/now defunct kit.I could be wrong, but that is the closest to the model in the video.The part work is massively different, not only in details but also geometry of the hull,decklines etc

I did advise you about the superior quality of the vintage Sergal castings but looking at your pics,I am shocked just how much better they are.Whilst the stern on the Sergal kit is different to the contemporary references the rest is pretty good.Chris Watton won a Gold Medal using this kit and he mainly just reworked the stern (this was using an older kit)

Wish Sergal would retool the ornaments, this was an amazing kit in it's day, now sadly it is showing it's age.

Kind Regards

Nigel
Nigel, after looking at the DeAgostini model used for their promotions, it is my belief that the model is scratch built, and used as a basis for making the kit. The decorations appear to be carvings. The model kit is has many of the major features, but the details are vastly different if you look closely. This is what the kit actually looks like when built and painted according to the instructions. It's a the details are simpler, and it still makes a handsome ship that any beginner can be proud of. However, you can bash the livin' sh*t out of it like I am and make a much better model.

DeAgostini SotS Kit As-Built.jpg
 
Kurt I sure Like those sails - hmmm??? still on my mind - IMO this DeA

PS: Just a couple of ideas. This one may be useful to other members.

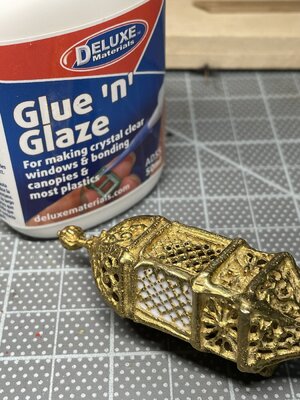
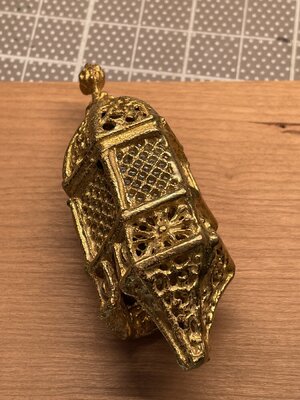
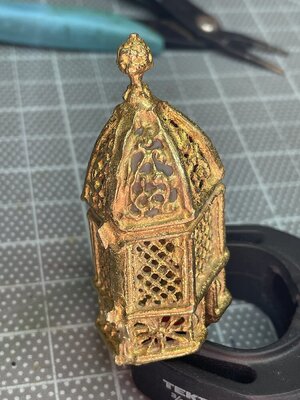
1) found this watching a youtube aircraft builder's channel. Practiced using current kit's large stern lantern.
This should work just fine - I'll also try adding a clear red to the product to determine if I can "create red glass" TBD.

IMG_4218.jpegIMG_4221.jpeg

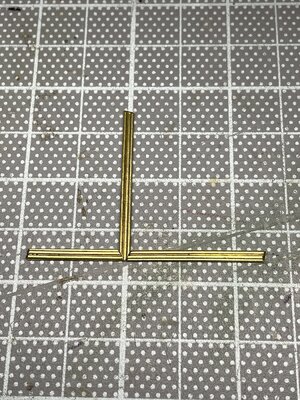
2) regarding the brass strips - darn...Hindsight... wish I had thought of that bit of detail earlier. Very few strips need to be properly
re-cut - will "fix that" - will post results because the glue that I am using (No Not CA) is brilliant - removing the super well attached parts leaves absolutely
no glue residue - its af if nothing were ever on that spot.

IMG_4227.jpegIMG_4228.jpeg

Regards,
 
Kurt I sure Like those sails - hmmm??? still on my mind - IMO this DeA

PS: Just a couple of ideas. This one may be useful to other members.

1) found this watching a youtube aircraft builder's channel. Practiced using current kit's large stern lantern.
This should work just fine - I'll also try adding a clear red to the product to determine if I can "create red glass" TBD.

View attachment 289590View attachment 289591

2) regarding the brass strips - darn...Hindsight... wish I had thought of that bit of detail earlier. Very few strips need to be properly
re-cut - will "fix that" - will post results because the glue that I am using (No Not CA) is brilliant - removing the super well attached parts leaves absolutely
no glue residue - its af if nothing were ever on that spot.

View attachment 289592View attachment 289593

Regards,
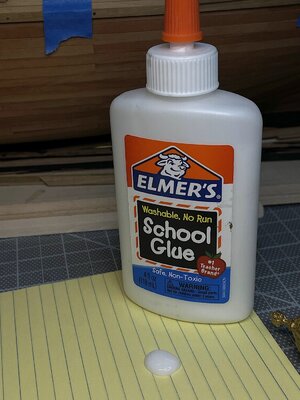
I have an idea for creating your red glass. I was at a hobby shop yesterday and came across some Tamiya paint which was "clear red". It was acrylic, so it may mix with Elmer's glue. You could use it to color the glue. Hopefully it will dry solid, and appear as red glass. Something to try out.
 
Awesome work John, where did you see the “new kit” stern windows available separately? I have a vintage kit of this ship and would like to upgrade that area as well….
 
Kurt,

re: your suggestion of using Elmer's (with a clear red) Hmmm! Actually you have helped to solve another problem that I had tried to deal with earlier -
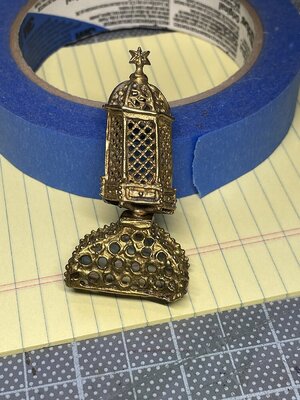
What to do about the lantern crowns?.
Well Elmer's glue dries opaque - that will be perfect for filling-in those holes. I ordered a bottle of Tamiya clear red -will play around with Glue n Glaze. used one of the current kit's lanterns to experiment. Thanks you solved an issue for me - cheers....

IMG_4267.jpeg
 
Hi John, following your conversation With Kurt, I see where you have Elmers's glue drying opaque. Elmers makes a 'clear' glue which I have never used and was wondering if that is what you have. It is clear as water in the bottle.
 
Daniel,
No, the Elmers is opaque - did not know that a clear one was available. Will use the Elmers opaque for the tops of the lanterns (may experiment with a black tint there as well - and will use the Glue n Glaze for the glass panes with clear red paint. ----- Much experimentation first!!

Also need to work-out the kit bits for the lantern bases - should be louvered type of "look" not what the kit provided. Will also try a filler type of solution


IMG_4276.jpegIMG_4277.jpeg787ae.jpeg
 
Hi all.

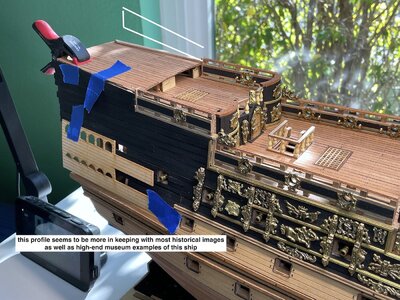
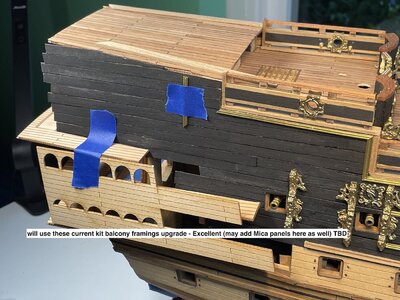
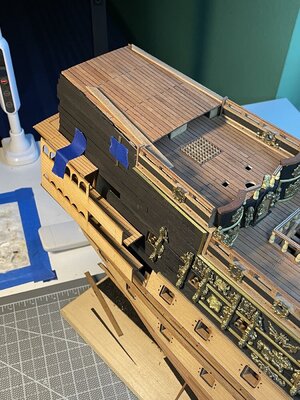
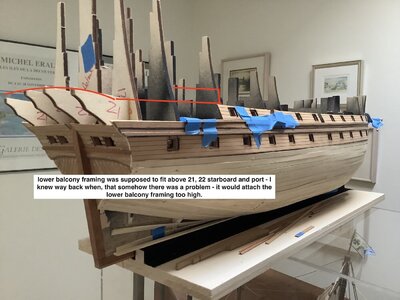
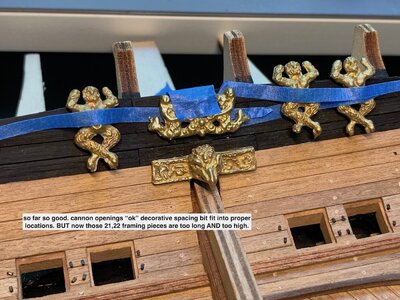
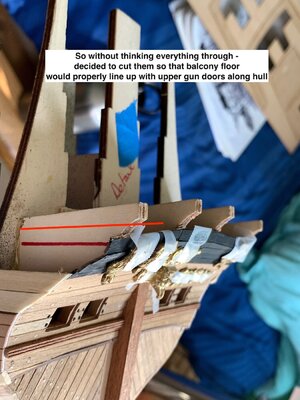
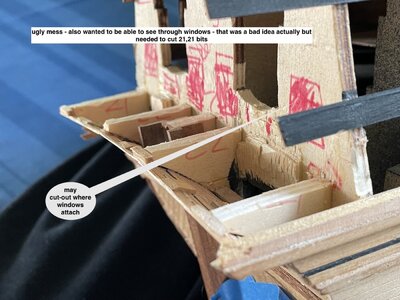
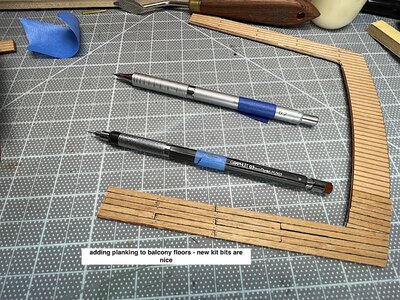
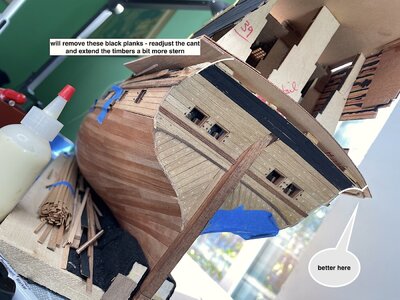
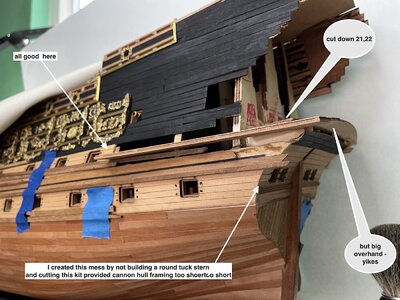
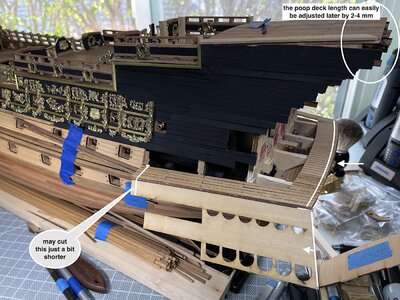
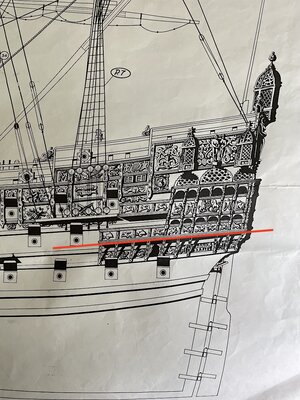
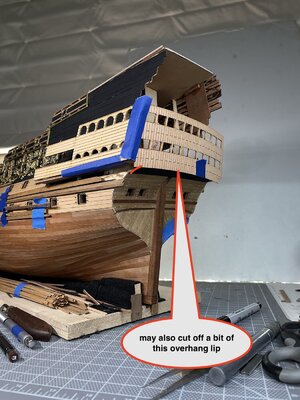
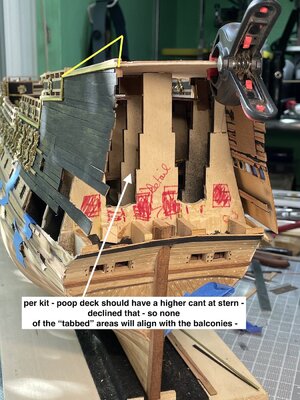
Just sharing a bit of frustration that has now come around to bite. Early on I had decided (insecurity) to square tuck the stern as well as adding four detailed cannon door framings. Round tuck two years ago seemed too difficult for me to achieve properly – hmmm? The square tuck – has now come back to create the following issues.
Just sharing lol… image texts go through that part of this build

That said as I was putting this post together it has helped me to more clearly find solutions… As always thanks so much for your likes, posts, or just silently dropping by to have a look.

Cheers,

1.jpg2.jpeg3.jpeg3b.jpeg4.jpeg5.jpeg6.jpeg7.jpeg8.jpeg9.jpeg
 
Sometimes you just have to rebuild the structure underneath with custom cut pieces of scrap wood and re-plank when adjustments to the hull need to be made. Cut the overlapping edges of the planking when you are finished with hull shape changes in the area and stain/paint the raw edges of the planks accordingly. Don't worry, it will all look great in the end. Think each step through carefully when making changes or more fitment problems will show up to haunt you. The fixes and adjustments you've made so far look good.

I believe you may want to re-plank over the upper transom such that the planks run horizontally, not vertically. That can be done by applying a layer of deck planks over the provided piece and re-cutting the gun ports. Check my suggestion against your own research first as this added step will be a lot more work.
 
Last edited:
Back
Top