Sovereign of the Seas - Sergal 1:78 (with hopefully many added details)

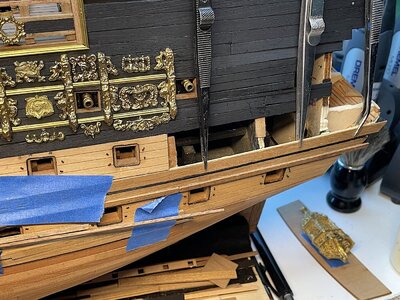
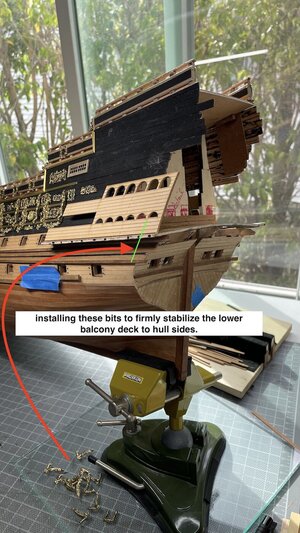
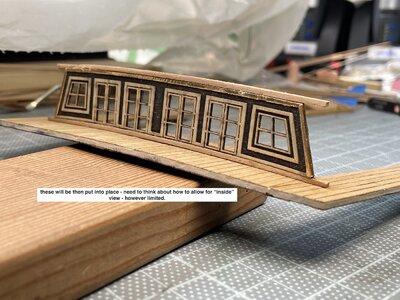
Kurt: thanks for your notes – always appreciated. I think that the best remedy for this “mess” is to first attach and secure the lower balcony floor to the stern. Then will work on, as you suggest, rebuilding the structure underneath to nicely extend and fit to the underside of the stern balcony area with the right dimensions.

Regarding the transom – that’s probably “dead in the water”. Kind of late to deal with that – your research is certainly correct regarding the Sovereign.

PS: BTW -- You have raised an incredible bar when it comes to “kit bashing” lol….

But, since I did not add a round tuck, I then just mentally remembered my Vasa build – both ships being of similar vintage it did not occur to me that it could be wrong for an English ship. And I also referred to McKay’s stern image (yes I know, he’s gotten huge critical flack about this issue) So my results concur with those two sources.

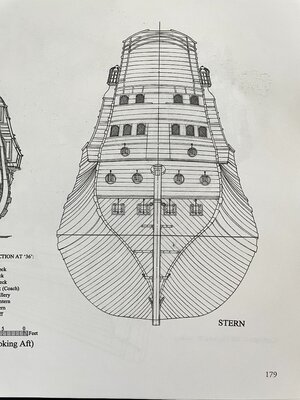
60baa0fbe6c68.image.jpgIMG_4387.jpeg


I may revisit this using very thin wood. The issue would become the hull planks, at the stern, coming up a bit short with horizontal timbers not overlapping as needed. also added above current work

Daniel: Thanks as well for your concurrence with Kurt as well as your kind post.

Will post again when all done.
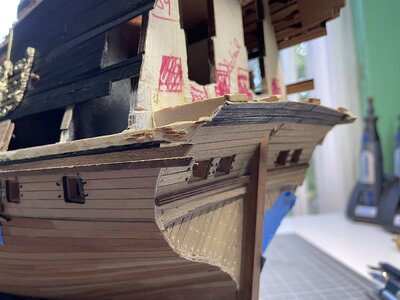
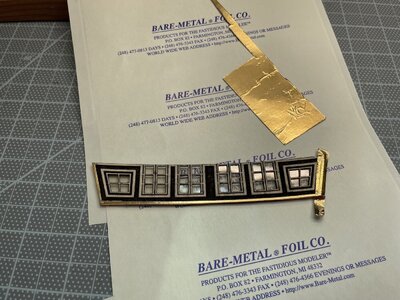
IMG_4382.jpegIMG_4386.jpeg


Regards,
 
Thanks Kurt,

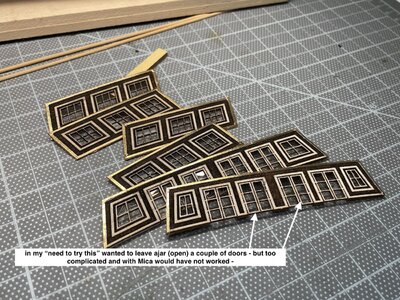
Does add a "bit"
PS: ajar (open) is in case some international builder's look in and need to use Google translate - don't think ajar would translate correctly??

IMG_4584.jpeg

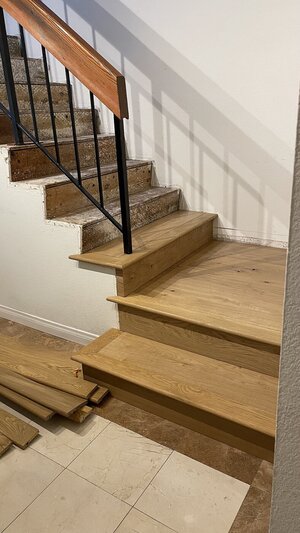
Ship work on hold for a while - We've decided to do a substantial remodel - carpets Gone - wood floors instead, lot's of new paint and more.....
PS: Admiral wanted Mapple -- that was a "no" from me I wanted Euro Oak much richer and well detailed look IMO --- so 1 win out of - hmmmm lost count of the losses. ;)

IMG_4452.jpegIMG_4485 copy.jpeg

Cheers,
 
Hi oldflyer
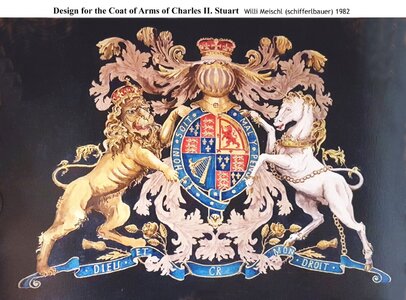
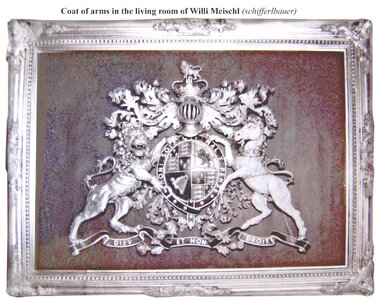
On page 13 you show the coat of arms and you mentioned that the artist of the picture you show are not known.
Now I can help you a little bit.
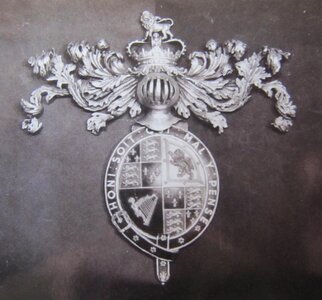
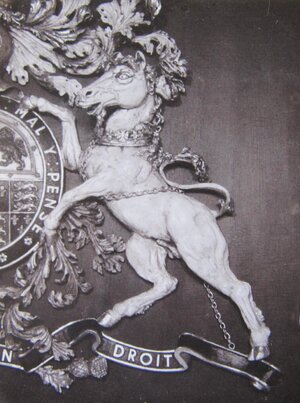
It is not a painting, it is the carved coat of arms of Charles II. Stuart. In the Year 1982 I make I carved for my living room.
I will show you now the design for the Carving, the carving itself in different steps and at last in the frame for hanging it
in my living room. You also can see it on my website schifferlbauer.com.
Kind regards
Willi (schifferlbauer)
Entwurf für Stuart Wappen von Willi Meischl (Large).jpgengl.coat of arms (Large).JPG48951 (Large).JPG48948 (Large).JPG48947 (Large).JPG48950 (Large).JPGWebseite (Large).jpg
 
Willi,
Wow indeed thanks for sharing your amazing artistry. !!
----------------------
Hi all,
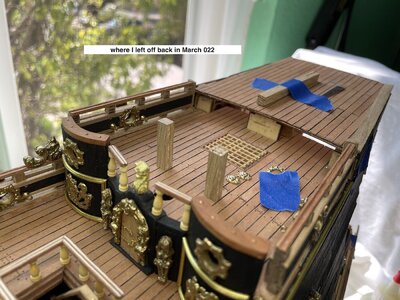
Have not posted since March as the shipyard had been closed for a couple of months.
So just catching up here with work that I am finally moving forward with… thanks to members still following, as well as those just dropping in for a look – so much appreciated.

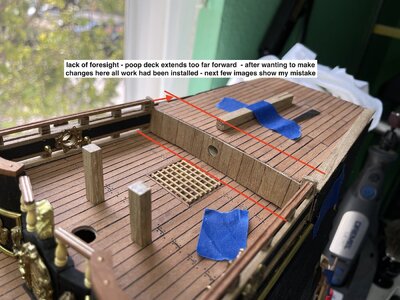
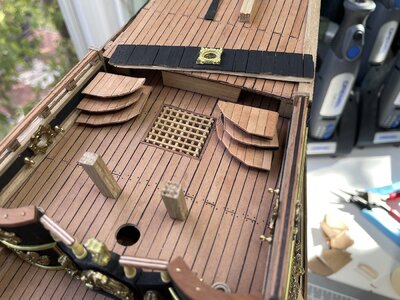
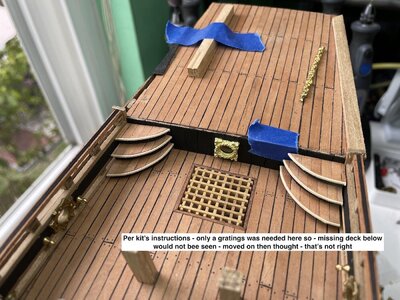
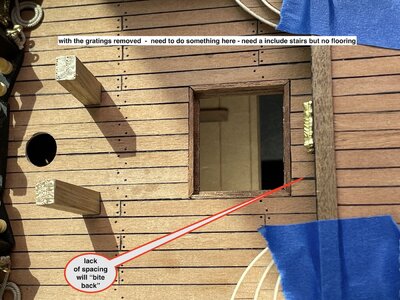
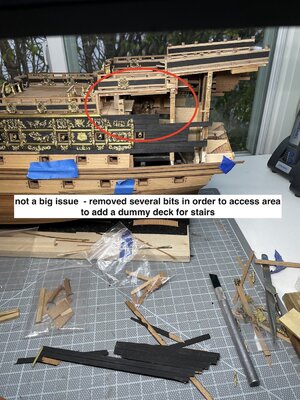
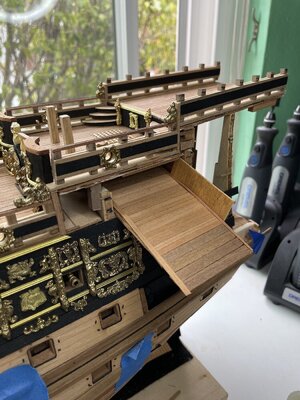
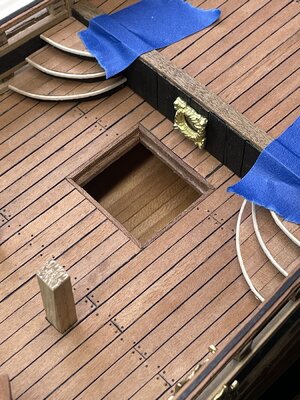
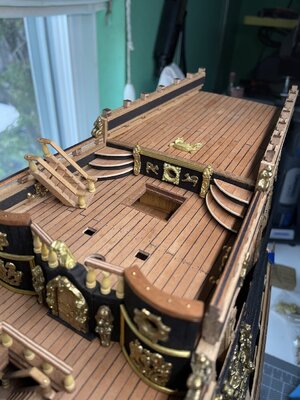
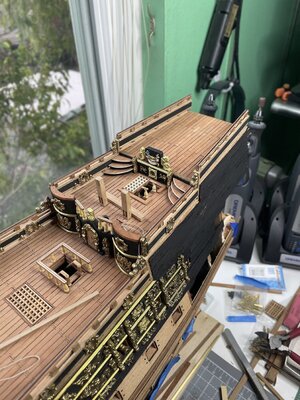
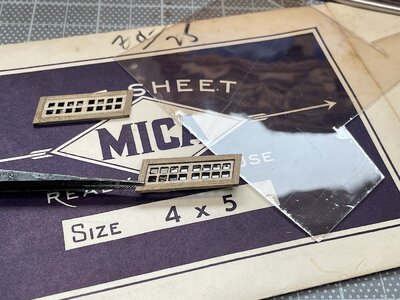
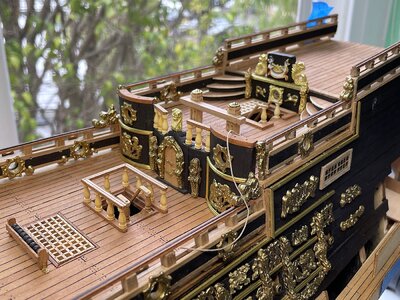
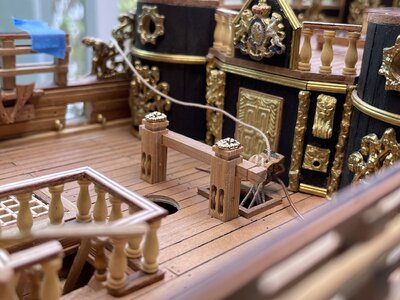
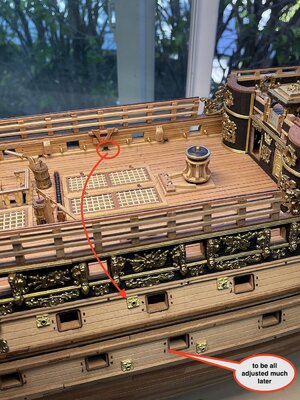
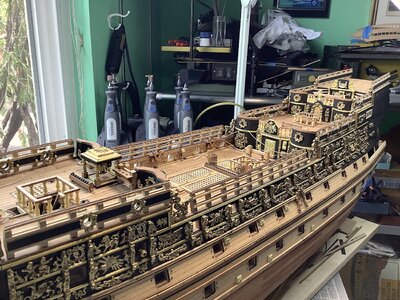
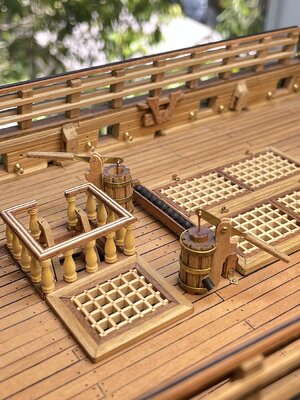
The poop deck has been my area of work. That said, one glaring lack of foresight has resulted in a spacing issue.
I was very tempted to tear out the poop, and quarter decks to fix this - but way too much re-building work, as well as having to totally re-plank both decks, bulkheads, and lengthen bulkworks and railings.

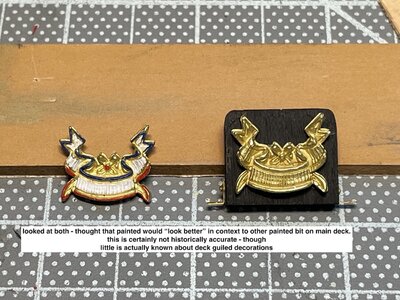
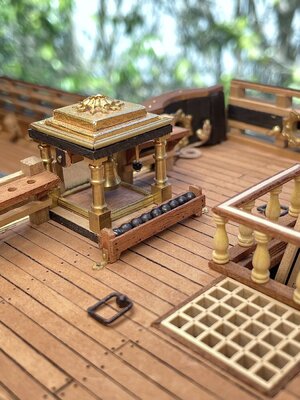
So instead, just moving forward. Image notes sort of go through my thoughts, so keeping text brief. Sorry could be too many images in this particular catch- up post….(;-((

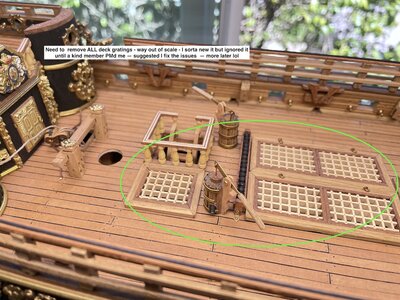
Last several images include details that were also added to the other decks (sump pumps, finished catheads, cannon ball boxes)

Glad to be open and, working again…need to also catch up with other builders.

Regards,
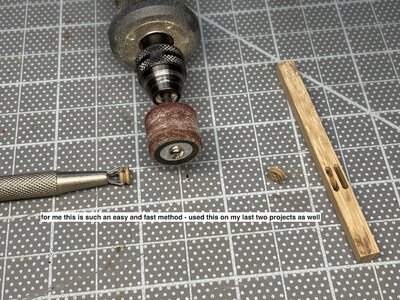
1.jpeg2.jpeg3.jpeg4.jpeg5.jpeg6.jpeg7.jpeg8.jpeg9.jpeg10.jpeg11.jpeg12.jpeg13.jpeg14.jpeg15.jpeg16.jpeg17.jpeg18.jpeg19.JPG20.jpeg21.jpeg22.jpeg23.jpeg24.jpeg25.JPG
 
Willi,
Wow indeed thanks for sharing your amazing artistry. !!
----------------------
Hi all,
Have not posted since March as the shipyard had been closed for a couple of months.
So just catching up here with work that I am finally moving forward with… thanks to members still following, as well as those just dropping in for a look – so much appreciated.

The poop deck has been my area of work. That said, one glaring lack of foresight has resulted in a spacing issue.
I was very tempted to tear out the poop, and quarter decks to fix this - but way too much re-building work, as well as having to totally re-plank both decks, bulkheads, and lengthen bulkworks and railings.

So instead, just moving forward. Image notes sort of go through my thoughts, so keeping text brief. Sorry could be too many images in this particular catch- up post….(;-((

Last several images include details that were also added to the other decks (sump pumps, finished catheads, cannon ball boxes)

Glad to be open and, working again…need to also catch up with other builders.

Regards,
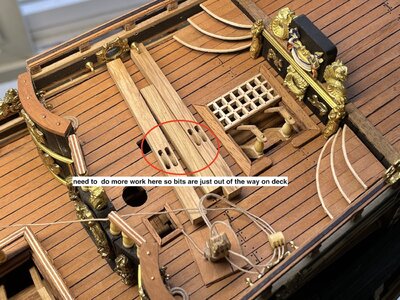
View attachment 315161View attachment 315162View attachment 315163View attachment 315164View attachment 315165View attachment 315166View attachment 315167View attachment 315168View attachment 315169View attachment 315170View attachment 315171View attachment 315172View attachment 315173View attachment 315174View attachment 315175View attachment 315176View attachment 315177View attachment 315178View attachment 315179View attachment 315180View attachment 315181View attachment 315182View attachment 315183View attachment 315184View attachment 315185
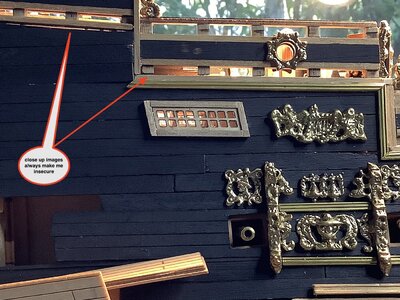
My close ups always bring to light something I couldn't see with my naked eye, John, It's looking great! Makes my Soleil Royal look drab.
 
Hi John, good to see you back. Very clever way to fab pulleys, I love it. Looking forward to the rest of your modifications and continued build.
 
Willi,
Wow indeed thanks for sharing your amazing artistry. !!
----------------------
Hi all,
Have not posted since March as the shipyard had been closed for a couple of months.
So just catching up here with work that I am finally moving forward with… thanks to members still following, as well as those just dropping in for a look – so much appreciated.

The poop deck has been my area of work. That said, one glaring lack of foresight has resulted in a spacing issue.
I was very tempted to tear out the poop, and quarter decks to fix this - but way too much re-building work, as well as having to totally re-plank both decks, bulkheads, and lengthen bulkworks and railings.

So instead, just moving forward. Image notes sort of go through my thoughts, so keeping text brief. Sorry could be too many images in this particular catch- up post….(;-((

Last several images include details that were also added to the other decks (sump pumps, finished catheads, cannon ball boxes)

Glad to be open and, working again…need to also catch up with other builders.

Regards,
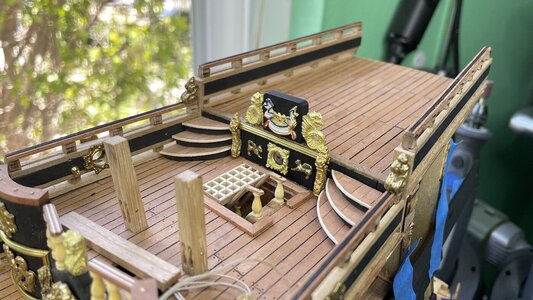
View attachment 315161View attachment 315162View attachment 315163View attachment 315164View attachment 315165View attachment 315166View attachment 315167View attachment 315168View attachment 315169View attachment 315170View attachment 315171View attachment 315172View attachment 315173View attachment 315174View attachment 315175View attachment 315176View attachment 315177View attachment 315178View attachment 315179View attachment 315180View attachment 315181View attachment 315182View attachment 315183View attachment 315184View attachment 315185
Good morning John. Brilliant. I love the way you have made the pulleys for your sheave. I have avoided these completely in my build - can’t get them right- and this may be a way. Thanks. Good to see you working again. Cheers Grant
 
Vic, thanks the Sov. was the most gilded of all hence the “bling” look.
Daniel: Glad that you found this useful – Your Vasa is awesome BTW

Kurt: as always thanks – glad that you are still interested in this build. Your's will be a "one of" !!

Paul: Well, it was closed lol - per my March 8 image above – but occasionally I crawled through the mess and sat down to do a bit of work.

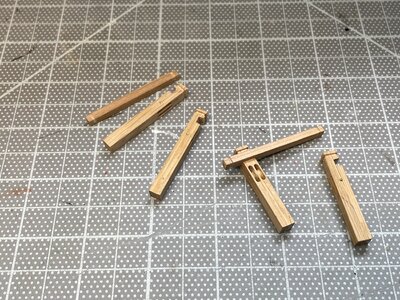
Grant: big thanks indeed, yea that pulley method was the only way that I could even think about doing them. I always saw that the deadeye grooves were well “there” then a light came on lol. Easy because deadeyes come in several sizes making the transitions even easier
 
Hi all,
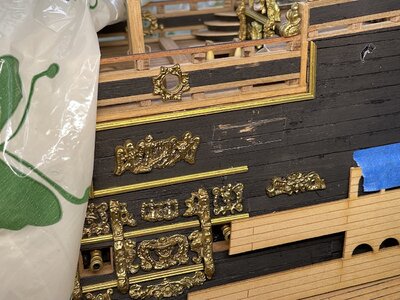
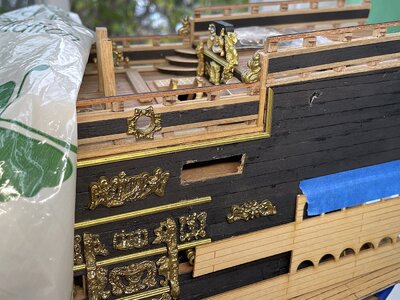
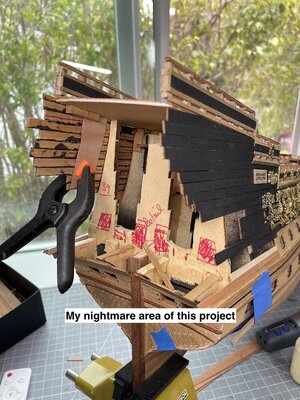
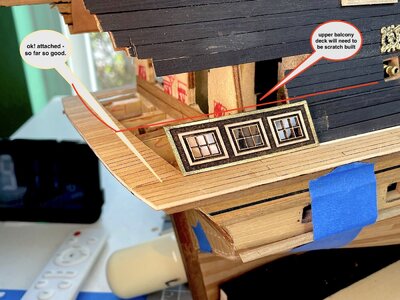
Minor starting area of pending work - I new that not following the kit's rounded stern tuck would poss. create later issues. Well they've arrived.
Need to really stress about this - could end up making a mess. Anyway here are some just starting preliminary FYI - images - As always thanks so much for dropping by....

1.jpeg2.jpeg3a.jpeg4.jpeg5.jpeg
 
Hi all,
Minor starting area of pending work - I new that not following the kit's rounded stern tuck would poss. create later issues. Well they've arrived.
Need to really stress about this - could end up making a mess. Anyway here are some just starting preliminary FYI - images - As always thanks so much for dropping by....

View attachment 317735View attachment 317736View attachment 317737View attachment 317738View attachment 317739
You're a brave man, John. I had a terrible time on the aft portion of my SR. I admire you.
 
Hi all,
Minor starting area of pending work - I new that not following the kit's rounded stern tuck would poss. create later issues. Well they've arrived.
Need to really stress about this - could end up making a mess. Anyway here are some just starting preliminary FYI - images - As always thanks so much for dropping by....

View attachment 317735View attachment 317736View attachment 317737View attachment 317738View attachment 317739
Looking at the work you have done so far...
I have 100% confidence you will build out the stern just as magnificent as the rest of your ship!
 
Looking at the work you have done so far...
I have 100% confidence you will build out the stern just as magnificent as the rest of your ship!
I fully concur with Daniel. The stern will just take longer, but these challenges are, after all, why we build these ships - for the sense of accomplishment afterwards. I am confident that the final product will indeed be praiseworthy.
 
Back
Top