Wow John! The capstan and the pumps are fantastic. Those came direct from the kit?Hi Mates,
Have not posted in a while also need to catch up with the great builds that I am following as well. So minor update – still waiting for bits from Cornwall – not their fault; international flights, USPS mail both almost out of business…..
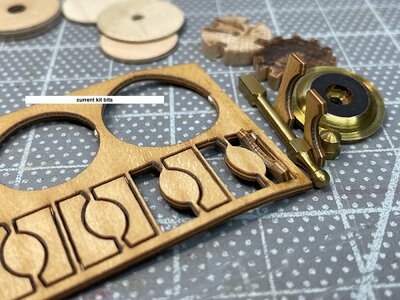
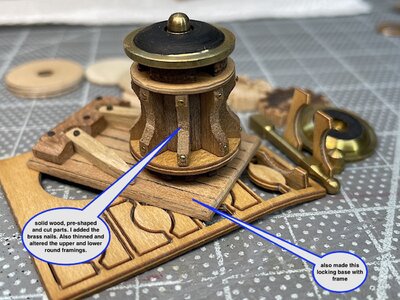
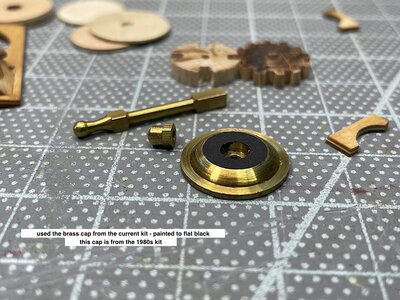
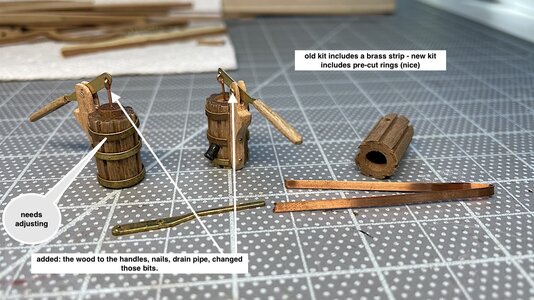
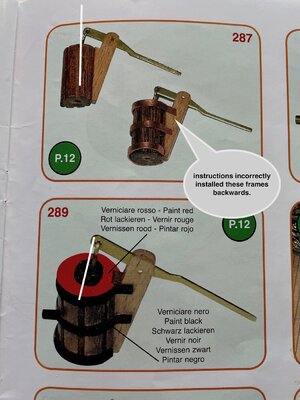
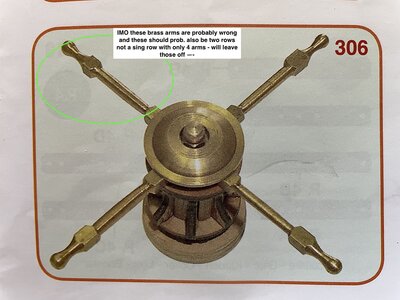
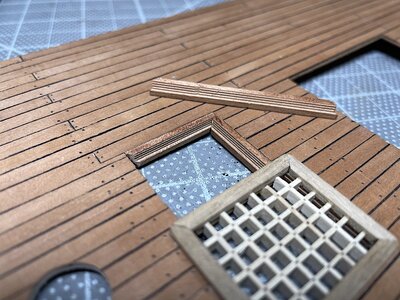
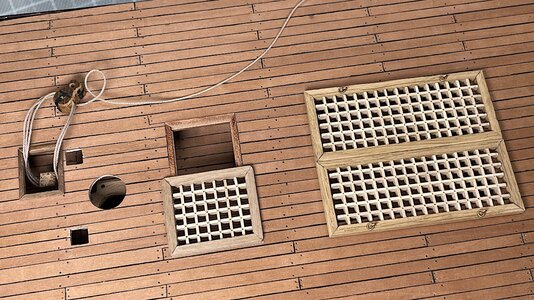
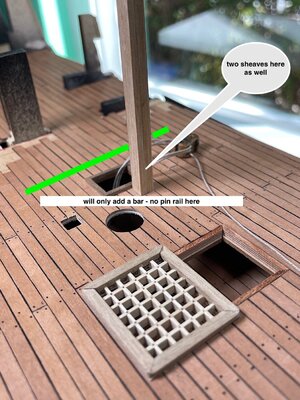
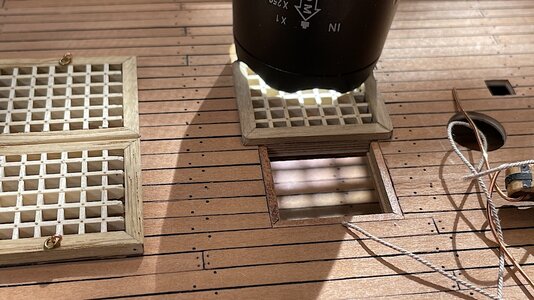
So in the meantime worked on the capstan, bilge pumps, triple fiddle block for main lower main yard hail, kevels, and main deck gratings; the Sergal provided pumps and capstan were actually quite good.
Added some details but all in all fairly satisfied with these bits. The gratings Sergal provided (laser etched) I did not plan on using, much the same with the pre scored decks. the next update should be substantial - much completed work on sidelines need bits to arrive, then I can attach the main deck along with upper hull side railings and added details that I have added. As always thanks so much for looking in. likes and such .....
Here are some images.
View attachment 216818View attachment 216819View attachment 216820View attachment 216821View attachment 216822View attachment 216823View attachment 216824View attachment 216825View attachment 216826View attachment 216827View attachment 216828View attachment 216829View attachment 216830View attachment 216831View attachment 216832View attachment 216833
-

Win a Free Custom Engraved Brass Coin!!!
As a way to introduce our brass coins to the community, we will raffle off a free coin during the month of August. Follow link ABOVE for instructions for entering.
-

PRE-ORDER SHIPS IN SCALE TODAY!
The beloved Ships in Scale Magazine is back and charting a new course for 2026!
Discover new skills, new techniques, and new inspirations in every issue.
NOTE THAT OUR FIRST ISSUE WILL BE JAN/FEB 2026
You are using an out of date browser. It may not display this or other websites correctly.
You should upgrade or use an alternative browser.
You should upgrade or use an alternative browser.
Sovereign of the Seas - Sergal 1:78 (with hopefully many added details)
The brass hinges and other door accessories are extremely well cut and detailed. DId you do those or were they provided in the kit? Looks beautiful. RichHi all,
Work still in progress playing with some added ideas; Images speak for themselves so keeping notes fairly brief.
•Upper deck gun rails and frames
•Hull doors
•Entering platforms
This SotS will not result in a historically accurate 1637 ship, under any circumstances (well it’s a Sergal kit for one thing) and no other kits exist today that were closer to the 1:1s first iteration – I don’t have the skill set for scratch, OR carvings – and the Amati has been discontinued and very rarely seen even on eBay – so enjoying this project with no expectations of any historical accuracy. Note: the wale scarf joints. Drilled holes - added black nylon fishing line to add highlights
As always thanks for your very kind comments, likes, or just having a look. PS: Poss. too many images this time so posted them in thumbnail format.
Regards,
View attachment 198797View attachment 198798View attachment 198799View attachment 198800View attachment 198801View attachment 198802View attachment 198803View attachment 198804View attachment 198805View attachment 198806View attachment 198807View attachment 198808View attachment 198809View attachment 198810View attachment 198811View attachment 198812View attachment 198813View attachment 198814View attachment 198815View attachment 198816
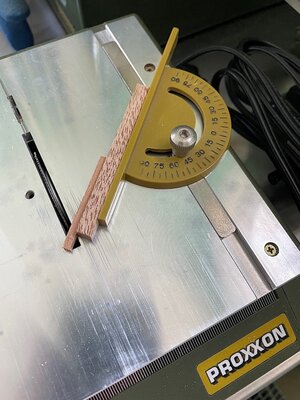
Nice 45 degree angles on hatches. Did you cut them, or did they come that way?
Wonderful John! You are doing a great job. I enjoy following your work!
Wonderful deck presentation! I am in love with the deck color... 
Your annotated log photos are well done in a manner that I don't know how to use. Very nice log presentation and work. Rich (PT-2)Hi
Finishing up some needed details to main deck before installing. And fixed an obvious mistake - Images do the talking here – so will keep post short.
View attachment 218363View attachment 218364View attachment 218365View attachment 218366View attachment 218367View attachment 218368View attachment 218369View attachment 218370View attachment 218371View attachment 218372View attachment 218373View attachment 218374View attachment 218375View attachment 218376,
Vfordyce: Thanks, no -- I had some very good help - the tricky bit was being sure that all four pieces would meet "just right" - some sanding and adjusting was also needed.
Paul: Much appreciated – glad that you are aboard and liking this project - thanks
Jimsky: much appreciated as well – Yes the pear wood came out real nice -
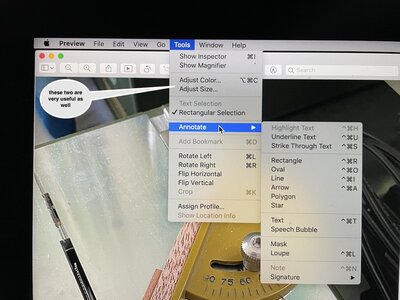
PT-2: thanks as well – I add content to the images using the “Preview” on my Mac. Very simple open the image on the desktop and Preview opens so that you can work with an image.
And thanks all for the likes and comments
Regards,

Paul: Much appreciated – glad that you are aboard and liking this project - thanks
Jimsky: much appreciated as well – Yes the pear wood came out real nice -
PT-2: thanks as well – I add content to the images using the “Preview” on my Mac. Very simple open the image on the desktop and Preview opens so that you can work with an image.

And thanks all for the likes and comments
Regards,
- Joined
- Apr 10, 2019
- Messages
- 207
- Points
- 253

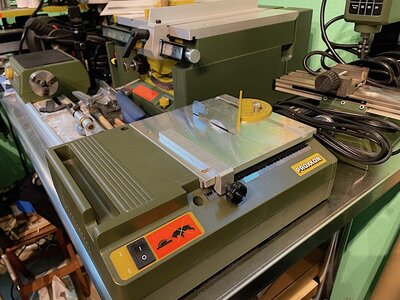
Is that a mini table saw? I just ordered one (not Proxxon) and now I know what I can use it for!
Hi, Thanks for the better information - I will think about doing another capstan. I appreciate your comments and expertise.Hi oldflyer
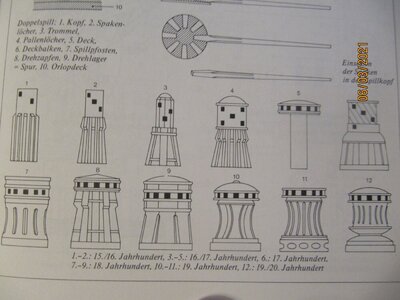
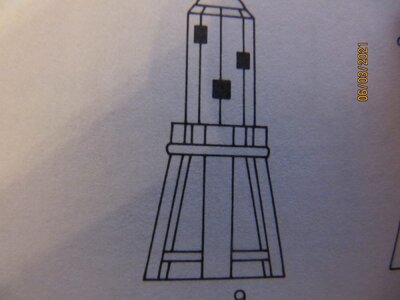
Your capstan looks very good- but it be in the way of much later time, after 1677 and sorry not 1637.
I will show you a capstan what in use 1637
Thanks for the images as well.
In any case this project will result in an "expression" of what this ship looked like - Much has been written regarding the many inaccuracies of this Sergal product.
- Joined
- Apr 10, 2019
- Messages
- 207
- Points
- 253

Hi John
I know that there are some mistakes at the kit, but your are very well model builder and til this time your Sovereign is looking good
in all details. I am sure you are able to build a perfect model .
Friendly regards
Willi (schifferlbauer)
I know that there are some mistakes at the kit, but your are very well model builder and til this time your Sovereign is looking good
in all details. I am sure you are able to build a perfect model .
Friendly regards
Willi (schifferlbauer)
Willi: Thanks for your very kind comments – very appreciated and encouraging – Thank You! - Your advice and posts have been very helpful. I will study the capstan further – I will also study the image & links that you previously posted.
================
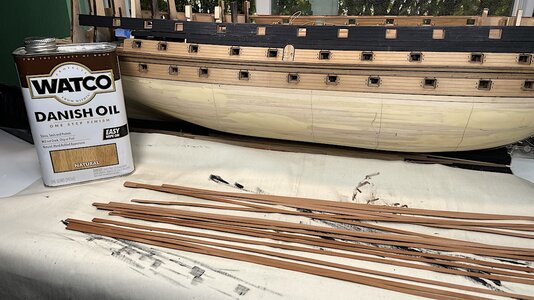
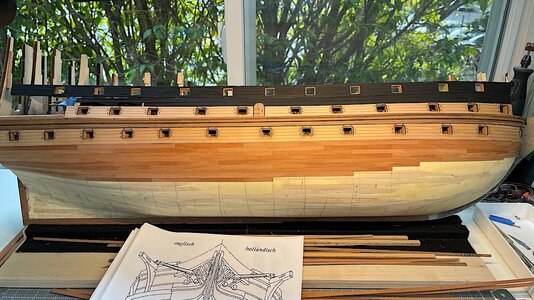
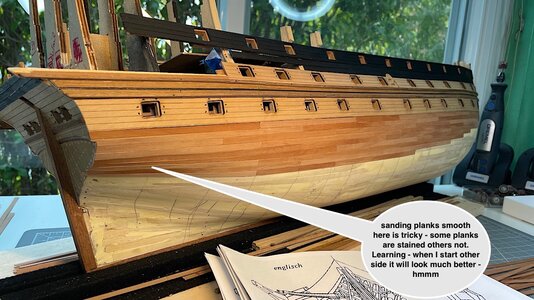
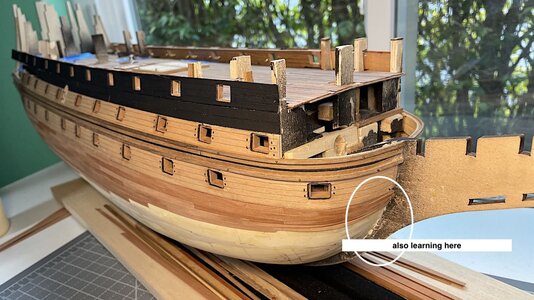
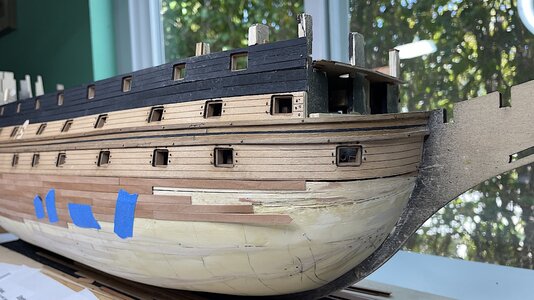
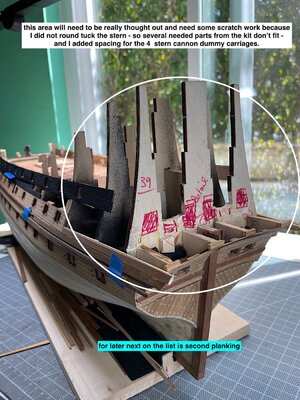
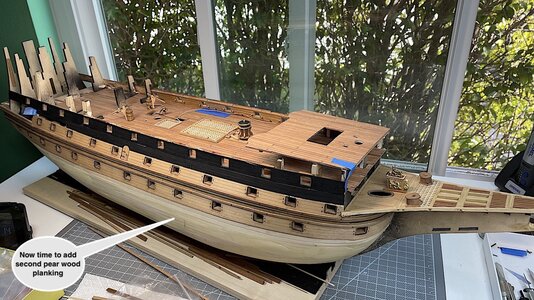
Just started the second planking (pear wood 5 X 1/2 mm). Not sure about this – trying it according to English planking 16th century.
That said, I have seen some amazing builds that have diff. shades of planking throughout the hull – looks amazing – trying to emulate that look as well
PS: I think that builders that included different shades among hull planks was because they used several different woods? I’m trying to do this just using all the same wood – just adding a light stain to some planks; I am aware that at water line this hull was probably painted white – decided not to do that, which, of course, would solve the problem.
Thanks so much for your visits and interest in this build log – so appreciated.
Regards,


I am very interested to see how the patchwork hull will turn out!Willi: Thanks for your very kind comments – very appreciated and encouraging – Thank You! - Your advice and posts have been very helpful. I will study the capstan further – I will also study the image & links that you previously posted.
================
Just started the second planking (pear wood 5 X 1/2 mm). Not sure about this – trying it according to English planking 16th century.
That said, I have seen some amazing builds that have diff. shades of planking throughout the hull – looks amazing – trying to emulate that look as well
PS: I think that builders that included different shades among hull planks was because they used several different woods? I’m trying to do this just using all the same wood – just adding a light stain to some planks; I am aware that at water line this hull was probably painted white – decided not to do that, which, of course, would solve the problem.
Thanks so much for your visits and interest in this build log – so appreciated.
Regards,
View attachment 219156
View attachment 219157
View attachment 219158
View attachment 219159
DK,
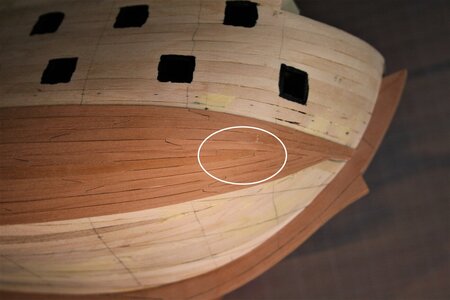
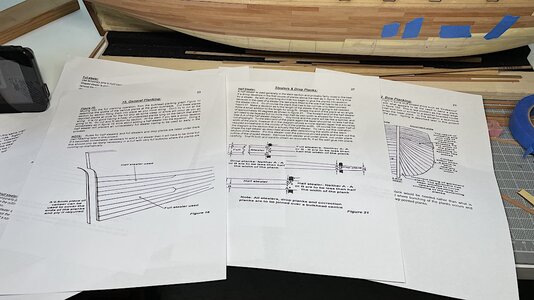
Thanks - I hope that it works out - that said I just didn't know what I was doing with the bow - (stern was still not an issue) It was going to turn out badly - So did some needed research and just now learning about stealers, drop planks, proper tapering and how to avoid the "clinker effect" an effect that was certainly becoming a problem with this project.
pulled the bow planks away, also ordered some slightly wider planks from Cornwall -- grrrr and some extra 5mm as well ---
In the meantime will work on the port - mid ship planking - leaving the bow and stern - on both sides -until after some much needed learning
PS: your Vasa planking came out so well - Good work indeed.


Hey John,
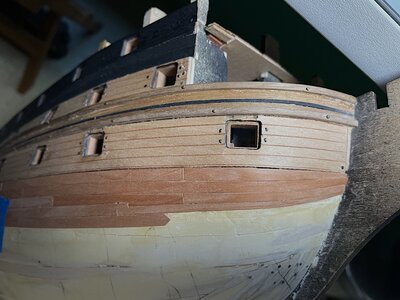
The Sovereign shares a very bluff (rounded) bow with the Vasa. I was not able to overcome that with drop planks - the clinker effect became just too much for me and the edge bending necessary was impossible using 0.5 mm strips. My remedy came in the form of spiling but the width of the strip required also necessitated using sheet veneer (not just wider strips). If you want to terminate every plank at the stem then that may be your only solution. Or give up on that ambition and let the planks terminate "in the field" like most modelers accept happily... I almost didn't survive trying to finish every row at the stem...
The Sovereign shares a very bluff (rounded) bow with the Vasa. I was not able to overcome that with drop planks - the clinker effect became just too much for me and the edge bending necessary was impossible using 0.5 mm strips. My remedy came in the form of spiling but the width of the strip required also necessitated using sheet veneer (not just wider strips). If you want to terminate every plank at the stem then that may be your only solution. Or give up on that ambition and let the planks terminate "in the field" like most modelers accept happily... I almost didn't survive trying to finish every row at the stem...
Last edited:
Paul,
Thanks for your advice - noted - I will prob. have to accept some compromises. Veneer prob not an option in my case in that I want all the planks to be pear. I'll take a look on ebay poss a pear venner option available. Whatever I do just can't have any clinker effect
Thanks for your advice - noted - I will prob. have to accept some compromises. Veneer prob not an option in my case in that I want all the planks to be pear. I'll take a look on ebay poss a pear venner option available. Whatever I do just can't have any clinker effect


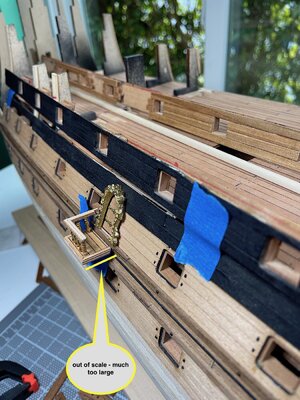
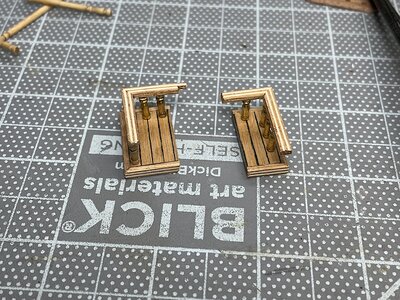
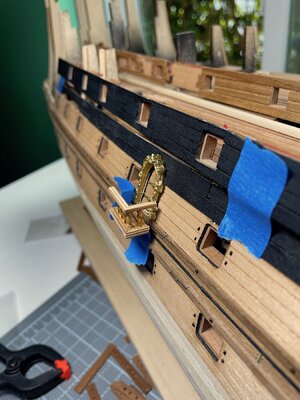
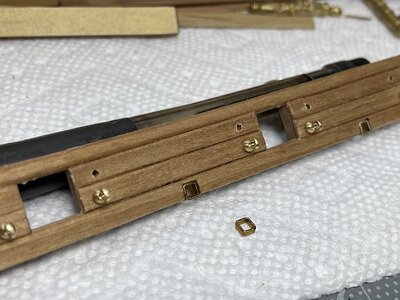
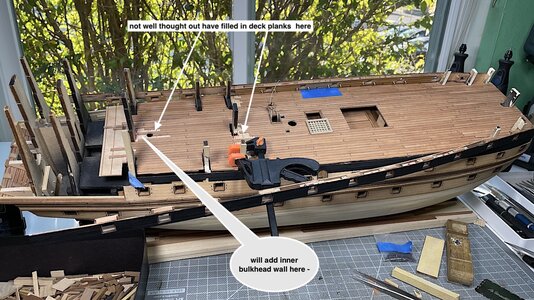
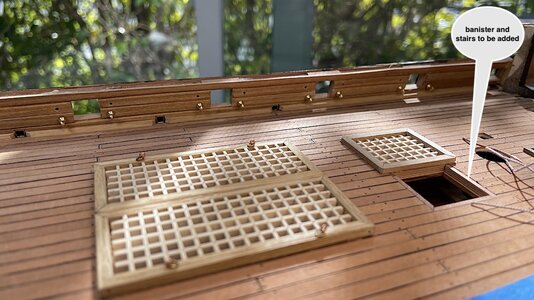
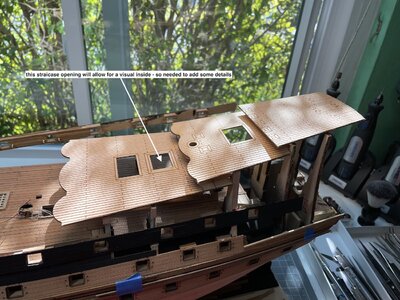
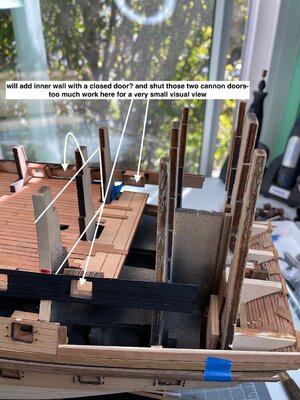

 I should have paid much more attention - well we "all" learn from each other - sometimes even before it's too late haha