Sovereign of the Seas - Sergal 1:78 (with hopefully many added details)

Hello,

Kurt: thank for your encouraging words much appreciated –speaking of changing deck planks – well a few needed to be removed, but at a very convenient time – so far – and yes, not to your level of changes on your current build, but the Sergal needed to have a lot of changes from out of the box.

I did the same with my Corel Vasa – bashing the hell out of it……

===========================

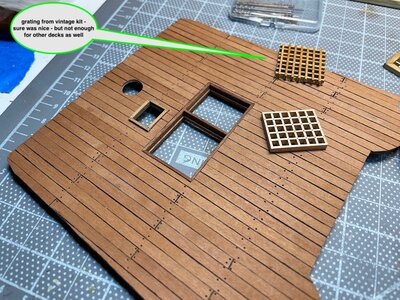
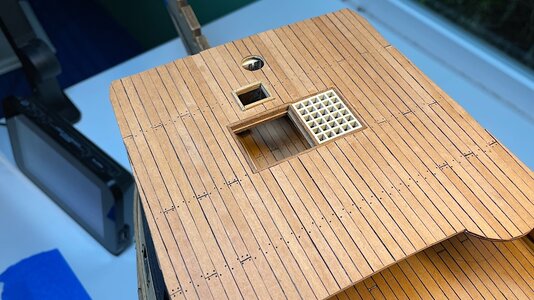
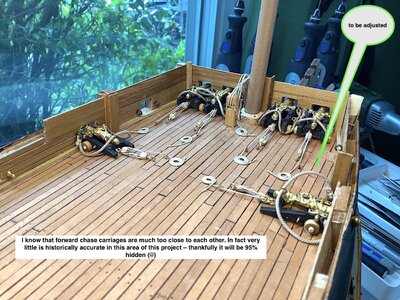
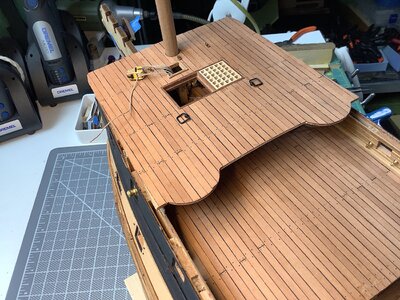
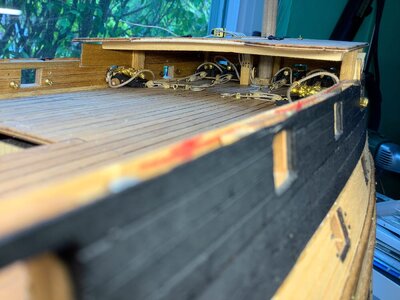
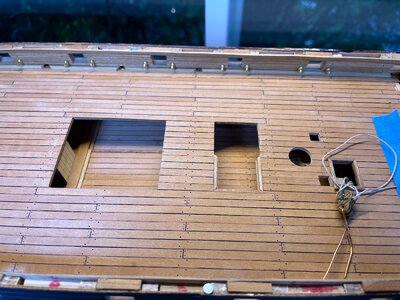
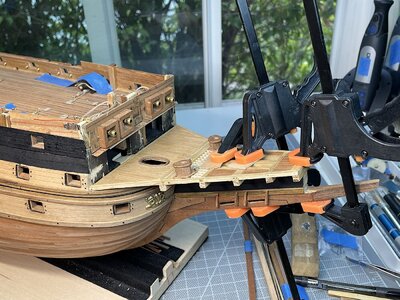
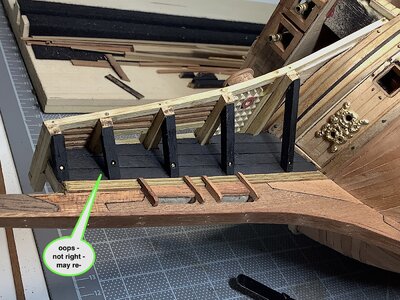
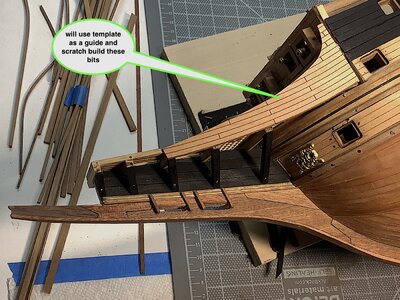
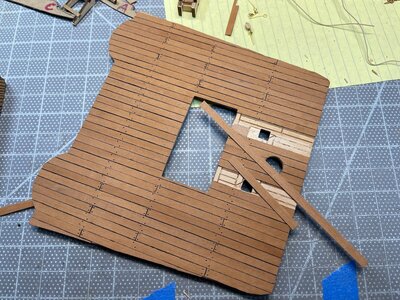
Update -- Made the needed changes to the forecastle deck removing catheads holes just aft of mast. Added a cut for the lower halliard. Those catheads as I noted in an earlier post would have had no space to anchor to main deck given the inner two forward carriages.
Instead, decided upon halliard block; same as for main mast. And finished deck inner framing for grating and open area for stairs leading down.

Finished up installing and adding only partial carriage riggings as well, as well as deleting two carriages -- All of this work will mostly be totally hidden from view, but that’s ok. And the work is my no means accurate -a bit sloppy. Deck guns and carriages will be fully rigged and carriages properly detailed.

I used the white metal electroplated guns from the current kit, not from the vintage edition – did add recoil rings – arguably incorrect

Regards,
1.jpeg2.jpeg3.jpeg4.jpg5.jpg6.jpg


Thanks Paul,
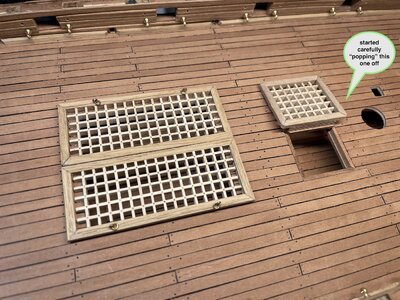
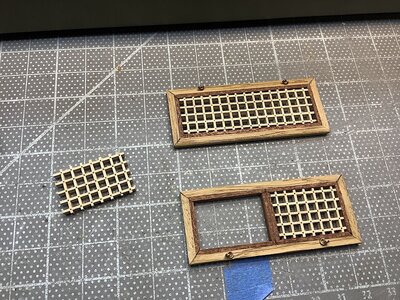
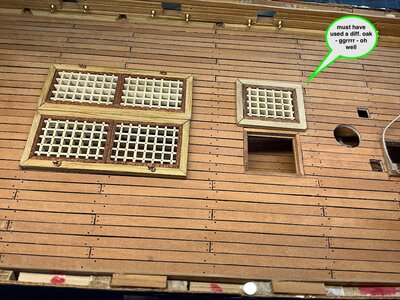
As I was reworking the fix for the forecastle knighthead, grating and staircase framing, I came to the realization that my main mid deck gratings were so wrong –
In retrospect, I should have done the same type of simple framing as for the forecastle, and main deck near mainmast openings. Hindsight!

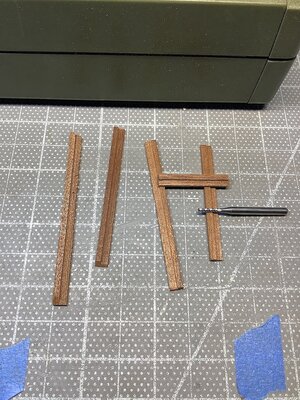
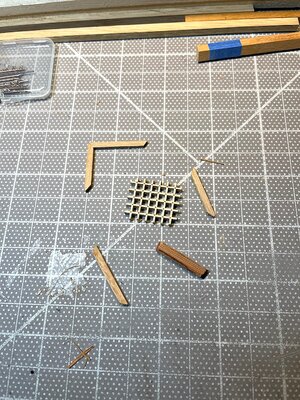
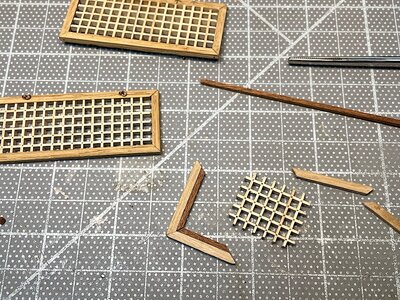
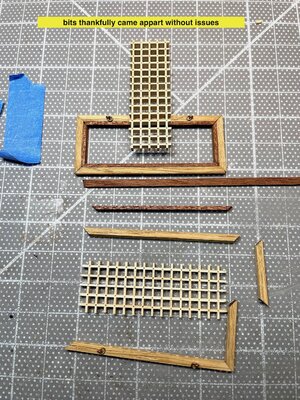
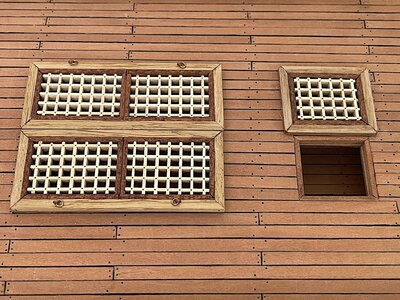
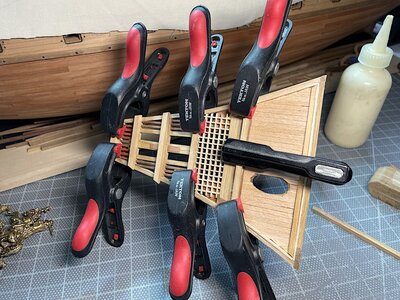
So removed and attempted to “fix” two main deck gratings - still not 100% but better.....I did not want to do the entire section all over again so here are some images of the "fix" changes....

1.jpeg2.jpeg3.jpg4.jpg6.jpeg7.jpeg8.jpeg9.jpg10.jpeg
 
Thanks Paul,
As I was reworking the fix for the forecastle knighthead, grating and staircase framing, I came to the realization that my main mid deck gratings were so wrong –
In retrospect, I should have done the same type of simple framing as for the forecastle, and main deck near mainmast openings. Hindsight!

So removed and attempted to “fix” two main deck gratings - still not 100% but better.....I did not want to do the entire section all over again so here are some images of the "fix" changes....

View attachment 235193View attachment 235194View attachment 235195View attachment 235196View attachment 235198View attachment 235199View attachment 235200View attachment 235201View attachment 235202
Awesome. A small change that really makes a world of difference. Congratulations!
 
Thanks Paul,
As I was reworking the fix for the forecastle knighthead, grating and staircase framing, I came to the realization that my main mid deck gratings were so wrong –
In retrospect, I should have done the same type of simple framing as for the forecastle, and main deck near mainmast openings. Hindsight!

So removed and attempted to “fix” two main deck gratings - still not 100% but better.....I did not want to do the entire section all over again so here are some images of the "fix" changes....

View attachment 235193View attachment 235194View attachment 235195View attachment 235196View attachment 235198View attachment 235199View attachment 235200View attachment 235201View attachment 235202
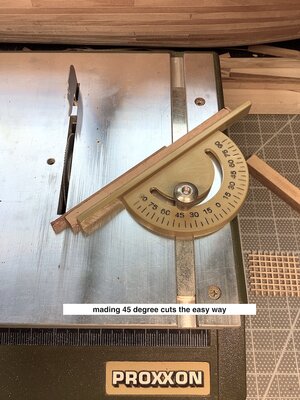
Very nice miter work on those corners. You have better skill than I do with my Proxon without enough practice and use. Rich
 
Vfordyce,

Clever idea - need to ponder this. My fear would be "Murphy's Law" makes me nervous lol - but I like your suggestion Thanks

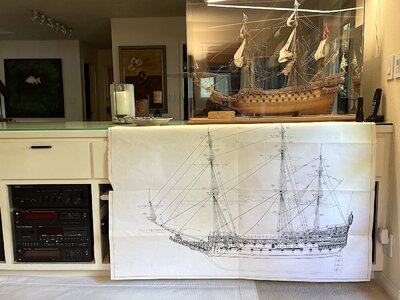
FYI: comparison to Corel's 1/75th Vasa and current 1/78th Sergal. This 1:1 profile sheet came with the vintage kit. The current Sergal kit has reduced size sheets.


IMG_1945.jpeg
 
Vfordyce,

Clever idea - need to ponder this. My fear would be "Murphy's Law" makes me nervous lol - but I like your suggestion Thanks

FYI: comparison to Corel's 1/75th Vasa and current 1/78th Sergal. This 1:1 profile sheet came with the vintage kit. The current Sergal kit has reduced size sheets.


View attachment 235361
1:1 plan sheets are the only way to go. It is too bad and a sorry state of economics in kits that reduced size/scale sheets are provided where there is so much detailing involved. Just my own thought. Rich (PT-2)
 
Hello,
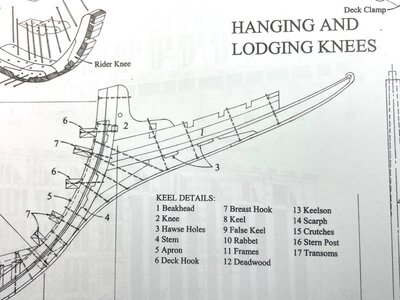
Work in progress update; used McKay as a guide.
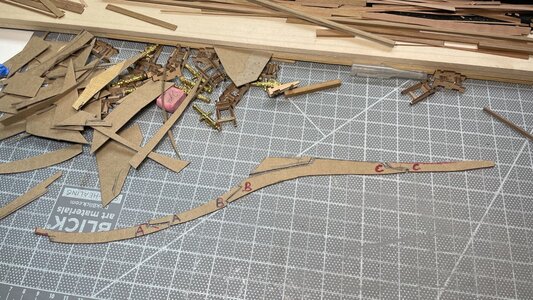
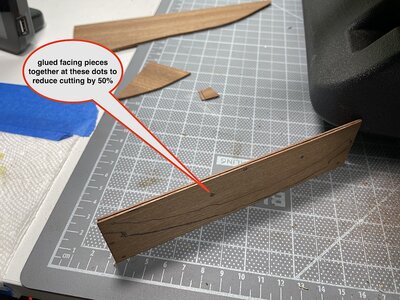
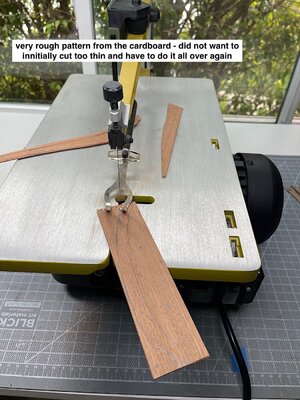
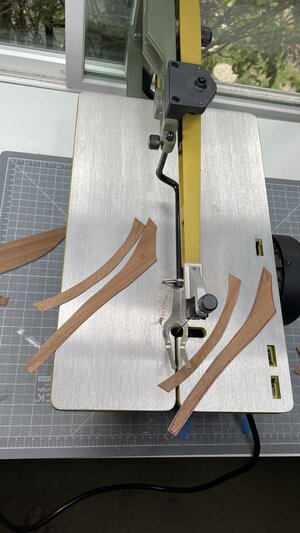
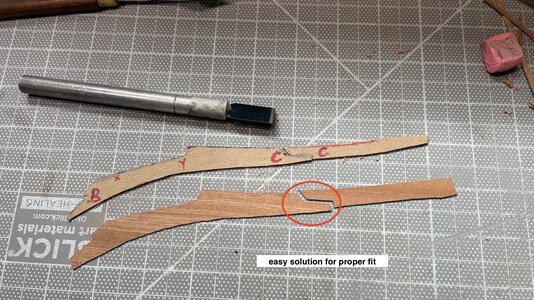
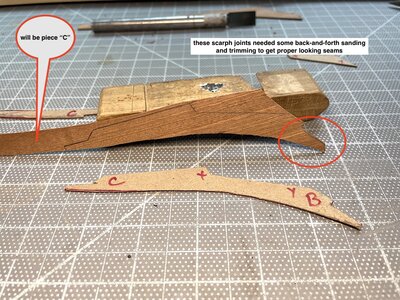
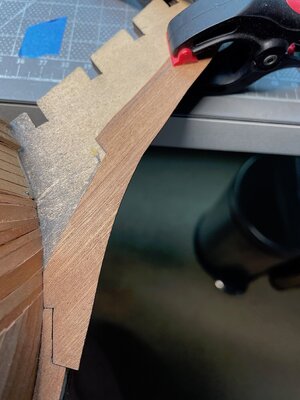
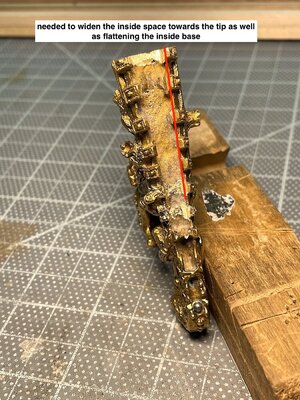
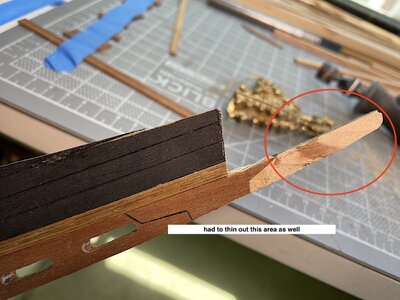
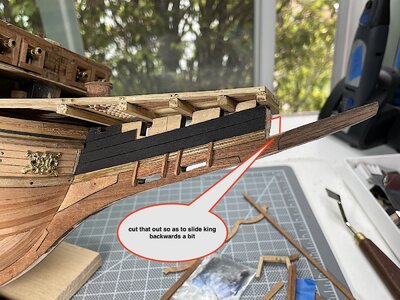
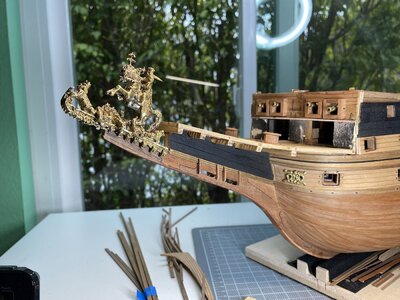
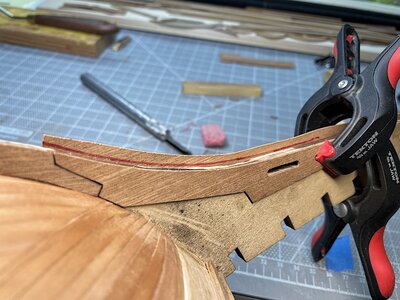
Working from a kit, and wanting to add better forward keel detail (first attempt at this) created some conundrums. I had to use thin “cover” pieces on each side of the kit provided keel, and stem area to get the right looking details.

Here are some images of how I worked this out after having cut cardboard patterns of one side.

False keel will be added later. also beakshead will be scratch built - won't use kit pre-cut laser cutout side panels or any other of the kit provided structural bits.

Regards,
1.jpeg1b.jpeg2.jpeg3.jpeg4.jpeg6.jpeg7.jpeg8.jpeg9.jpeg10.jpeg11.jpeg12.jpeg
 
Hello,
Work in progress update; used McKay as a guide.
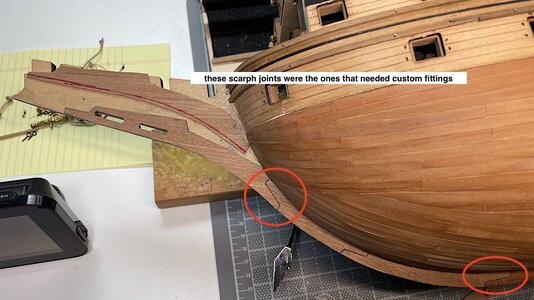
Working from a kit, and wanting to add better forward keel detail (first attempt at this) created some conundrums. I had to use thin “cover” pieces on each side of the kit provided keel, and stem area to get the right looking details.

Here are some images of how I worked this out after having cut cardboard patterns of one side.

False keel will be added later. also beakshead will be scratch built - won't use kit pre-cut laser cutout side panels or any other of the kit provided structural bits.

Regards,
View attachment 235931View attachment 235932View attachment 235933View attachment 235934View attachment 235935View attachment 235936View attachment 235937View attachment 235938View attachment 235939View attachment 235940View attachment 235941View attachment 235942
Nice use of a previous veneer order! I really love this upgrade to the kit supplied parts. The presentation of big timber makes a world of difference.
 
Good morning,

Paul:
Thanks, yes veneer sheets super helpful. You are also correct using scratch build timbers for beakshed framing will make a big visual difference indeed. And the stern galeries - when I get there - will also be almost completely scratch built....thanks for your encouraging comments :)

Kurt: Thanks as well for your interest in this build log, along with your always very helpful comments. suggestions.... I won't reach your level of expertise attempting to replicate, as best as is known, how this ship actually looked after it's initial launch. I will use "artistic license" for certain areas. McKay, Doris, as well as two German logs, and others are giving me great creative ideas in trying to improve this kit from just out-of-the-box.

PS: Yes I have seen Doris' chess set. Her art is beyond astonishing - including lighting, her interiors are also north of brilliant. BTW she also builds model cars!!!
=====================

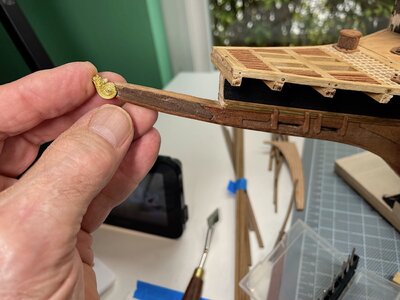
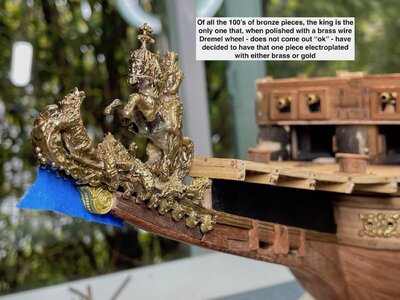
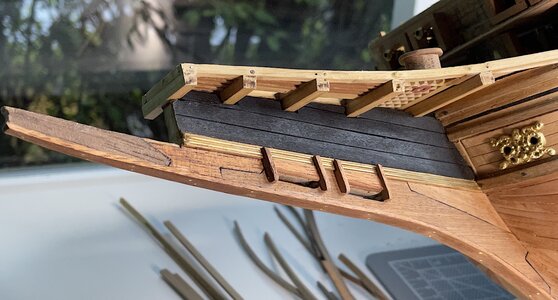
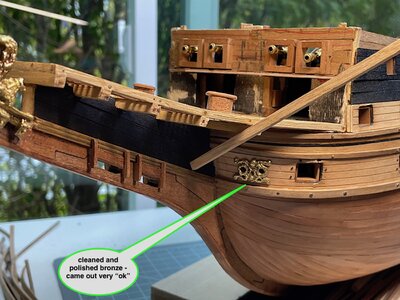
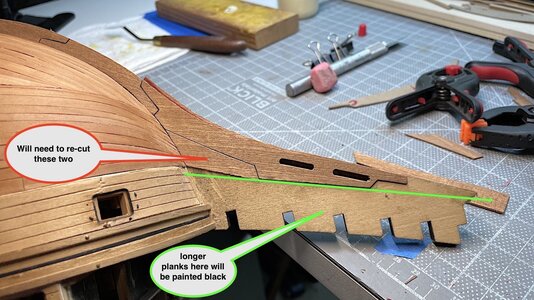
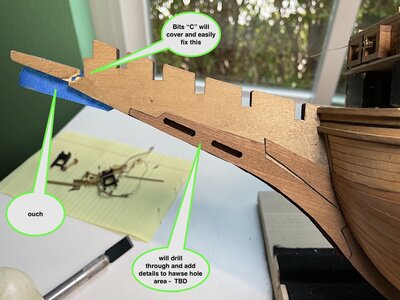
Minor update – still working on forward keel, beakshead and stem area; adding details that have taken some time, and of course some areas don’t come out right on first attempt, or areas also have to be redone (J)
Updated images.

Thanks for dropping by, likes and any comments or suggestions…

Regards,

1.jpeg2.jpeg3.jpeg4.jpeg5.jpeg6.jpeg7.jpeg8.jpeg9.jpeg10.jpeg11.jpeg
 
Good morning,

Paul:
Thanks, yes veneer sheets super helpful. You are also correct using scratch build timbers for beakshed framing will make a big visual difference indeed. And the stern galeries - when I get there - will also be almost completely scratch built....thanks for your encouraging comments :)

Kurt: Thanks as well for your interest in this build log, along with your always very helpful comments. suggestions.... I won't reach your level of expertise attempting to replicate, as best as is known, how this ship actually looked after it's initial launch. I will use "artistic license" for certain areas. McKay, Doris, as well as two German logs, and others are giving me great creative ideas in trying to improve this kit from just out-of-the-box.

PS: Yes I have seen Doris' chess set. Her art is beyond astonishing - including lighting, her interiors are also north of brilliant. BTW she also builds model cars!!!
=====================

Minor update – still working on forward keel, beakshead and stem area; adding details that have taken some time, and of course some areas don’t come out right on first attempt, or areas also have to be redone (J)
Updated images.

Thanks for dropping by, likes and any comments or suggestions…

Regards,

View attachment 236289View attachment 236290View attachment 236291View attachment 236292View attachment 236293View attachment 236294View attachment 236295View attachment 236296View attachment 236297View attachment 236298View attachment 236299
I'm with you on adding details. You add as much as your skill level and techniques allow. Fantastic work on the beakhead ! I'm going to use your technique for blackening the edges of the mahogany veneers for the stem. If I had done that for La Couronne, the seams would have looked a little better.
 
I'm with you on adding details. You add as much as your skill level and techniques allow. Fantastic work on the beakhead ! I'm going to use your technique for blackening the edges of the mahogany veneers for the stem. If I had done that for La Couronne, the seams would have looked a little better.
Oh that I had my vintage years back as my mold has definitely been overused and not longer serviceable with quality! :( Rich
 
Brilliant workmanship. This is certainly a difficult ship to build and master and it looks like you are doing both.
 
Good morning,

Paul:
Thanks, yes veneer sheets super helpful. You are also correct using scratch build timbers for beakshed framing will make a big visual difference indeed. And the stern galeries - when I get there - will also be almost completely scratch built....thanks for your encouraging comments :)

Kurt: Thanks as well for your interest in this build log, along with your always very helpful comments. suggestions.... I won't reach your level of expertise attempting to replicate, as best as is known, how this ship actually looked after it's initial launch. I will use "artistic license" for certain areas. McKay, Doris, as well as two German logs, and others are giving me great creative ideas in trying to improve this kit from just out-of-the-box.

PS: Yes I have seen Doris' chess set. Her art is beyond astonishing - including lighting, her interiors are also north of brilliant. BTW she also builds model cars!!!
=====================

Minor update – still working on forward keel, beakshead and stem area; adding details that have taken some time, and of course some areas don’t come out right on first attempt, or areas also have to be redone (J)
Updated images.

Thanks for dropping by, likes and any comments or suggestions…

Regards,

View attachment 236289View attachment 236290View attachment 236291View attachment 236292View attachment 236293View attachment 236294View attachment 236295View attachment 236296View attachment 236297View attachment 236298View attachment 236299
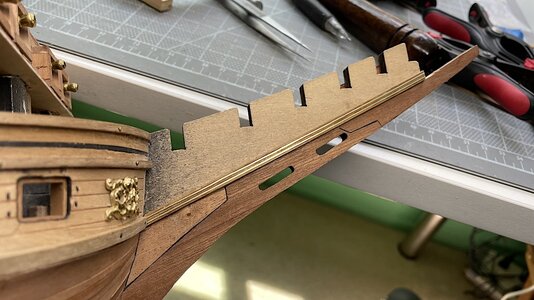
Nice small detailing with the added brass rods forward. Rich
 
Paul:
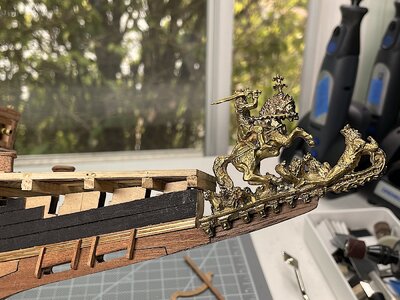
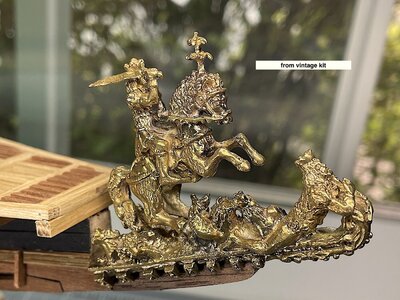
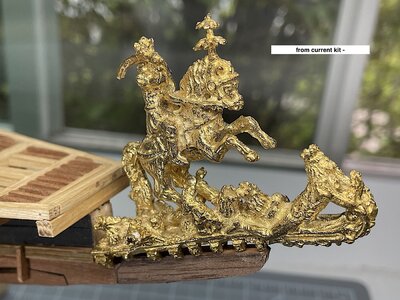
I had had some communication with Nigel regarding this issue with the new "improved" kit and its castings. He mentioned (if I remember correctly) that Sergal some years back was sold, restructured, or went to new management for cost cutting measures – I don’t remember which. They then revised some of their products; one of which was their SotS (Nigel if you happen to see this thread please chime in).

They “improved” the new release by including pre-scored decks, laser cut gratings, a build booklet as well as other pre-ready bits.
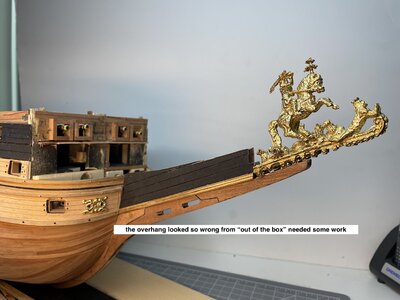
Then, it was also decided to delete the expensive solid bronze castings with cheaper white metal/bronze blend electroplated substitutions.
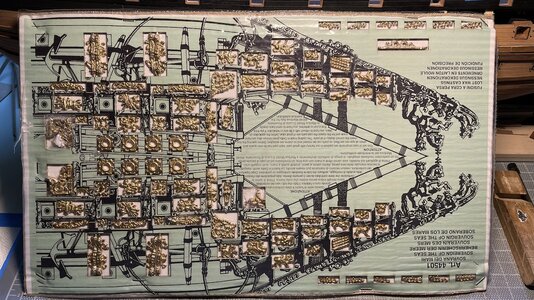
The resulting castings lost “some” details. I have no information regarding casting molds. That said the blister packs showing the exact location of the many 100s of castings is indeed an excellent upgrade. The vintage kit uses several plastic boxes with the 100s of bits mixed together.

Vfordyce: Thanks!! Your suggestion on how to tone down that grid framing was great – I added a bit of the oil I used for the second pearwood planking, then a bit of sanding – now frame looks very OK…again thanks for the advice.

Donnie: Thanks so much, I discovered SoS looking for Santisima images on Google – spent lots of time going through your awesome build – kudos to you !! Your log was very helpful during the rigging of my cross-section of same ship.

I really appreciate your super kind remarks. I am enjoying trying to improve my skills as I work on this one. Though I have also had occasion(s) to use language unfit for most ears – including my Admiral’s haha….

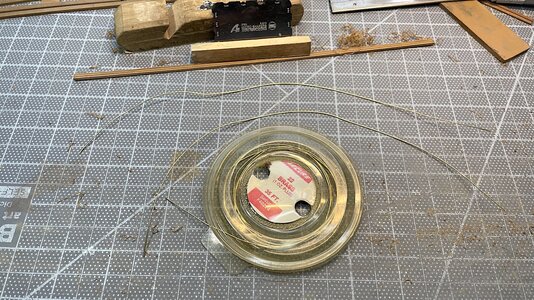
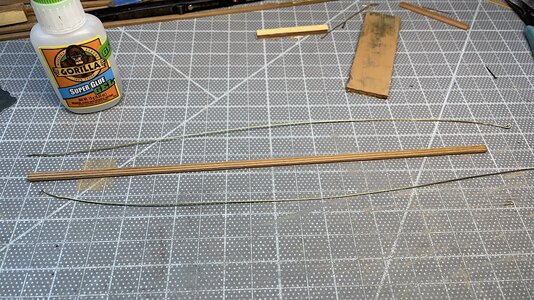
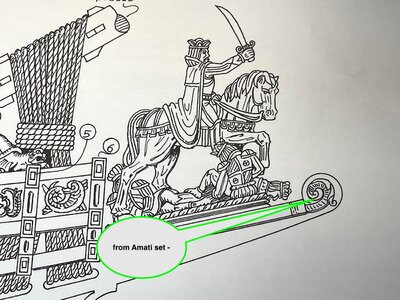
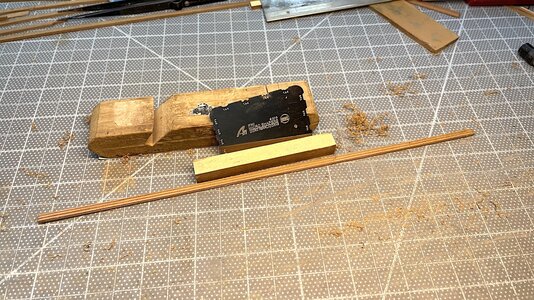
PT-2: As always thanks for your kind comments and following along. The brass was an after thought. I new that for the lower wales, I wanted to add some details to the timbers with grooves – then just thought about the idea of using brass wire as an added detail for those two timbers at the beakhead stem area… considering using this technique in other areas yet to be built.

Cheers,

IMG_2043.jpegIMG_2039.jpeg
 
Back
Top