You are using an out of date browser. It may not display this or other websites correctly.
You should upgrade or use an alternative browser.
You should upgrade or use an alternative browser.
Statenjacht PEGASUS circa 1700 [COMPLETED BUILD]
- Thread starter Dematosdg
- Start date
- Watchers 25
-
- Tags
- completed build
Looking great, Daniel! That's some bluff bow. How did you bend planks?Hi all
This week has been slow for the hobby, but nevertheless I was able to accomplish some work.
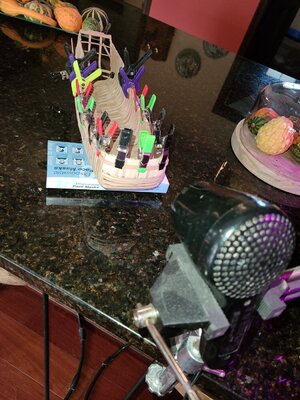
First I glued some beans (see pictures with arrows) for an internal section of the lower deck. Then I added a couple more planks to the hull and finished the internal lower deck sections. Today I sanded and gave the hull a pass of Tung Oil.
Still I need to continue with the hull planking (externally and internally)
View attachment 192727View attachment 192728View attachment 192729View attachment 192730View attachment 192731View attachment 192732
View attachment 192736
Cheers
Daniel
You are making good progress. I think what @Heinrich is trying to say is glue of any kind does not adhere to tung oil very well
Yes... I understood that very well. I was just trying to have fun. If the glue do not adhere, I will sand it again. I'll will let you know.
Looking great, Daniel! That's some bluff bow. How did you bend planks?
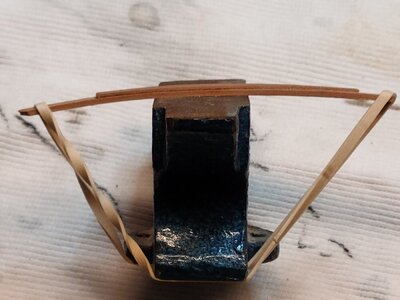
Against all my fears, I found that Pear Wood is very easy to bend. 15+ minutes in water. My bending /drying for the Pegasus.
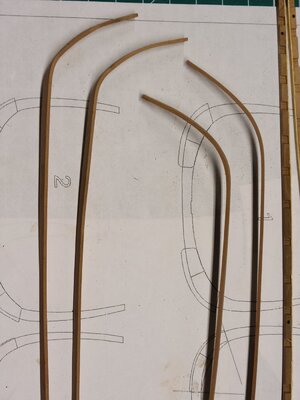
Those are 1.5 x 5 mm for the hull.
The below are the ones that came with the kit 2.5 x 5 mm. I bent them inside the hull as they will be used for an inside part. I had those for more than 30 minutes in cold water.
I kept them in that way till I glued it inside to avoid any curvature losing. They are in 1 piece. So I was able to bend the full strip
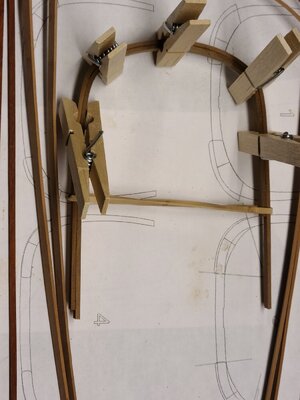
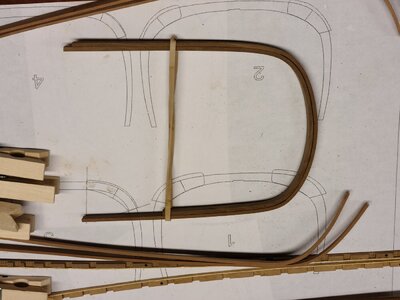
Daniel
Last edited:
Okiedokie.

Heinrich... here we are starting the Day... a nice and cold Sunday. When I saw your posting I went to the shop and pick up the testing plank piece to which I applied , half Poly and Half Tung Oil. You see the 2 colors on the picture. Please don't ask me which is one as I can't remember. The point is that, still fresh on the sample, I decided to use the Tung Oil instead of Poly on the hull.
Now, I glued that sample to a non treated piece of plank.
Then have a coffee, answered the wood bending question and came back to the shop to check the status of my experiment. Let's say that ~45 minutes have passed since I glued both with WeldBond
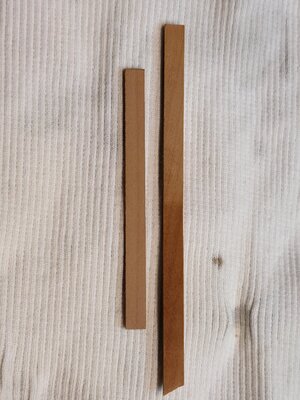
WeldBond added.
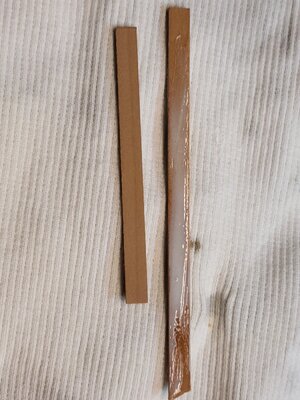
Both glued
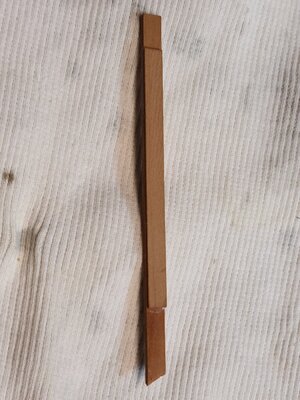
~45 minutes later
Result: So far so good.
I will repeat the experiment later. If I see they are not well attached I will give a light sanding.
I will add Tung Oil to another piece of plank now and later, in the afternoon will glue it to another piece.
Virgin plank
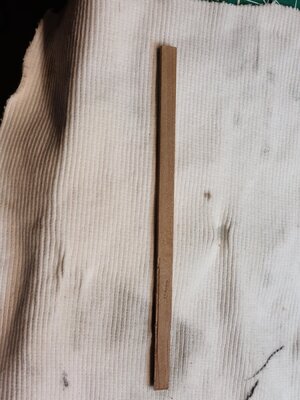
Added Tung Oil to a section
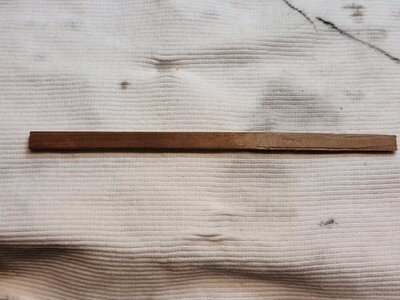
Now I will let it dry till the afternoon. And check if I can glue over it.
Cheers and have a good night there in China
Daniel
The bond looks good! That is great. Maybe I should try Weldbond at some stage! Keep us posted; if the Weldbond does the trick, it is certainly worth using when deciding on a Tung oil finish.
At the end the attachment was weak. You were correct. With some force I was able to un-glue it. So I sanded the experimental piece of wood and glued again. After an hour holds strong. Time to go to sleep. Will see tomorrow if it it strong enough
The hull has just one pass of Tung Oil. So I sanded again the full hull. Something is true.... now the hull is smooth like porcelain with so many sandings
Cheers
Daniel
Well, I was able to finish the main part of the hull planking. I will consider this phase finished. I will move on now to the hull interior, where the real fun is on this kit.
At this point, nothing is left of what was provided with the kit, beside the decorations and deck beams.
As I mentioned previously, I didn't use the kit planks.
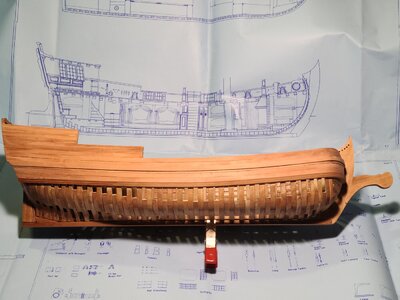
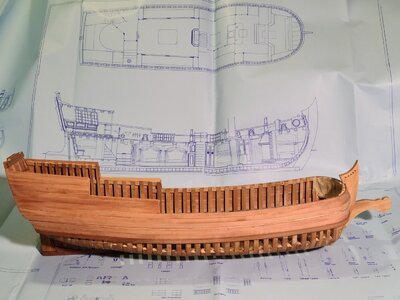
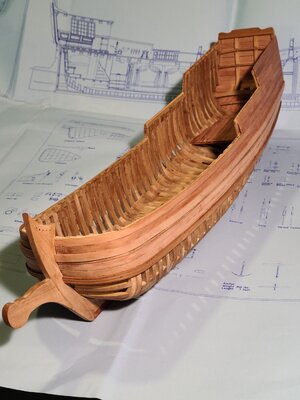
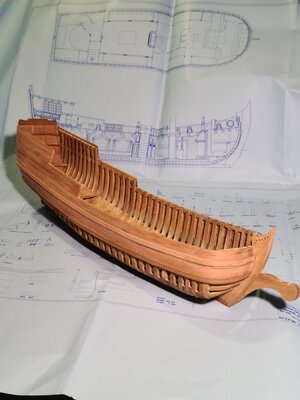
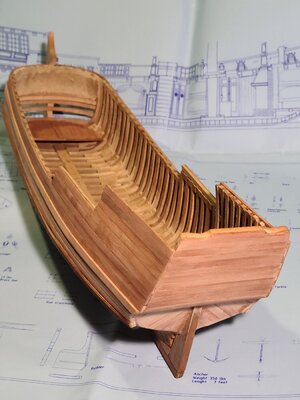
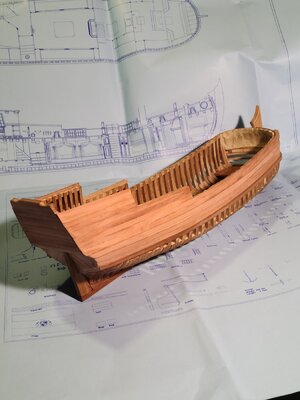
Cheers
Daniel
At this point, nothing is left of what was provided with the kit, beside the decorations and deck beams.
As I mentioned previously, I didn't use the kit planks.


Cheers
Daniel
Lovely work Daniel, look forward to your interior build.
Lovely work Daniel, look forward to your interior build.
Thank you Maarten !!! I can't stop thinking in that interior design and how to do it and where will be my skills limits.
Next will be to finish the lower deck floor and place the lateral beans support for the upper deck floor.
The circular staircase is not done by most of the modelers. That will be the first interior part I will focus on. If I fail, I will move on without that stair. And that change the beans design in that area and the cabin design too. That's why I will try that circular staircase first.
You can see that staircase in the pictures at the left of the Utrech Plan drawing.
Wish me luck..... a lot of fun... and just a very few @#$%
JA JA JA
Daniel
Looking great, Daniel! Beautiful lines.Well, I was able to finish the main part of the hull planking. I will consider this phase finished. I will move on now to the hull interior, where the real fun is on this kit.
At this point, nothing is left of what was provided with the kit, beside the decorations and deck beams.
As I mentioned previously, I didn't use the kit planks.
View attachment 193531View attachment 193532View attachment 193533View attachment 193534View attachment 193535View attachment 193536
Cheers
Daniel
Looking great, Daniel! Beautiful lines.
Thank you !!!
Looks good Daniel, Well done.
Do you intend to stick to the plans of the interior or have you other ideas in mind. Lots of scope to
do whatever you want I guess.
Well, let me start saying that I will start with the most difficult "for me". And let me clarify that I HAVE NEVER BUILT SOMETHING LIKE THIS. My full experience just go to the classical kit building. I will have a lot of questions and requests for help.
A) I will try to replicate this room with the double deck floor to allow the tiller. And the circular staircase.
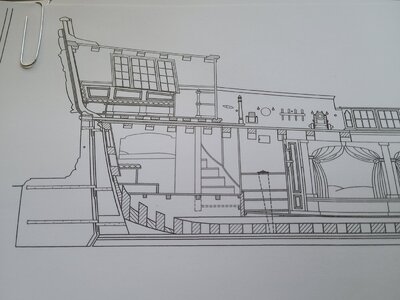
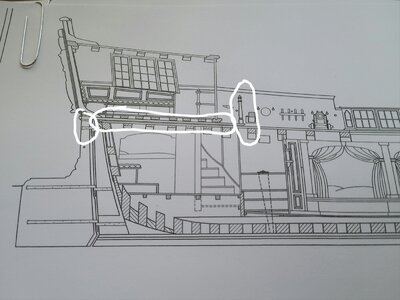
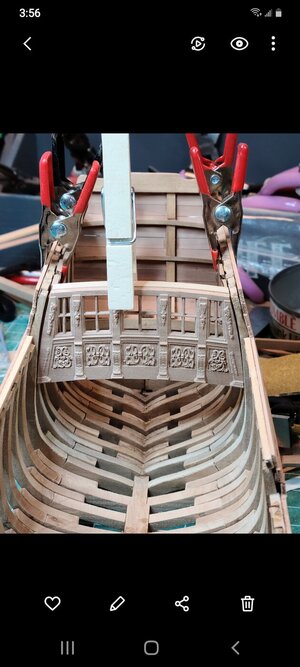
I need to see how I can fit this wall (below picture taken of my Kit last week)
This is a Russian modeler that did it.
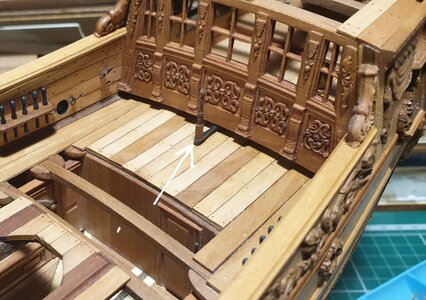
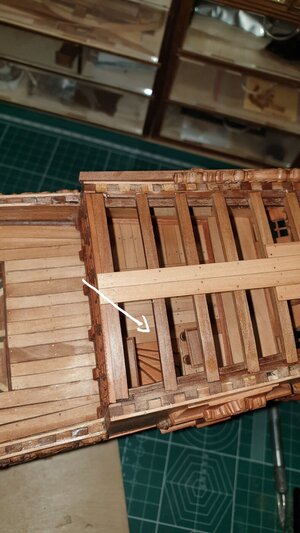
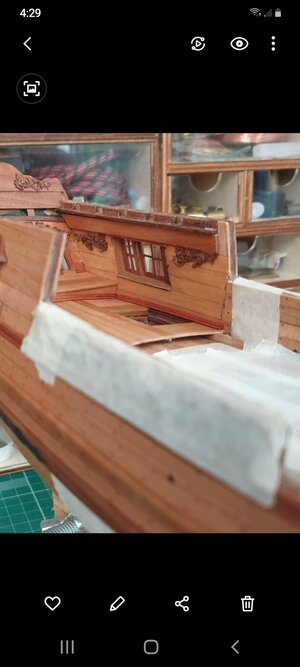
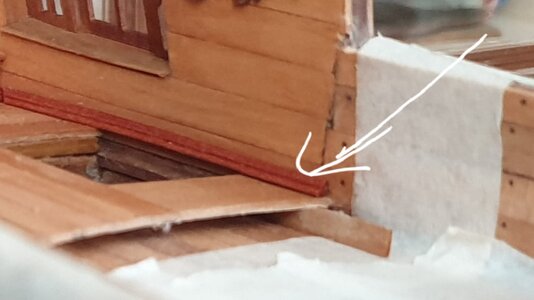
If I fail, meaning that I can not find my way on how to do the doble floor and stair, then I will do the way the kit was designed.
Pictures from Jerónimo's built at SOS
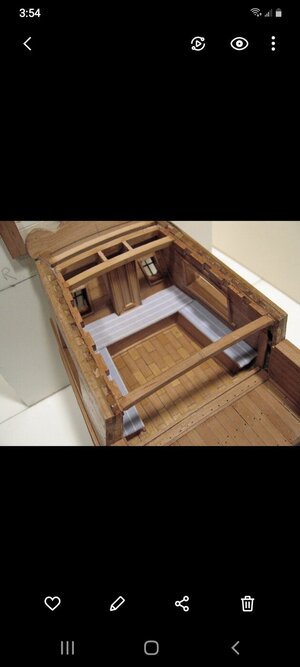
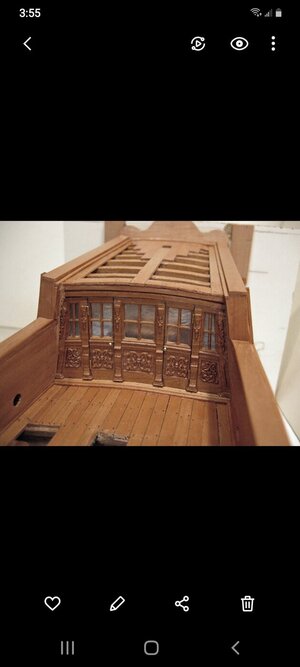
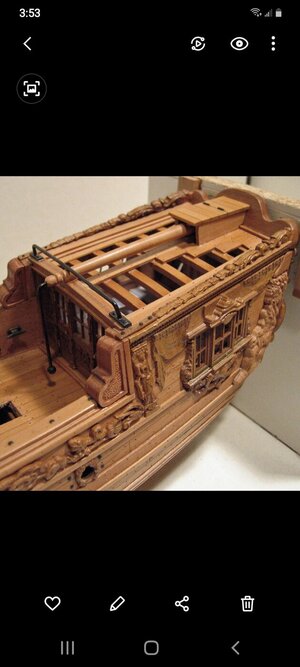
Let's see......
Now you understand why I can't stop thinking on that interior.
Plus, if you visit Jerónimo's Pegasus build, you will see all the detailed work he did (also the Russian modeler). I hope I am half as good and I will be smiling.
Cheers
Daniel
Last edited:
If you need inside pictures of the Utrecht let me know. I have been sailing for a day with her two years ago so I do have inside pictures of the cabins.Thank you Maarten !!! I can't stop thinking in that interior design and how to do it and where will be my skills limits.
Next will be to finish the lower deck floor and place the lateral beans support for the upper deck floor.
The circular staircase is not done by most of the modelers. That will be the first interior part I will focus on. If I fail, I will move on without that stair. And that change the beans design in that area and the cabin design too. That's why I will try that circular staircase first.
You can see that staircase in the pictures at the left of the Utrech Plan drawing.
Wish me luck..... a lot of fun... and just a very few @#$%


JA JA JA
Daniel
Wishing you luck..... a lot of fun... and just a very few @#$% !!!!Wish me luck..... a lot of fun... and just a very few @#$%
If you need inside pictures of the Utrecht let me know. I have been sailing for a day with her two years ago so I do have inside pictures of the cabins.
Please, feel free to send me the pictures that you consider pertinent. I have the Utrech book, but I am sure yours will be more detailed. I will PM my email address.
Thank you !!!
Daniel
Hi Maarten,
please show the picture here.
Karl
please show the picture here.
Karl


