Sultana - Colonial Schooner, 1767 - by MS, Scale 1:64 [COMPLETED BUILD]

Joined
Dec 1, 2014
Messages
1,183
Points
493

Location
Vancouver, BC
It is time to start a new build; actually it is time to continue with existing build i started some time ago while still residing in my rented apartment.
No room to do much but eager to get back to favorite hobby, i opened a box and started building it. Unfortunately at some point i realized that it is better to drop it back in the box and wait for better times, actually to get to the new place... After some time, my new shipyard was ready and it is time to start it again. So back to the shipyard after completion of Greek Birema, opened already opened box and started new ship building journey.
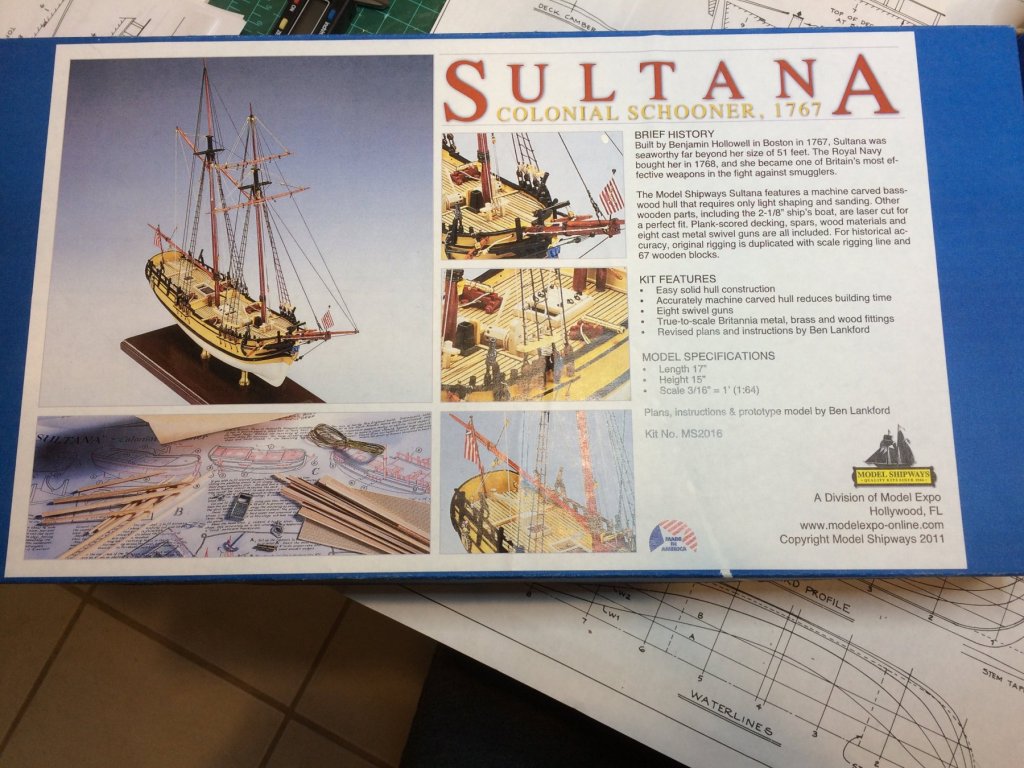


I will be following Chuck Passaro's building practicum for Sultana. I think it is covering very interesting approach to build and very useful for people wishing to get back to this hobby.

So lets start...

This is a solid hull model, that need some adjustment during building process. First is to remove existing bulwarks that will be replaced with double planking. In the box we have some amount of planking material i will be replacing with basswood that i have in my shop. I will be cutting it on my mini table saw.
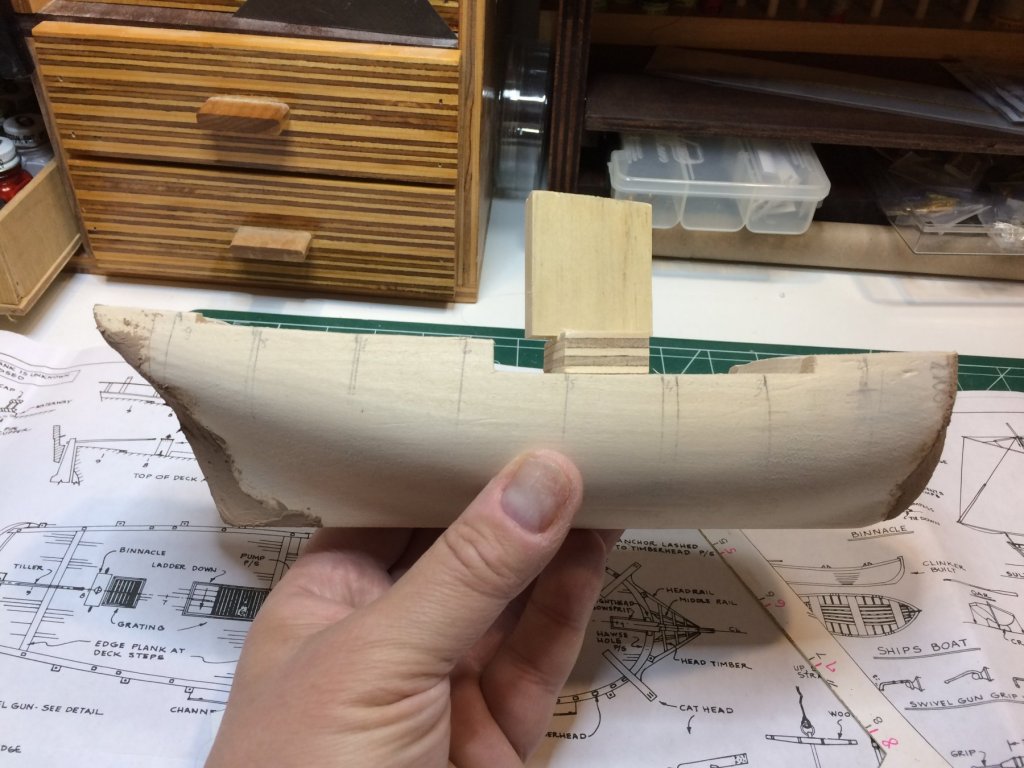
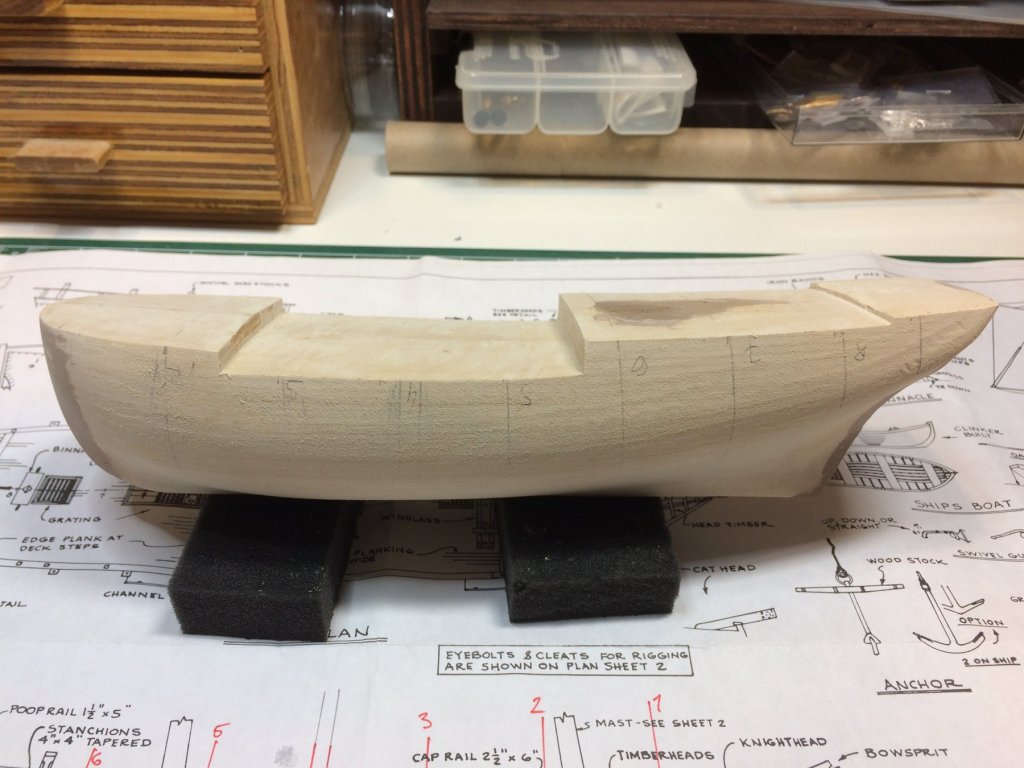


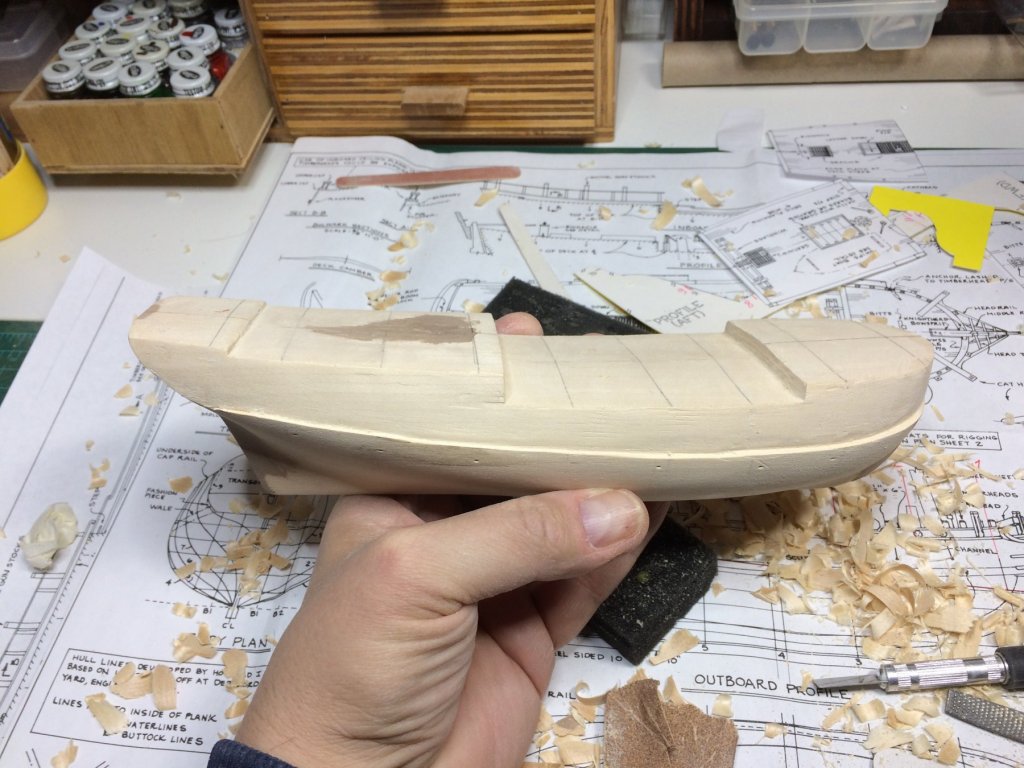
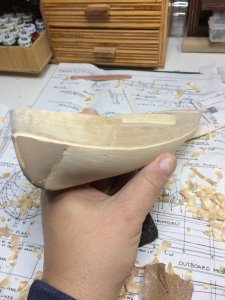
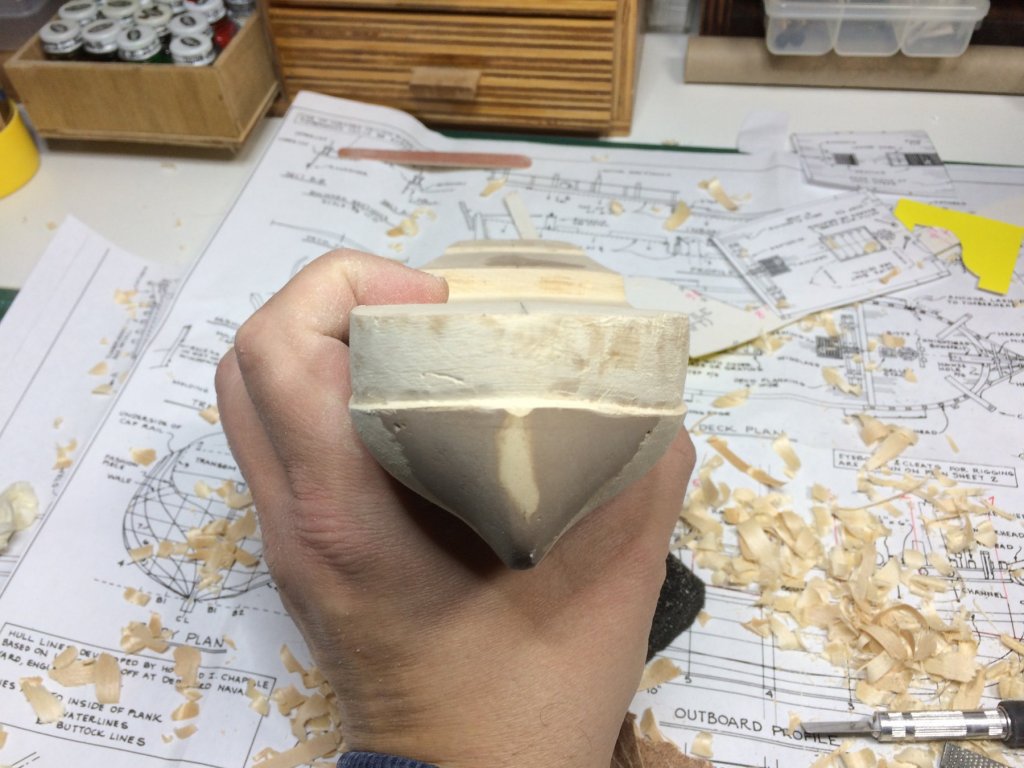
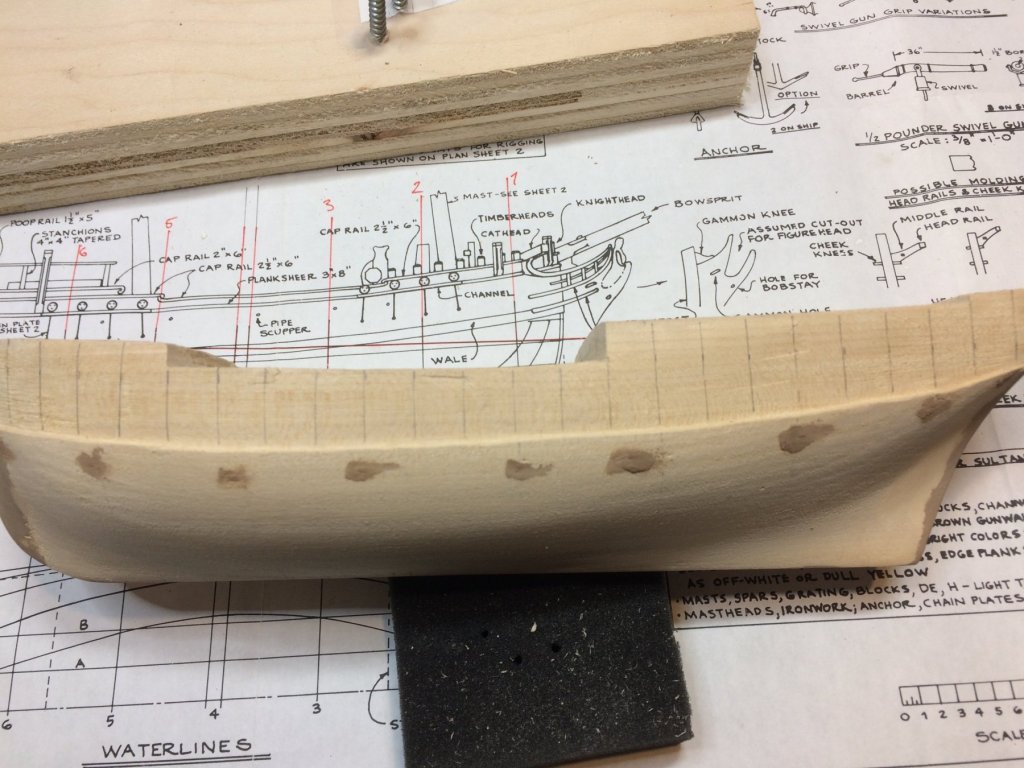
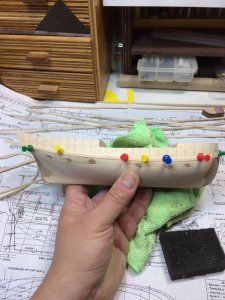
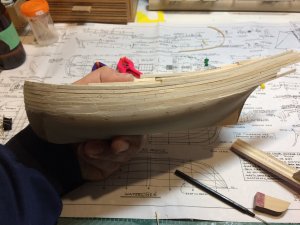
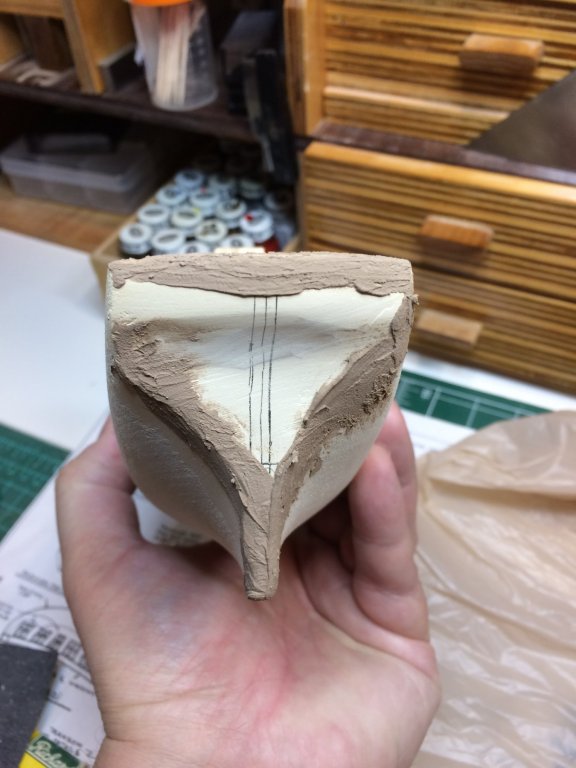
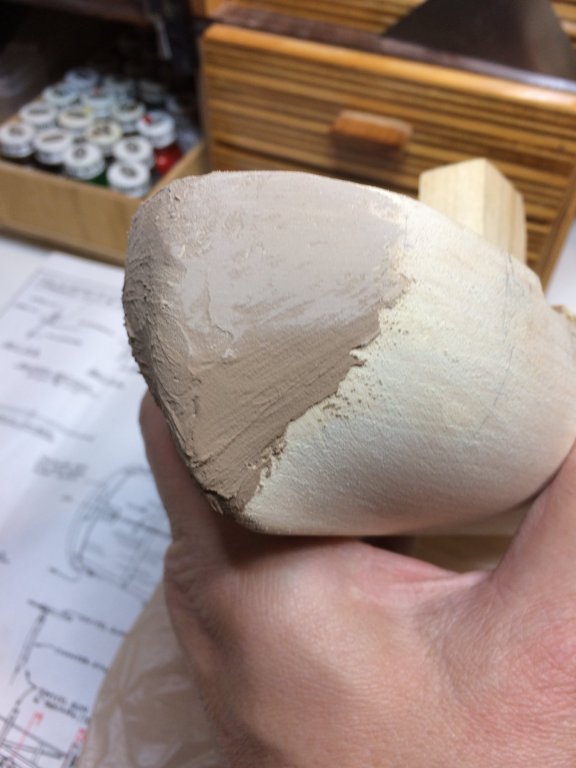
Here is hull with removed bulwarks, at the deck level hull was sanded and some wood filler added to correct the hull shape.
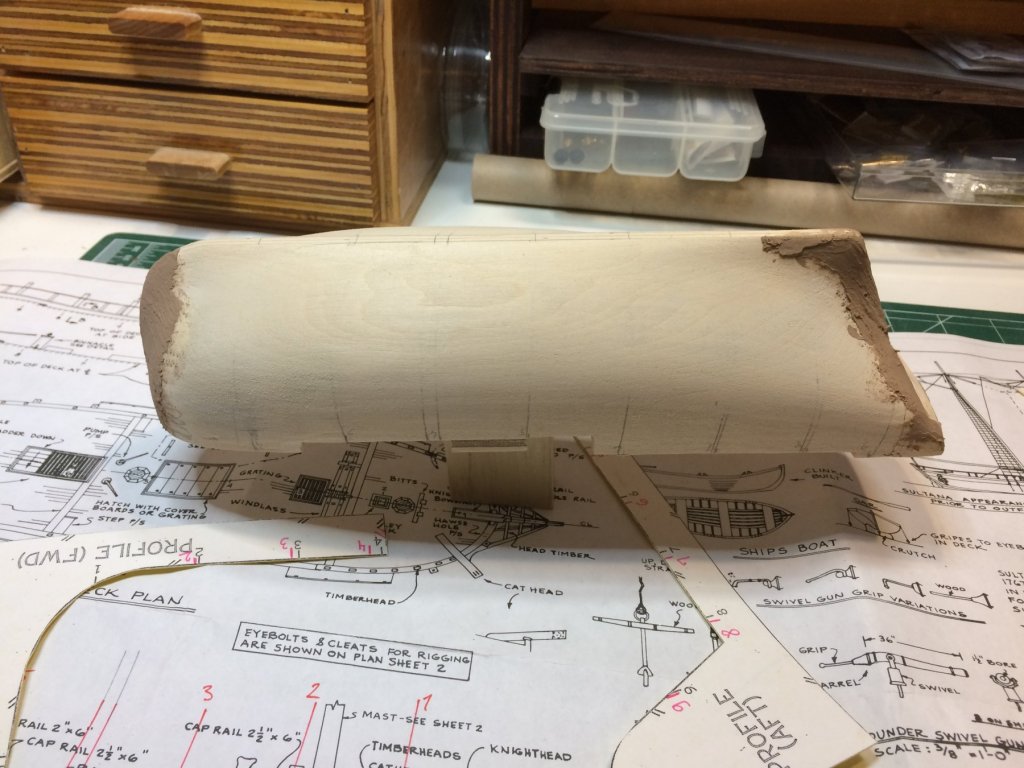


Ok, that is for now; see you all soon..

Happy modeling..
 
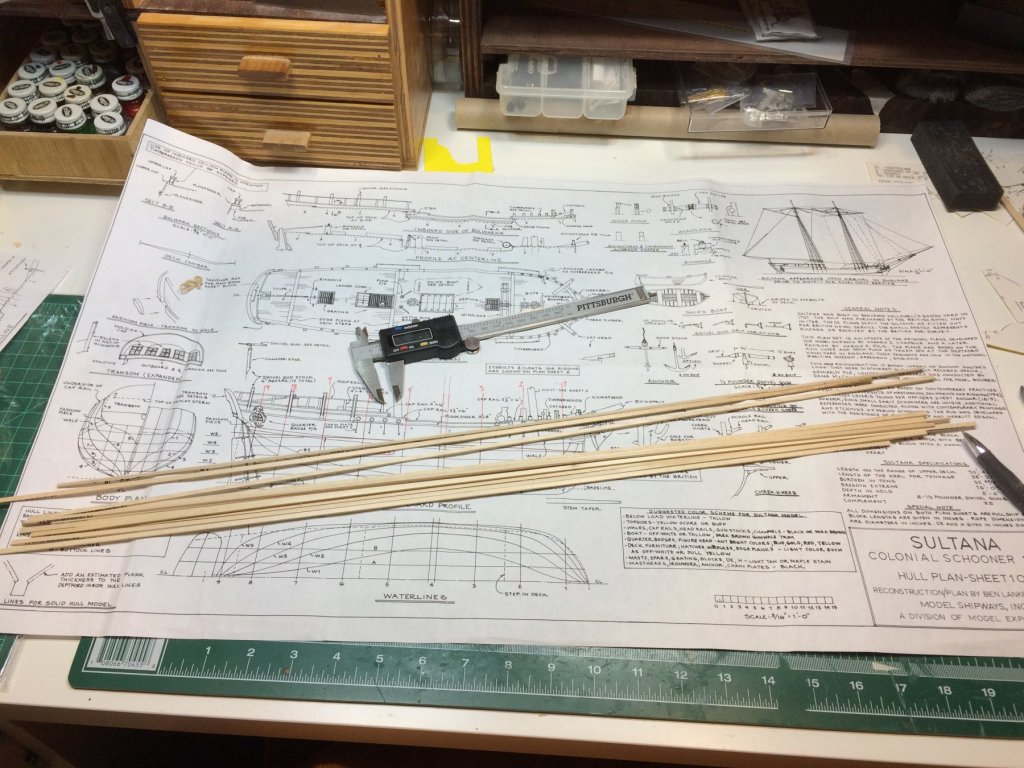
The model will be planked above the wales and on deck. This will make significant change in appearance of model so lets get started. This will require some carving on the hull and preparing deck for extra planking. Plank size will be 3mm wide and 1.5mm thick. For this stage i decided to use basswood which i purchased some time ago but strips have to be cut to correct size. I cut it on my Proxxon table saw very easily and precise.


Using references marked as W on templates i mark down location of wales which will also be where i will start carving the hull. Carving process will remove app 1.5mm of hull, just above the W mark and all the way to the deck level. First i made a reference line using some flexible wooden plank and running the line with pencil.


carving1.jpeg

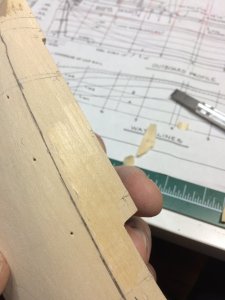
Rough line is on and we can start carving to the depth of 1.5mm using Xacto blades or any other favorite tool you prefer. I mostly used flat blade #17 for all carving work at this stage and standard #11 blade. I used #17 to score along the reference line marking 1.5mm on the blade so i don’t get to deep. Then start removing small amount of woods, basically shaving it in controlled manner. Started from a mid ship towards the bow, then turned the hull around and shaved to the stern. Just make sure you measure it often, making the grove very close to 1.5mm. Then smooth the surface with sanding. Do spend some time on this process, it is worth the effort.

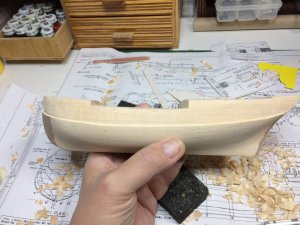
The end results are fairly nice.


carving4.jpeg


carving3.jpeg


Then i drew some reference lines i will use to simulate individual plank length. Lines are separated 10mm apart.


Each plank should be 6 ref lines in length. You can also cut planks to the size but one long plank will assist in making bulwarks.

First one, along the ledge...

markingWale.jpeg

I also used a jig to curve the planks as at the bow the curve is fairly extreme. 15 minutes in water bath and then slowly put them into jig.

Here is my very sophisticated plank bath setup.


I am sure that anyone here has its own preferred method to bend planks...

Planking jig..


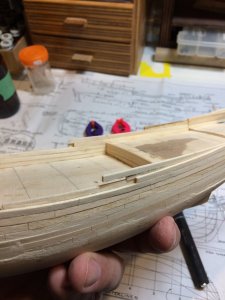
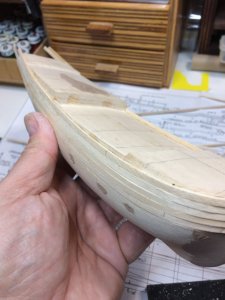
Planking on the way. The idea is to lay planks all the way up to the deck and start another layer of planking from the deck, overlapping them and making a bulwarks.


planking01.jpeg

On my way up to the desk, i marked each plank to simulate individual plank length...

planking2.jpeg


planking3.jpeg

planking4.jpeg

planking6.jpeg

planking7.jpeg


Tomorrow will cut the bulwarks in correct hight and drill holes to simulate trunnels. The hole will be filled with some wood putty and, as suggested in Practicum, the putty will be thinned with water.


Happy modelling.
 

Attachments

  • planking8.jpeg
    planking8.jpeg
    164.9 KB · Views: 28
  • carving5.jpeg
    carving5.jpeg
    215.3 KB · Views: 27
  • carving6.jpeg
    carving6.jpeg
    258.1 KB · Views: 24
  • planking1.jpeg
    planking1.jpeg
    163.4 KB · Views: 29
  • planking5.jpeg
    planking5.jpeg
    152.7 KB · Views: 31
Simulating trunnels with wood putty; it appears to be very nice after all. It might not be able to match real trunnels but for this ship, will work very well.

Simulated holes.jpeg

holesfilled and sanded.jpeg

I need to add some extra wood; the hull shape at the stern was not quite as on plans so some extra work will be required to make it as close as possible.

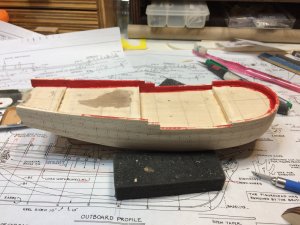
I also run second coat of red color. It might need one or two more but will see when it dries completely.

redpaint01.jpg

SecondLayerRed.jpeg

Tomorrow will attack transom; need to make few copies of plan so i have extra templates to work with..

Happy modeling.
 
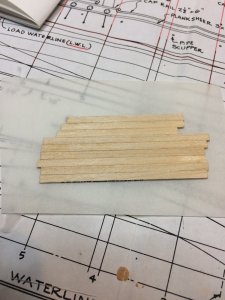
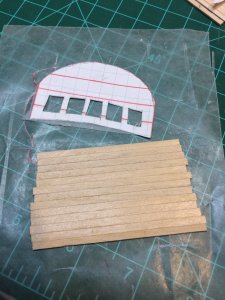
I have spent some time building a transom for Sultana. I did not have adequate size wood so i ended up doing some "planking" for transom.

First i cut planks in correct length..

File_008.jpeg

then on the peace of wax paper i start gluing them together..


File_006.jpeg

Two sets of these are needed so here is the second one.


File_007.jpeg


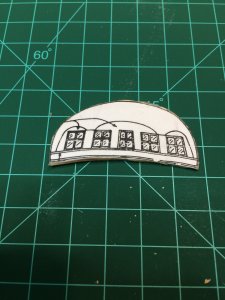
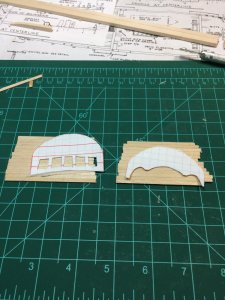
Then a copy of transom from the kit plan was glued to the planks and i start cutting around it.

File_005.jpeg

For cutting i used #11 knife and slowly cut around corners.
Then a bit of sanding was needed to make it smooth.


File_004.jpeg

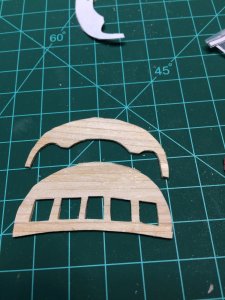
Then windows are cut...


File_003.jpeg

and final product ..


File_001.jpeg


Now i need to prep hull for transom, then to build windows and mount them..


More to come..
 
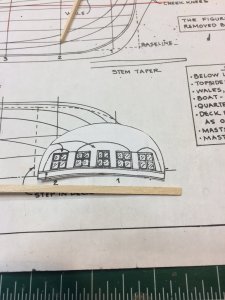
I did not like how transome was done particularly the fact that planks do not follow the template correctly so i ended up having planks slightly crooked to the windows shape. I decided to make a new transome and a transome template.


TransomTempalate.jpeg


I draw the new transome template. It is a bit bigger than original. It appeared to me that transome from the plan does not quite fit the ship; there are few pictures on other people' building logs showing the transome wider and bigger than the one from the plan so i decided to make a new one. So pulling up my old, high school compass set, i draw the template.


TransomeTemlate01.jpeg


Template end result...


Then i start cutting planks to desire length, gluing them together on the peace of wax paper (the one used in the kitchen).

TransomePlanks02.jpeg


TransomePlanks01.jpeg


TransomeTempaltes03.jpeg

Planks glued and template attached into. Ready for cutting and shaping..

Tempaltetransomeplanks.jpeg


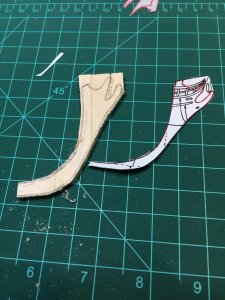
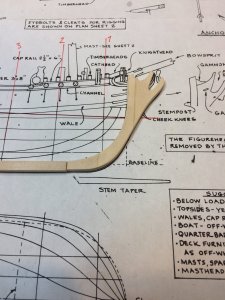
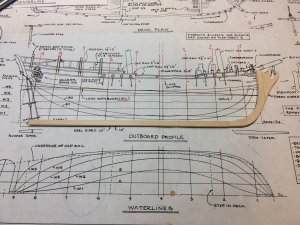
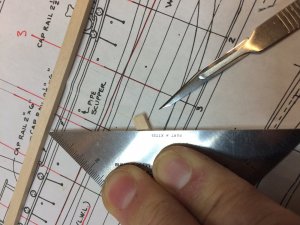
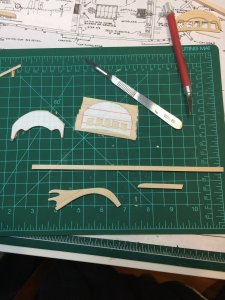
Then i decided to work on keel. Following plan template i glued three pieces of basswood (these are from the kit), transfered the stem template and cut the shape. I used #11 knife and a scroll saw. Sanded to the shape; outside edges will needs to be tapered to 3mm thickness later. Then on my Proxxon table saw i cut the keel, leaving it to be a bit longer in case i need to accommodate something (mistake or some other `booboo`)...


KeelProcess01.jpeg


Keel04.jpeg


Keel05.jpeg

Keel.jpeg


And then i worked on sternpost..

Keel1.jpeg


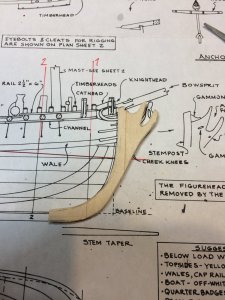
Testing the stem fitting...

Keel03.jpeg


And accomplishment for today..

AllDone.jpeg


Happy modeling..
 
It was a good decision, that you made the transome once more. If not you would be angry about yourself not having done it correctly every time looking at the stern......good progress!
 
Yes, you are right Uwe; it will poke my eyes every time i looked at her and it will make me wonder .. should i fix it now?

Thanks
 
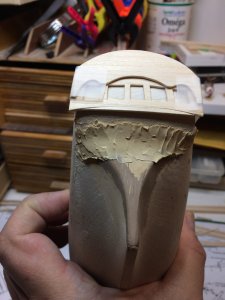
Today i tested the transome fitting on the hull; it looks acceptable.

TestingTransome.jpeg


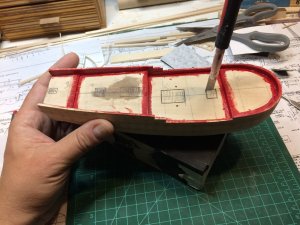
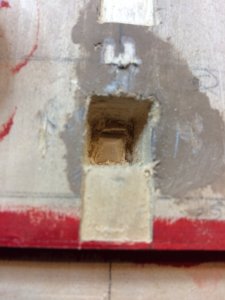
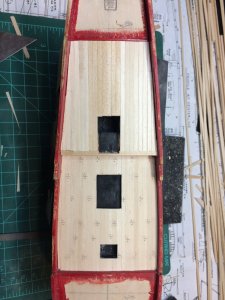
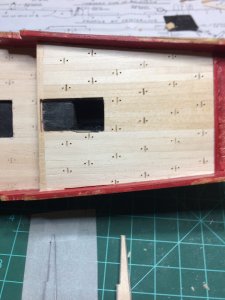
Then i started to make a holes on the deck following kit plan. The hole will be used for hatchets and gratings. There will be one opened hatch with ladder. The hole for ladder is about 2cm deep and cover in flat black color, like other holes. The hole was made with cutting knife and cutting bid.


CuttingHoles1.jpeg

CuttingHoles2.jpeg


CuttingHoles4.jpeg


Cutting bid makes a nice amount of mess but at the end all was looking fine.


CuttingHoles5.jpeg


CuttingHoles3.jpeg

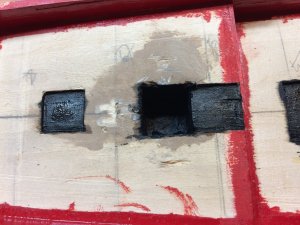
Flat black color was used to paint holes to make impression of a deep hole..

BlackHole2.jpeg


BalckHole.jpeg


It looks fairly messy now but this will be cover with planks so no worries here..


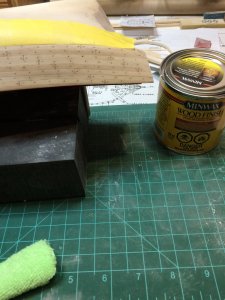
After this exercise i decided to run a first layer of stain on the hull planks area..

WoodPaint.jpeg


I used minwax penetration stain, in golden oak. I surely do believe that this protective tape will do the work correctly.


WoodPaint2.jpeg


First layer is drying, it appears to have very reacher look... Will check the results tomorrow.


Happy modeling..
 
You are doing a really good job on this Sultana. It brings back memories of when I built mine. I like the color of stain you used for the upper planking on hull.
 
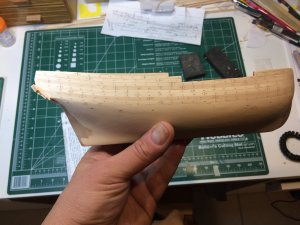
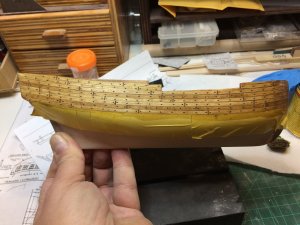
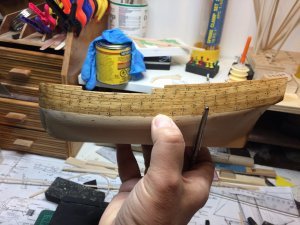
I have applied a layer of varnish on the upper planking. That basswood absorbs the vanish layer fairly quickly and i might need to add few more layers. Will see.

File_000.jpeg

File_001.jpeg

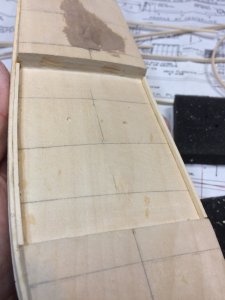
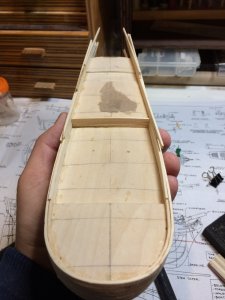
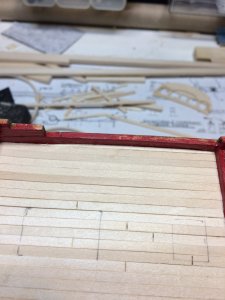
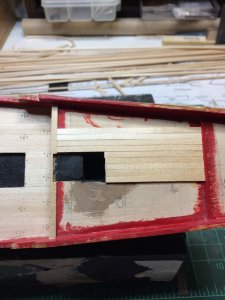
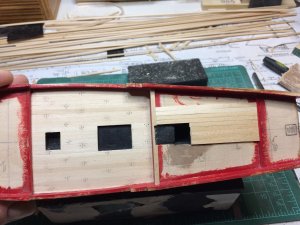
After cutting my basswood planks, i started planking the deck..

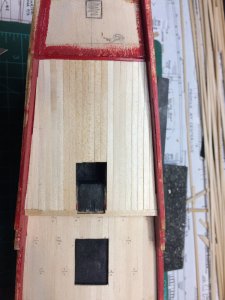
End results:

File_003.jpeg

File_005.jpeg

and the process...

File_004.jpeg

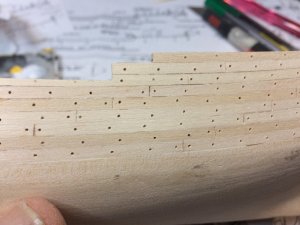
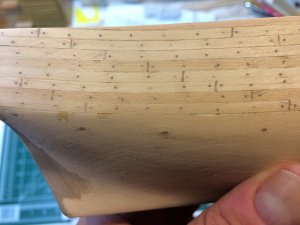
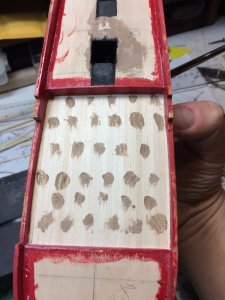
After that i started to simulate individual plank lengths, scored each plank and drill series of holes to simulate wooden trunnels.
The holes are filled with wood filler...

File_002.jpeg

Next is sanding....

Happy modelling.
 
Very good progress on your ship.
The nailing pattern is looking realy good, especially after the varnish.....great appearance.
I have one question to your first photo. I realized that this is the bow of the ship and you made the planking around the bow. Would be there not the stem-post and the planks would end at the stempost?
Or do I interprete the photo completely wrong


You have interpreted the photos correctly; yes, there will be stempost installed.
I was researching other blogs i find out different versions: one with stempost glued directly to the hull before planks installed and other with stempost installed on top of curved planks. Was not quite sure what to do, but was impressed with my plank bending results using a paint can to bend planks around it. So i decided to use bended planks completely. Not sure if this is historically correct but i installed planks this way. The stempost will get installed on top of planks and there will be wales ending up to stempost..
 
Today i completed one more planking exercise.
Need a nice coat of golden oak finish i will do once i complete planking on the hole deck.

5.jpeg


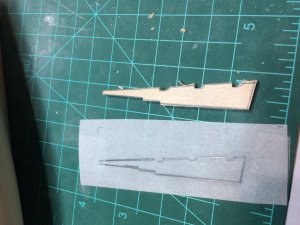
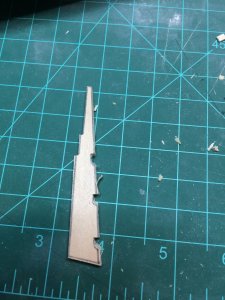
Then to spice it up a bit, i started working on rudder; traced the shape from the plan, followed suggestions from Chuck's practicum and using a #11 knife i cut ut from the peace of basswood, 4mm thick that was supplied in the kit.

6.jpeg


Lots of sanding and shaping... I will do some carving as, again per suggestion from practicum. Carving will take place later today..

7.jpeg


4.jpeg

Next are hinges and carving. Do have some sheets of copper and brass so will be using those instead of one provided in the kit..


Happy modeling..
 
G'day moreplovac
I've just found your log. Even though this is a small model, there's s lot of fine work that you are doing.
It's a privilege to be s witness and to discover your next step.
There's one thing that I would like to point out to you, which should make your life a bit easier.
After planking and sanding and BEFORE going your treenaill trick. It's is easier if you give the planks it's first layer of vanish now. After the varnish is dry, then you can do the treenailling simulation. Now the stain of the varnish will not penetrate the wood grain. After sanding the boards again, then you can do the final varnishing.
This is the method I have been doing for years, with no detrimental effects has ever showed up.
Again you are doing a tremendous job.
Havagreatime modeling.
Greg


Hi Greg, thanks for your input; much appreciated. I do have one question; where in this process i can fit a layer of Golden Oak Stain?
So far i was doing it this way: planking/sanding - treenail trick - golden oak stain - varnish.
Makes perfect sense to do varnish before treenail trick but at what time i should stain the planks?

Would this be the proper process: planking/sanding - stain - varnish - treenail trick - sanding - another layer of varnish?

Appreciate your responses..
 
Back
Top