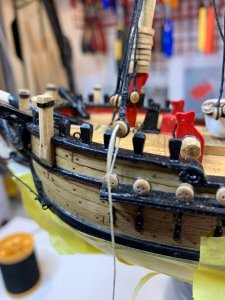
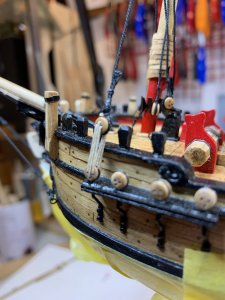
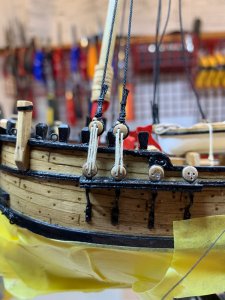
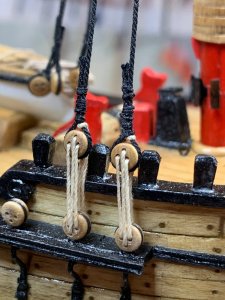
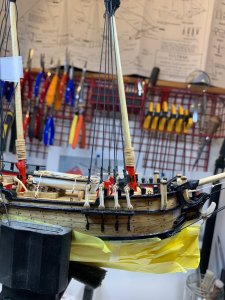
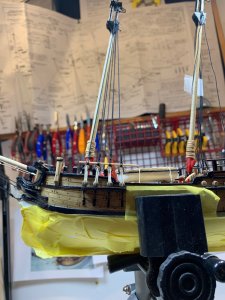
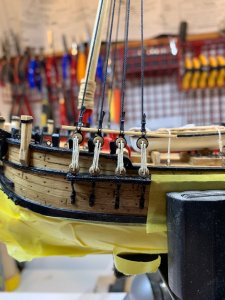
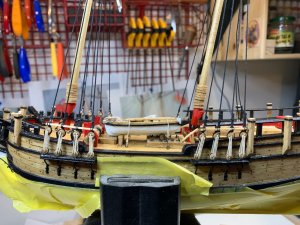
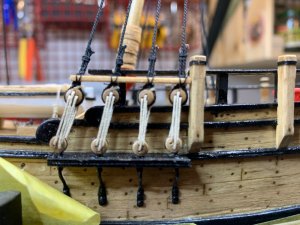
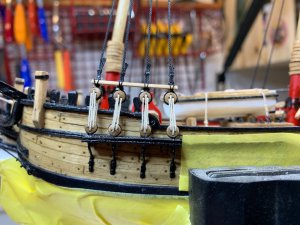
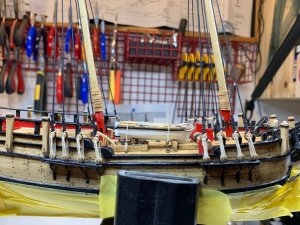
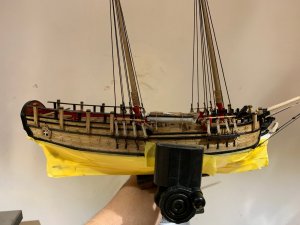
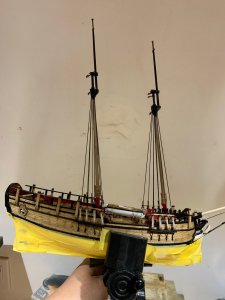
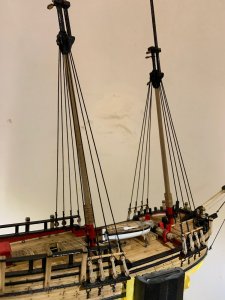
Sultana - Colonial Schooner, 1767 - by MS, Scale 1:64 [COMPLETED BUILD]

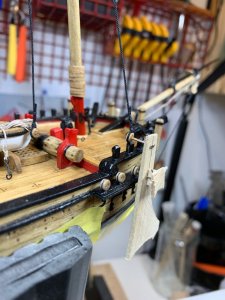
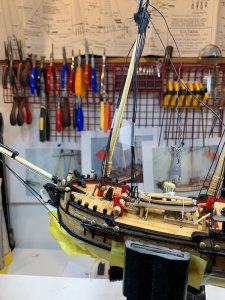
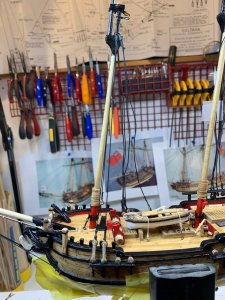
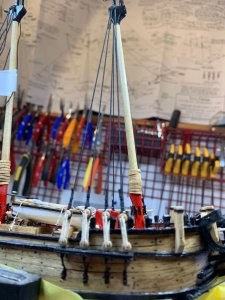
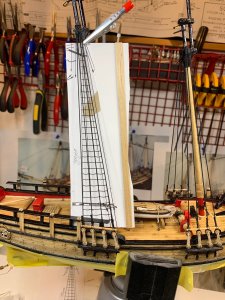
For ridding work, my Sultana needs to have different place to stay safely. One older wise will do the trick. Some protection on grips and she is in the position. This will allow me to come closer to the work area.
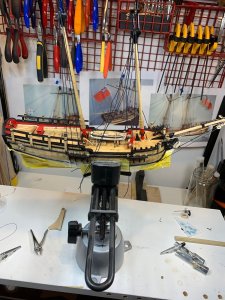
IMG_0130.JPG

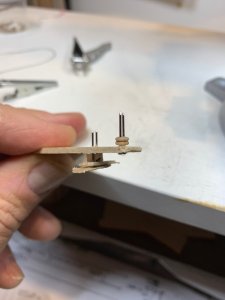
I had to re-event my "distance keeper" and come up with this little helper..
IMG_0134.JPG

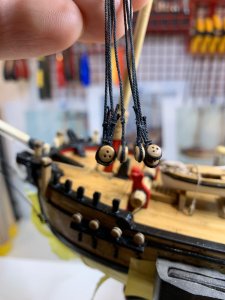
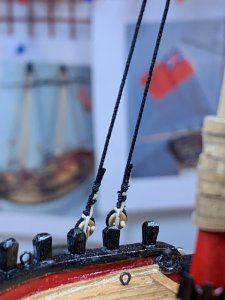
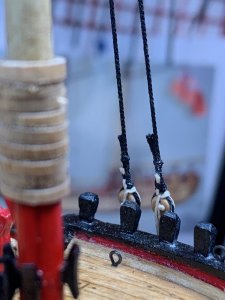
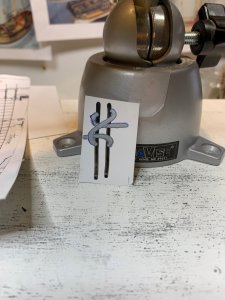
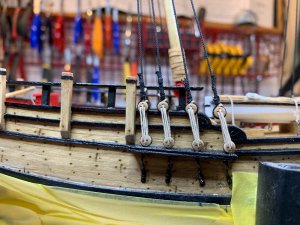
There is a piece of scrap wood, with 4 nails, two on each end. The bottom pair will get to the deadeye attached with chainplate and top pair will be used for a deadeye that has to be seized, something like this:
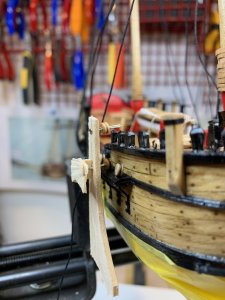
IMG_0135.JPG

This will keep same distance for all lanyards..

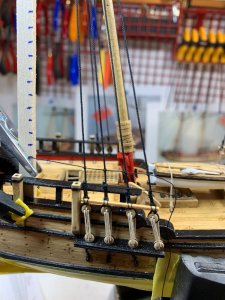
The helper is in place and one rigging line is close to it.
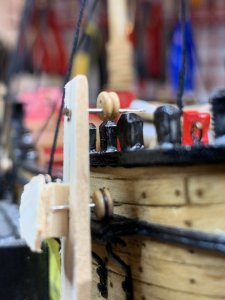
IMG_0138.JPG

I also have few other helping hands available, this one will keep the short part of rigging (the end of the rigging line after makes its turn around the deadeye and goes up towards the mast) tight so it is easy to make seizing around it - this is the one that is not fully visible on the picture.
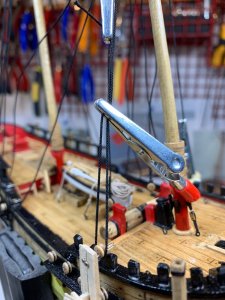
IMG_0139.JPG

The second alligator clip, with all tooth filled down, keeps two lines as close as possible together... A bit wider picture...
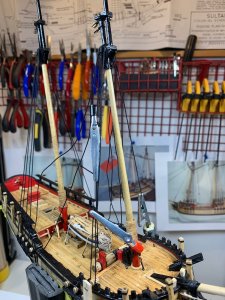
IMG_0140.JPG

A seizing is done with 0.12mm black thread..
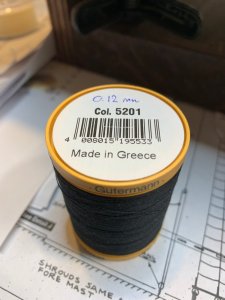
IMG_0144.JPG

I think this amount of thread will last for few coming generations.

Completed seizing...

IMG_0142.JPG

Extra thread cut with a nail clipper...
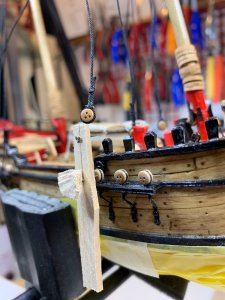
IMG_0143.JPG

IMG_0137.JPG

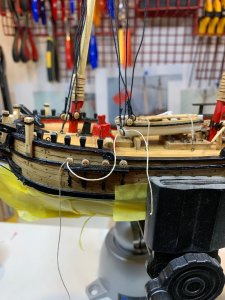
2 x 4 rigging lines completed..

IMG_0146.JPG

And all of them together..

IMG_0147.JPG

Deadeyes are not glued to the rigging so they can be positioned properly to match its pair.

Happy modeling.
 
Hi Moreplovac
Your doing a fine job on the build.
But I hope that tape has not been on for a long time as some tapes the glue they use tend to go hard and when you take it off it may pull your paint off.
It is always best to replace it every 1 or 2 days.
But again it depends on the make of tape you use.

Denis.
Hi DenisR, thanks

i hope that will not be the case.

It is painter' tape and it is on higher end when it comes to price... Now i will go to my shipyard and check the paint :)
 
Hi Moreplovac

I do hope the tape comes off.
You said it is painters tape, that comes in different strength glues on the back, I hope you have got the low tack one.

Denis.
 
Hi Moreplovac
Your doing a fine job on the build.
But I hope that tape has not been on for a long time as some tapes the glue they use tend to go hard and when you take it off it may pull your paint off.
It is always best to replace it every 1 or 2 days.
But again it depends on the make of tape you use.

Denis.
Hi Denis, checked tape and all is fine. No damage on the hull' paint.

Cheers.
 
Lanyard work continues...

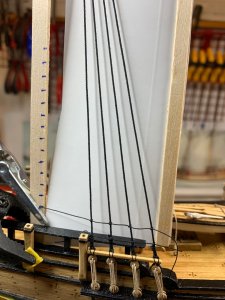
The shrouds are done in pairs. One pair completed, then pair on opposite side of mast is done making sure and checking very often not to over tight the mast on one side...

79284

Deadeyes i have purchased do not have properly positioned eye holes, at least majority of deadeyes.. Not sure why since it appears to me that this is mass production of deadeyes and not individual. Anyhow, i am trying to pick the best looking deadeyes and install them on the ship...


79283

I will need to re-tight the second shroud from the left, noticed that it is a bit higher than the others..

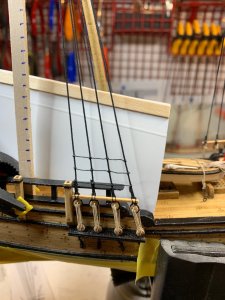
After this is completed, i have installed the sheer pool. These items would prevent deadeys from twisting while rigging the ratlines. The piece of wood was sanded to the correct shape and one layer of golden oak stain was applied. I glued the sheer pool on the shrouds and then lashed to each shroud.

I left the sheer pool length a bit longer so i can hold it during assembly process.. The proper length will be cut afterwards..

79282

79281

Happy modeling..
 
Lanyards have been completed and sheer pools were mounted.
I was trying to make the same distance between deadeyes and to install sheer pools just above the deadeyes but it appears that the sheer pools are not quite straight.. So will following the kit plan for ratlines positions...

80704

80705

80706

One of the extra plan copies was used to make a template for ratlines. The template was glued to piece of cardboard and two Starbucks stirring sticks were used to stiffen the template.. The template will be to close to the lines so i think i might not be using it at all. It will be very difficult to move the string around and make decent ratlines if the template is in the way. So i decided to use a piece of wood and transfer approximate location of ratlines.

80708

This strip also serves as a holding point for ratlines rope; it keeps the beginning of line tight so i don't have to freeze first clove hitch with a glue.

I kept the clove hitch template close to eyes so...

80711
80707


80709

First three ratlines...

80710

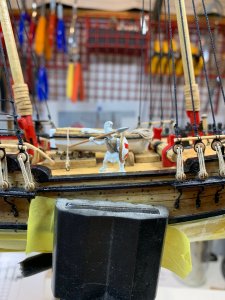
For some reason mighty Greek soldier keeps coming to Sultana...

80712

Happy modeling.
 
Simulating trunnels with wood putty; it appears to be very nice after all. It might not be able to match real trunnels but for this ship, will work very well.

View attachment 37019

View attachment 37016

I need to add some extra wood; the hull shape at the stern was not quite as on plans so some extra work will be required to make it as close as possible.

I also run second coat of red color. It might need one or two more but will see when it dries completely.

View attachment 37017

View attachment 37018

Tomorrow will attack transom; need to make few copies of plan so i have extra templates to work with..

Happy modeling.
I had never thought of simply filling treenail holes with a colored putty and sand. What a great idea and time saver from drawing all those pegs.
 
Back
Top