Sultana - Colonial Schooner, 1767 - by MS, Scale 1:64 [COMPLETED BUILD]

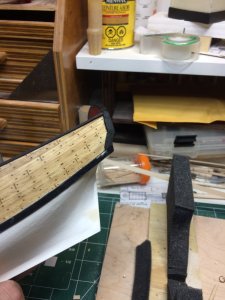
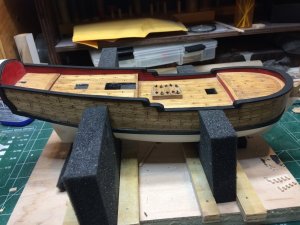
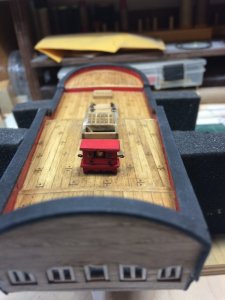
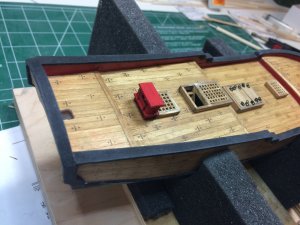
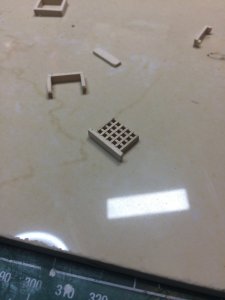
While waiting for gratings to arrive, painting of cap rail was chosen as next action. I will also work on building other deck furniture since i will be replacing all kit provided deck pieces.

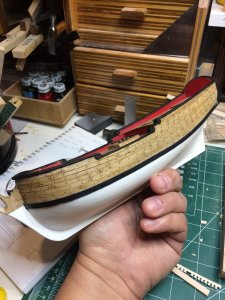
Painting was done with a small brush and flat black acrylic paint.


IMG_2496.JPG


IMG_2497.JPG


IMG_2498.JPG


IMG_2499.JPG

IMG_2500.JPG


IMG_2501.JPG

Happy modeling.
 
Business trip along with a World Cup keeps me awake and away from the shipyard. But still managing to get some work done..

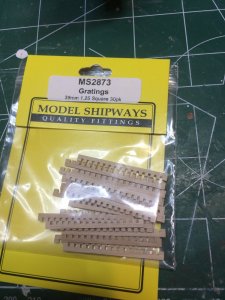
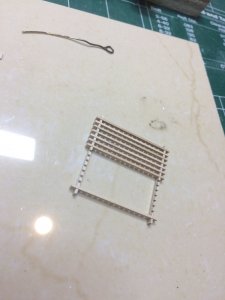
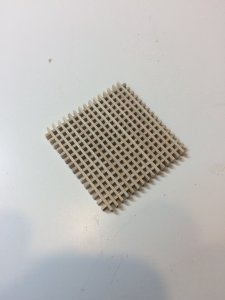
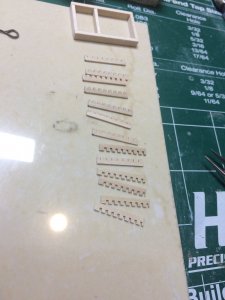
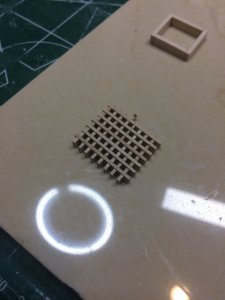
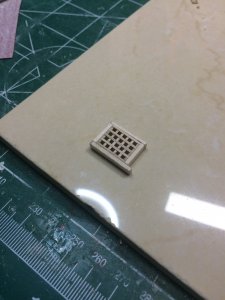
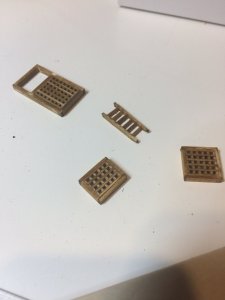
I have ordered few table saw blades for my mini table saw; they have not arrived yet but gratings from Model Shipways have. Oh well, will make my own gratings some times in the near future. For Sultana will use these ones...


IMG_2604.JPG

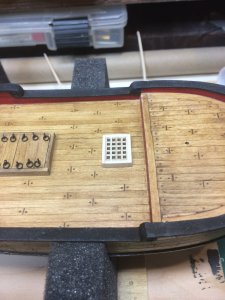
They will be covering main hatch.


IMG_2605.JPG

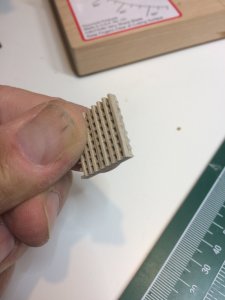
Assembly process, cannot wait to get them all together..


IMG_2606.JPG


IMG_2607.JPG

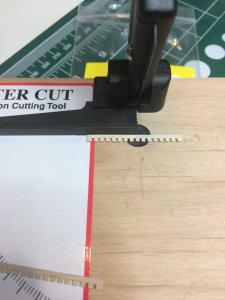
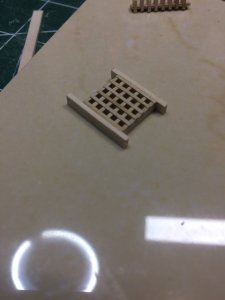
Then on assembled gratings, i marked the main hatch opening that will host gratings and cut them one at a time..


IMG_2608.JPG

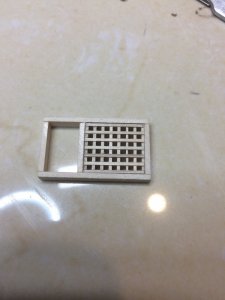
Here they are, ready for assembly.

IMG_2609.JPG


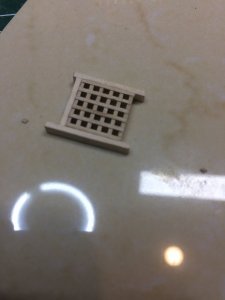
Assembled and ready for sanding and dry fitting. I put tiny amount of super glue on gratings to keep them together. They fit well on its own but small drop of glue will make my life easier...


Sanding is next ...

IMG_2612.JPG

and test fitting...

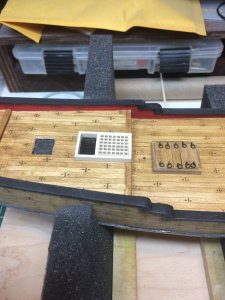
IMG_2613.JPG

On Sultana and ready for stain.

IMG_2614.JPG

More to come soon.
 
Last edited:
More work on gratings.. Must say those are very tiny parts and fingers are not useful tool to work with them.

IMG_2618.JPG

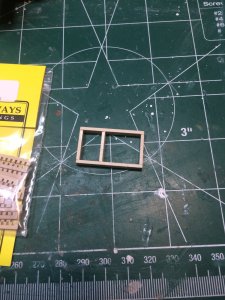
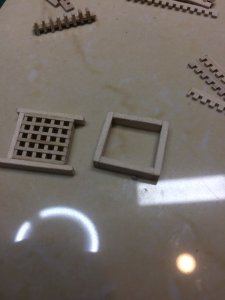
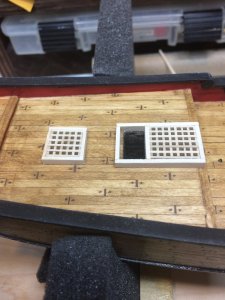
While assembling, i dropped a tiny amount of super-glue to keep them in tact. Cut gratings to a bit more length than needed as i will sand them down to correct size. I took a bit different approach today. First i would cut the gratings, assemble them to approximate dimension of the opening, mark down the correct opening size, sand them, and then assemble planks for hatch opening. For main hatch i did other way around - first made a hatch box and then gratings.

Gratings sanded to the correct size and first plank glued on.

IMG_2615.JPG

Second hatch plank..

IMG_2619.JPG


Third plank..

IMG_2620.JPG


Compare with hatch box i assembled, before deciding to use other approach.


IMG_2621.JPG

Last plank and start sending.

IMG_2616.JPG

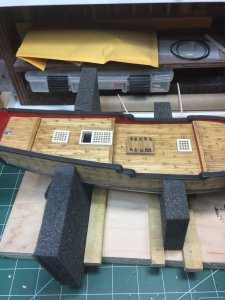
And on the ship..

IMG_2624.JPG


IMG_2623.JPG


IMG_2622.JPG


Looks very nice i must say..

Happy modeling.
 
Have to add that i am really enjoying building this kit; it has been a while since i have worked on ship models (beside my Greek bireme) and almost forgot the fun and enjoyment that is included in this hobby.
I like making plastic models, dioramas etc but building something from almost scratch is a very awarding process. I do have a hard time forcing myself not to spent every single free moment in my shipyard... World Cup is here, some small projects around the house are still waiting for final touches, still have to go to work (no correct lottery numbers yet) and spend some time with my family but just cannot help going downstairs into my small hobby area...

I am contemplating to buy one more Sultana kit and do it again with all lessons learned...

Happy modeling..
 
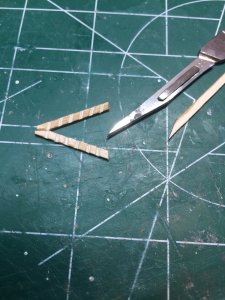
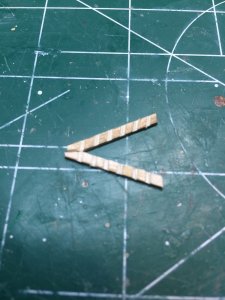
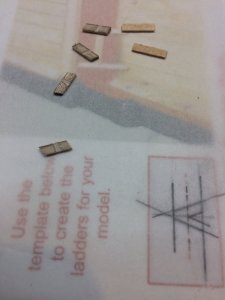
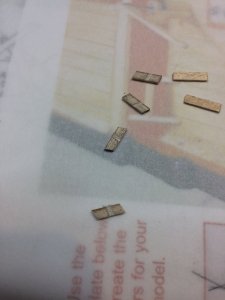
Spent some time building a ladder.

Copied ladder template from Chuck's practicum, and cut pieces.

With the help of hobby saw and tiny file i created mortises for each step. And these are really tiny, compare it with a #10 blade..

IMG_2626.JPG


IMG_2625.JPG

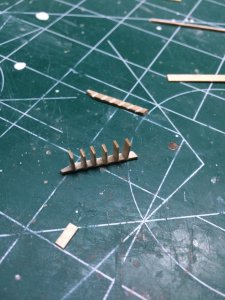
Cut all steps and used super glue to put them all together.

IMG_2627.JPG

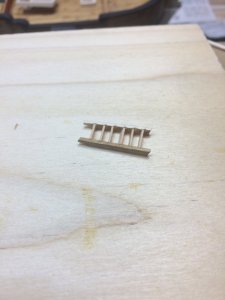
Cleaned all excess glue and assembly completed...

IMG_2628.JPG

A little bit of sanding and at the end the layer of stain.

All ready for assembly..

IMG_2629.JPG

Still thinking should i use red paint for hatches (as done in other build logs) since there are some glue spots i was unable to stain or clean those glue spots and leave it with stain only as it it on the kit box...

Will see..
 
Binnacle.. That little....
Since i dont like kit provided deck furniture and following (not to the letter) Chuck's practicum, i attacked binnacle.

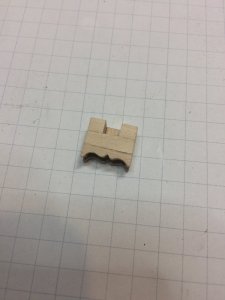
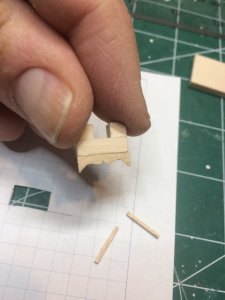
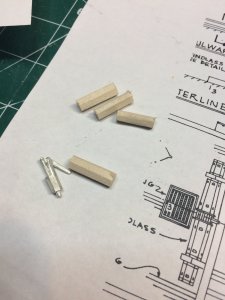
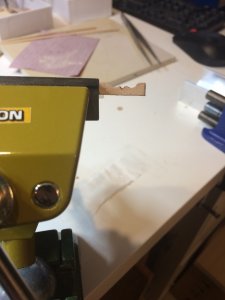
Completed one yesterday but was not happy with its look; i cut all parts precise and with no room to correct any mistake. Final result was not quite satisfactory and i decided to make another one. This time i cut parts a bit bigger than needed. Started with legs. Cut two pieces of basswood, longer that needed, glue them together at their ends and with little help of vise and a file, managed to get the shape i was looking for. I shaped both legs together to help in getting identical match.
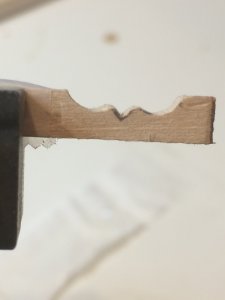
IMG_2634.JPG


IMG_2633.JPG


IMG_2636(1).JPG


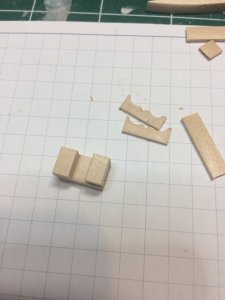
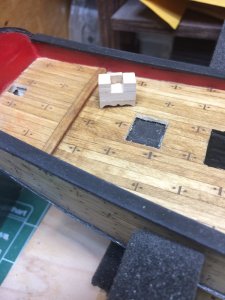
Binnacle cubes cut and assembled, with legs shaped..


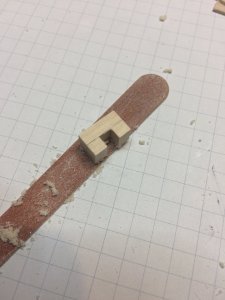
Then i cut legs to correct hight and sand binnacle to correct size..
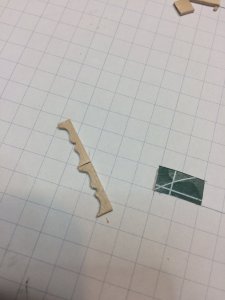
IMG_2638.JPG


IMG_2637.JPG


Checking measurement against plan...
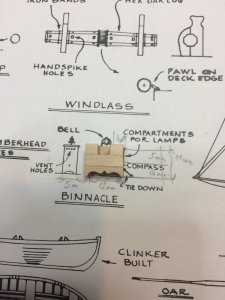

IMG_2644.JPG


Semi-complete product..

IMG_2642.JPG


IMG_2639.JPG

testing on the ship...

IMG_2643.JPG

.. and compared with yesterday's one.
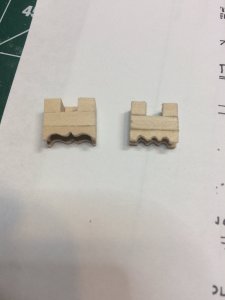
IMG_2645.JPG

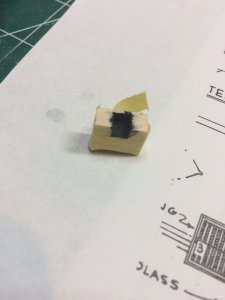
Next, i needed to mask the exterior in prep for painting interior in flat black.
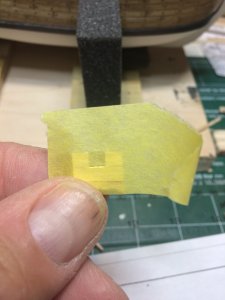
IMG_2646.JPG

Interior painted...

IMG_2647.JPG

I also added 1mm strips around binnacle that will be shaped to represent molding..
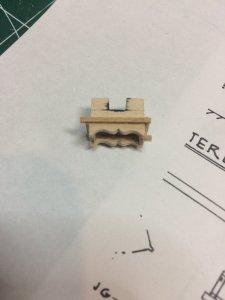
IMG_2648.JPG


From the wooden rod of correct diameter, i cut 2cm dowel i will be using to make a compass. Dowel top was painted in gold and cut to correct size and glued to inside of binnacle.
Next, top cover was also installed and three pieces of cardboard, cut in correct size, glued to binnacle. They will represent compartment for lights (as plan indicated).
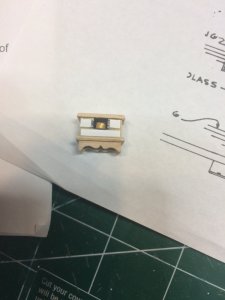
IMG_2650.JPG

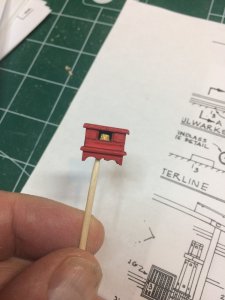
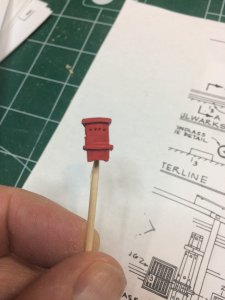
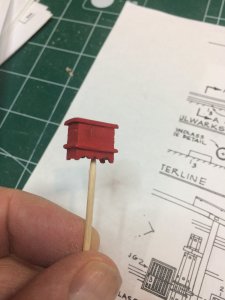
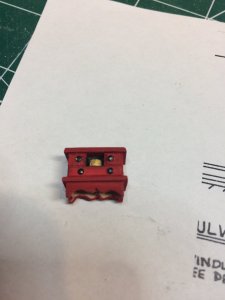
I drilled 4 vent holes on both sides and whole binnacle was painted in flat red, in several thin layers.

I think i might need to add one or two more layers, will see tomorrow.
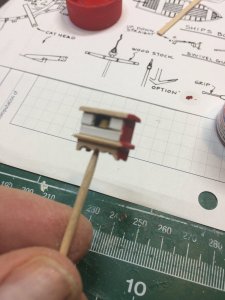
IMG_2652.JPG


IMG_2653.JPG

IMG_2656.JPG


IMG_2655.JPG


Next, will need to add four "drawer handles" - brass nail cut to the length so i can use nail heads as handles. Also two small eye bolts will need to be made..

Happy modeling..
 
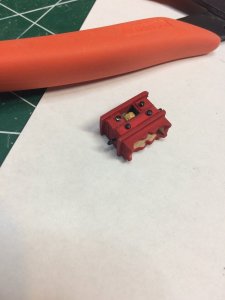
Little binnacle has been completed. Copper nails were used for handles, painted flat black.

Eye bolts were attached to the binnacle and hole drilled in the ship deck to host two additional eye bolts. These will be used to attach binnacle to the deck with rigging lines provided in the kit. At least something was used from the box :-).

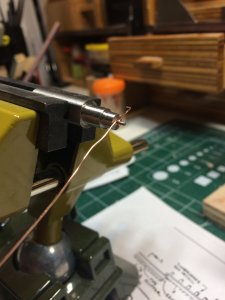
Eye bolts were made using small tool that was provided by one of fellow ship builder....

IMG_2657.JPG

Nails were cut to the length of appr. 4mm, the pilot hole was drilled into binnacle and nails were attached.
Finished binnacle with copper nails as handles.

IMG_2660.JPG

Eye bolts were assembled and installed in binnacle..

IMG_2661.JPG

Testing on ship...

IMG_2664.JPG

IMG_2663.JPG

Then i cut and build two one-step stairs that will be installed later. Cannot mount them now as they will interfere with rest of the work on the ship..

IMG_2666.JPG


IMG_2665.JPG

Eye bolts making process..

IMG_2658.JPG

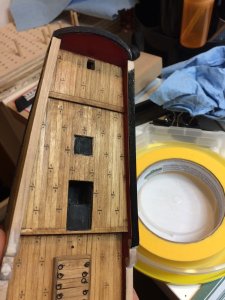
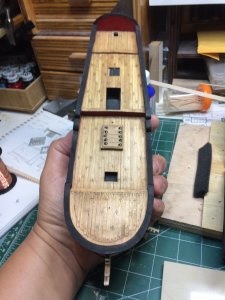
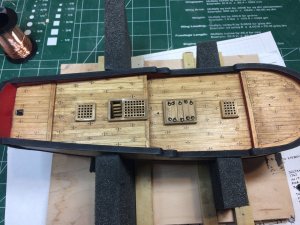
All gratings were also mounted, ladder to bellow deck also glued in the place.

IMG_2662.JPG

Then i start working on ship pumps, off course will not use kit supplied pumps as they look like... something.

IMG_2667.JPG

Happy modeling..
 
Back
Top