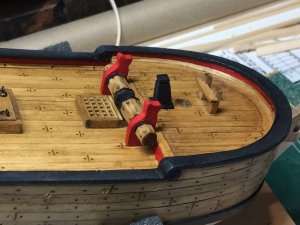
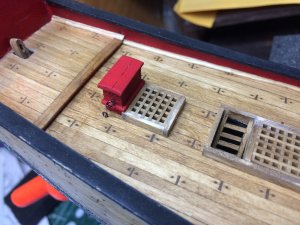
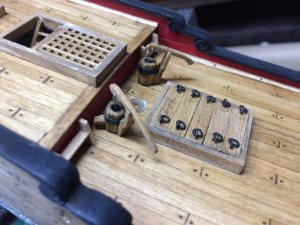
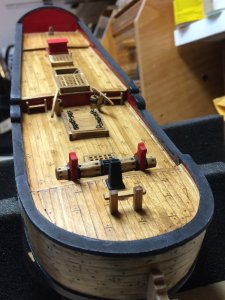
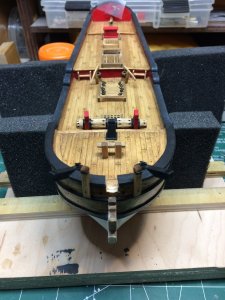
Sultana - Colonial Schooner, 1767 - by MS, Scale 1:64 [COMPLETED BUILD]

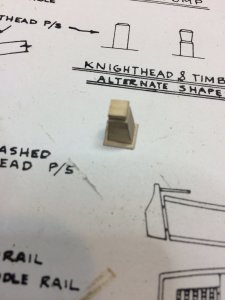
The galley stack was next to attack. Practicum suggested to use the one that comes with a kit; i did not like it so i build one instead.

I used piece of poplar from my previous projects, took measurements from the plan, cut to size and shape it.


IMG_2747.JPG


IMG_2750.JPG


IMG_2751.JPG


IMG_2752.JPG

Yesterday was too late to paint it in flat black...

Happy modeling
 
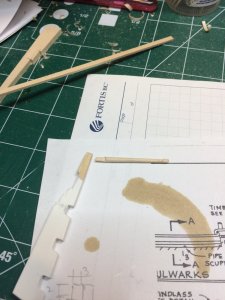
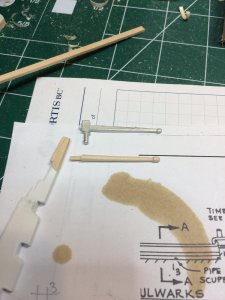
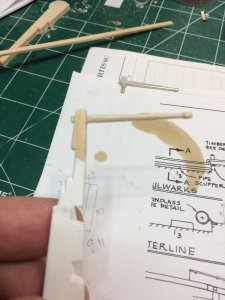
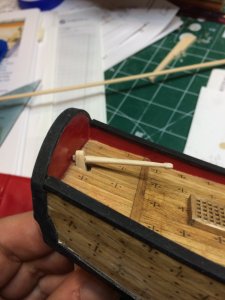
Today i completed a tiller and got it ready for mounting on the rudder.


Piece of basswood, 3mmx3mm, sanded to match kit supplied one and tested to fit on the rudder.


IMG_2756.JPG

Compared to kit supplied...


IMG_2757.JPG

I might need to shape it a bit to retain square shape towards the rudder. It is hard to see on pictures at this moment..


IMG_2758.JPG

IMG_2759.JPG


IMG_2761.JPG

Now while i look at the pictures, before final assembly i will need to shape it a bit more, square the end and stain it. It is slightly out of scale even dough the measurements are identical to kit supplied one and it appears to be a bit of center from the rudder..

Happy modeling..
 
Today is all about waterways... The waterways are very tiny on this model, 1.2mm (or close to) by 1.2m... Had some challenges how to shape them into correct form to make them ready for final, concave shape. Tried with sanding block, tried with a diamond file, #10 carving knife, nothing was coming out as acceptable result.

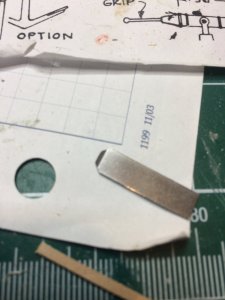
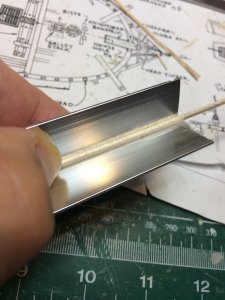
Then i decided to make my own tool. Going back to elementary school the 90 degrees angle with 1.2mm base and altitude lengths ends up with appr 2.8mm (or close to) of hypotenuse...

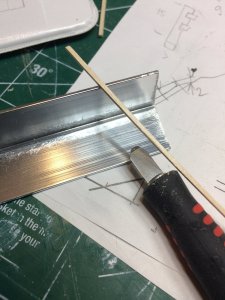
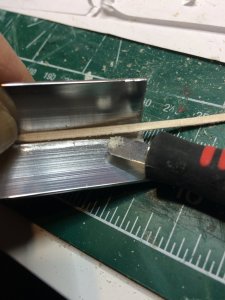
One old chisels was used to make a scraping tool...


IMG_2768.JPG

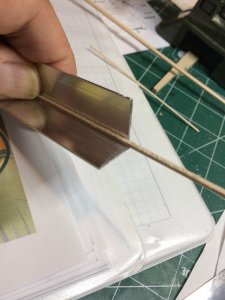
Then as a "molding" holder, i used small piece of L shaped aluminum profile. The waterways are made out of basswood, cut in 1.2x1.2 mm size. I cut several small pieces in the length that corresponds to the place on the ship where there will be installed.

Scraping was done in small increments; 2cm scraping then move forward, 2cm scraping then move forward...

Setup...


IMG_2774.JPG


Molding in place, ready for scarping..


IMG_2769.JPG

Worth to mention that growing a bit longer thumbnail will help holding this tiny piece in place while scrapping... :-)


IMG_2770.JPG

In the middle of the work....


IMG_2771.JPG

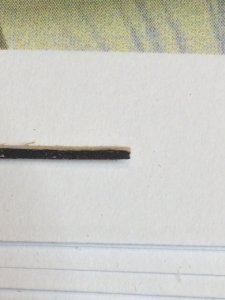
End result...


IMG_2772.JPG

It is a bit hard to focus my phone's camera...

IMG_2773.JPG


And all waterways done and ready for assembly.


IMG_2775.JPG

Next step will be to mount them all and shape them to final, concave form...


Happy modeling..
 
It is looking much better - well done

And a clever idea for shaping the waterway -> many thanks for sharing this hint :cool:


I was reading thru Chuck' practicum and trying to figure out how on earth was he doing it. There must be some other way but this worked for me very well. If i could shape the real molding the same way, it would be saving me few trips to local lumber store....
 
Work on waterways was completed yesterday. The only building step left is to give a concave shape to installed waterways. Today.

After shaping i give waterways quick dip into stain, leave stain to penetrate about 10sec and wipe it off with paper towel. The waterway at the bow was dipped into water for about 5 min and the curve was achieved by twisting it on the plastic cover. It was there until all other waterways were installed. The gained curvature was giving to waterway perfect fit at the bow.


IMG_2788.JPG

Other waterways installed..

IMG_2781.JPG


IMG_2783.JPG


IMG_2782.JPG


IMG_2785.JPG


IMG_2786.JPG

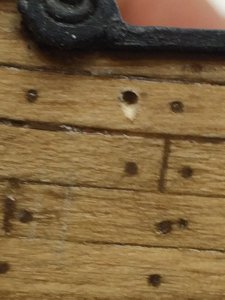
Then i marked places for drilling the scuppers. Used one unsuccessfully shaped waterway and marked 5 dotes. Transfered it to both main deck waterways and drilled the holes. The holes were not drilled all the way thru, the drilling bit was 0.8mm.


IMG_2789.JPG

In the hull, scuppers were drilled under the angle, again not all the way thru. Holes were then shaped with a small file.


IMG_2793.JPG

The bow waterway was installed the last.


IMG_2795.JPG

And the whole assembly..

IMG_2794.JPG

Happy modeling.
 
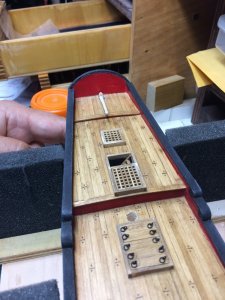
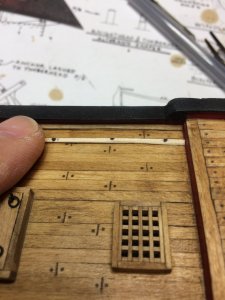
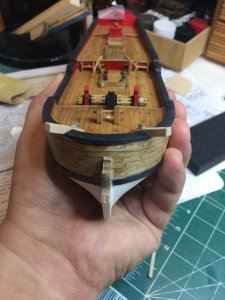
Then i mounted all (well not quite all, pawl for windlass has to be made and assembled) deck furniture i have build so far.

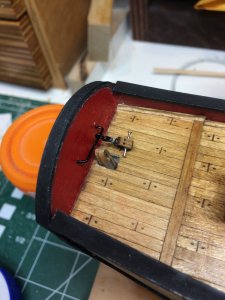
I put two small nails in windlass supports and marked place where windlass will sit. Then a hole was drilled for nails, carpenter' glue was used to glue it to the deck.


IMG_2854.JPG

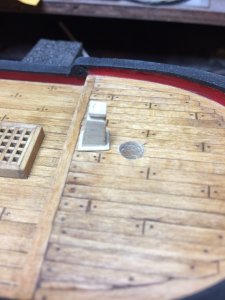
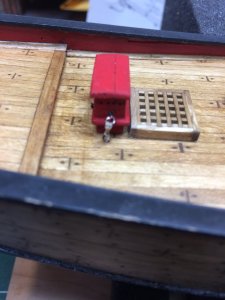
The galley stack was next, then binnacle with two hooks mounted on the deck...


IMG_2850.JPG

Pumps and ladders...


IMG_2851.JPG

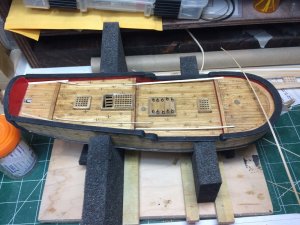
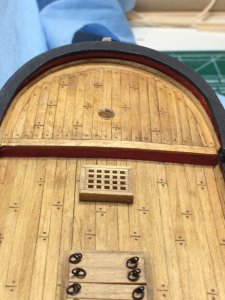
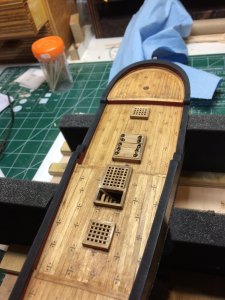
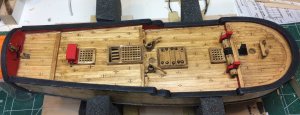
The view of the whole deck.


IMG_2855.JPG

Then i give it another layer of stain to make all furniture the same (or similar) shade as the deck is...


IMG_2847.JPG

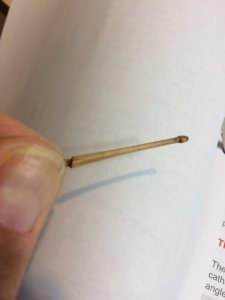
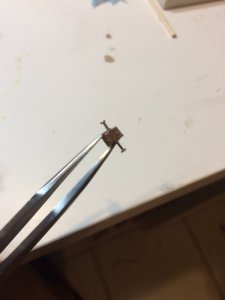
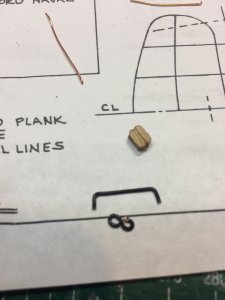
work on traveler rod was done but it appears to me that it should be a bit shorter in overall length. I will redo it sometimes today...


IMG_2861.JPG

IMG_2857.JPG

IMG_2856.JPG

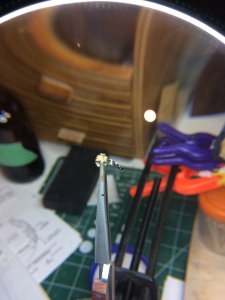
And through magnified glass...


IMG_2858.JPG

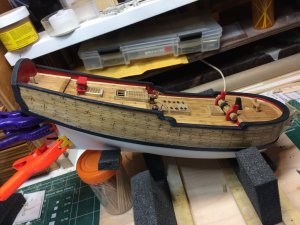
Here is the whole deck for now..


Цео брод.jpg

Happy modeling.
 
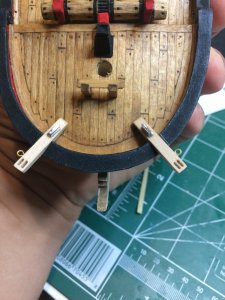
Catheads are on today's menu.. this sounded very weird..

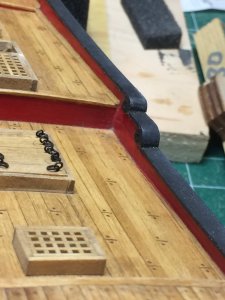
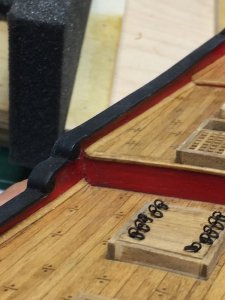
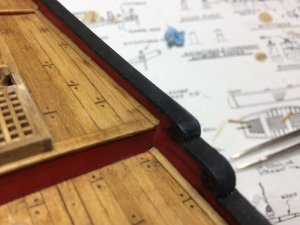
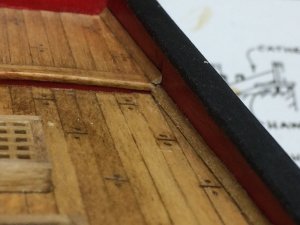
Took a measurements from the plan, and cut the basswood strips to length. Shaped them based on the plan and Chuck' practicum, made cutouts to help seat the cathead in the position on the bulwarks. The scariest part was cutting the notch in cap rail for both catheads. Take measurement three times = one cut...

After making the basic shape for the catheads, i drilled few holes, made a groove that will simulate sheave.

I decided to use cleats from the kit. Sanded and filed them nicely as they were fairly rough out of the box. Cleats were glued to top of the catheads, and two eye bolts were also mounted to the side of catheads. I used eye bolts that were supplied with a kit. Everything will be painted in black so did not spend time blackening eye bolts.

Catheads were painted in black and tomorrow will mount them permanently to the ship...


IMG_2867.JPG


IMG_2868.JPG


Happy modeling..
 
Today i started with painting catheads in flat black and mounting them on the ship.
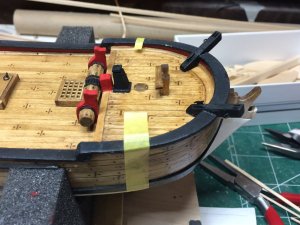
IMG_2887.JPG


Next part was interesting one. Molding. I never worked with molding in such a tiny scale.

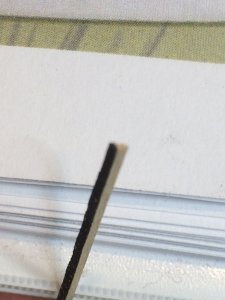
First making scraper that will be used to shape molding and then actually make few. Following Chuck' practicum about the shape of molding i started making a scraper. After few unsuccessful attempts, i made one out of a razor blade. Used carbon file i made a groves that will assist in scraping the correct shape.

Cut few pieces of boxwood strips in 2x2mm, i started scraping the molding. Fortunately i had plenty of boxwood strips in this dimension since several attempts ended up in broken or uneven moldings...

Finally get few usable moldings that will be installed on the ship.
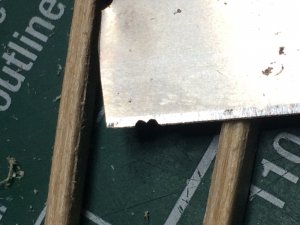

IMG_2880.JPG


In this picture it is hard to see the shape of molding but they look very nice. I am looking forward to work on another model in a bit bigger scale.
Painted them in flat black and assembled to the ship. These dudes are tiny for my over-sized fingers... But luckily there are tweezers...

First i marked the locations where they will be mounted...
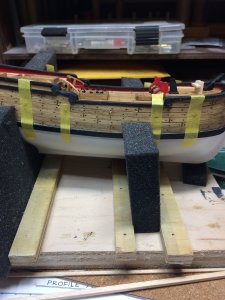

IMG_2882.JPG

Then after some time...


IMG_2888.JPG

The stern still requires badges to be installed; after that remainder of moldings will be glued.

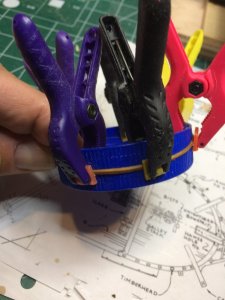
Bow moldings have to be bended to follow the bow shape; 10 minutes in water bath and slowly bend them over a electric tape wheel...
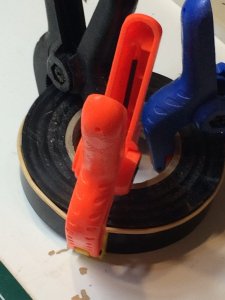

IMG_2885.JPG


Making sure not to squeeze molding and damage the shape i used small clamps just to keep molding bended.
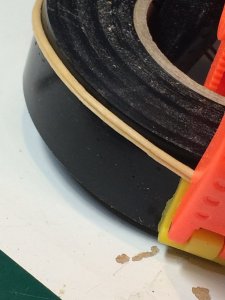

IMG_2884.JPG


No rush to mount then; moldings will be left overnight to dry and tomorrow a coat of flat black paint and assembly..

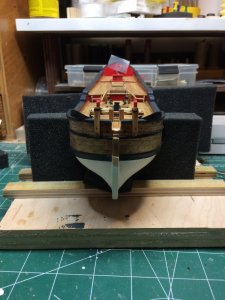
After mounting the moldings and doing some touch ups on the rudder i will give it a nice layer of varnish to protect the whole model.

Happy modeling..
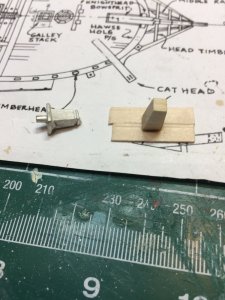
 
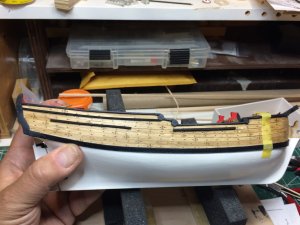
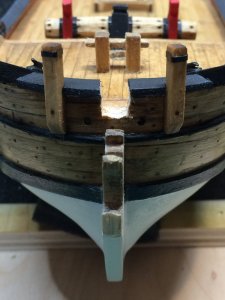
Following Practicum, i started adding details on cap rail area... First i cut a notch for the bowsprit with a hobby saw and using files the opening was rounded but not completely... The main tweaking will happen at the time of bowsprit installation.
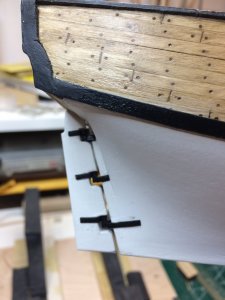
Despite the fact that i do follow practicum, i missed one part. The steam was to short. Good part is it is no just me. Following Chuck's suggestion i will add a piece of wood to lengthen the steam to correct dimensions. This is task for tomorrow...

Now looking at the pictures it looks that notch is a bit wider that needed. Something to deal with at the time of actual bowsprit installation. Bit more work to do. As Chuck mentioned, mistakes do happen...

IMG_2898.JPG

Then i worked on hawse holes; marked, drilled and shaped with a file.

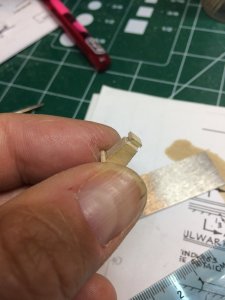
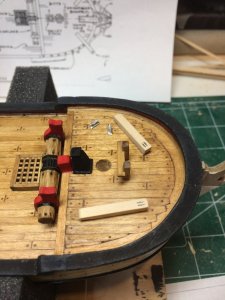
Gunstocks were made next. Cut a piece of wood, a tin strip of electric tape was simulating iron band but i forgot to drill a hole on the top, for a swivel gun. It will be a bit hard to do it after but... The other gunstocks will be done with a hole before mounting. Also i simulated trunnels by drilling a small hole and fill it up with wood putty. A nice little detail. Before mounting, i dip both gunstocks into stain, leave it for 15 sec and dry it out with paper towel.


IMG_2896.JPG

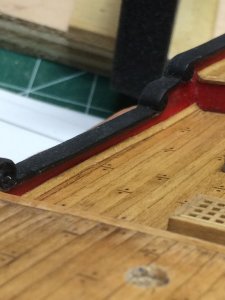
The notch for gunstock was cut in the cap rail, shape corrected with a file and before mounting gunstocks, i run a layer of flat black color on cap rail area where gunstocks will be mounted. This is to prevent messing gunstocks with black color since i am planing to lay one more layer of black color to cap rail before putting a protective layer of varnish.

IMG_2897.JPG

Tomorrow few more gunstocks and will work on fixing short steam....


Happy modeling.
 
Back
Top