-

Win a Free Custom Engraved Brass Coin!!!
As a way to introduce our brass coins to the community, we will raffle off a free coin during the month of August. Follow link ABOVE for instructions for entering.
-

PRE-ORDER SHIPS IN SCALE TODAY!
The beloved Ships in Scale Magazine is back and charting a new course for 2026!
Discover new skills, new techniques, and new inspirations in every issue.
NOTE THAT OUR FIRST ISSUE WILL BE JAN/FEB 2026
You are using an out of date browser. It may not display this or other websites correctly.
You should upgrade or use an alternative browser.
You should upgrade or use an alternative browser.
Sultana - Colonial Schooner, 1767 - by MS, Scale 1:64 [COMPLETED BUILD]
- Thread starter moreplovac
- Start date
- Watchers 24
Thanks for posting this on the scrapers. I had no idea about these. Wow ! Nice addition to your tools.
Thanks for posting this on the scrapers. I had no idea about these. Wow ! Nice addition to your tools.
Hello Donnie,you can find them here in a separate topic
https://shipsofscale.com/sosforums/...rs-for-producing-molding-micro-profiles.1967/
Thanks for the link Zoltan.
Mike
Mike
The gunstocks are next. The rest of gunstockes were build, 10 in total.
Cut them to the size as per plan (20mm length); on the bottom i did a small angled cut (3mm from bottom) and shaped each gunstock as per plan.
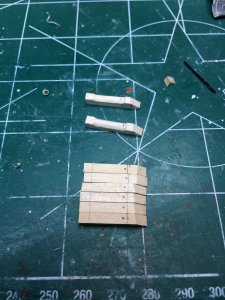
Little bit extra shaping was done to straighten the cuts.
Each gunstock received a small hole filled with wood filler to simulate trunnel.
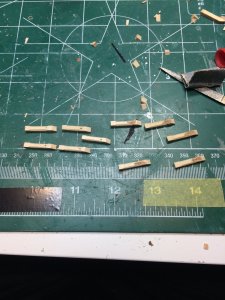
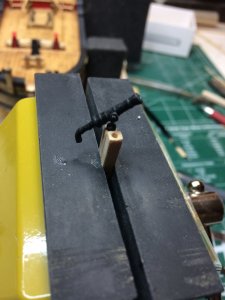
The hole for a swivel gun was drilled on each gunstock as well as on two already mounted on the ship. That was a scary part but managed to have it done... To drill holes i put all gunstock on the piece of scotch tape and get them all into vise. Then marked approximate center of the gunstock with pencil, drilled a small pilot hole with hand-drill and with assistance of proxxon rotary tool made first 0.5mm hole than widen it with 1.3mm bit..
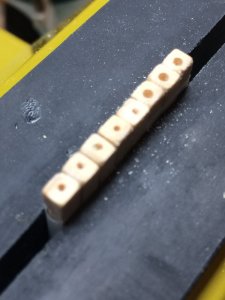
All done and ready for electric tape to simulate iron band..
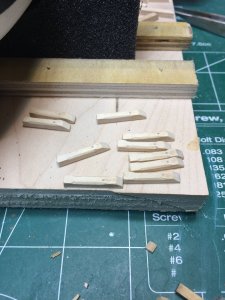
1mm electric tape strip was applied to each gunstock, the drop of cyano glue added additional strength to tape. That tape is fairly stretchable and if stretched to much it will shrink afterwards leaving a gap between two strip ends.
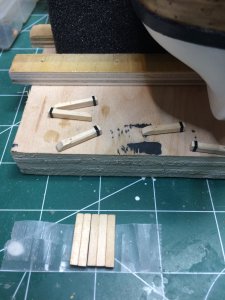
Each gunstock received a quick bath in wood stain.... and here they are, ready for assembly.... but that is something for tomorrow..
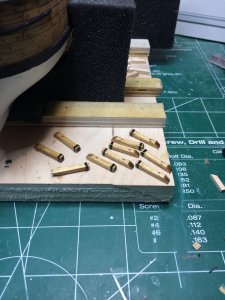
Fitting testing...
Happy modeling..
Cut them to the size as per plan (20mm length); on the bottom i did a small angled cut (3mm from bottom) and shaped each gunstock as per plan.


Little bit extra shaping was done to straighten the cuts.
Each gunstock received a small hole filled with wood filler to simulate trunnel.

The hole for a swivel gun was drilled on each gunstock as well as on two already mounted on the ship. That was a scary part but managed to have it done... To drill holes i put all gunstock on the piece of scotch tape and get them all into vise. Then marked approximate center of the gunstock with pencil, drilled a small pilot hole with hand-drill and with assistance of proxxon rotary tool made first 0.5mm hole than widen it with 1.3mm bit..

All done and ready for electric tape to simulate iron band..

1mm electric tape strip was applied to each gunstock, the drop of cyano glue added additional strength to tape. That tape is fairly stretchable and if stretched to much it will shrink afterwards leaving a gap between two strip ends.

Each gunstock received a quick bath in wood stain.... and here they are, ready for assembly.... but that is something for tomorrow..

Fitting testing...

Happy modeling..
I like the tape for bands. It looks like it worked well.
Mike
Mike
I like the tape for bands. It looks like it worked well.
Mike
Thanks Mike, yes they are all good, just had to make sure not to stretch them too much.
Cheers.
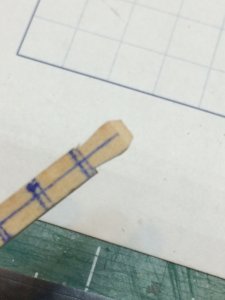
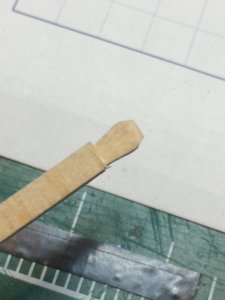
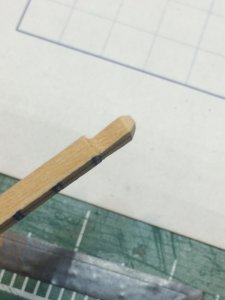
Timberheads are next. Those little things gave me some hard time, tiny, hard to keep between fingers but managed to get them all built. I built 30 of them, and picked 14 that happened to sticking out from crowd as best looking. I was thinking to organize a beauty pageant but was not quite sure if i would be able to come up with 14 different "i will fight for a world peace" sentences..
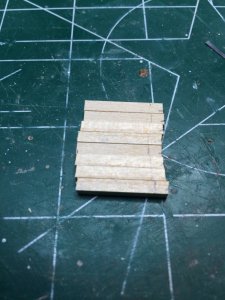
For building process i marked all 20 timberheads on one piece of plank, started from the top by sanding edges and with #10 knife, carved the shape and cut of the plank.
Building process..
And the winners are ...
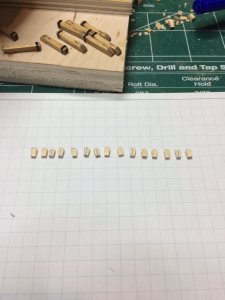
Then i added a small pin to each timberhead to make sure it will stay in the place, once mounted and glued.. A small pilot hole was drilled to the bottom of each one, proxxon with .44mm widened the holes and pin glued in the place.
I marked the position on the cap rail for all timberheads, drilled a pilot holes and mounted them all, well not quite all. Still 9 to go. Tomorrow.
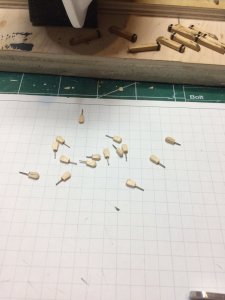
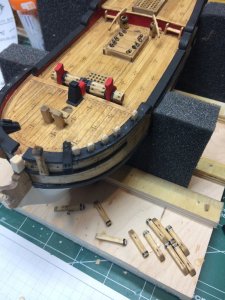
Once all are mounted a nice coat of flat black will be painted..
Happy modeling..
For building process i marked all 20 timberheads on one piece of plank, started from the top by sanding edges and with #10 knife, carved the shape and cut of the plank.
Building process..


And the winners are ...

Then i added a small pin to each timberhead to make sure it will stay in the place, once mounted and glued.. A small pilot hole was drilled to the bottom of each one, proxxon with .44mm widened the holes and pin glued in the place.
I marked the position on the cap rail for all timberheads, drilled a pilot holes and mounted them all, well not quite all. Still 9 to go. Tomorrow.


Once all are mounted a nice coat of flat black will be painted..
Happy modeling..
Timberheads completed, just a layer of black paint is left. Usage of pins appears to be really good move. Most likely without pin, timberheads will be very fragile parts. I have left few spares (with inserted pin) just in case something goes horrible wrong..
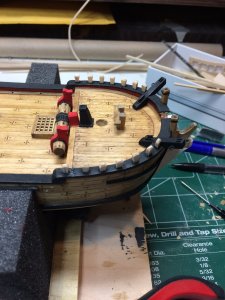
I have made plenty of plan copies so i can cut it and trace to the timber if needed. I had to make two holes in stem (not quite sure what technical term will be for these two holes), cut and traced the shape ..
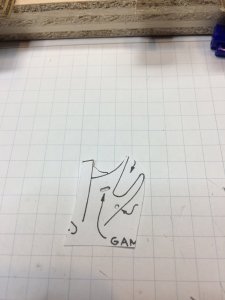
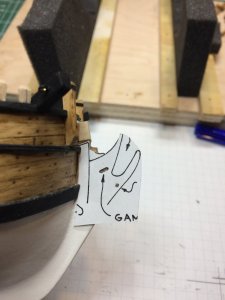
.. with a needle point tool made marks on the stem and then drilled holes with 0.44mm. First with 1mm drill bit and then with 1.3mm the holes were widened. A bit of file sanding and work completed.
On this picture it is better visible that length of the stem is not quite appropriate and extra patch will be needed (or planing ahead and have longer stem at the beginning).
Cheek knees.. another small and tiny parts to deal with.. now, i red Chuck' practicum ahead of time. During the making process i broke three knees. Most likely the wood is either tiny or i was not following wood grain but i ended up using "laminated approach". I glued three planks (1x3mm in size) lengthwise (like this ---), then glued two planks on the top of it ( --) and two another planks on the bottom ( --) getting it all in layers.
This should be strong enough to take abuse by #11 knife and other shaping tools.. Since knees will be painted in black visible layers will not be an issue..
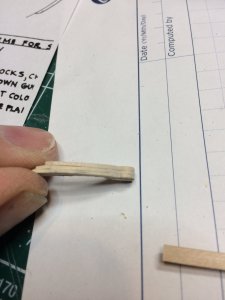
Started to carve...
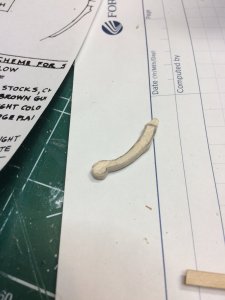
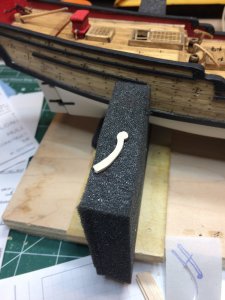
Completed for today; tomorrow a bit more carving...
Happy modeling.

I have made plenty of plan copies so i can cut it and trace to the timber if needed. I had to make two holes in stem (not quite sure what technical term will be for these two holes), cut and traced the shape ..


.. with a needle point tool made marks on the stem and then drilled holes with 0.44mm. First with 1mm drill bit and then with 1.3mm the holes were widened. A bit of file sanding and work completed.
On this picture it is better visible that length of the stem is not quite appropriate and extra patch will be needed (or planing ahead and have longer stem at the beginning).
Cheek knees.. another small and tiny parts to deal with.. now, i red Chuck' practicum ahead of time. During the making process i broke three knees. Most likely the wood is either tiny or i was not following wood grain but i ended up using "laminated approach". I glued three planks (1x3mm in size) lengthwise (like this ---), then glued two planks on the top of it ( --) and two another planks on the bottom ( --) getting it all in layers.
This should be strong enough to take abuse by #11 knife and other shaping tools.. Since knees will be painted in black visible layers will not be an issue..

Started to carve...


Completed for today; tomorrow a bit more carving...
Happy modeling.
Timberheads are completed and painted in black.
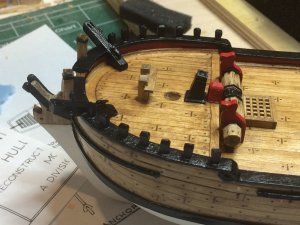
Finished carving of second cheek. Both of them were painted in black and glued to the ship head. Must say that carving is time consuming process especially on these small items.
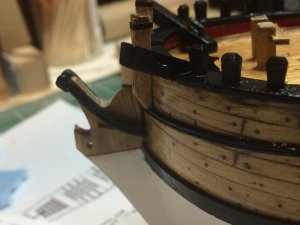
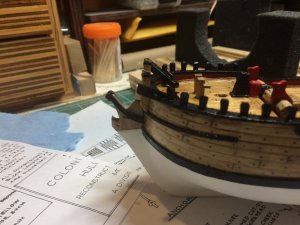
Then i applied a protective layer of varnish on whole deck and all deck furniture.
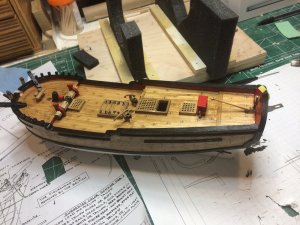
That was all for today, not many pictures but time well spent..
Happy modeling..

Finished carving of second cheek. Both of them were painted in black and glued to the ship head. Must say that carving is time consuming process especially on these small items.


Then i applied a protective layer of varnish on whole deck and all deck furniture.

That was all for today, not many pictures but time well spent..
Happy modeling..
Continue working on cheeks.
Started with making a piece of wood that will be used for carving out of few pieces of leftover planking boards, glued together like in few previous posts. Transfered shape and start sanding and carving..
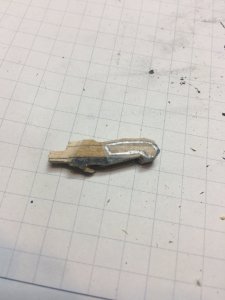
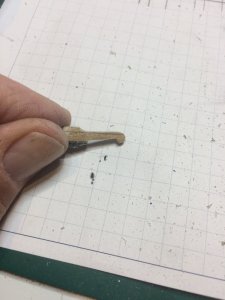
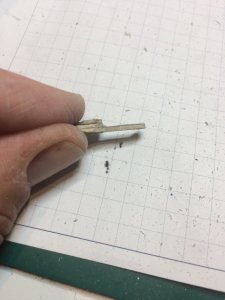
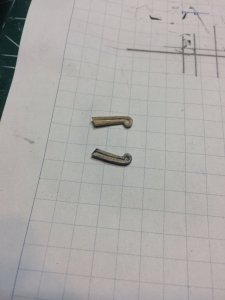
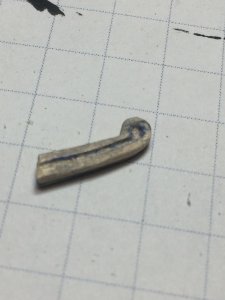
After light layer of black paint i glued them to the ship head.
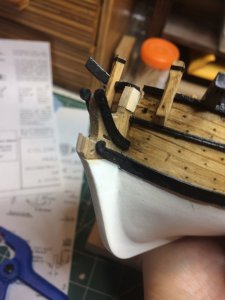
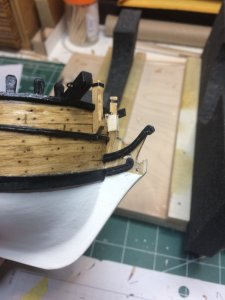
Then part of the cheek that extend to the ship was carved next...
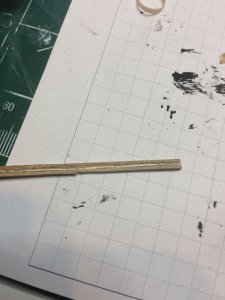
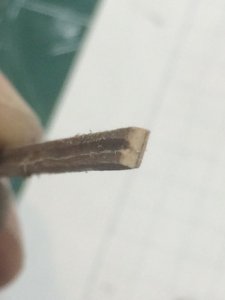
This part do require a bit of a curve so quick bath in the water for a few minutes and curved for tomorrow assembly..
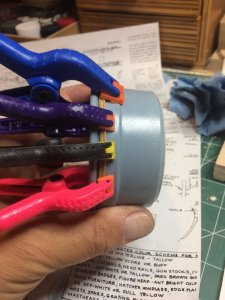
Happy modeling..
Started with making a piece of wood that will be used for carving out of few pieces of leftover planking boards, glued together like in few previous posts. Transfered shape and start sanding and carving..


After light layer of black paint i glued them to the ship head.


Then part of the cheek that extend to the ship was carved next...


This part do require a bit of a curve so quick bath in the water for a few minutes and curved for tomorrow assembly..

Happy modeling..
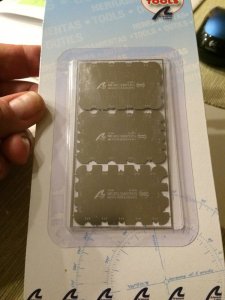
I bought those a few months back, they work very well, but they are thin so easy does it go slow and let the tool do the work. I used them t remake some moldings for an old doll house my Brother in law built for his Daughter. the Moldings made that thing look awesome. I may have a Granddaughter OTW so I guess I'll be building a Dollhouse eventually.Not very productive afternoon; went to my post office to pick up scrapers i have ordered few days ago..
Looking forward to make some moldings...
View attachment 49687
Happy modeling
I bought those a few months back, they work very well, but they are thin so easy does it go slow and let the tool do the work. I used them t remake some moldings for an old doll house my Brother in law built for his Daughter. the Moldings made that thing look awesome. I may have a Granddaughter OTW so I guess I'll be building a Dollhouse eventually.
Thanks Joe,
yes, they are fairly tiny, i will try to make few test runs on different wood types for testing soon..
Cheers..
After some time spent in bending setup, the head rails were cut, painted and glued to the ship to meet with cheeks already on the stem.
To provide as smooth as possible transition between two parts i used wood filler to fill out gaps. Sanding part will come tomorrow.
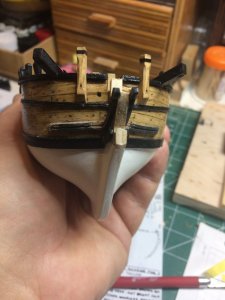
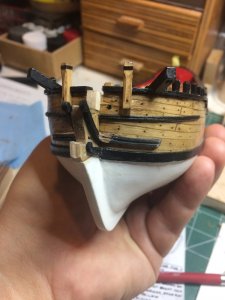
Using wood filler might not be quite acceptable in ship modeling but i think that end result is more important than material used in building process. These pieces are very tiny and fragile so it would be very difficult to make them in one piece. At least for me.
Now, lets see how can we build/carve the head rails. I started with laminating few left over parts, boxwood, into one piece acceptable for carving correct shape. The shape was transfered from plans, cut and glued to the wood. So lets begin carving. I must say i am beginner carver, still have challenges visualizing an end result of carving process so this was a good exercise in proper direction. Repetitio mater studiorum est..
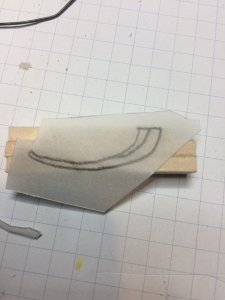
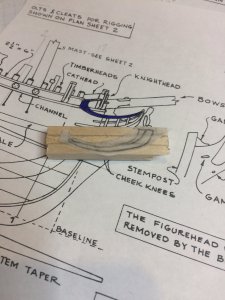
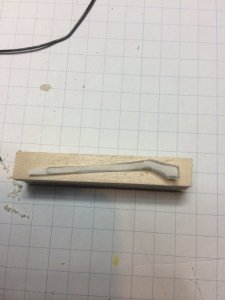
After about two hours or carving, sanding, measuring, testing, carving, sanding, retesting.... i was able to come up with a decent result.
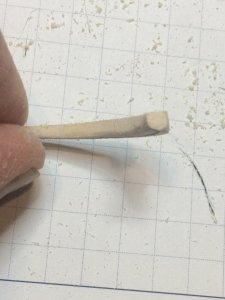
Then using my home build scraper, i made a a groove in head rail, shaped and cleaned it with a piece of sanding paper folding to the size that can fit in the groove. The rail edges were sanded too with 800 sanding paper.
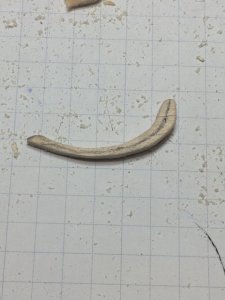
Testing on the ship...
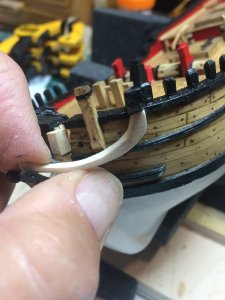
I must admit that the hardest part of this whole process was testing and retesting. The reason for this is that is extremely hard to hold a ship and carving part in correct position, and mark with pencil extra wood that has to be removed. Unfortunately, only two hands available but managed to have it done...
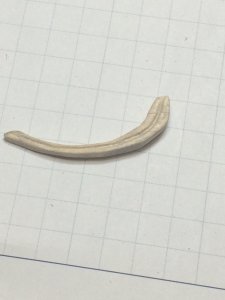
A bit more shaping so the curve is as smooth as possible and final testing on the ship..
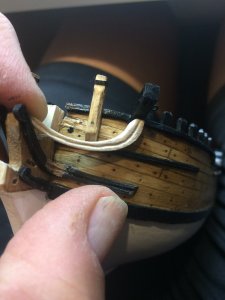
I am still not 100 percent happy with a groove, it appears to be a bit choppy but will try to clean it tomorrow. In the meantime i made another laminated boxwood piece that will be used for second head rail...
Happy modeling..
To provide as smooth as possible transition between two parts i used wood filler to fill out gaps. Sanding part will come tomorrow.


Using wood filler might not be quite acceptable in ship modeling but i think that end result is more important than material used in building process. These pieces are very tiny and fragile so it would be very difficult to make them in one piece. At least for me.
Now, lets see how can we build/carve the head rails. I started with laminating few left over parts, boxwood, into one piece acceptable for carving correct shape. The shape was transfered from plans, cut and glued to the wood. So lets begin carving. I must say i am beginner carver, still have challenges visualizing an end result of carving process so this was a good exercise in proper direction. Repetitio mater studiorum est..


After about two hours or carving, sanding, measuring, testing, carving, sanding, retesting.... i was able to come up with a decent result.

Then using my home build scraper, i made a a groove in head rail, shaped and cleaned it with a piece of sanding paper folding to the size that can fit in the groove. The rail edges were sanded too with 800 sanding paper.

Testing on the ship...

I must admit that the hardest part of this whole process was testing and retesting. The reason for this is that is extremely hard to hold a ship and carving part in correct position, and mark with pencil extra wood that has to be removed. Unfortunately, only two hands available but managed to have it done...

A bit more shaping so the curve is as smooth as possible and final testing on the ship..

I am still not 100 percent happy with a groove, it appears to be a bit choppy but will try to clean it tomorrow. In the meantime i made another laminated boxwood piece that will be used for second head rail...
Happy modeling..
This is some pretty detailed work. The ship looks large until one see's it being held in your hand. Amazing work!
This is some pretty detailed work. The ship looks large until one see's it being held in your hand. Amazing work!
Thanks Fright..
Looks very good.
It is a tiny ship, really.
JL
It is a tiny ship, really.
JL
Wrapped up head rail building process today... Worked on second head rail, transfered the shape of the first one to the piece of wood, carved, shaped, sanded with sanding paper and files.
The shape was transfered to the scrap piece of boxwood. Cut excess wood with hobby saw and removed wood with carving tools.
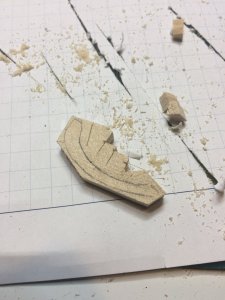
And carving....
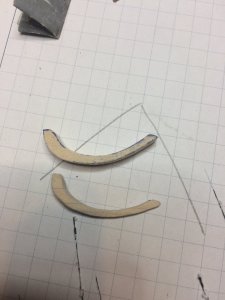
more carving..
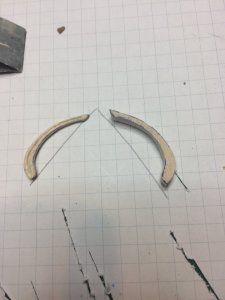
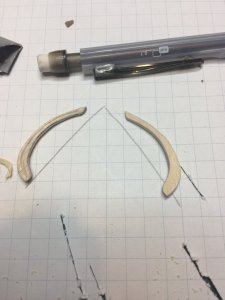
checking shape to the original one...
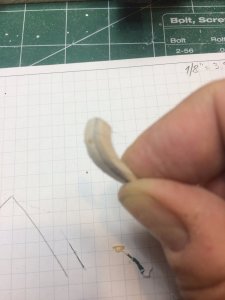
Making the grove with home made scraper...
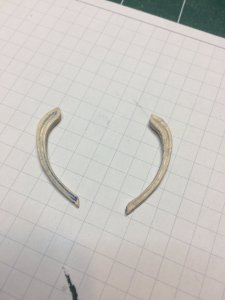
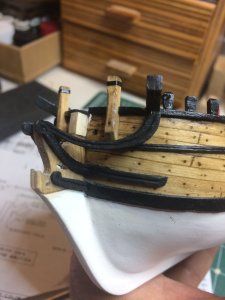
Once done with carving, painted the layer of flat black and mount on the ship..
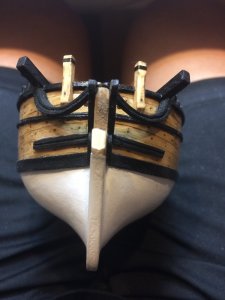
Happy modeling..
The shape was transfered to the scrap piece of boxwood. Cut excess wood with hobby saw and removed wood with carving tools.

And carving....

more carving..

checking shape to the original one...


Making the grove with home made scraper...

Once done with carving, painted the layer of flat black and mount on the ship..


Happy modeling..
looks awesome you do some fine work my friend


