Outstanding
Thanks epicdoom, appreciated.
 |
As a way to introduce our brass coins to the community, we will raffle off a free coin during the month of August. Follow link ABOVE for instructions for entering. |
 |
 |
The beloved Ships in Scale Magazine is back and charting a new course for 2026! Discover new skills, new techniques, and new inspirations in every issue. NOTE THAT OUR FIRST ISSUE WILL BE JAN/FEB 2026 |
 |
Outstanding
Superb Sultana !

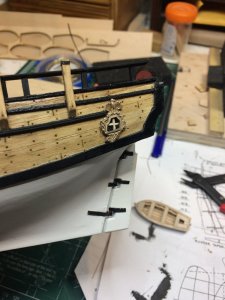
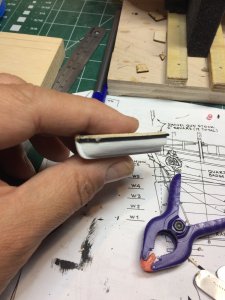
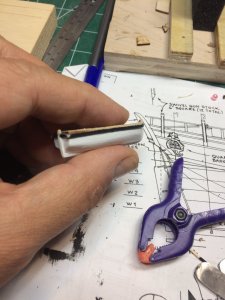
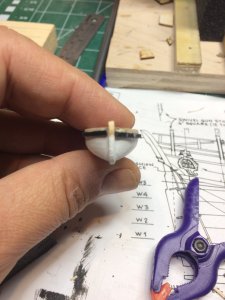
Thats nice. When I built my Sultana, it never occurred to me to put in the extra window panes. It is interesting as (speaking for myself) that as I learn more, I see a lot of mis-scaled items in kits.
Sorry, but I have a couple of words here:I started to work on deadeyes. The kit supplied one are 2.7mm in diameter. At first glance they shows a bit small and out of the scale for this model. In Chuck's practicum i did not find place where size of deadeyes is mentioned or i was tired and missed it completely.
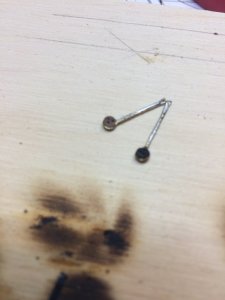
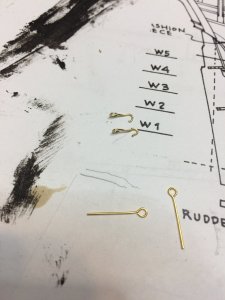
The work on deadeyes was similar to what Chuck's was suggesting... with some additions. I measured the length of the whole deadeye assembly and mark it on the piece of wood (lets call it a board). Then two nails were pushed into board: one to hold a deadeye and another to hold the loop that will be nailed to the ship.. The 0.32mm wire was squeezed around the nail and around the deadeye forming the completed assembly.. Then i use a small amount of soldering paste and heat it to fill the gap between two wires...
View attachment 57060
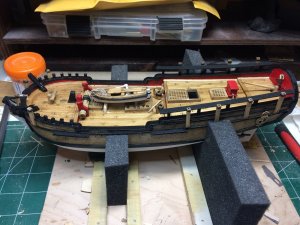
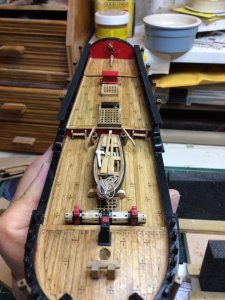
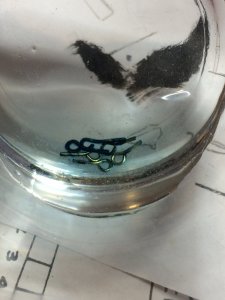
The intention is to paint the whole deadeye assembly in black. Then i decided to test it on the ship to see actually is it visually out of scale or just my eyes playing games with me...
View attachment 57061
Well for me, it does appear to be a bit out of scale... Then i made one home build deadeye just for testing in 3mm and 4mm size.. They looked a bit more appealing to the scale... My skills to build home-made deadeyes are not quite at acceptable level so i made purchase of few deadeyes from Chuck' web site... They are coming.... 3mm and 4mm. Will see which one fits better...
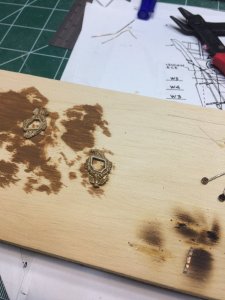
While waiting for deadeyes, i started to work on quarter badges. Following Chuck' practicum i tried to make one out of sculpey and must say was not quite successful. They were looking more like a squeezed piece of chew gum spit on the sidewalk then actual usable badges... They are tiny, very tiny... So, i decided to use the ones that arrived with kit.
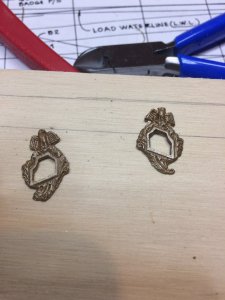
Clean them up a bit and cover with Tamiya earth color paint in attempt to simulate a wood.
View attachment 57063
After drying, the excess paint was removed and they appeared to be ready for mounting..
View attachment 57059
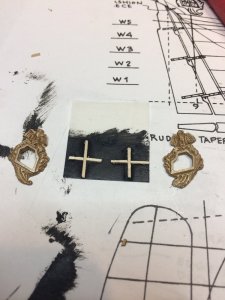
The windows were simulated with a tiny piece of wood and tracing paper colored in black..
View attachment 57062
Then badges were glued to the "window" and the whole assembly was glued to the ship..
View attachment 57058
Now when i look to this picture i need to fix that crooked window...
Happy modeling.
Sorry, but I have a couple of words here:
1/ The crossing planks in window are TOO wide. Reduce the thickness twice at least
2/ Try to use some wethering, bituminous varnish for instance, to give the ornanent some volume
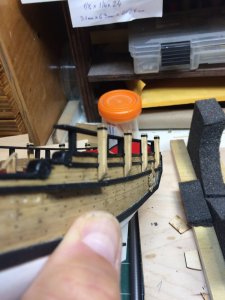
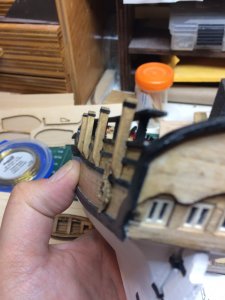
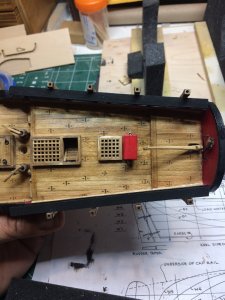
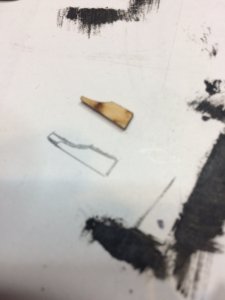
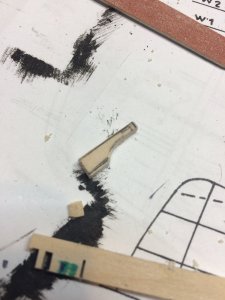
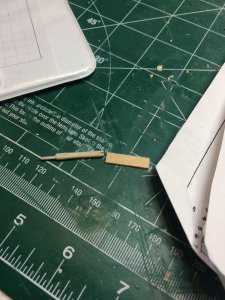
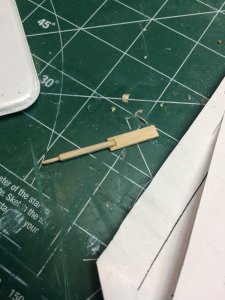
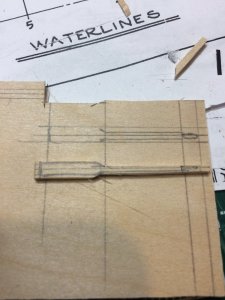
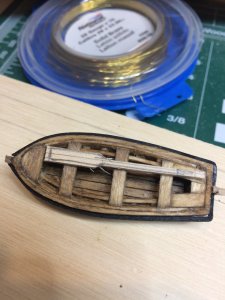
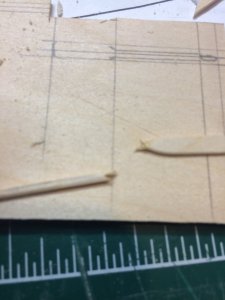
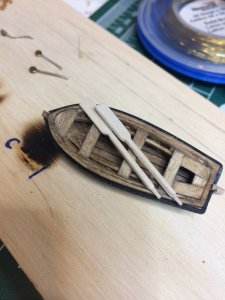
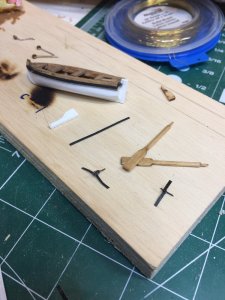
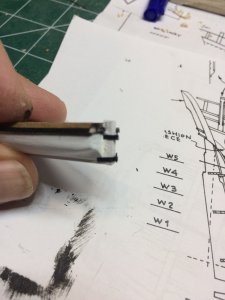
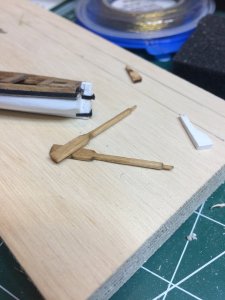
Just catching up on your excellent build log. Great stuff.
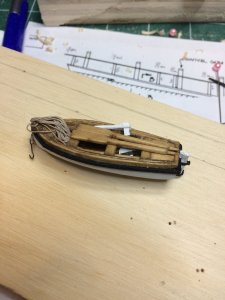
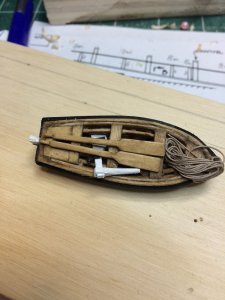
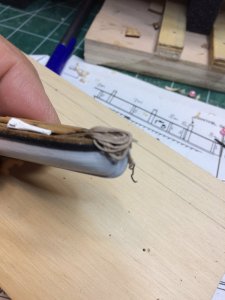
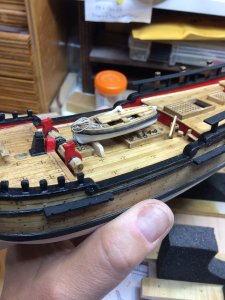
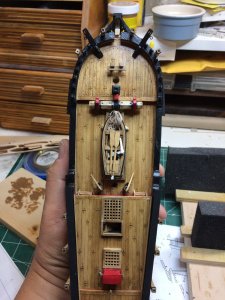
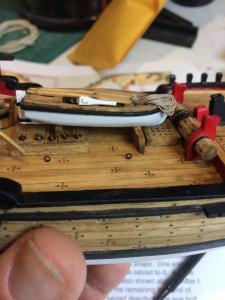
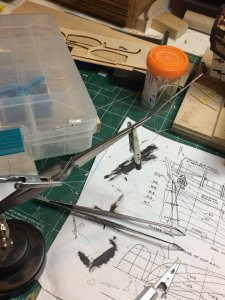
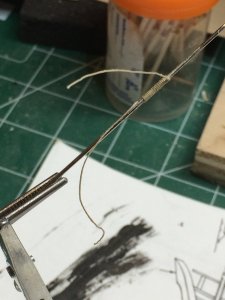
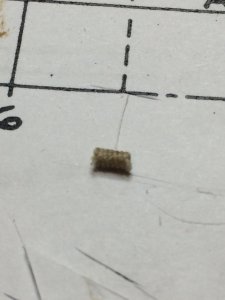
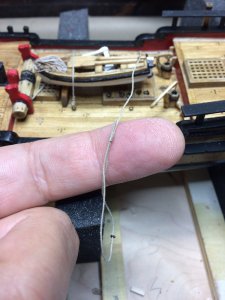
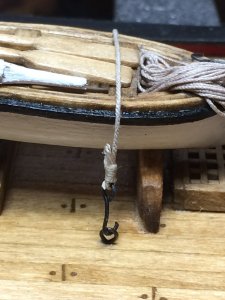
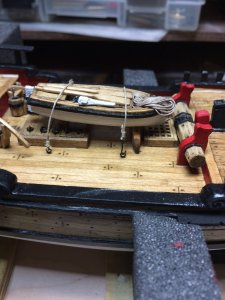
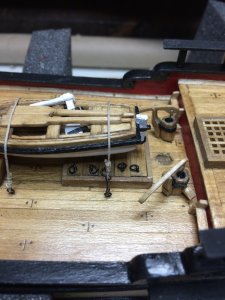
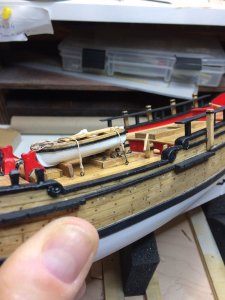
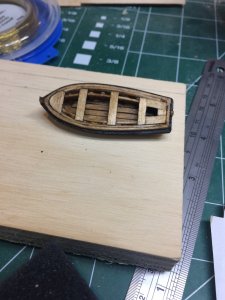
Hahaha, you are absolutely right. Fixing it today.... It would be interesting experience steering the boat that way...You are making this into a really nice looking ship. Just one thing I noticed is the Tiller on the small boat's Rudder the correct way round?
Cheers Andy
Fantastic Brother shes looking very nice
