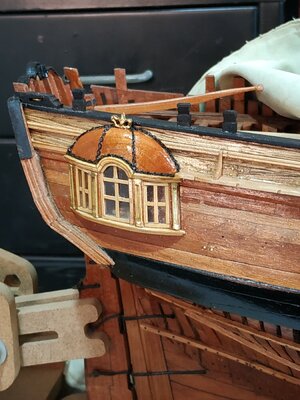
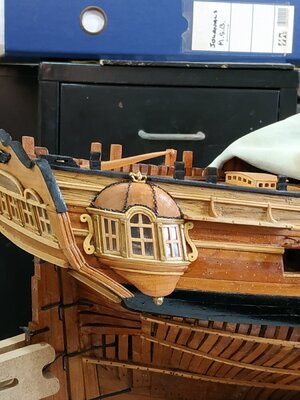
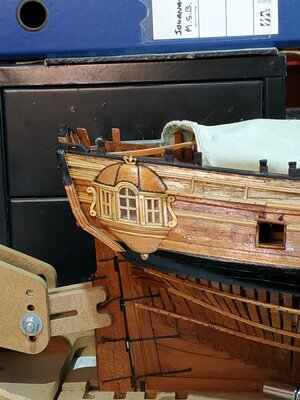
The Quarter Badge
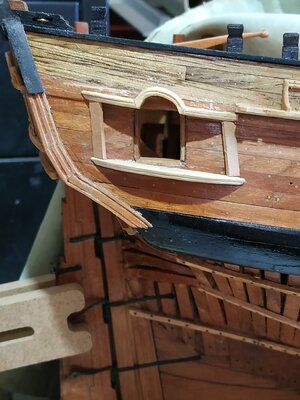
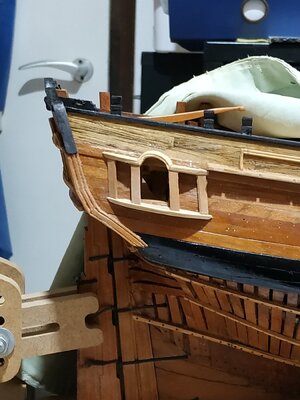
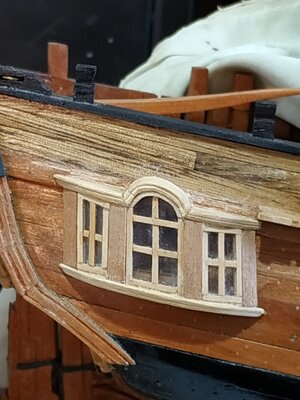
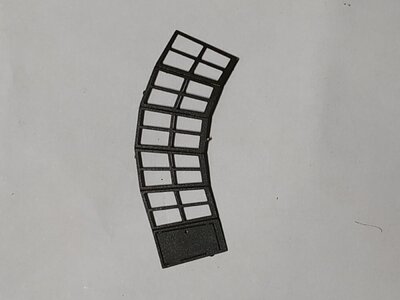
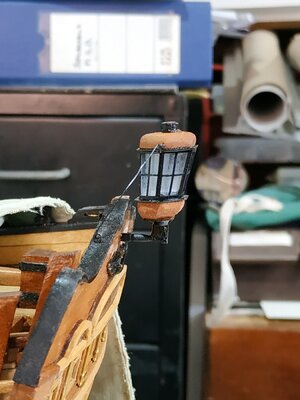
Instead of the Gallery in biggerships. Will refer to Atalanta plans for basic outlines, but without the fancy stuff. Apparently, this fitting was very varied.
The critical parts are the Upper and Lower Stools. The inboard side is attached to the ships side and follow these rules :They are parallel to each other
They project no further out from the ship than the Quarter Pieces
Outboard shape is elliptical
Athwartship, the upper surface is horizontal
Molding on the outer edge (3D shows the difference between Upper and Lower)
Upper Stool is slightly smaller.
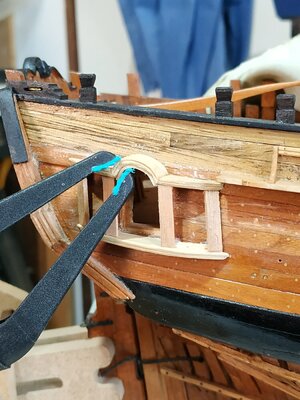
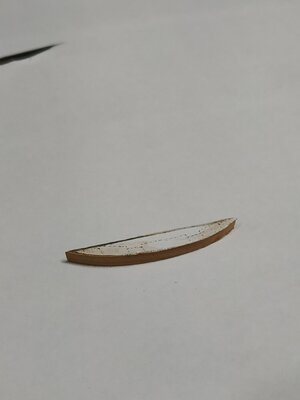
Lower Stool.
Check height and slope to plans.(the slope parallels the slope of the Sheer Rail in my plans)
My finished width is to be 6.8mm, thickness 2.2mm and length 46
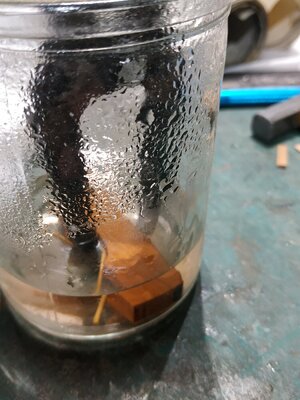
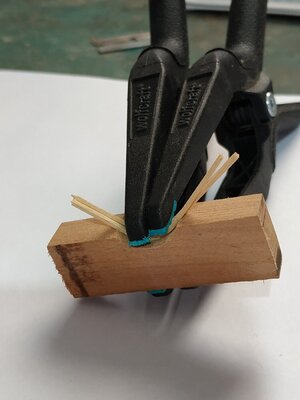
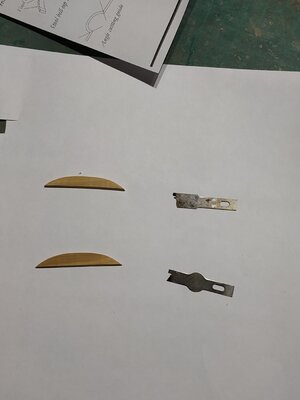
I made the molding off the ship using a scraper scraper, and then reduced width and fitted the inboard surface to the hull with PVA and a couple of drops of cyano to grip while drying.(Pinning seemed a bit dodgy.)
Upper Stool
Very slightly smaller than the Lower Stool.
Made a different molding as this (seemed) to be shown on the 3D
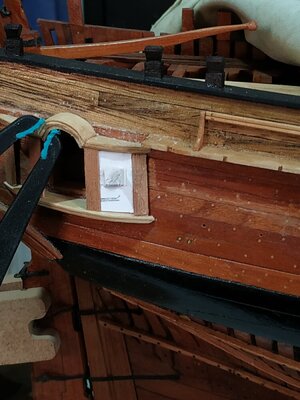
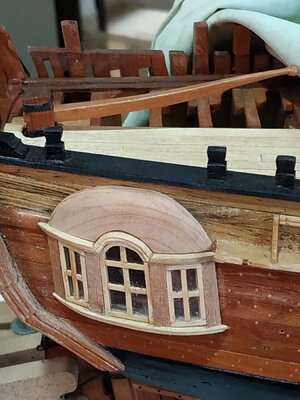
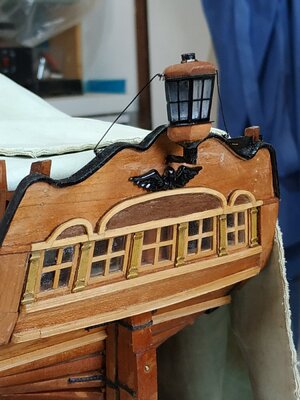
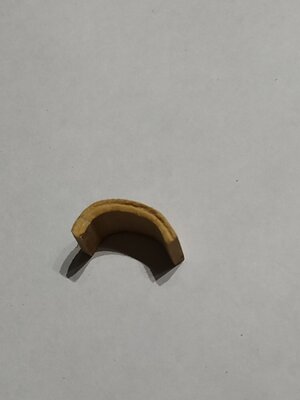
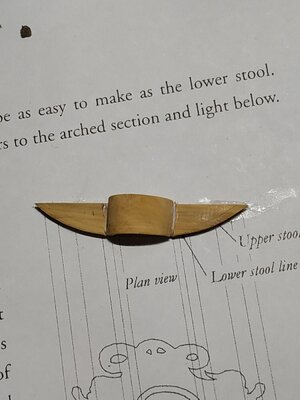
The approx, middle ⅓ is replaced by the Bell-top, a sharply arched structure, with the thickness and molding of its “wings”,
The shape is described as an “irregular skewed ellipse”. ?Because of the slope, a regular ellipse looks odd.
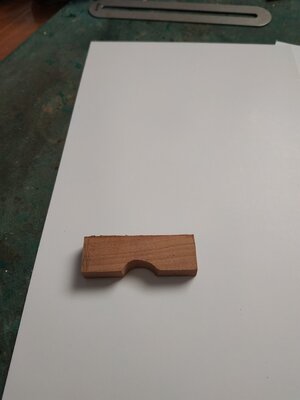
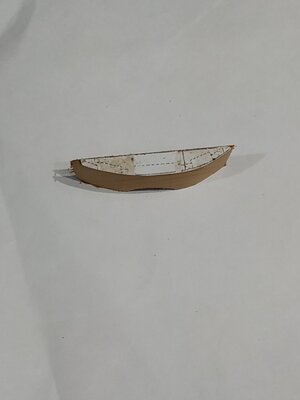
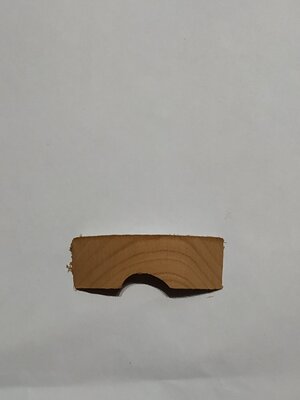
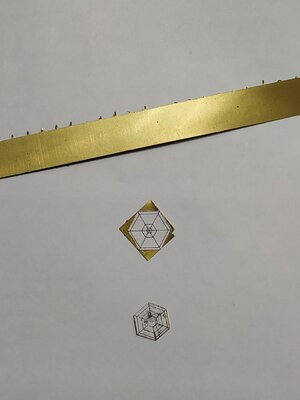
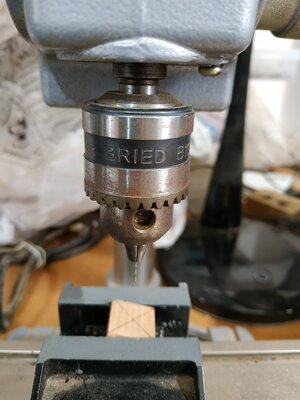
Using the pattern from TFFM and a blank 10x8x9mm milled and filed the shape, including the minimal curving of the outer edge and the 45deg joints. **The corners broke with scraping the molding.**
Again using the plans, removed the middle segment and the edges sanded to 45deg so that the Bell-top fitted with the make the appropriate total length for the Upper Stool.
After gluing, the molding can be patched up where the corners were reattached.
I used boxwood for colour and relative ease of scraping the molding, but on the curve this was difficult. The asymmetrical shape was not the easiest to make. Thankfully, only putting on one side.
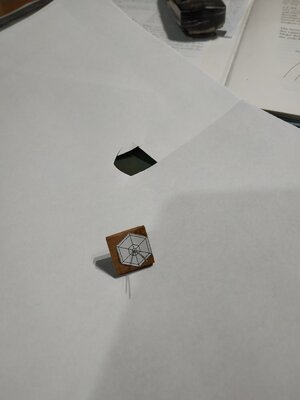
Note also when gluing the Bell-top to its wings, ensure alignment horizontally, and between their inboard surfaces. When glued, the surplus from the inboard surface of the Bell-top can be removed and the whole beveled to fit to the ship’s side so the upper surface is horizontal.
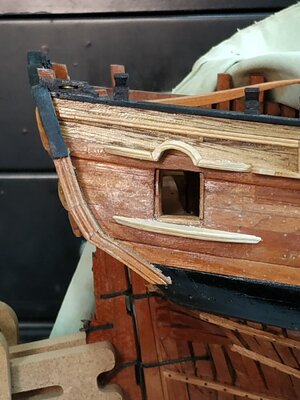
Ensuring the Bell-top sits over the port, the Upper Stool is parallel to the Lower Stool and starts about 3mm aft of it. Glue in position as before.
Go away and rest until the glue is firmly set before any more messing !!!.


