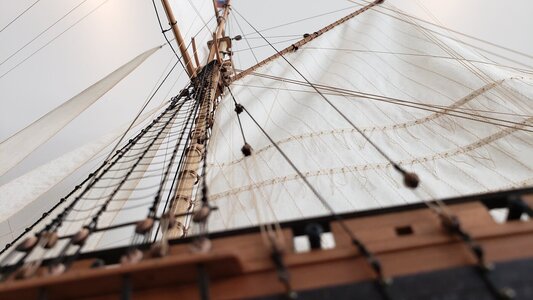
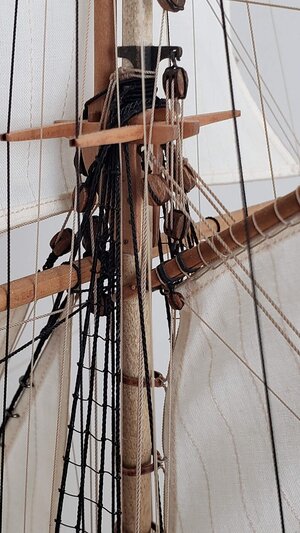
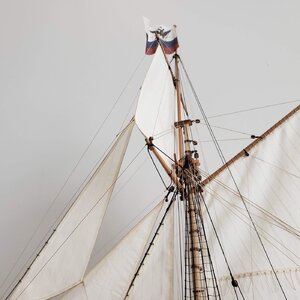
Tender Avos - Master Korabel 1:72

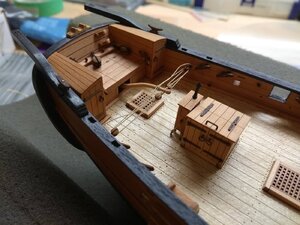
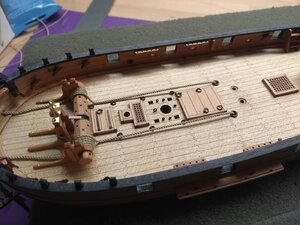
13. The work continued with the rest of the deck fittings. Sail traveller:
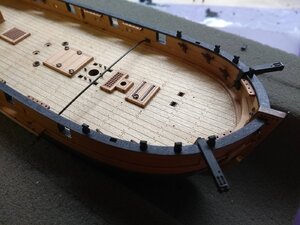
1.jpg

Tiller and its tackle:
2.jpg

Capstan, anchors and anchor ropes:
3.jpg

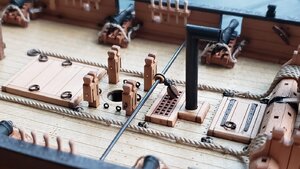
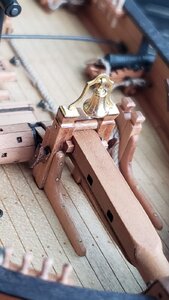
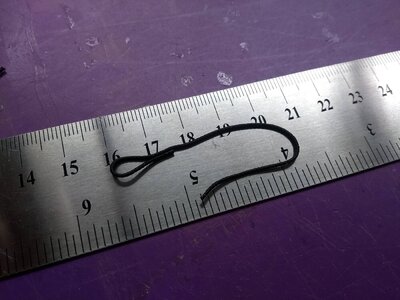
After most of the fitting were installed, I proceeded to assemble cannon carriages and cannon breech ropes. I used a very simple jig to prepare breach ropes. It is a small board with a few holes drilled into it and a rubber band on top. To make breech ropes I first attach a longer piece of rope to the cannon and then insert it under the rubber band:
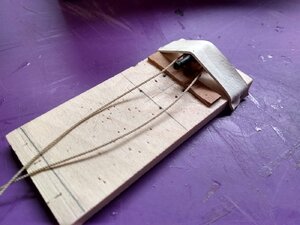
4.jpg

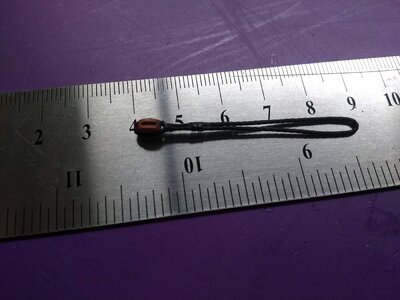
Then I attach eyebolts to the protruding ropes:
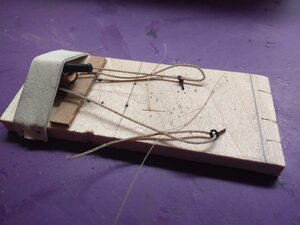
5.jpg

Finally I insert the eyebolts into pre-drilled holes and adjust the length of the breech ropes:
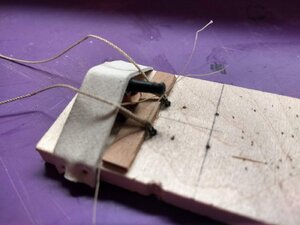
6.jpg

After the knots are tied and a tiny drop of CA glue applied to them the cannon is removed from the jig, all that is left to do is to trim the ropes:
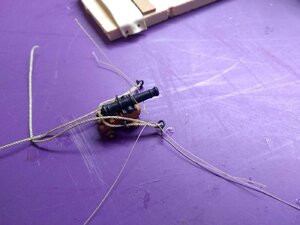
7.jpg

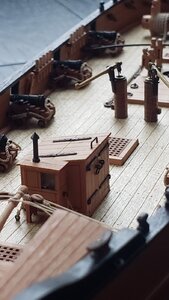
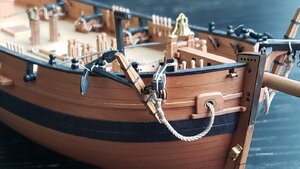
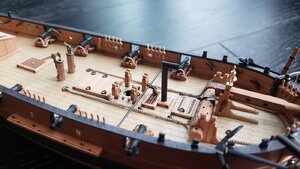
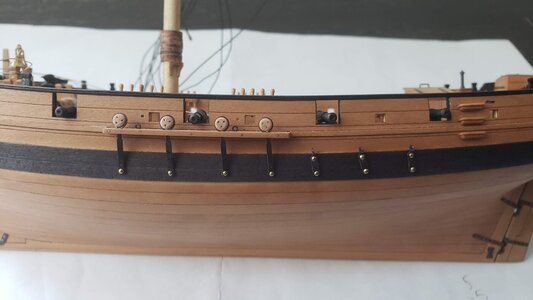
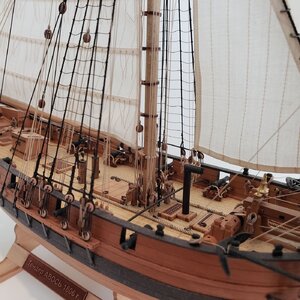
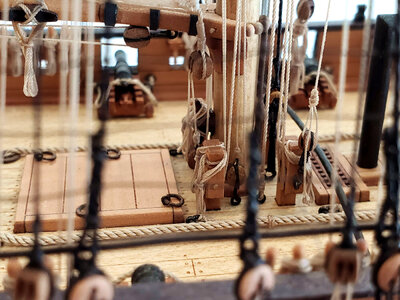
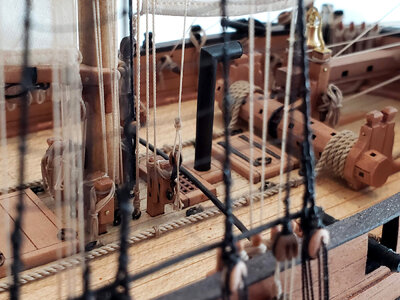
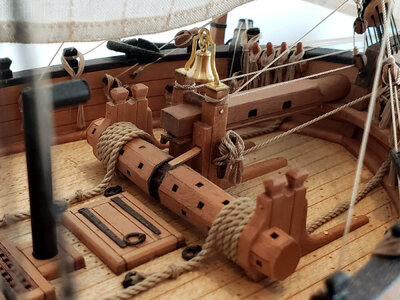
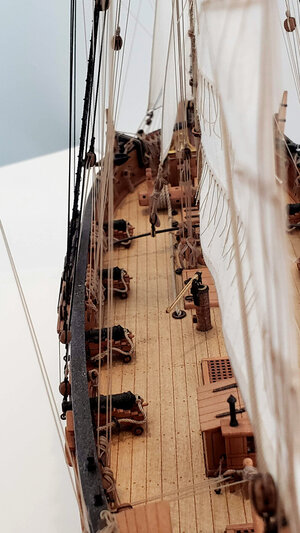
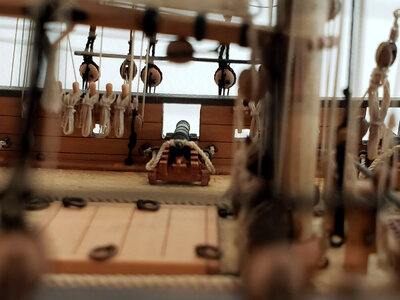
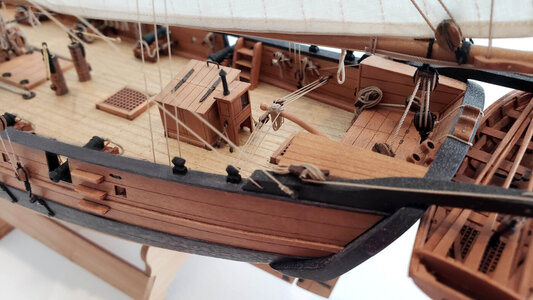
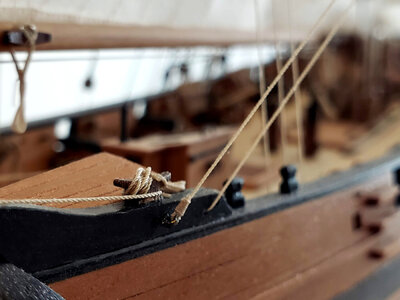
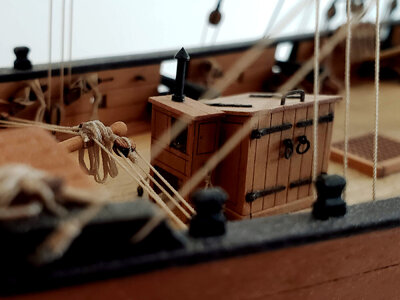
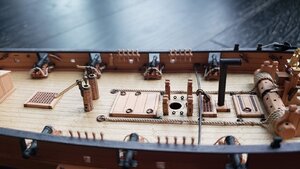
Finally all the fittings and cannons were installed:9.jpg


10.jpg

11.jpg

12.jpg

13.jpg

14.jpg

Now I can proceed to making the mast and the rest of the yards...
 
Доброго времени. Акуратная сборка. С интересом наблюдаю. Успехов.

google:
Good time. Neat assembly. I watch it with interest. Good luck.
 
Last edited by a moderator:
Guys, thank you for the kind words and the encouragement! I appreciate this and it is a good motivation :)

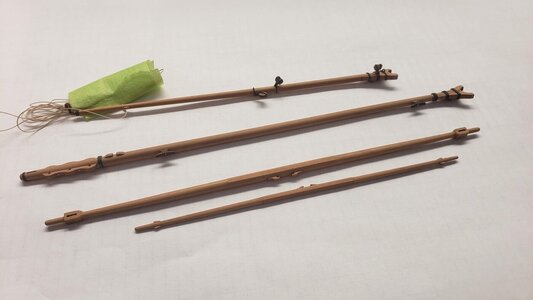
So, the work continues... Once the hull was done I switched my attention to making the remaining yards and the mast. This is a small model, so there is only a handful of spars: boom, gaff, bowsprit, spreadsail yard, topsail yard, mast and topmast. I have already made the bowsprit earlier, so only 6 spars were left to do. The workflow I follow for making them is always the same:

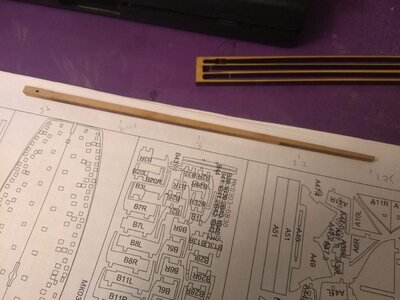
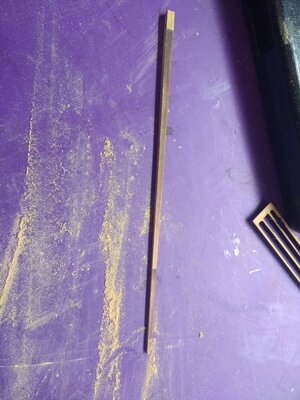
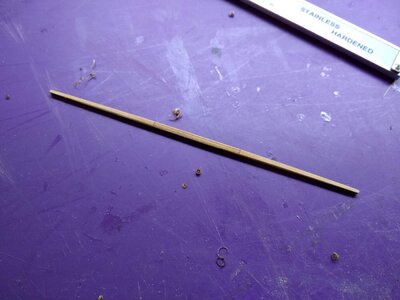
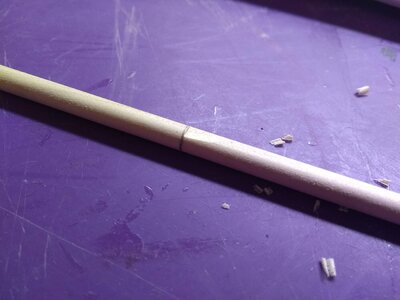
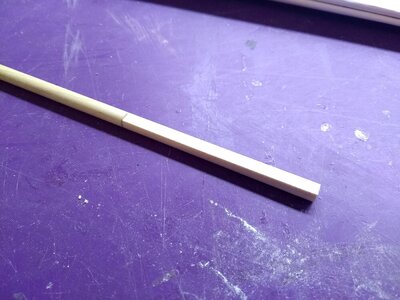
1. I narrow down (by sanding the part so It has square cross section everywhere):
1.jpg
2.jpg

3.jpg

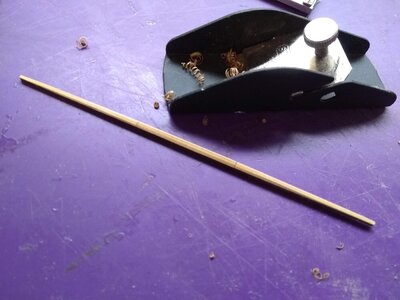
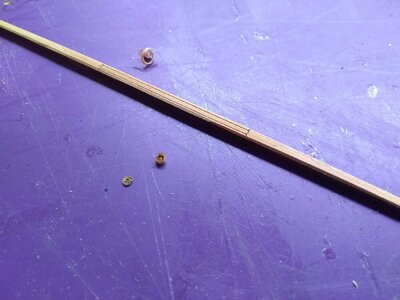
2. Then I use a mini-plane and cut off the edges of the part to make it more or less hexagonal:

4.jpg
8.jpg

And after that I wrap it into a small sheet of 180 grip sandpaper and rotate it with my left hand while holding the sandpaper with the right hand. In the end I get something like this:

9.jpg

The mast is something different. Instead of making a square round, I make a circle square by removing material. I first try to identify the order (or stages) in which material needs to be removed and then start cutting, the first cuts are always perpendicular to the mast and they establish the depth of the rest of the cuts:

10.jpg

In the end after the first stage, the mast looked like this:

11.jpg

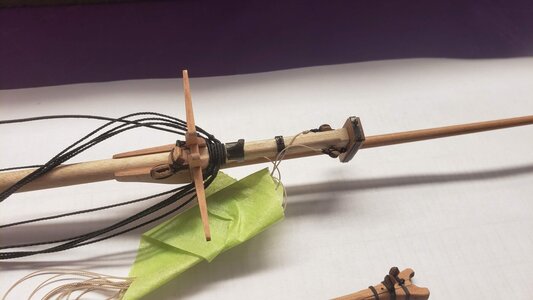
Once the mast was complete I attached all the stays and the shrouds to the mast top:
12.jpg
13.jpg

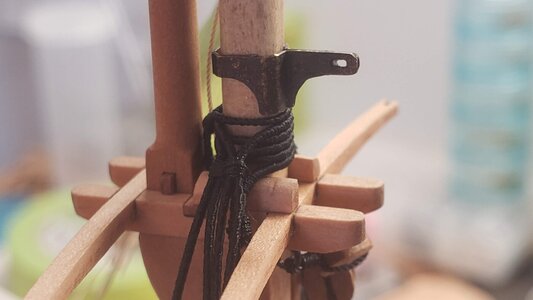
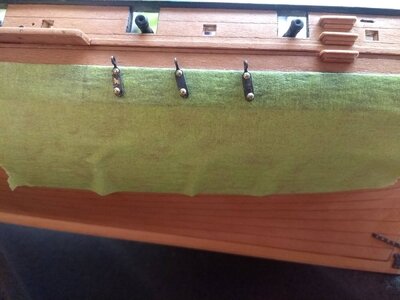
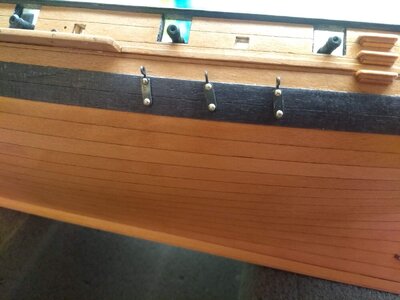
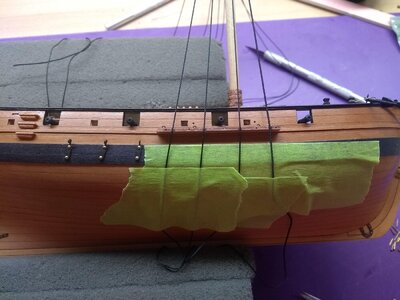
And then established the angles for the chainplates using the actual shrouds (I usually take a lot of time at this stage, because I love perfect symmetry :) :

14.jpg15.jpg16.jpg17.jpg

Once this was done, all the tedious work was over! Now the fun part could begin. I could finally start some of the standing rigging. Bobstay:
18.jpg
19.jpg

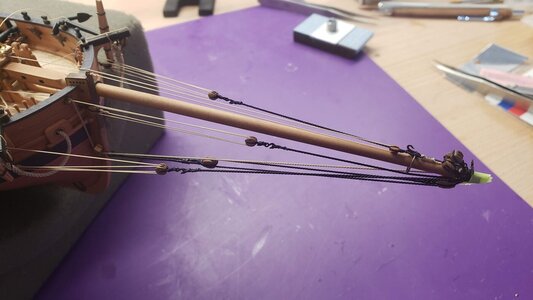
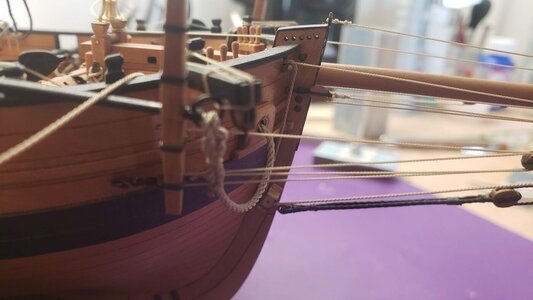
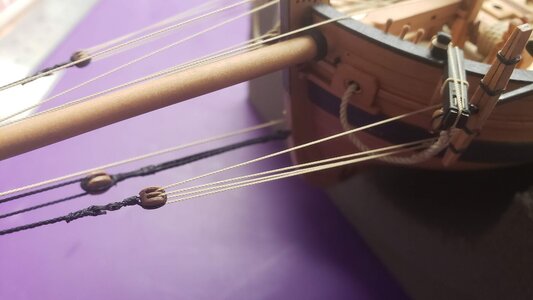
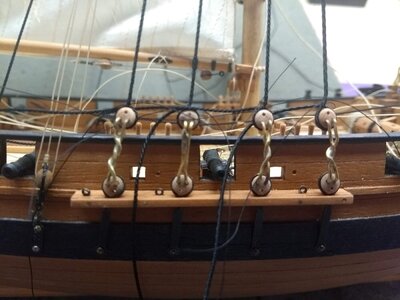
And the bowsprit shrouds... This is what it looks like right now:
20.jpg

21.jpg

22.jpg

Next I'm going to continue rigging all the spars (I try to install as much rigging with them off the ship as possible)...
 
And after that I wrap it into a small sheet of 180 grip sandpaper and rotate it with my left hand while holding the sandpaper with the right hand. In the end I get something like this:
Hello Egor, you have a miracle 180 grit sandpaper. After rotating you got ready masts and yards! Do you sell such a paper? :D
 
The work continues. Here comes the most dreaded part for me - sails... Previously when building MK kits I always used their sails. Their sails are pretty good quality, the only thing that always bothered me was that the boltrope was always too thick for the scale and it looked fluffy and not too neat.
I heard that some builders use this material called Silkspan and decided to give it a try. I was really surprised by it looks when I finally bought it. It really looked like 1-ply toilet paper to me, very thin and transparent. And on top of that I had no idea how to make it look like a cloth sail. I think I tried everything, painting it using several coats acrylic paint, laminating two sheets into one, printing on it, laminating a piece of paper between two silkspan sheets. In the end I was never happy with the results - it always looked like paper to me. It didn't feel that the seams were real - I could always see that they were printed or drawn with pencil. There was no cloth texture, it really was just paper..

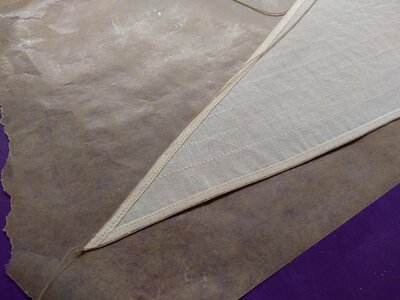
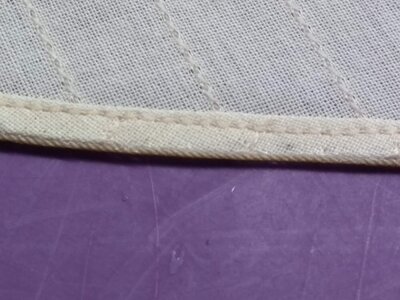
In the end I gave up and decided to use Master Korabel sails with one modification - I cut off the original boltrope and instead of sewing a new one on I decided to glue it on using PVA glue:

1.jpg

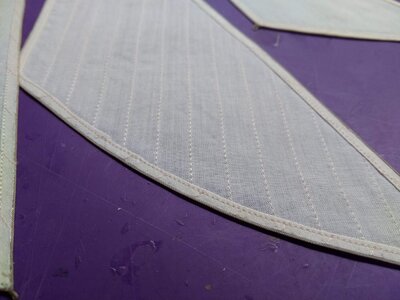
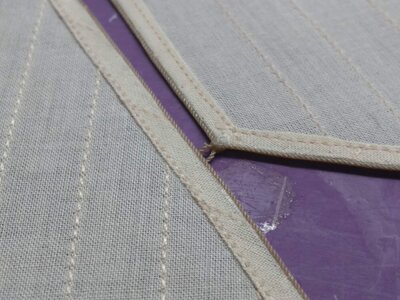
To my surprise the glue held and after a few hours I had sails with cleanly attached boltropes:
2.jpg
3.jpg
4.jpg

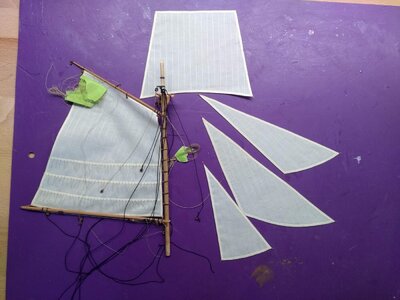
In the end I really like the result - the fabric is thin enough but it has this nice texture and real seams and the boltrope is finally to scale. Here is all five sails with main sail attached to the boom, gaff and the mast:

5.jpg
6.jpg

Now I can finally install the mast and start working on the standing rigging!
 
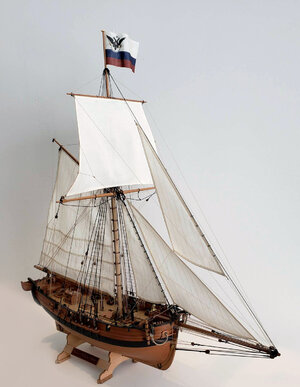
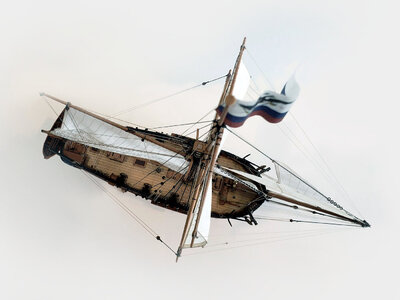
It has been a long time since I posted here... The life has been pretty busy and I forgot to regularly post any updates here. The Avos is finished now and I'd like to share some of the photos of the final steps.
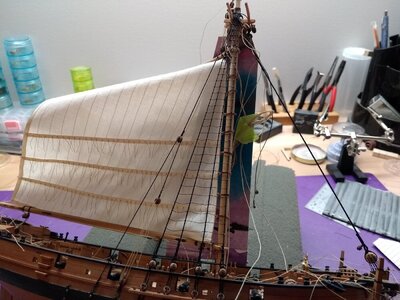
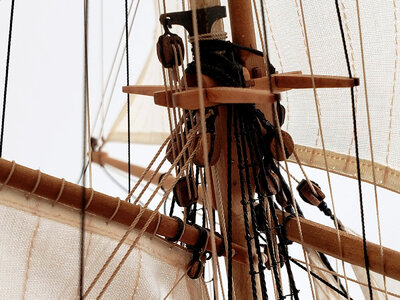
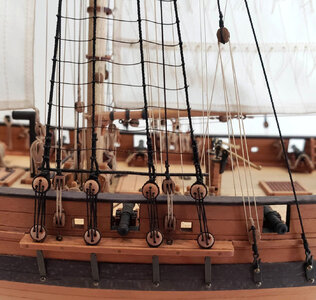
Once the mast was installed on the hull I attached the stays and the shrouds. I prefer to use individual jig for each of the deadeyes because of the andles their lengths are all slightly different:
avos1.jpg

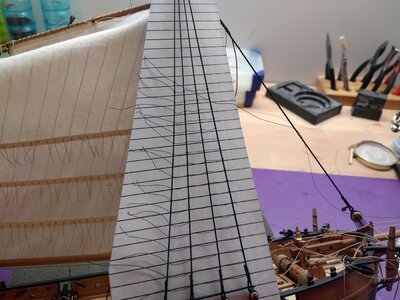
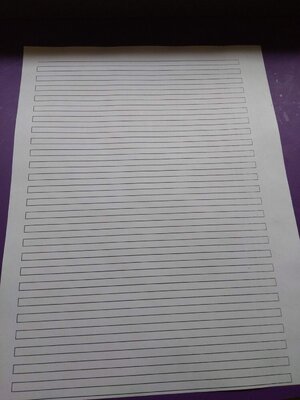
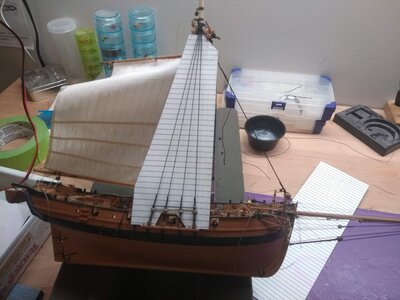
To make the ratlines I printed a template on a laser printer and then simply cut it out and affixed behind the shrouds. This way it is possible to consistently tie the ratlines parallel to the channels:
avos2.jpg

avos3.jpg

avos4.jpg

avos5.jpg

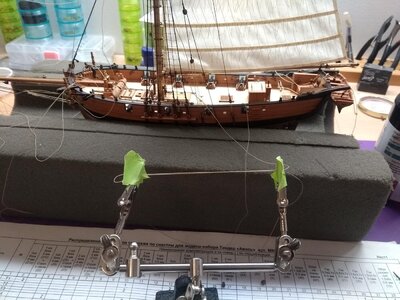
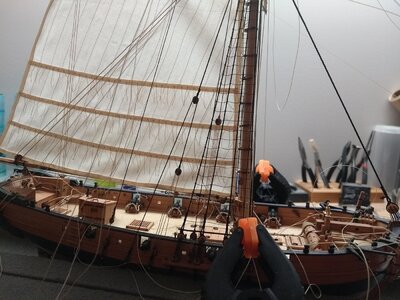
Once the standing rigging was done it was a matter of connecting all the pieces of the running rigging, I used the help of the third hand and the clamps extensively:

avos6.jpg

avos7.jpg


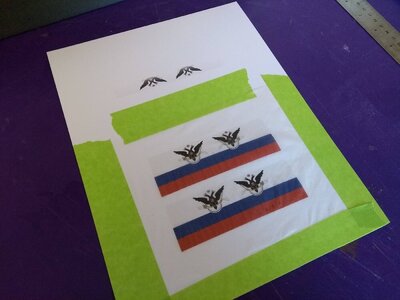
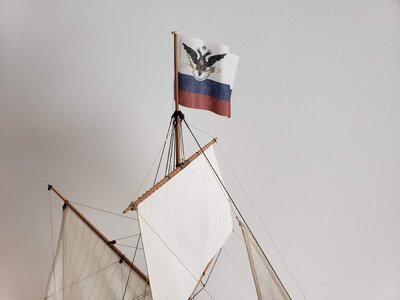
For the flag I decided to ditch the one that came with the kit and simply printed the flag on a inkjet printer. I attached a piece of silkspan to normal letter size paper with some masking tape and loaded it into my printer:
avos8.jpg

I think the end result is not so bad:
avos9.jpg

In the next post I'll share some of the pictures of the complete model.
 
Back
Top