



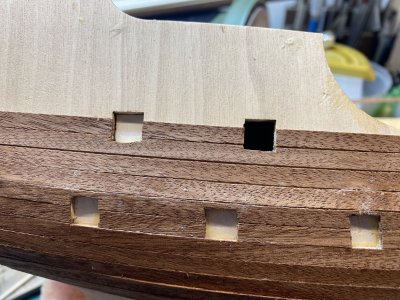
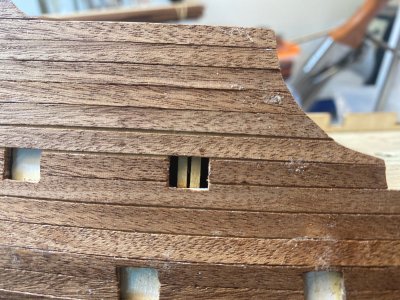
Well a minor problem occurred. While cutting away the veneer from one of the cannon ports, I pressed the knife too hard and the white wooden piece behind the port fell off into the ship. Ill have to think about how to replace this.

 |
The beloved Ships in Scale Magazine is back and charting a new course for 2026! Discover new skills, new techniques, and new inspirations in every issue. NOTE THAT OUR NEXT ISSUE WILL BE July/August 2026 |
|
 |
As a way to introduce our brass coins to the community, we will raffle off a free coin during the month of August. Follow link ABOVE for instructions for entering. |
|


Thank you! Sounds like a plan.Oops, I would imagine the replacement to be a very accurate piece of measuring for the replacement, marginally oversize, then gently sand all edges to make it an interference fit. Then glue all four edges of the the hull and push fit the replacement part.
Unless anyone can offer a better solution.

 ). By the looks of it, you have room to reach in with tweezers and attach them with CA. I'd bet one on opposite sides would do. Just a thought!
Great idea Bill! Thanks so much!Hi Rob, your Black Swan is looking fantastic! Among other things, I love the way your first layer of hull planking overlaps and transitions to the transom - well done! Agree with others, the mahogany veneer looks very nice.
As for your cannon port "oops" may I also suggest you glue in two small narrow pieces of wood on the inner surface to serve as "stops" for insertion of the replacement port piece? That way you don't have to be quite as precise on the dimensions or risk pushing it through (don't ask me how I know this
Keep it up, I'm enjoying the ride!
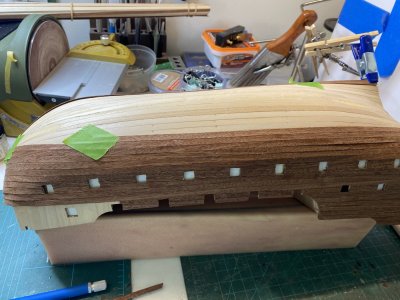

I also accidentally pushed a few black plates inward while cutting out the gunports, so I’m definitely going to use this solution.Hi Rob, your Black Swan is looking fantastic! Among other things, I love the way your first layer of hull planking overlaps and transitions to the transom - well done! Agree with others, the mahogany veneer looks very nice.
As for your cannon port "oops" may I also suggest you glue in two small narrow pieces of wood on the inner surface to serve as "stops" for insertion of the replacement port piece? That way you don't have to be quite as precise on the dimensions or risk pushing it through (don't ask me how I know this
Keep it up, I'm enjoying the ride!
I did use water and heat for the planking. These veneer strips are so thin and flexible they are much more malleable. I have tried using water which does help but I don't see much happening when I use heat. It may be the nature of the wood or the thickness.Hope you do not mind a couple questions. I realize this is a fictional ship but here goes. Is there a reason you did not mark out the width of the planks on the first layer of planking so you know how much taper forward between the dead flat and stem? It makes it very easy to know how much to taper. Are you pre-bending across the breadth (edge bending) with heat or, water and heat?
To each his own, but I think you will find these things to be useful.
Allan
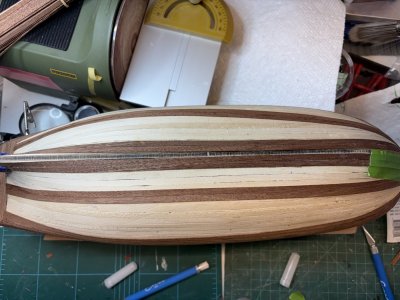
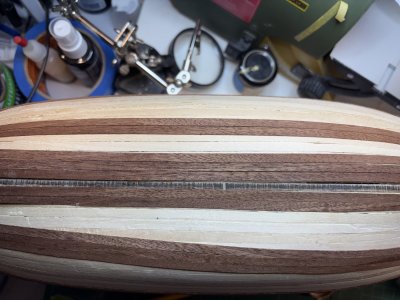

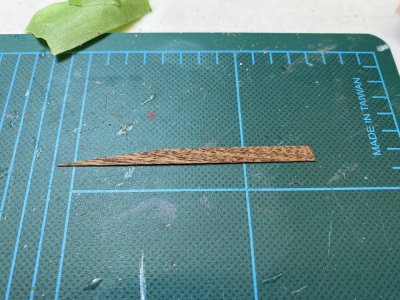
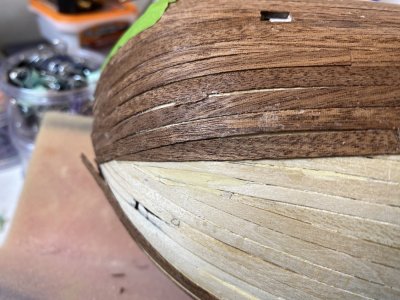
Thank you Grant. I have to agree with you. I am doing exactly what you are saying, tapering pieces and not forcing it to fit across the curves. IT is much easier to do that way. I am filling gaps with thin strips that do appear to blend in nicely.Good morning Rob. Yep veneer is tricky to edge bend - almost impossible . When I did the veneer on my bounty renovation, I found it easier to taper and twist vs edge bending. Also a few dropper planks help solve the problem. The nice thing with veneer it does not give too much plank definition so any gaps can be filled with thinly cut wedges without changing the overall look of the hull planking. Definitely not my favourite medium to play with, however looks good when done. Cheers Grant
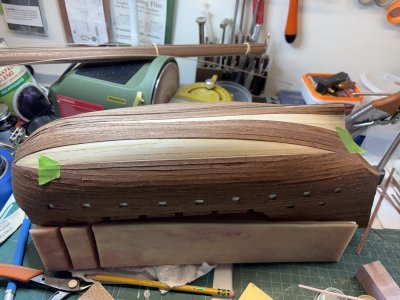
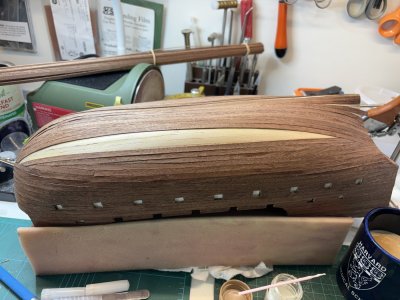
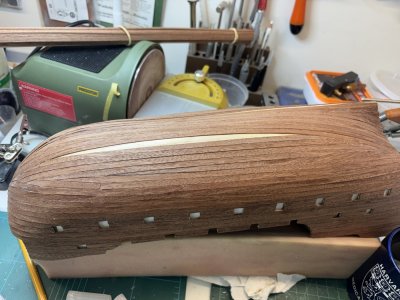
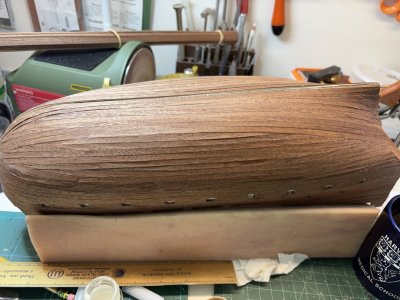
One thing I do not like about this kit is that the keel is added after the planking. There is no rabbet to anchor the planking into. It is good to learn different techniques. However it always seems that I get up to speed at the end of a procedure. Hopefully I will get more proficient as time goes on.I know the sapele is awful for ship models but the strips can still be tapered so every strake ends in the rabbet, not short of it and coming to a point. Not your doing in the least as this kind of planking method is used in many kits, but for the future, the better quality kit makers have planking that is easier to work with, and if I remember correctly some even supply spiled planks so no edge ending is needed.
Like anything else, the more we work at it, the better we get. Even then, you might want to look at kits from a high quality manufacturer for future projects. Most, if not all, kit makers are represented in build logs here at SoS so if you study them you should be able to find something that fits your needs and goals.Hopefully I will get more proficient as time goes on.
Allan,Like anything else, the more we work at it, the better we get. Even then, you might want to look at kits from a high quality manufacturer for future projects. Most, if not all, kit makers are represented in build logs here at SoS so if you study them you should be able to find something that fits your needs and goals.
Allan


