The Druid Build

Good thinking. It helps to have a trailblazer for inspiration.
A lot of my work is sheer" Hey! I can do that!' chutzpah, and just dive right in. For me it's often been better not to know how far the water was over my head before I dove in! :rolleyes:
All the best with the build. Looking good and well in hand so far.

Pete
 
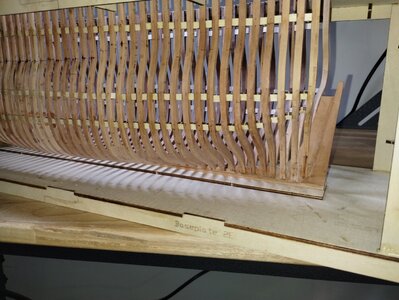
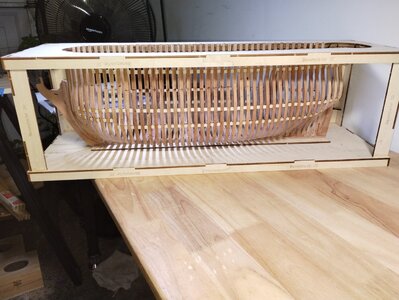
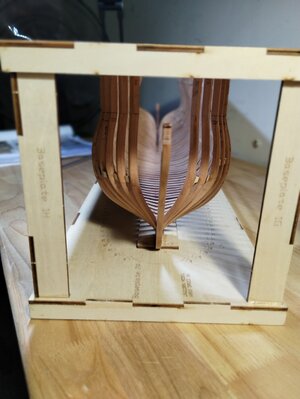
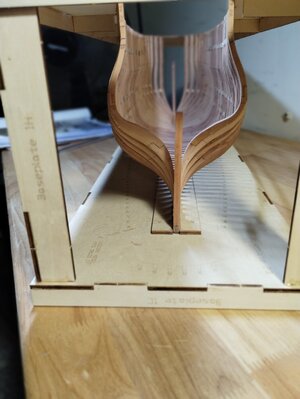
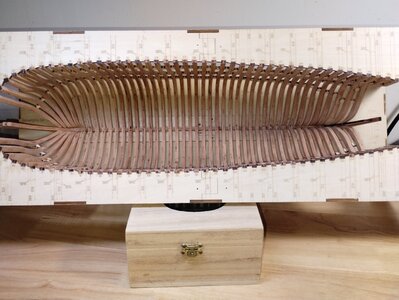
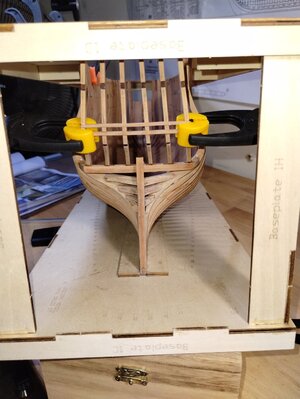
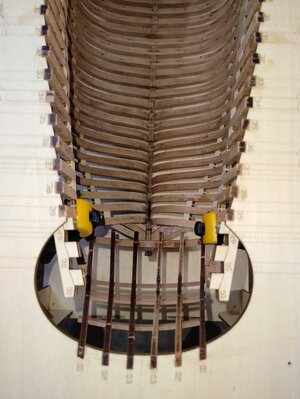
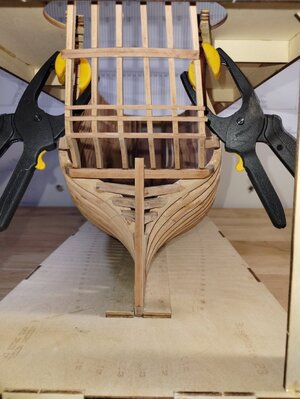
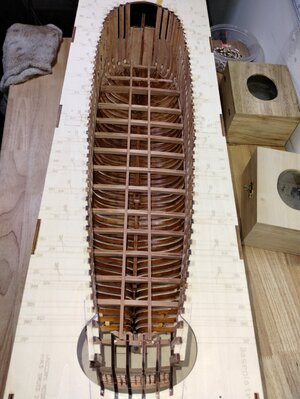
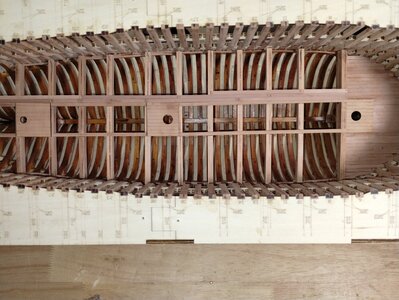
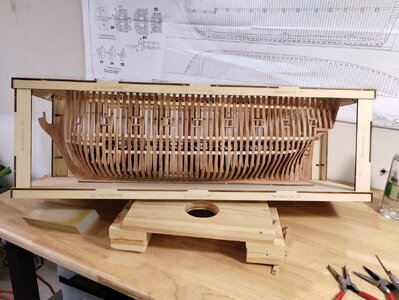
Finished the main rib sections of the kit still have the prow and stern portions to do, the difficult part of building this kit is the lack of instruction, and Illustrations!! There really is none! What they do supply can be confusing to say the least. Enough Wining!
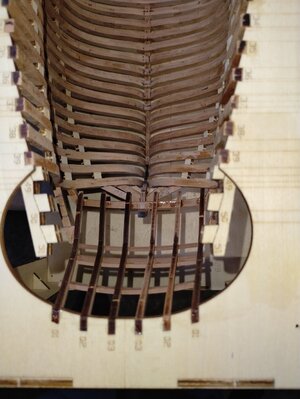
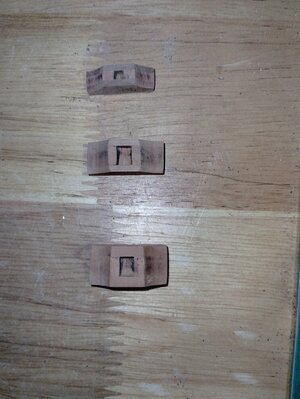
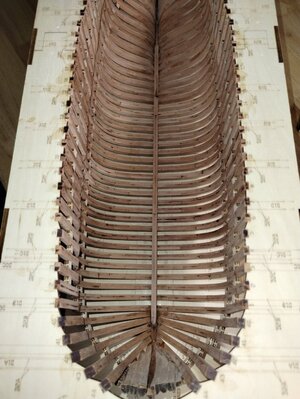
The good thing is the kit is very well engineered all parts fit very well so far and the jig is very good. The rib assembly went well I had figured out how to clamp them in place while maintaining the 6mm spacing between the ribs I decided to install the 3 sets of 6mm spacing blocks supplied with the kit on both sides of the rib when assembling the rib to the keel, I also used a bubble level to assure the rib was plumb, and a square to the alignment marks provided on the jig. The issue I was running into was the wood glue I was using was starting to set before I could clamp, measure and set the rib I found a slow setting wood glue, worked great gave me more time to get things the way I needed them.
The other real annoying step was all the spacer blocks 3 sets each side! a lot of glueing and clamping!! but it did make the Hull real rigid and maintained that 6mm spacing. I am happy so far with the results.

IMG_20231124_154337532.jpg

IMG_20231124_154517460.jpg

IMG_20231124_154538291_MF_PORTRAIT.jpg

IMG_20231124_154555261_MF_PORTRAIT.jpg

IMG_20231124_155110495.jpg
 
Finished the main rib sections of the kit still have the prow and stern portions to do, the difficult part of building this kit is the lack of instruction, and Illustrations!! There really is none! What they do supply can be confusing to say the least. Enough Wining!
The good thing is the kit is very well engineered all parts fit very well so far and the jig is very good. The rib assembly went well I had figured out how to clamp them in place while maintaining the 6mm spacing between the ribs I decided to install the 3 sets of 6mm spacing blocks supplied with the kit on both sides of the rib when assembling the rib to the keel, I also used a bubble level to assure the rib was plumb, and a square to the alignment marks provided on the jig. The issue I was running into was the wood glue I was using was starting to set before I could clamp, measure and set the rib I found a slow setting wood glue, worked great gave me more time to get things the way I needed them.
The other real annoying step was all the spacer blocks 3 sets each side! a lot of glueing and clamping!! but it did make the Hull real rigid and maintained that 6mm spacing. I am happy so far with the results.

View attachment 409224

View attachment 409227

View attachment 409228

View attachment 409229

View attachment 409230
Just beautiful Bandido
I love it
 
Liquid hide glue has always been my preference for slow setting, but ultimately very strong, water soluble and easily reversible wood glue. Tite bond makes it, among others. Heating up the glue on the surfaces to be adhered with a hair dryer will speed up the drying process and tack. out of the bottle you get lots of working and re-working time. A little warm water will undo it. Phillp Reed likes Seccotine, an English, fish derived, water-based glue with the same properties as liquid hide glue. both products are very forgiving.
 
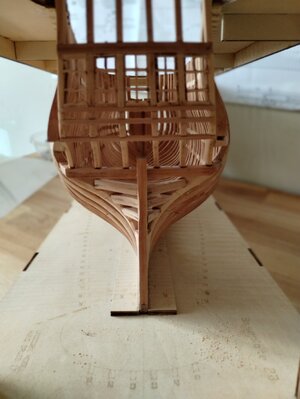
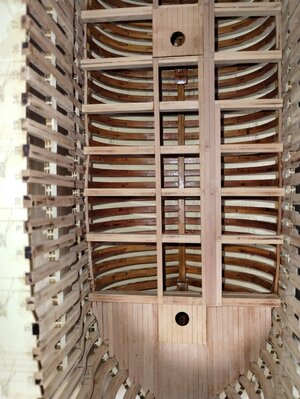
completed the main rib sections of the hull. finishing up in the poop area with 3 additional rib sections on each side also finished the framework in the rear poop area for the windows that will be installed later. So far, the kit seems to be well engineered and very well made to fit correctly with very little if any modification. I am not a fan of ca glue but there are parts in the poop that are tough to get a clamp around!! so I will have to use CA glue, I am a Wood glue fan at heart!!

IMG_20231128_144632010.jpg

IMG_20231129_131927356.jpg

IMG_20231129_131959481.jpg

IMG_20231129_170811590.jpg
 
Ran into a few issues when installing Keelson, the slots did not align with the rib spacing it took a while to get the thing to lay correctly but we do prevail don't we! :rolleyes: The other area that I was not looking forward to installing were the poop windows in the stern!!! I got them installed; they are not perfect, but I will work on that later! On to the Decks! That is going to take some more studying! the instructions don't help at all, and the illustrations are vague at the least! here I go again whining.!!! well it is Beer thirty!!:)

IMG_20231202_171609788.jpg

IMG_20231202_130516157_MF_PORTRAIT.jpg

IMG_20231202_171228086.jpg
 
Last edited:
Assembled the lower deck framing really was a pain to get it to fit correctly inside the hull and level!! I also decided to finish the lower inside ribs as the middle portion will be visible. I used a amber Shellac coating looks rustic and that is what I want to achieve!! will also coat the exterior ribs below the hull planking. The rest of the ship I will be using a clear varnish.

IMG_20231205_181116129.jpg
 
Assembled the lower deck framing really was a pain to get it to fit correctly inside the hull and level!! I also decided to finish the lower inside ribs as the middle portion will be visible. I used a amber Shellac coating looks rustic and that is what I want to achieve!! will also coat the exterior ribs below the hull planking. The rest of the ship I will be using a clear varnish.

View attachment 412261
amazing work, very good progress
 
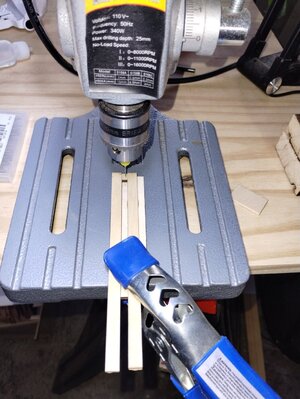
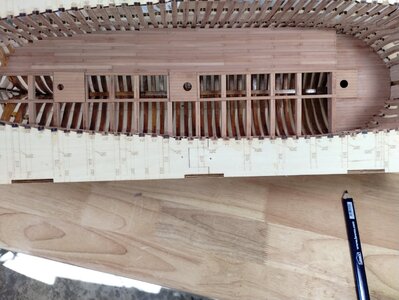
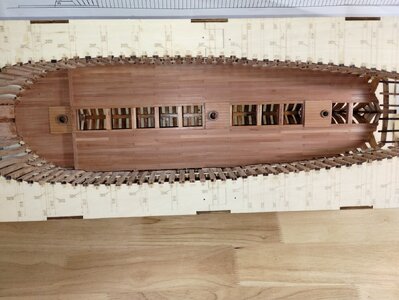
working on the lower deck planking. decided to cut the pieces to fit, drill the tree nail holes, and then glue the plank down. I decided to use a type of 3-plank stagger as it used the plank lengths the best. I made a jig to drill the tree nail holes. works great!! Haven't decided on the tree nails yet might just varnish over them when finishing the planking, as the holes and the butt joints stand out when varnished? I was looking at dyed tree nails in Ebay wow expensive $15.00 for 200 of them!! looked at toothpicks can't see them when installed? So, we will, see? IMG_20231207_170000940.jpgIMG_20231207_170024270.jpgIMG_20231207_170057727.jpg
 
Got involved in a discussion on tools to build models. Well back to the build. I have completed one side of the lower deck planking, and it is my best effort yet:) It is not perfect but is an advancement for me, my other builds I used a marker to make the tree nail holes and butt joints it definitely a learning experience as you go along. what I learned on the lower deck. I will apply to the important main deck. I might even use ebony dyed tree nails on that deck! the jig I made works great! IMG_20231209_115844527.jpg
 
Decided to install the lower deck and finish it with clear varnish! The instructions have you install the Wales first? to me It looks like it would interfere with the correct placement and installation of the support beams and deck. I am trying to stay in sync with the instructions as much as I can, but they are very confusing at times?? I also finished one side of the gun ports! A lot of work, all my measurements are taken off the full-scale prints. Hope they are correct! There is as far as I am concerned to much Guess work! You need to think through stuff, completely before proceeding! IMG_20231214_152205687.jpgIMG_20231214_154630334.jpg
 
Back
Top