The Mary Rose

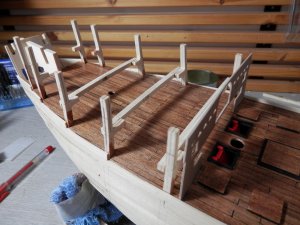
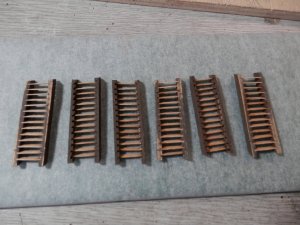
Ladders now built-
P1300165.JPG

... and glued in place. I decided to paint them red in order that they can be seen (at least a little) -
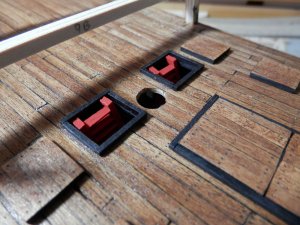
P2010166.JPG

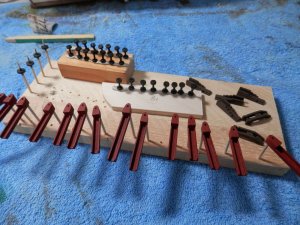
That's about all I need to do now and I need to build the cannon next to a point where I can use them to set the height of the gunwale. There are three types of breech or muzzle loaders, so the carriages were completed first -
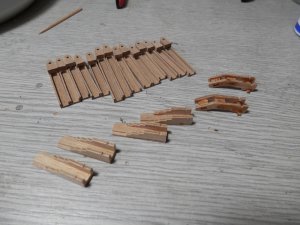
P1070170.JPG

P1270164.JPG

More work to be done yet on the barrels, so I'll cover that later in this log when I get to it. We're now ready to start planking -
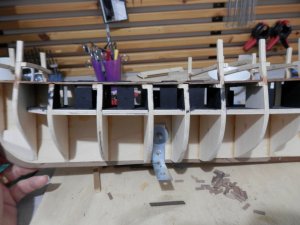
P1290170.JPG

Some information on the various decks (from keel upwards) -

Hold - Estimated to have contained 102 tons of shingle ballast. This was dug locally as determined by analysis of the seashells it contains. Additionally ballast would have been provided by the myriad of other items stored in the hold. In the forward part of the hold a mortar slab was laid down and on top of this two log fired furnaces were built which contained two copper caldrons. These furnaces have been reconstructed at the Mary Rose museum and effectively used. 25 men were found in the hold.

Cooking on board.PNG

Orlop Deck - Not included in the kit. Mainly used for storage, 20 men found in this area.

Main Deck - The black deck on my build and the lowest gun deck. It may be that the gunports being open on this deck caused the sinking as she heeled over. 15 men found on this deck, one of whom, by his bone structure, has been determined to have been an archer. Also found on this deck was the skeleton of a dog believed to have been a Wippet/Terrier cross and used for ratting. There were no cats on Tudor ships as they were thought to be bad luck.
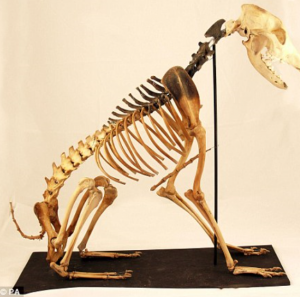
Dog.PNG

Upper Deck - 29 men found on this deck under the sterncastle which is thought to have been the crew living area. Pikes and archery equipment were found with them.
 
Last edited:
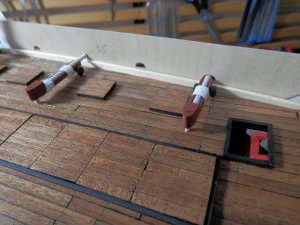
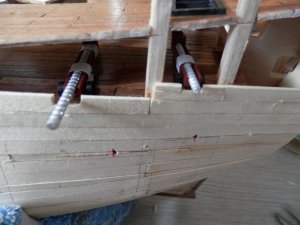
Now I have the cannon as a gauge I can set the height of the gunwale. You can see that the first plank I have set as slightly lower than the gunports. The instructions say to set it higher and then file them out but given the shape of them this would be no easy task as the hole profiles would be easily lost -

P2010167.JPG

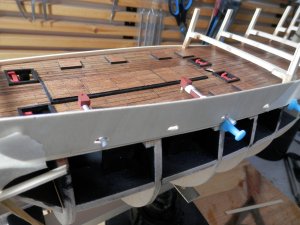
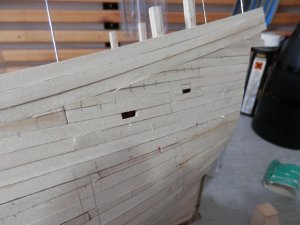
From the outside -

P2010168.JPG

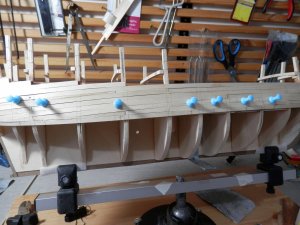
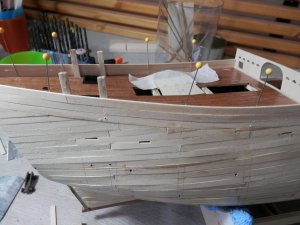
Now I planked downwards until I reached the gun deck. At this point I stopped and used that deck as a true datum to measure where the gunports should be (the blue pins), taking the measurements from the plans-

P2030169.JPG

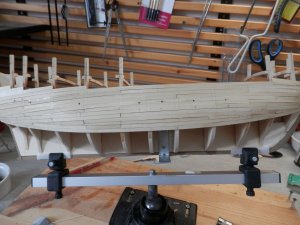
I'll cut them out later post sanding, so on we go towards the keel -

P2050170.JPG
 
Very impressive build. :)
I will visit the museum in may. looking forward to the Victory.
Gr. Jos.
 
Very impressive build. :)
I will visit the museum in may. looking forward to the Victory.
Gr. Jos.
I envy you and I hope you are able to post some photos when you get back; that would be great. When I was there they had a couple of replica longbows which you could try and draw. I am an archer and use a 40 pound bow comfortably, but those longbows are something else entirely - there were 250 on the inventory and the heaviest bow from the Mary Rose has actually been tested at 160 pounds! Give it a try if they still have the replicas there and you might do it a few times, but would have been expected to shoot 10 or 12 arrows per minute at maximum draw (just in front of your ear) - let me know how that goes!
 
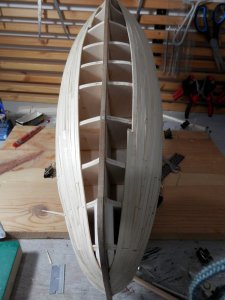
Slow at the moment due to other things cropping up, but some progress has been made on the first planking.
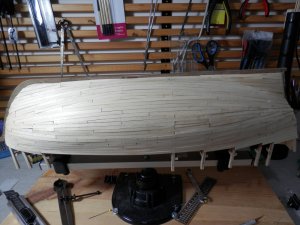
Working towards the keel -

P2080171.JPG
P2080172.JPG

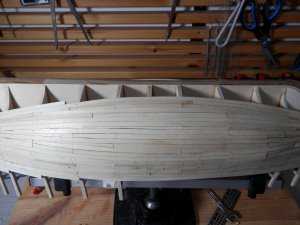
All closed up, yet to be sanded -

P2100173.JPG

Back right side up and time to plank up to the castle decks. This is the stern and you can see the deck beams on which the deck will sit -

P2100174.JPG
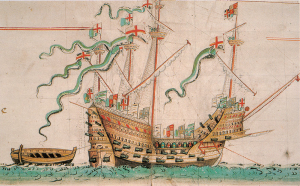
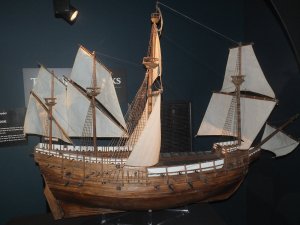
Houston, we have a problem. Reading the book referenced earlier in this log it is clear that all eminent researchers believe that the ships of this size and period had 'several' levels of castle deck; this model has only one. The logic of castle decks is that it raises the height as far as possible in order to be able to fire down on opposing ships, the battle tactic being to board a ship rather than decimate it by cannon fire as was the later case. In fairness to JoTiKa the model is quite an old one and based on research at that time. The view of several castle decks is also supported by the Anthony Roll. The Anthony Roll is a record of ships of the English Tudor navy of the 1540s, named after its creator, Anthony Anthony. It originally consisted of three rolls of vellum, depicting 58 naval vessels along with information on their size, crew, armament, and basic equipment. The rolls were presented to King Henry VIII in 1546. This is the depiction of the Mary Rose -
Anthony Roll depiction.PNG

A somewhat fanciful depiction, perhaps, but some things to pick out are -
Stern chasers.
The ship's boat is towed behind; it would not have been readily accessible due to the anti-boarding netting.
The high level of decoration and flags.
Grapnel hooks on the fore and main yards and the bowsprit, supporting the boarding tactic
Higher castle decks.

That has thrown a bit of a wobbler in, so I will put an additional deck on when I have figured it out a bit more. The transom has been chamfered to take the lie of the deck -

P2100177.JPG

Internet problems today, so I'll post this and do a second one - already lost this twice.
 
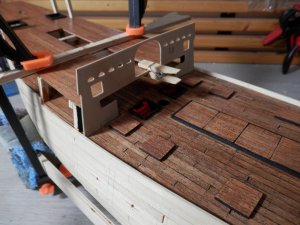
Stern Castle deck glued in place and bulkhead template offered up. Note the cannon ports to enable cannon fire (shrapnel, I guess) onto the lower deck. Again, that boarding mentality -

P2100178.JPG

Same with the fore castle -
P2100179.JPG

At this point there are cannon carriages to be positioned. The barrels are later glued onto the carriages at the end of the build.
P2110180.JPG
I cut the bottom edge of the gun ports as a reference point to work from when I later complete cutting them out after sanding -

P2120182.JPG

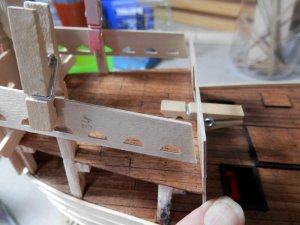
So, the additional rear castle deck will sit on top of the remaining frames you can see on this shot. The pins are temporary and enable keeping the curve of the planking in the absence of the frames which were snapped off prior to fitting the deck -

P2120183.JPG

That's maybe not as big as I would have liked for the additional deck, but I want to keep the row of hatch covers. This additional deck has no evidence on the actual wreck because time and tide have swept it away, so I'm not right and I'm not wrong, either!
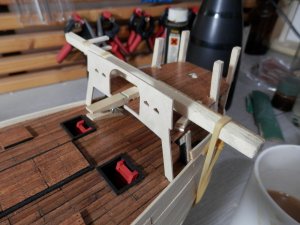
Dry fit of the side bulkheads here, and you see how it starts to come together -

P2120184.JPG

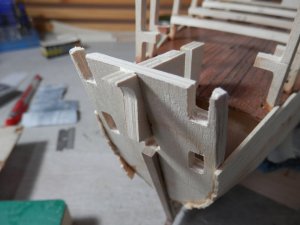
And on to the Forward Castle deck and dry fit to determine where the planking ends. Both the rear and fwd castle deck bulkheads are inclined, so this shows that I will have to shave some off the forward edge of the deck to make it sit right -

P2120185.JPG

If I am to make a half decent job of decorating the side bulkheads I will need to finish the second layer of planking, coat it and then decorate the bulkheads and fit them. Then I will build the additional decks as separate modules and drop them on top as a finished item. We're way off the instructions here, so I'll keep you posted.
 
Looking good Graham. I like how you provide background information that adds interest to the build.

Thanks Mike. I think it is not often you can build a model ship which has such an extensive amount of archaeological information behind it and I am enjoying that aspect; glad you are, too.
 
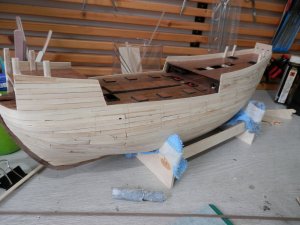
The first planking is now finished up to the level required on the castle decks -

P3030192.JPG

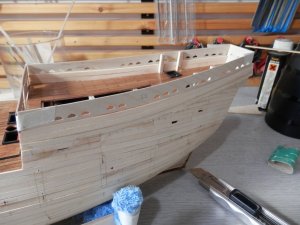
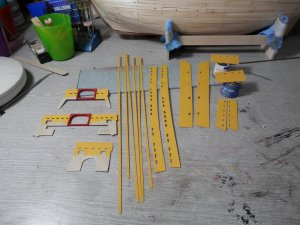
It has taken quite a time to gradually shape the top edges of the planks to take the bulwarks and bulkheads. While I am on with those I have given the interior faces a coat of paint. On the topic of paint there are, as yet, no traces of paint remains on the actual ship although it is hoped that some clue can be gained from some of the timbers still undergoing conservation but yet to be closely analysed. I have chosen a yellow for the interior faces of all the pieces. The exterior faces of these pieces would have been heavily decorated (as depicted in the Anthony Roll illustration posted above) and I'm still getting my head around exactly what that might look like. Note that the holes in these pieces (apart from the two widest which fit at the waist) are to enable the use of handguns (not cannon) and over a hundred handguns are believed to have been carried.

P3160215.JPG
 
Good progress you are showing us...is there a need for some filler before you start with second planking, or is the first already smooth enough? Good work
 
Good progress you are showing us...is there a need for some filler before you start with second planking, or is the first already smooth enough? Good work

Hi Uwe and thanks. It looks OK, but I won't know if there are any low spots until I can get outside and get the palm sander on it - and it's raining, blowing a gale the last couple of days and now forecast snow! Roll on Spring. I'll keep you posted. Regards.
 
Hi Uwe and thanks. It looks OK, but I won't know if there are any low spots until I can get outside and get the palm sander on it - and it's raining, blowing a gale the last couple of days and now forecast snow! Roll on Spring. I'll keep you posted. Regards.

So I am crossing the fingers, that the spring comes as early as possible.....the same here in Austria.....
 
An interesting kit and great build log. I've eyed this kit myself many times over the years but never sprang for it. Maybe I'll reconsider now that I can see more on how the kit is built. Thanks.

Bob
 
Love this build log as well! Find it fantastic that you will try to add the missing deck(s) and platform(s). Also, the bow on the model is quite different from contemporary paintings/drawings.
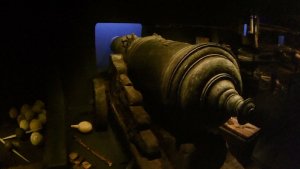
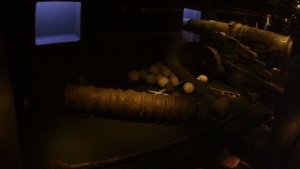
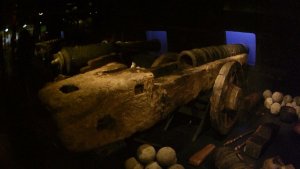
Another thing I noticed when I visited the Mary Rose museum, is that the guns were to say the least of quite a few different types and shapes: I think I remember a gun with f
 
Great photos, Joe, and thanks for taking the time to share them. Much appreciated.
 
Back
Top