I LIVE! Alright, I've definately been gone for a bit, to the point where coming back here feels like coming back to a cold, apartments after not being used for a few months. But time to dust the place off and settle back in.
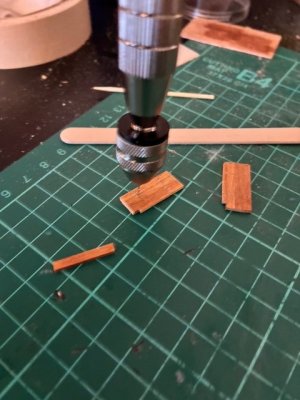
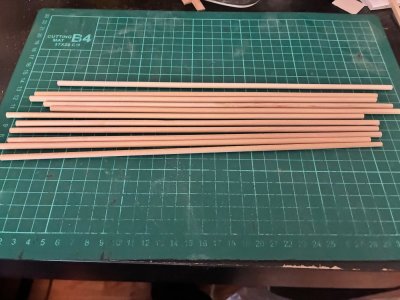
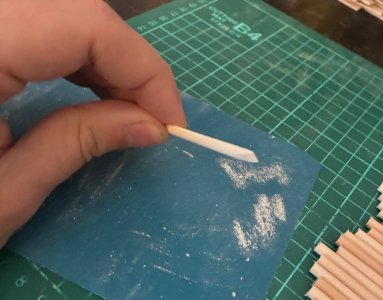
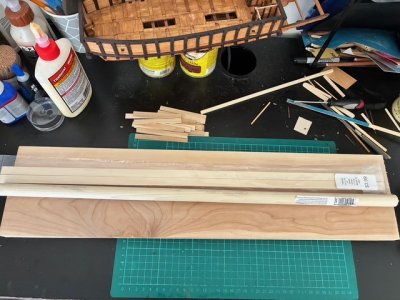
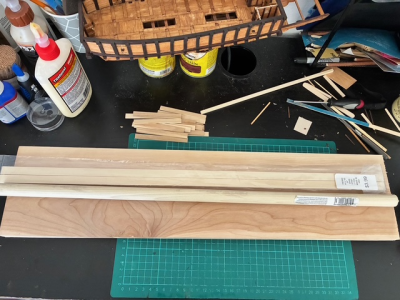
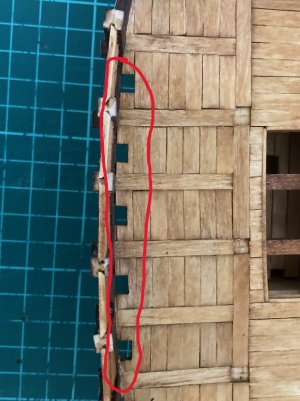
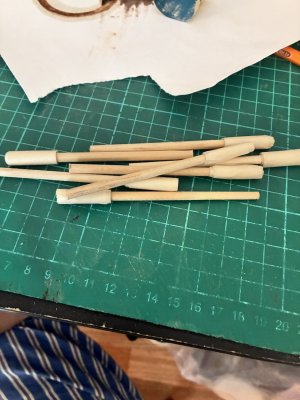
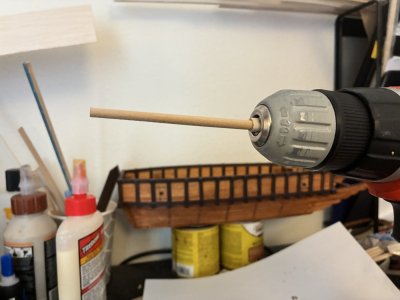
While I have certainly been sidetracked by a combination of work and unfortunate family circumstances, I've been working on the oars at a snails pace and they are finally done! I actuallly had to start over as I found my original process wasn't working so well. As I had to reduce the thickness of the handle ends to fit through the opens into the ship structure. To do so in a uniform way, I decided to try my hand at turning. Also, figuring out how to split these dowels clearning without shearing my finger off was another thing I had to be mindful of.
 Teachable Moment of the Day:
 When using a drill for turning sofer woods like basswood, best to wrap the end the drill will be gripping in a lot of masking tape to reduce the denting from the chuck.
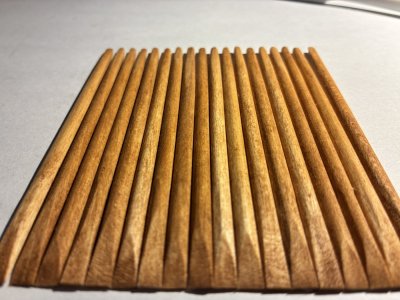
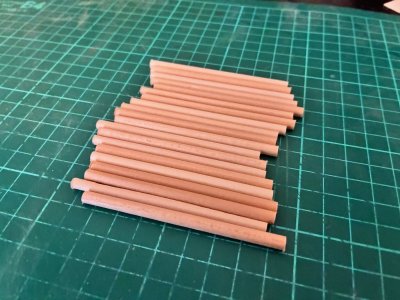
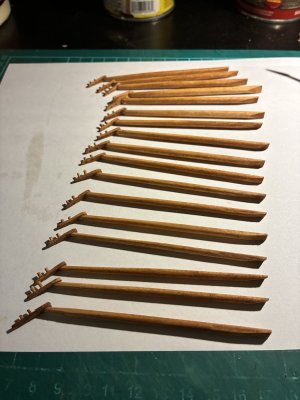
With everything shaped, split, sanded, and stained, I had 18 oar ends done. I actually invested in some Miniwax prestain and, while it didn't help the splottyiness so much, it did help the dowels absorb the stain a bit better than it had on the test dowels.
For the next step, I had to work on the handles, which comes in a few pieces.
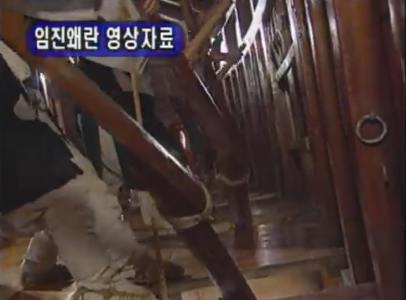
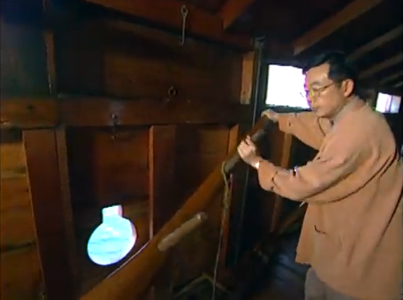
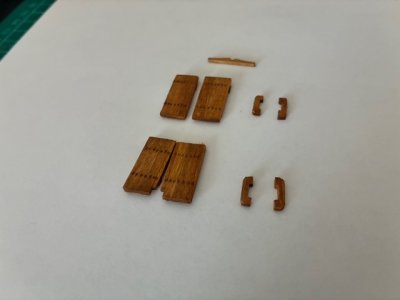
The overall shape of this main handle board was very difficult to determine from the images. Oringally, I tried something close ot a mandoline shape.
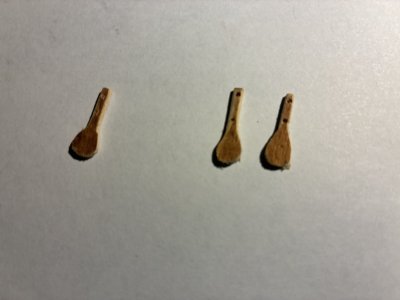
I made 18 of these before I decided I didn't like the shape! For a size reference, each one is about the length of a finger nail. Although the shape isn't perfect, it's a stronger, and more subtle shape that is at least a bit closer I think to the actual shape. For the actuall handles, I had hoped that my toothpicks would be thin enoufg, but I had to end up turning those too to get them down to a better scale.
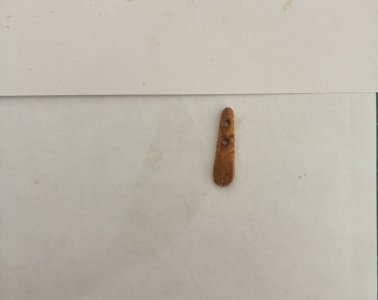
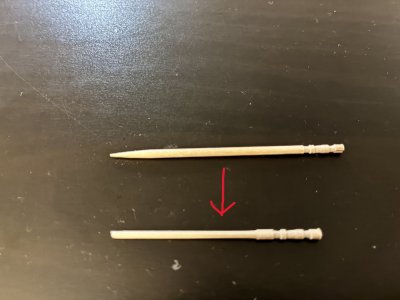
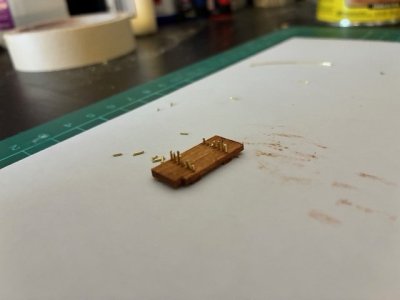
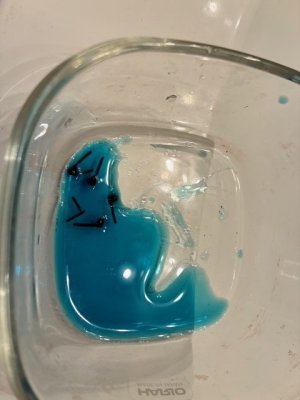
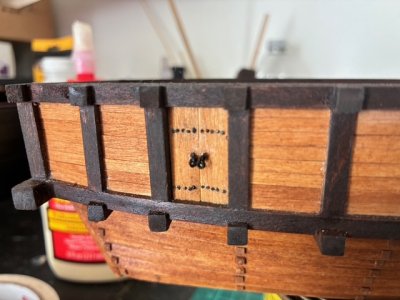
18 of those boards, and 32 handles later, I was ready for final assembly. After fixing all the parts together with the strongest woodglue I have, I braided some sewing thread I had to making it look closer to hemp rope that was used (not that one could tell), and wrapped up the parts and soaked it in CA glue. The results were fairly convincing, to my eyes anyway.
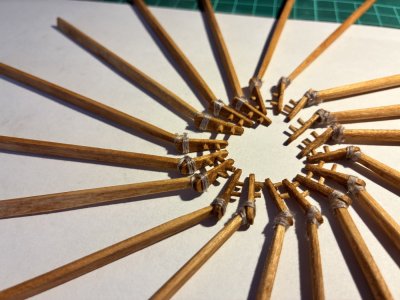
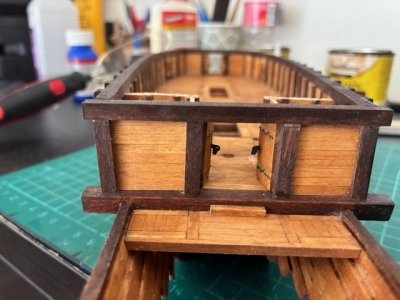
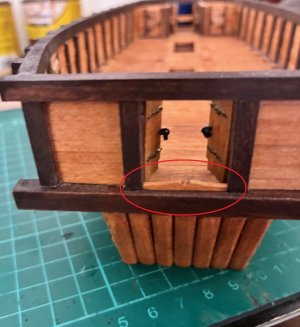
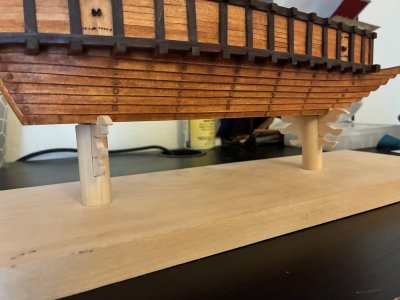
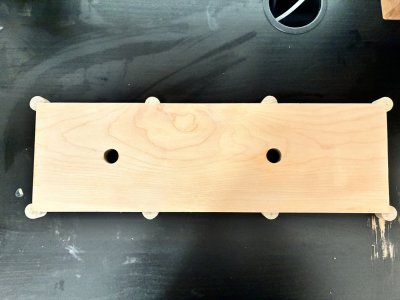
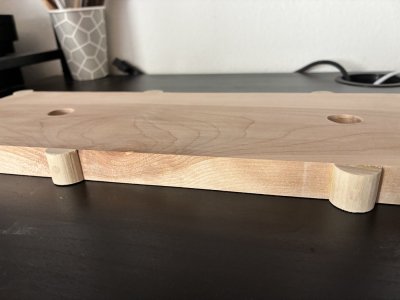
Unfortunately, I can't mount these up yet until I finish up a few other steps, including rudder, anchor and winch, and other interior details. I've also run through a few different design ideas for the base, but I'm now probably overthinking it.
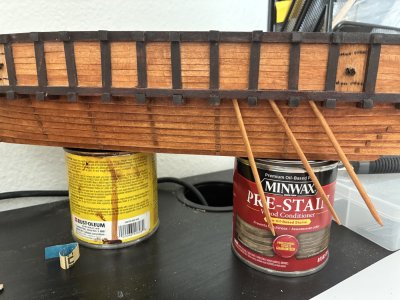
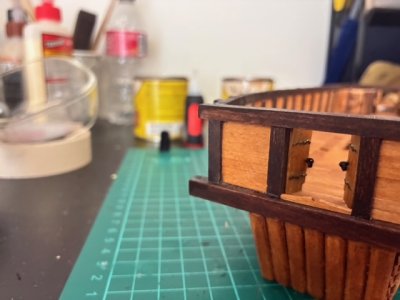
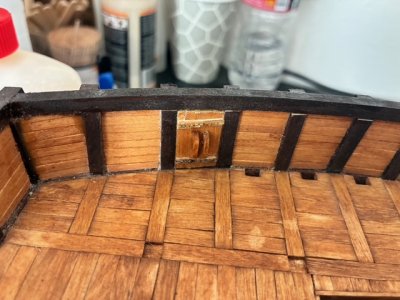
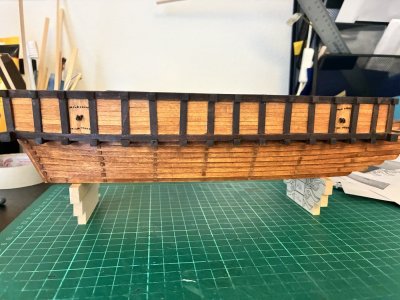
Just a quick dryfitting with the oars. The ship is definately going to need be elevated above the base a bit.


