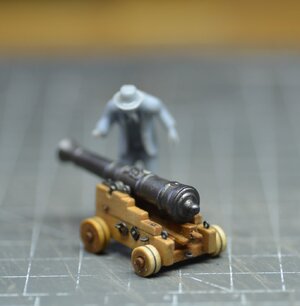
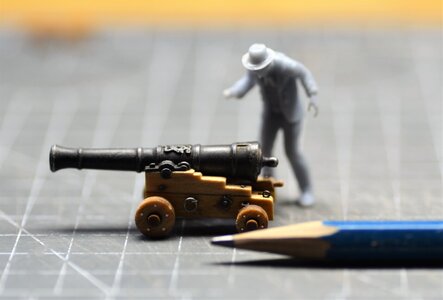
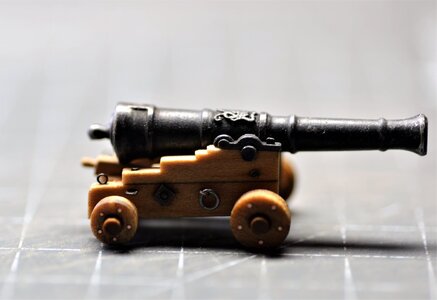
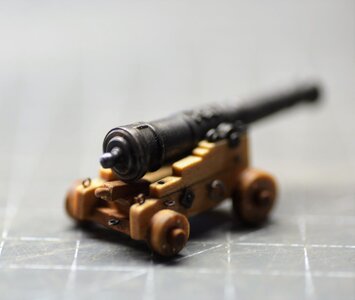
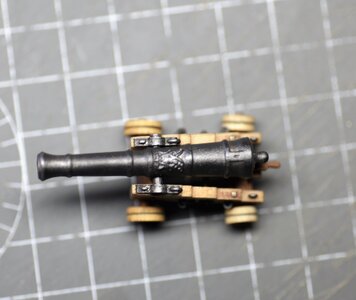
Time for the update, folks. To avoid getting sick, I decided to take a small break from the Thickstuff and the Deck clamp & beam shelves...so today, we will making cannons. But first, I'd like to express my thank you to all for the interests, comments and 'likes', they are very much appreciated.
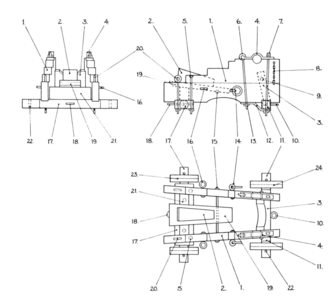
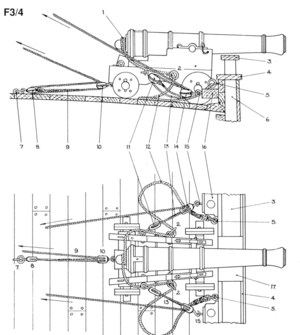
As always, we reference the AOTS book for clarification and visualization, and today is no exception. With the detailed representation of all the parts of the cannon explained and presented on a scale of 1:24. This should be a very good help to assemble or build your own cannons, IMHO.
View attachment 218086 View attachment 218087
When I look at the cannon parts supplying in the kit, I was kinda surprised to find out that it matches the parts with the above drawings.

In another word, Trident didn't take a shortcut simplifying the construction of the cannons, all the parts match the AOTS book. Check it out for yourself.
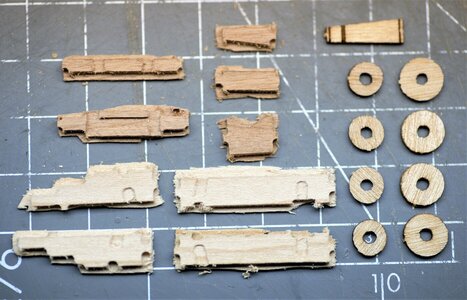
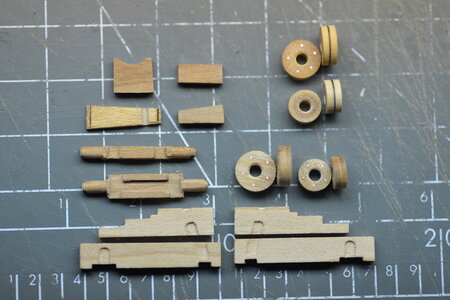
All parts were cut out from their corresponding timber boards. The wooden parts, except the 'Fore and Hind Trucks', were CNC, and removing them was a bit of a challenge. Those parts are relatively small, but the cut was not thin enough to cut it with the hobby knife. This time, I found using the jewelry saw is a much better way. The trucks and Stool Bed, however, are laser cut so I used the hobby knife to release them from the board. Below all the wooden parts for a single cannon. On the left, all CNC cut parts, on the right are Laser cut parts.
View attachment 218093
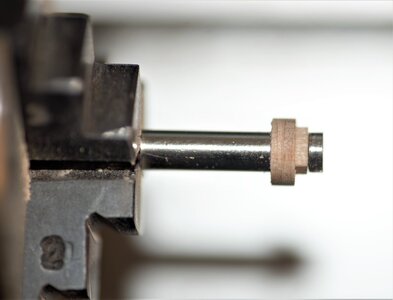
It took some time and effort until all the parts were preliminarily cleaned. Both Fore and Hind trucks were not perfectly round and required special treatment before use.
View attachment 218094
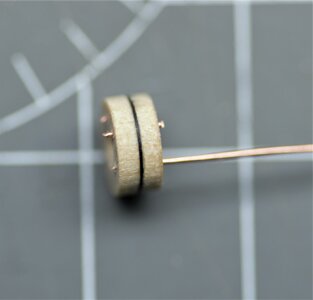
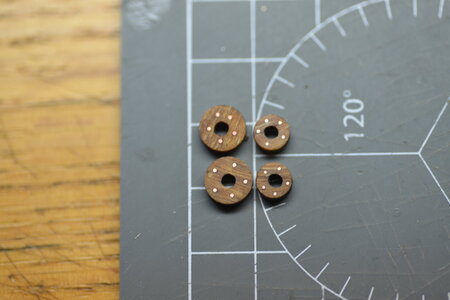
Each truck consists of two parts glued together. I made two sets, each set a bit different approach. On the first set, I turned the wheels on the lathe, and glue each half to black paper. Once it dried, joined both parts together with glue. The second set, I use from the kit. And this time, I glued each wheel part using a very thin (0.3 mm) white timber. Then, I tight the weel in the mandrel and shape each weel to the desired size.
View attachment 218095
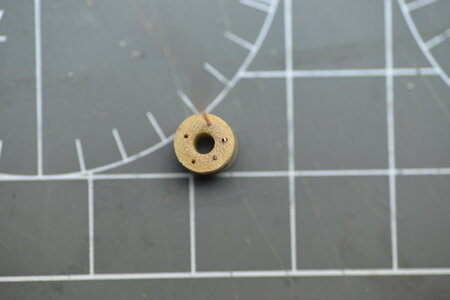
The next step in the process is to bolt the wheels. For the fore trucks, I use 0.5mm copper wire, and for Hind trucks 4.00mm copper.
View attachment 218096 View attachment 218097
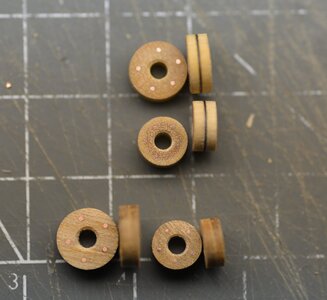
The top four wheels are set #1 (self-made with black paper). The bottom 4 wheels are from the kit and joined using thin timber.
View attachment 218098
View attachment 218129
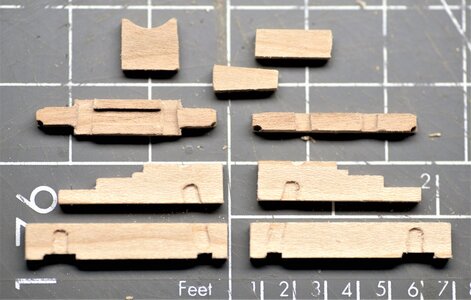
All axletree parts rounded using the knife and sanding sticks. For mass production, I will come up with a tool to make them perfectly round and uniform. Below are all the parts ready for assembly.
View attachment 218099
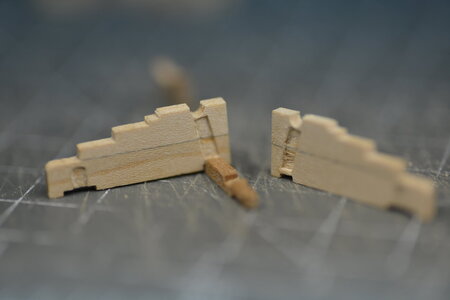
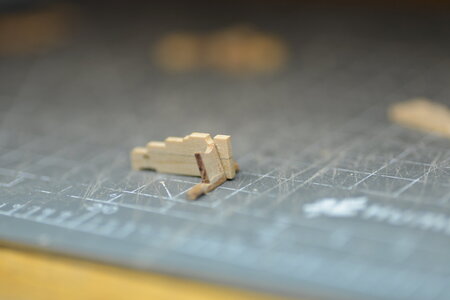
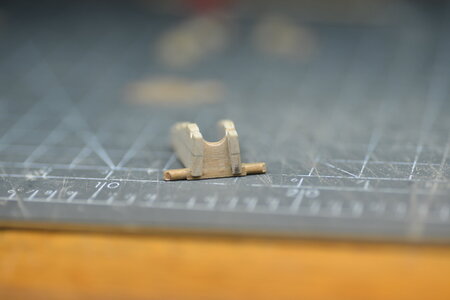
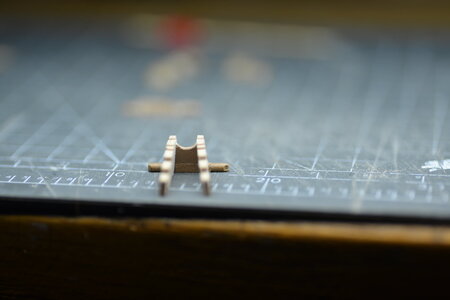
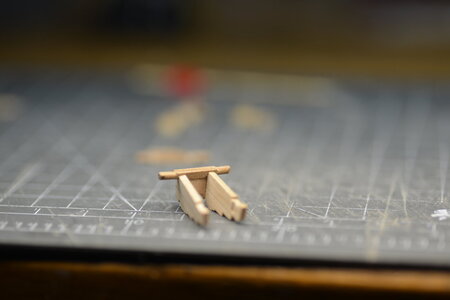
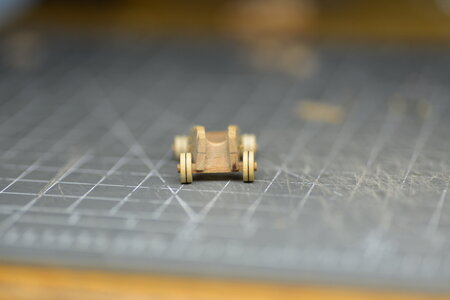
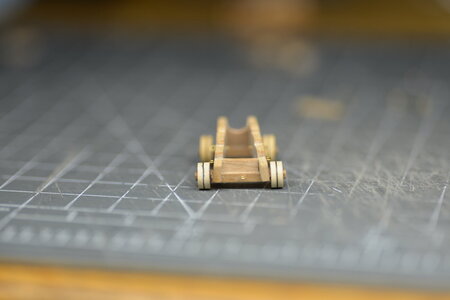
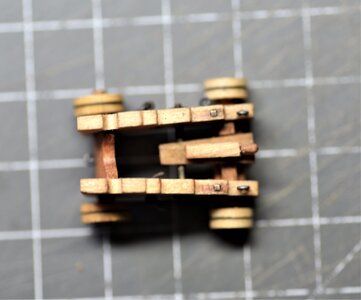
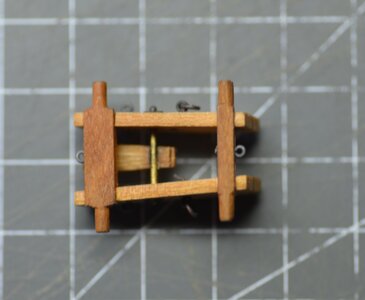
We start assembly with the carriage sides. They are made of two-part (parts FL141 and FL140), so while gluing them, pay attention to CNC notches. They have to match both carriage parts (see above photo). The next is the front axletree (part FL144). Both notches from the carriage side and axletree much match. You may widen both notches with a knife or file so the whole assembly fits snug. But don't glue yet, there is another part - transom (FL149) it has to go in the slot made by CNC on both sides. Make sure all three parts fit before gluing them together.
View attachment 218100 View attachment 218101
View attachment 218102 View attachment 218103
View attachment 218104View attachment 218105
The Hind axletree (part FL145) assembled in the same manner, the notches on the axletree must match the notches on the carriage sides. The difference is, instead of the transom part you will fit - bolster (part FL146). For some reason, I forgot to take a photo of this process

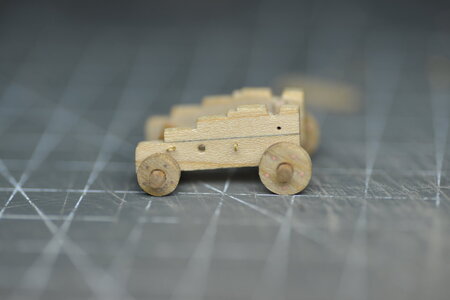
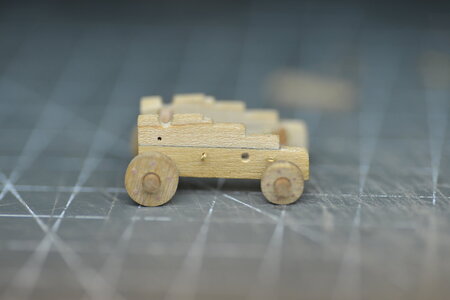
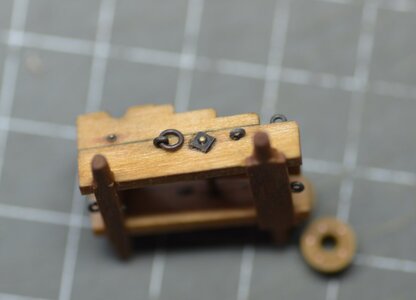
Below are images of the finished carriage assembly.
View attachment 218106 View attachment 218107
View attachment 218108
View attachment 218109
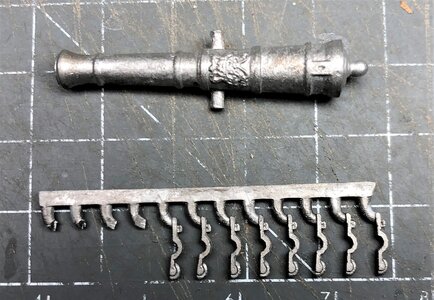
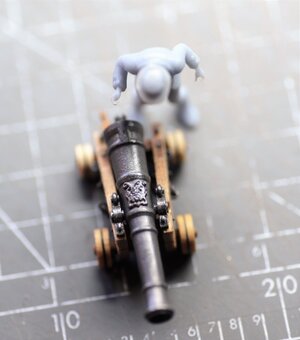
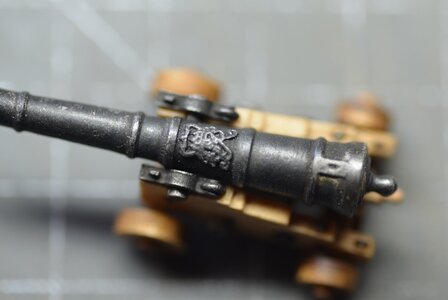
This was the most difficult part. The next is the barrels. They and capsquares are beautifully cast and required some minor cleaning. We will use the 'Brass black' to make them 'Iron blue' color. To make the barrel looking more authentic I lightly rub between the fingers with graphite powder.
View attachment 218110
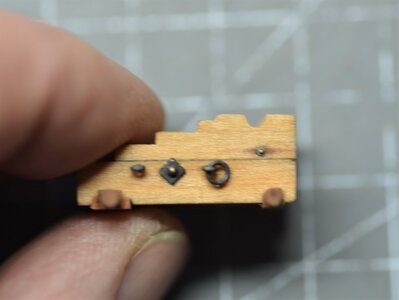
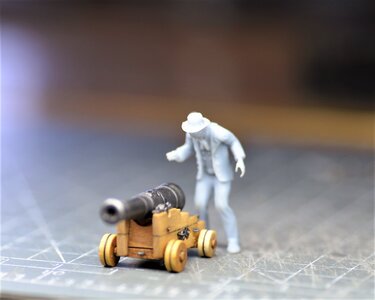
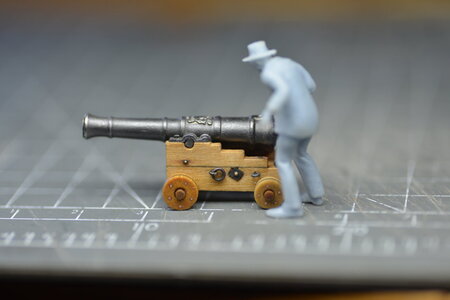
The rest is just a matter to 'Dress up' the cannon. Reinforcement bolts, eyelets, and ring bolts. I use my creativity and my own stash to dress up. Well, this is it. I am really happy with the kit provided cannon. It is well designed, but all the parts require to make a perfect fit. The wheels are not perfectly round and require special attention\care while making them round. You must control the overall size. The timber for the carriage sides on my board comes in two colors (light and dark). The wheels are turning dark (after the oil).
View attachment 218118 View attachment 218119
View attachment 218120
View attachment 218130
The finishing images in the next post (25 images limit for single post)
 Now I think I'm back to my original preference
  In my optic these looks right. Sorry, but i also like these better than the ones you made with syringe. I really like the macro photo. But of course, it is just a matter of personal taste. Either way, it is excellent work you do.
 Now I think I'm back to my original preference


