The Naval Cutter ALERT- 1777, POF by Jimsky

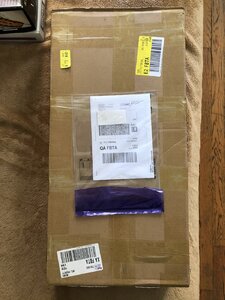
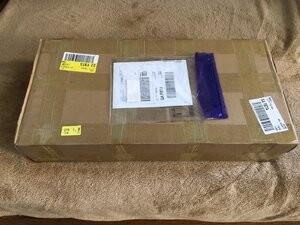
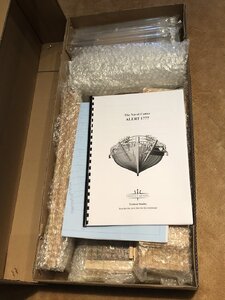
Greetings folks!! As promised, I am posting some photos from the kit arrived today (in the morning). The is no difference from the packaging Uwe showed in the kit review, and the kit was delivered without any timber damage: carefully wrapped and well packaged.

IMG_1542.JPEG

IMG_1543.JPEG

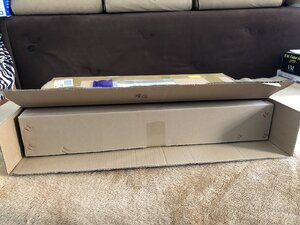
The box inside the box!!

IMG_1546.JPEG

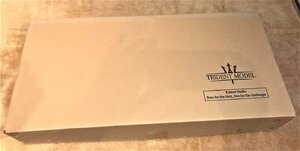
The actual kit box and packaging

IMG_1547.JPEG


IMG_1548.jpeg

And now, the most important start of the assembly. Oh...boy...where to get the time??!!!! But, will search for it!

Stay tuned...
 
Greetings folks!! As promised, I am posting some photos from the kit arrived today (in the morning). The is no difference from the packaging Uwe showed in the kit review, and the kit was delivered without any timber damage: carefully wrapped and well packaged.

View attachment 172437

View attachment 172438

The box inside the box!!

View attachment 172439

The actual kit box and packaging

View attachment 172440


View attachment 172441

And now, the most important start of the assembly. Oh...boy...where to get the time??!!!! But, will search for it!

Stay tuned...
I am glad for you that the package has arrived and that you have the opportunity to enjoy the craft of creating a top quality model. I have no doubt you will find the time :p :) , good luck. I will continue to follow the construction with great interest
 
Many thanks, Shota! There are no questions I will enjoy the assembly, It will be my first ever POF model. I would be happier, though, if all members requested this kit, got an alert that their Alert kit arrived the final destination :)
 
Many thanks, Shota! There are no questions I will enjoy the assembly, It will be my first ever POF model. I would be happier, though, if all members requested this kit, got an alert that their Alert kit arrived the final destination :)
I'm agree with you absolutely :)
I'm on the waiting list for a purchase, very much hoping it will be renewed in the next few hours or days
 
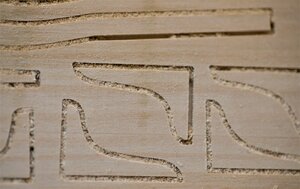
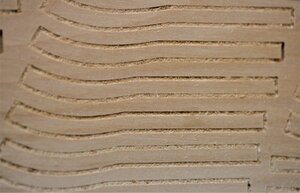
So...folks, I was looking into my kit box to make an inventory and came across that each CNC board required cleaning from CNC saw dust. I recall, Uwe already mentioned this in his post. I took one board and decided to clean using a simple tool made on-the-fly. Here is how the board looks without cleaning.

IMG_1549.JPEG

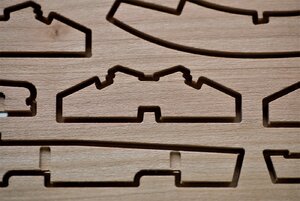
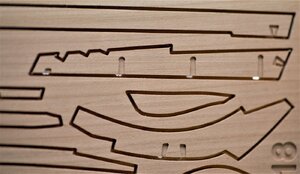
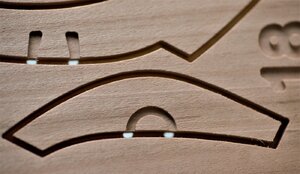
and macro images, just to have an idea of t to deal with.

600_0606.jpg

600_0607.jpg

600_0608.jpg

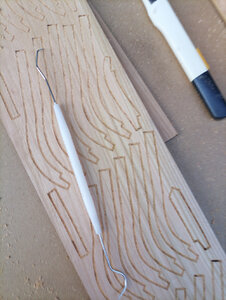
A simple tool I made works just fine.

600_0601.jpg IMG_1551.JPEG

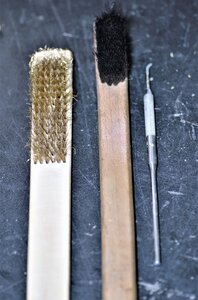
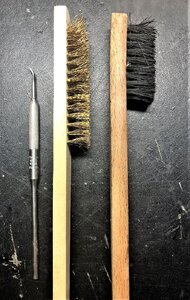
However, It took me almost 40 minutes to clean one board. With this speed, it will take forever to clean them all. So I thought, it should be a better way, to clean the debris. I took my favorite brass brush and ....miracle! It does a really good job get out sawdust. Brass wires don't scratch the wood but have enough power to remove the wood chips. Take a look at those tools.

600_0600.jpg IMG_1550.JPEG

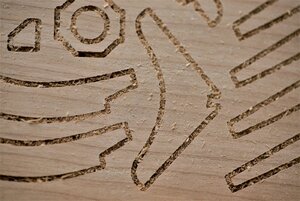
The brass brush doesn't clean 100%, but it does remove close enough. Whatever left, I use my tool to finish it all. Here is how it does look when clean.

600_0603.jpg

600_0604.jpg

600_0605.jpg

I love this macro, it gives you an idea of a very uniform timber. The color of the timber is almost like Pear.

* One word of caution, do. When using the 'tool' (not the brush) apply very light pressure when removing debris, excessive force may destroy the nicely made edges. If you plunge the tool too deep, it will be hard to 'scoop' sawdust out, take less amount per scoop, specifically at the curve and slot areas.

...and now, I will clean all the boards, so they will be ready later.

to be continued... thanks for your interest.
 
Very nice photos Jimsky. This sawdust is common with CNC cut parts. Caldercraft kits are the same way. Another idea is to use a powerful vacuum cleaner (ShopVac) with a small nozzle. It will remove the dust right out of the grooves. Try it.

I am curious about how the parts are held into the billets. Are there tabs - or- is there a small layer of wood on the backside of the part where the bit did not cut all the way through?
Thanks, Mike. I don't have a powerful vacuum cleaner, the one I have didn't help.

The parts are held by a very thin amount of wood in the backside and can be easily cut with #11 blade
 
So...folks, I was looking into my kit box to make an inventory and came across that each CNC board required cleaning from CNC dust. I recall, Uwe already mentioned this in his post. I took one board and decided to clean using a simple tool made on-the-fly. Here is how the board looks without cleaning.

View attachment 172979

and macro images, just to have an idea of t to deal with.

View attachment 172980

View attachment 172981

View attachment 172982

A simple tool I made works just fine.


However, It took me almost 40 minutes to clean one board. With this speed, it will take forever to clean them all. So I thought, it should be a better way, to clean the debris. I took my favorite brass brush and ....miracle! It does a really good job get out sawdust. Brass wires don't scratch the wood but have enough power to remove the wood chips. Take a look at those tools.


The brass brush doesn't clean 100%, but it does remove close enough. Whatever left, I use my tool to finish it all. Here is how it does look when clean.

View attachment 172990

View attachment 172991

View attachment 172992

I love this macro, it gives you an idea of a very uniform timber. The color of the timber is almost like Pear.

* One word of caution, do. When using the 'tool' (not the brush) apply very light pressure when removing debris, excessive force may destroy the nicely made edges. If you plunge the tool too deep, it will be hard to 'scoop' sawdust out, take less amount per scoop, specifically at the curve and slot areas.

...and now, I will clean all the boards, so they will be ready later.

to be continued... thanks for your interest.
Keep going Jim
 
Another idea is to use a powerful vacuum cleaner (ShopVac) with a small nozzle. It will remove the dust right out of the grooves. Try it.
I have an old Dyson (with a new motor) in my garage wood shop, it is somewhat more powerful than the shopvac.
There is a narrow nozzle lying around that is used to clean inside the crevices of the tools. When the kit arrives the Dyson will be trialled out on the CNC'd boards and I'll revert back here or in a build log.
This is mainly to avoid Jimsky's comment about:
* One word of caution, do. When using the 'tool' (not the brush) apply very light pressure when removing debris, excessive force may destroy the nicely made edges. If you plunge the tool too deep, it will be hard to 'scoop' sawdust out, take less amount per scoop, specifically at the curve and slot areas.
 
BTW- looking at Jimsky's close up of the CNC'd parts it is good to see almost no tear-out and very crisp lines, especially when cutting perpendicular to the wood grain.
Seems the router bit/cutter is nice and sharp.Thumbsup
@Trident Model - Thank you, keep up the good work.
I hope the results remain this nice for the entire batch of kits to SOS members.
 
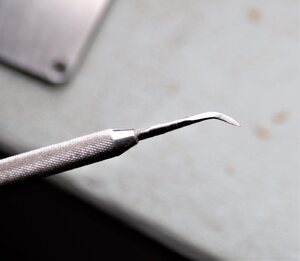
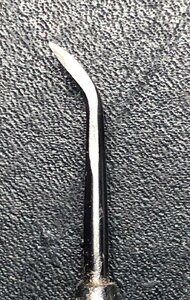
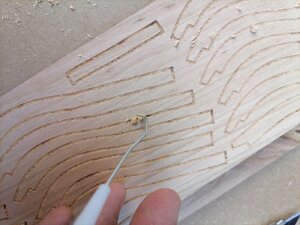
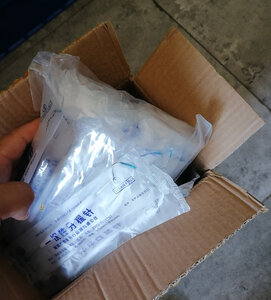
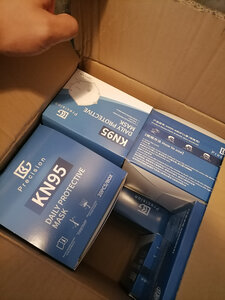
We have also prepared tooth probes and masks for you. The logistics companies that serve us strongly oppose it. These two items in kit can be easily detained at the customs of destination. Please prepare these two tools by yourself. Very useful and indispensable tools. The dental probe can clean the sawdust in the crevice very easily.

IMG_20200720_184447.jpgIMG_20200720_184504.jpgIMG_20200814_103241.jpgIMG_20200814_103304.jpg
 
We have also prepared tooth probes and masks for you. The logistics companies that serve us strongly oppose it. These two items in kit can be easily detained at the customs of destination. Please prepare these two tools by yourself. Very useful and indispensable tools. The dental probe can clean the sawdust in the crevice very easily.
I wouldn't recommend sending those sharp items to Australian customers as customs here are very box cutter happy with our parcels.
 
Back
Top