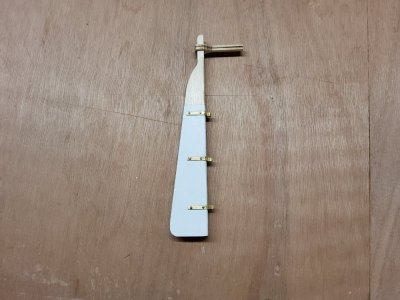
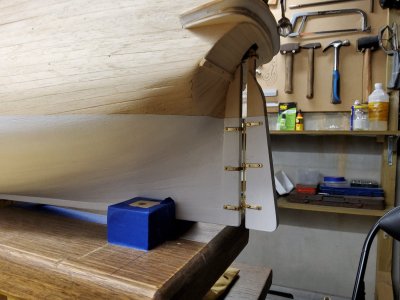
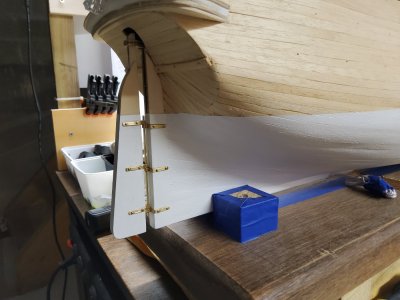
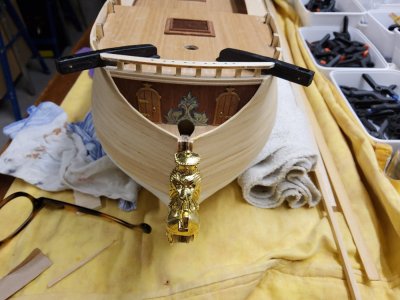
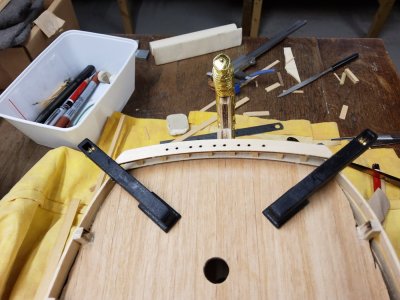
The Norske Love" by Noël Luc Build log

Hi Noël Luc !

Congratulations on finishing the hull, it’s a big step in your project! Every model is a learning experience, and what you’ve accomplished here will definitely help you with your HMS Victory Limited Edition.

Regarding the waterline:
To determine its height, you can consult historical plans of the ship, or you can rely on the model’s scale to compare with real-life dimensions.

For the finish:

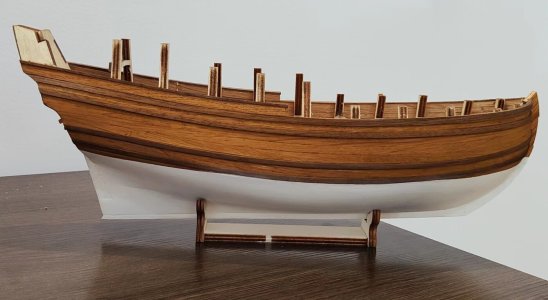
Painting the bottom white up to the waterline is often a realistic option and highlights the submerged sections of the hull.

If you prefer a darker wood finish, it can also look very elegant, but make sure it aligns with the historical style of the ship.

Take your time to decide what you like best, and I’m sure the final result will be amazing in its own way.

Best regards from France.
 
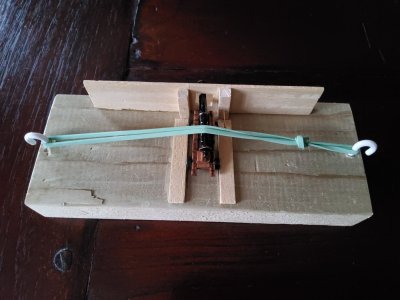
Hi Noël, just found your build log, and I have to say you've done a remarkably good job so far, the ship looks awsome and indeed very clean and smooth. I also love your fixture for holding the hull in different positions, I sure have to fix something similar too.
 
Last edited:
Hi Noël, just found your build log, and I have to say you've done a remarkably good job so far, the ship looks awsome and indeed very clean and smooth. I also love your fixture for holding the hull in different positions, I sure have to fix something similar too.
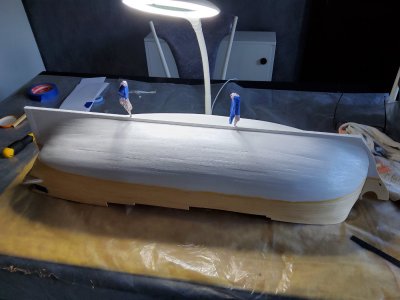
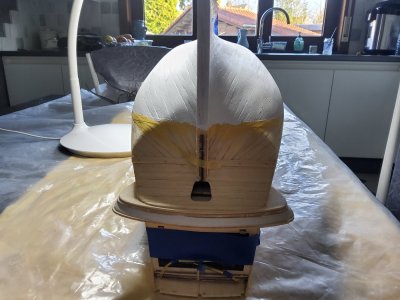
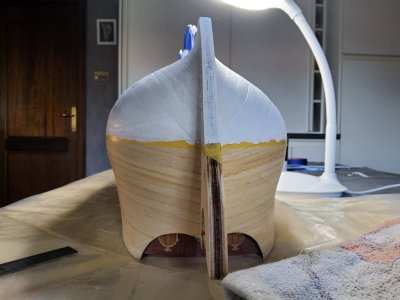
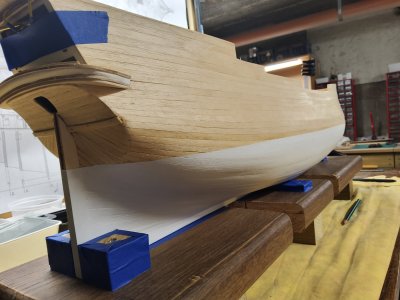
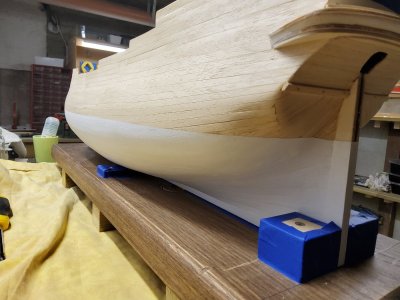
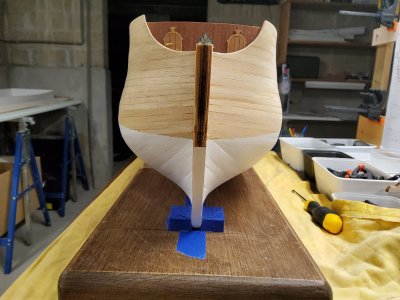
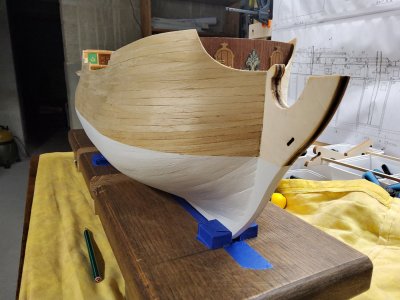
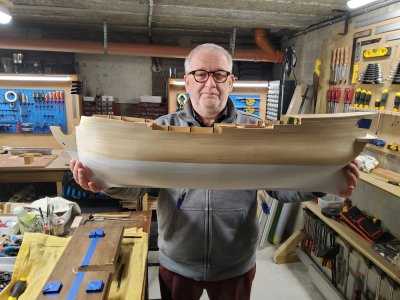
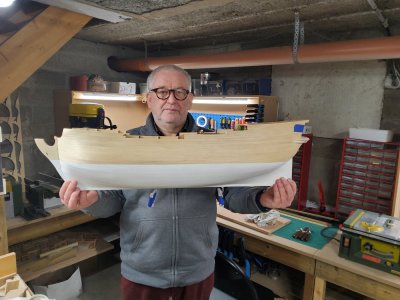
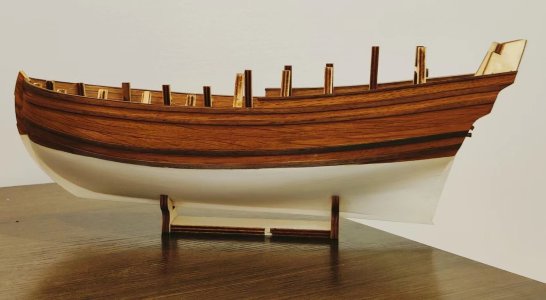
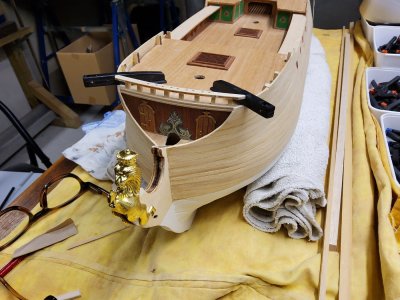
Hello Krister_L, thanks for passing on the information for ordering the clamps!! I have already ordered 2 sets of them on that German site! I also ordered 1/84 scale figures there which I have been looking for for a long time. The figures for the HMS Victory Limited Edition which I will make when the Norske Love is finished (I have already bought this boat)! The Norsk Love is my first boat, I can gain a lot of experience with it before I start on the HMS Victory! Yesterday I painted the bottom of the Norske Love in white. This went well, see pictures.
Now I want to stain the top in a wood color. I first did this on a small piece separately and the stain does not stick to the places where I glued the planks together. This results in lighter spots. The pores of the piece where it was glued are already full and the stain does not stick there.
If anyone knows how I can solve this, please let me know! I can sand the planks down further but I have to be careful because they are only 1.8mm thick and I only have a single planking, not double!
I will also continue to follow the construction of your Norske Love and I hope to learn from it!
Greetings from Belgium

NL 0207.jpg
NL 0209.jpg
NL 0210.jpg
NL 0212.jpg
NL 0213.jpg
NL 0214.jpg
NL 0215.jpg
NL 0218.jpg
 
You did a great job, I think it will look nice once painted and stained. I would definitely do the lower hull from the waterline down in white. The full size plans of the rigging shows the water line.
Hello Dean62, thanks for the info where I could find the height of the waterline!
I also responded to Krister_L's post. Do you have a suggestion to solve the problem of staining?
The bottom of the boat that I painted in white turned out well I think!
Greetings and thanks!

NL 0219.jpg
 
Hello Dean62, thanks for the info where I could find the height of the waterline!
I also responded to Krister_L's post. Do you have a suggestion to solve the problem of staining?
The bottom of the boat that I painted in white turned out well I think!
Greetings and thanks!

View attachment 487303
It looks really good, but I'm afraid I have the same fear as you about staining the hull above the water line. I follow a couple of guys /(Simon Søgaard and Stein-Atle Skarshaug) in the facebook group "Billing Boats" and they are both staining the planks after shaping and pre-bending, but before gluing them to the frames. It's a bit time consumingm but seems like a very good idea. I have been very careful with glue while planking, but also to have them flush to each other with as little gap as possible, and I can you've been working the same way. When I measure the planks they aren't really 1,8mm, rather 1,7 or below, so sanding off more has to be done with fingertip feeling.
 
It looks really good, but I'm afraid I have the same fear as you about staining the hull above the water line. I follow a couple of guys /(Simon Søgaard and Stein-Atle Skarshaug) in the facebook group "Billing Boats" and they are both staining the planks after shaping and pre-bending, but before gluing them to the frames. It's a bit time consumingm but seems like a very good idea. I have been very careful with glue while planking, but also to have them flush to each other with as little gap as possible, and I can you've been working the same way. When I measure the planks they aren't really 1,8mm, rather 1,7 or below, so sanding off more has to be done with fingertip feeling.
Staining boards prior to attaching to the hull would assume you will not do any sanding at all to average the curve of the hull across the boards. And that’s a bad assumption.
The way I have always planked, is to soak and bend the boards after pre tapering them. Then while damp I put a little PVA on the board that it will go against, and CA glue on the bulkheads. I start from one end and glue to the first few bulkheads keeping the board being installed tight against the previous one. Once the entire length is done, I scrape any excess glue within a razor blade (keeping it perpendicular to the board). This will easily remove any excess glue.
If you have glue already dried up in the wood, then it will prevent absorption of the stain. You can attempt to paint on extra stain in those lighter areas after sealing the rest with clear. It may take a few coats, but eventually you will make them darker. The trick is to be careful and not make the adjacent areas darker too. Hope that works for you.
 
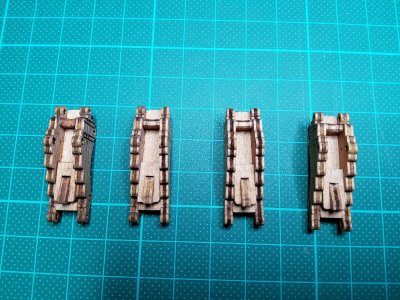
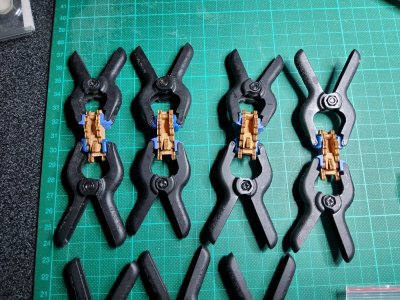
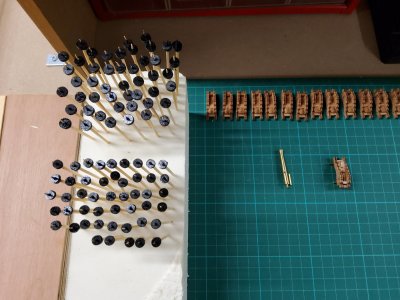
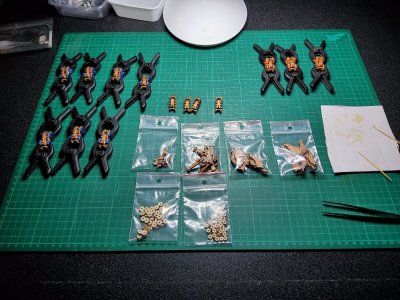
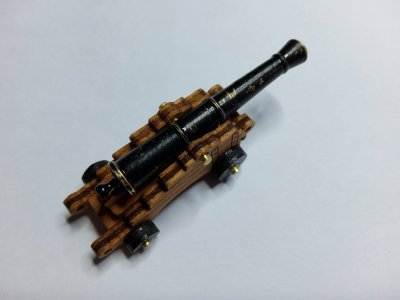
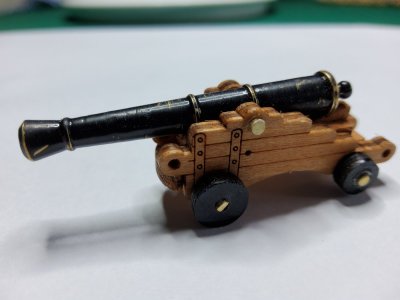
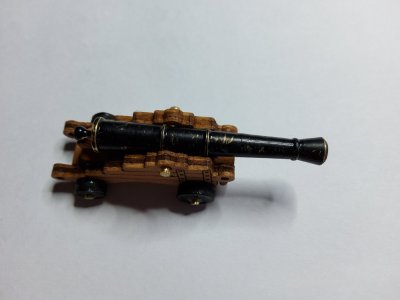
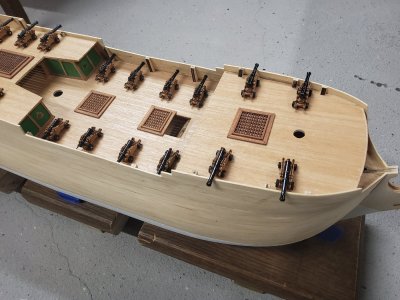
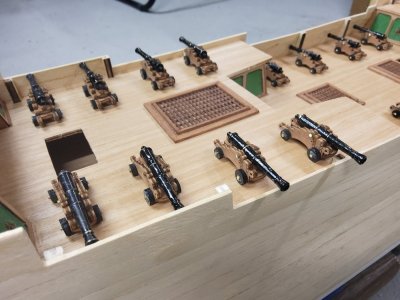
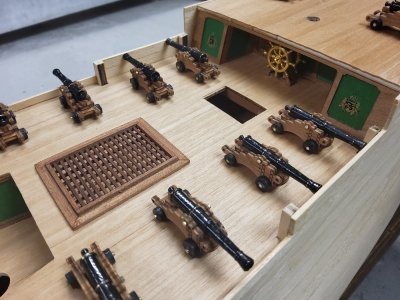
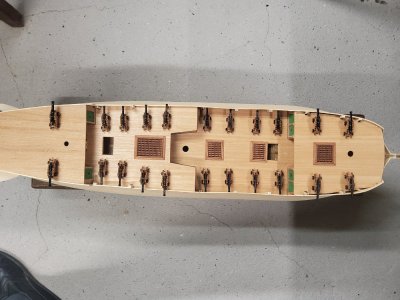
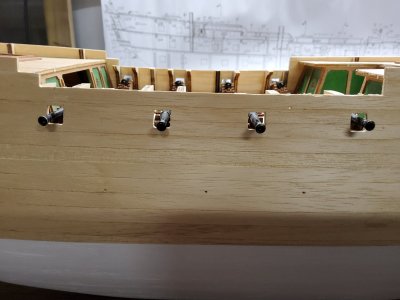
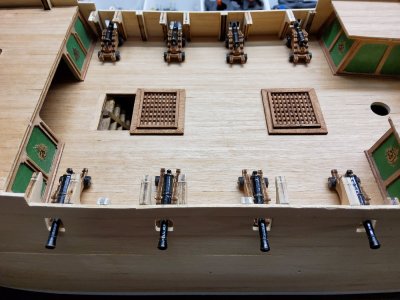
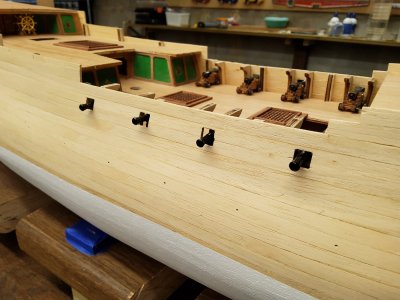
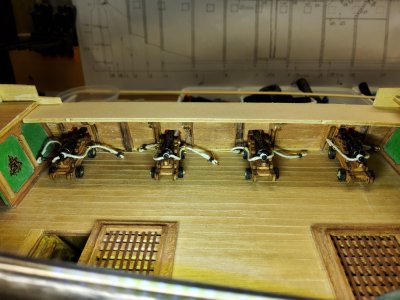
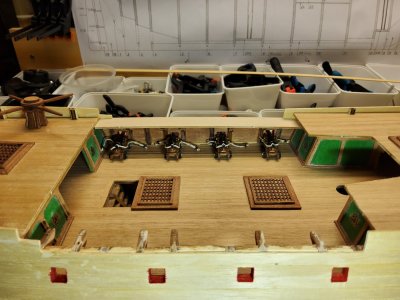
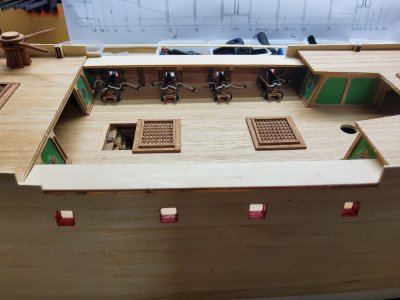
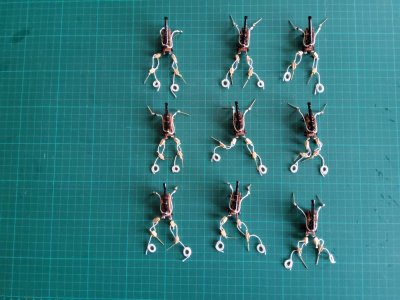
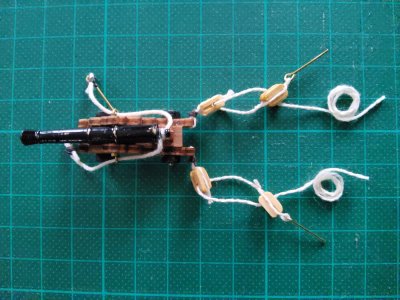
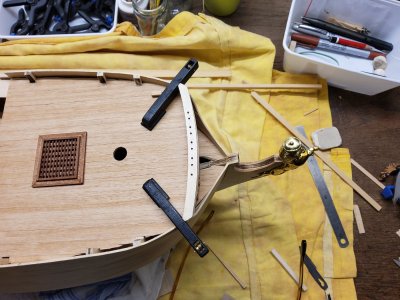
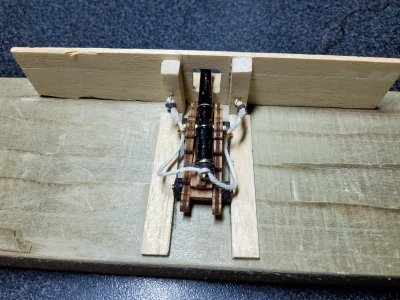
Hi Krister_L and Dean62, Thanks for the response! Now I know that I have to be careful with gluing the planks! Before I stain the upper half of the boat I will first be busy with making the guns with their base and with marking out the gun hatches. I also have to determine the position of the narrower planks on the hull. In the photos you can see that I have already mounted the bases of the guns, the wheels are also painted!

NL 0221.jpgNL 0223.jpgNL 0226.jpgNL 0220.jpg
 
The cannons mounted on the deck add a fantastic touch of realism : really well done! They give the ship so much character. Perhaps with a bit of weathering or a few additional details, they could look even more authentic, but it’s already an outstanding piece of work ! ;)
 
Back
Top