The Norske Love" by Noël Luc Build log

Hi Noël Luc !

Congratulations on finishing the hull, it’s a big step in your project! Every model is a learning experience, and what you’ve accomplished here will definitely help you with your HMS Victory Limited Edition.

Regarding the waterline:
To determine its height, you can consult historical plans of the ship, or you can rely on the model’s scale to compare with real-life dimensions.

For the finish:

Painting the bottom white up to the waterline is often a realistic option and highlights the submerged sections of the hull.

If you prefer a darker wood finish, it can also look very elegant, but make sure it aligns with the historical style of the ship.

Take your time to decide what you like best, and I’m sure the final result will be amazing in its own way.

Best regards from France.
 
Hi Noël, just found your build log, and I have to say you've done a remarkably good job so far, the ship looks awsome and indeed very clean and smooth. I also love your fixture for holding the hull in different positions, I sure have to fix something similar too.
 
Last edited:
Hi Noël, just found your build log, and I have to say you've done a remarkably good job so far, the ship looks awsome and indeed very clean and smooth. I also love your fixture for holding the hull in different positions, I sure have to fix something similar too.
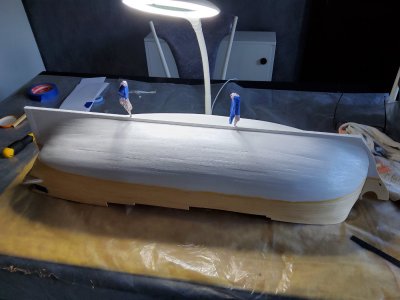
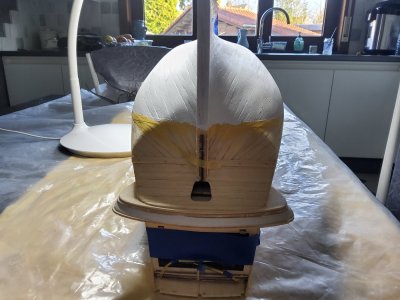
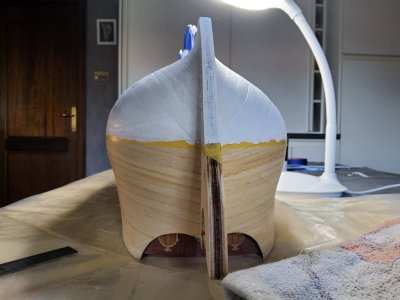
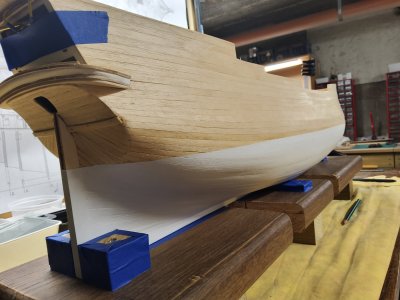
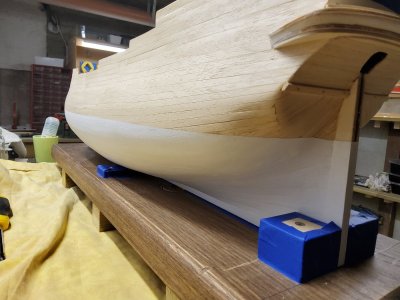
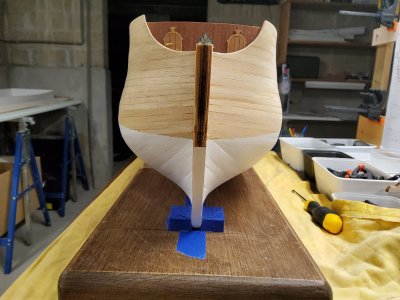
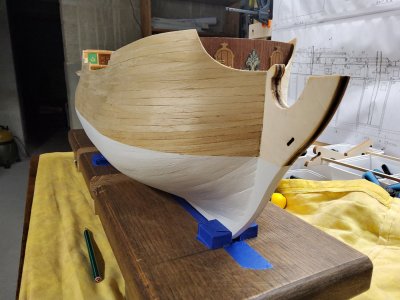
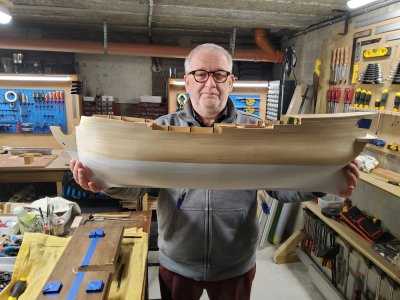
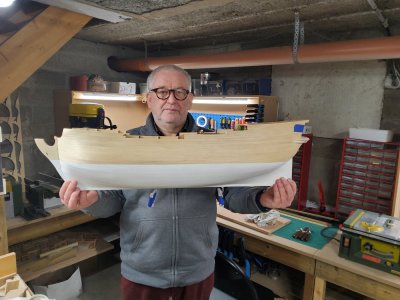
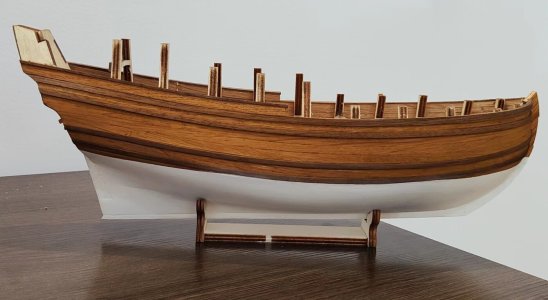
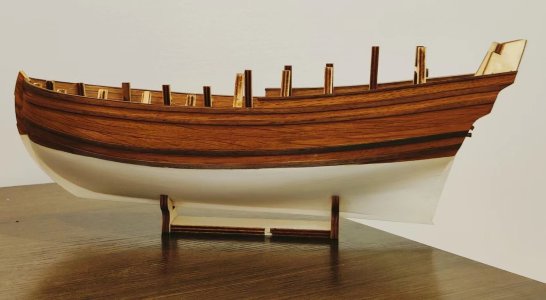
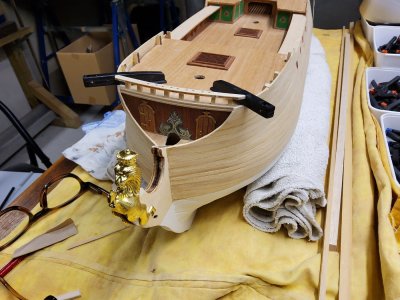
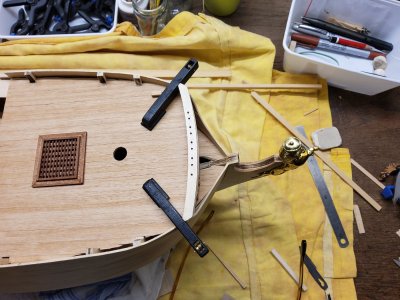
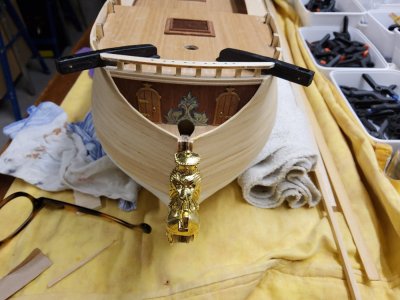
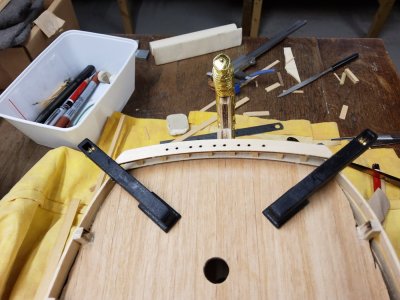
Hello Krister_L, thanks for passing on the information for ordering the clamps!! I have already ordered 2 sets of them on that German site! I also ordered 1/84 scale figures there which I have been looking for for a long time. The figures for the HMS Victory Limited Edition which I will make when the Norske Love is finished (I have already bought this boat)! The Norsk Love is my first boat, I can gain a lot of experience with it before I start on the HMS Victory! Yesterday I painted the bottom of the Norske Love in white. This went well, see pictures.
Now I want to stain the top in a wood color. I first did this on a small piece separately and the stain does not stick to the places where I glued the planks together. This results in lighter spots. The pores of the piece where it was glued are already full and the stain does not stick there.
If anyone knows how I can solve this, please let me know! I can sand the planks down further but I have to be careful because they are only 1.8mm thick and I only have a single planking, not double!
I will also continue to follow the construction of your Norske Love and I hope to learn from it!
Greetings from Belgium

NL 0207.jpg
NL 0209.jpg
NL 0210.jpg
NL 0212.jpg
NL 0213.jpg
NL 0214.jpg
NL 0215.jpg
NL 0218.jpg
 
You did a great job, I think it will look nice once painted and stained. I would definitely do the lower hull from the waterline down in white. The full size plans of the rigging shows the water line.
Hello Dean62, thanks for the info where I could find the height of the waterline!
I also responded to Krister_L's post. Do you have a suggestion to solve the problem of staining?
The bottom of the boat that I painted in white turned out well I think!
Greetings and thanks!

NL 0219.jpg
 
Hello Dean62, thanks for the info where I could find the height of the waterline!
I also responded to Krister_L's post. Do you have a suggestion to solve the problem of staining?
The bottom of the boat that I painted in white turned out well I think!
Greetings and thanks!

View attachment 487303
It looks really good, but I'm afraid I have the same fear as you about staining the hull above the water line. I follow a couple of guys /(Simon Søgaard and Stein-Atle Skarshaug) in the facebook group "Billing Boats" and they are both staining the planks after shaping and pre-bending, but before gluing them to the frames. It's a bit time consumingm but seems like a very good idea. I have been very careful with glue while planking, but also to have them flush to each other with as little gap as possible, and I can you've been working the same way. When I measure the planks they aren't really 1,8mm, rather 1,7 or below, so sanding off more has to be done with fingertip feeling.
 
It looks really good, but I'm afraid I have the same fear as you about staining the hull above the water line. I follow a couple of guys /(Simon Søgaard and Stein-Atle Skarshaug) in the facebook group "Billing Boats" and they are both staining the planks after shaping and pre-bending, but before gluing them to the frames. It's a bit time consumingm but seems like a very good idea. I have been very careful with glue while planking, but also to have them flush to each other with as little gap as possible, and I can you've been working the same way. When I measure the planks they aren't really 1,8mm, rather 1,7 or below, so sanding off more has to be done with fingertip feeling.
Staining boards prior to attaching to the hull would assume you will not do any sanding at all to average the curve of the hull across the boards. And that’s a bad assumption.
The way I have always planked, is to soak and bend the boards after pre tapering them. Then while damp I put a little PVA on the board that it will go against, and CA glue on the bulkheads. I start from one end and glue to the first few bulkheads keeping the board being installed tight against the previous one. Once the entire length is done, I scrape any excess glue within a razor blade (keeping it perpendicular to the board). This will easily remove any excess glue.
If you have glue already dried up in the wood, then it will prevent absorption of the stain. You can attempt to paint on extra stain in those lighter areas after sealing the rest with clear. It may take a few coats, but eventually you will make them darker. The trick is to be careful and not make the adjacent areas darker too. Hope that works for you.
 
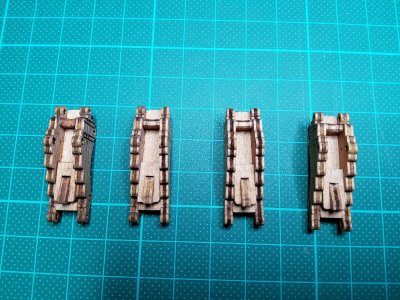
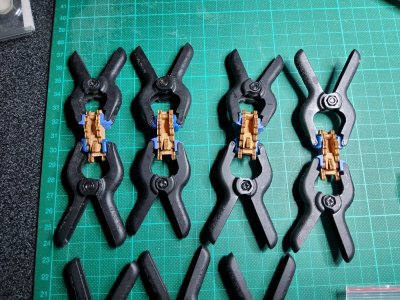
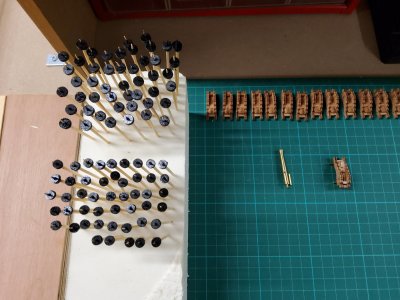
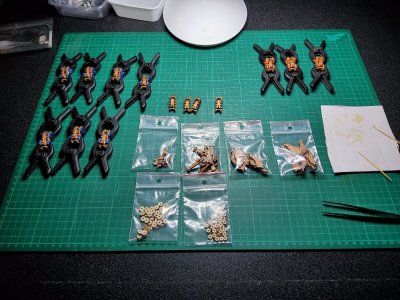
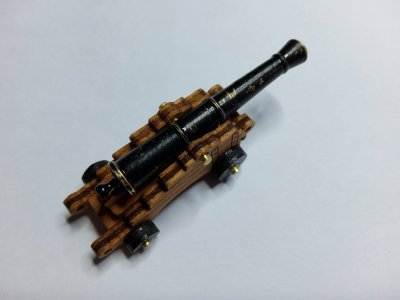
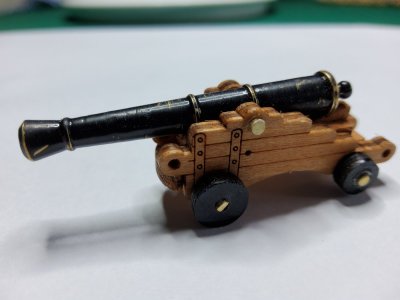
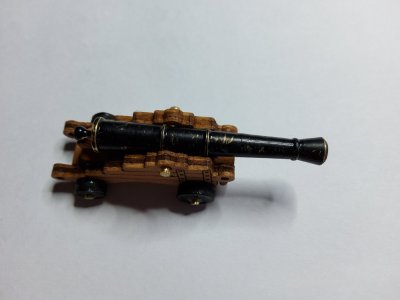
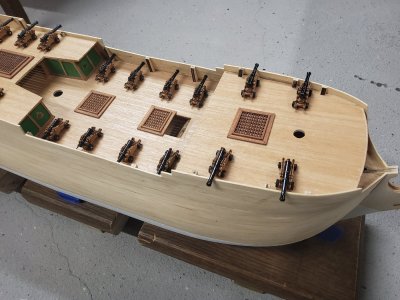
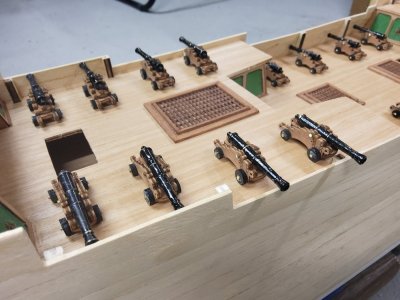
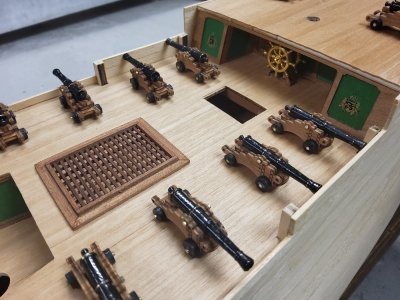
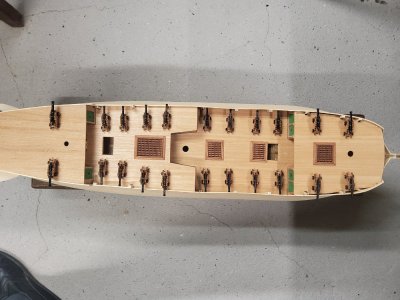
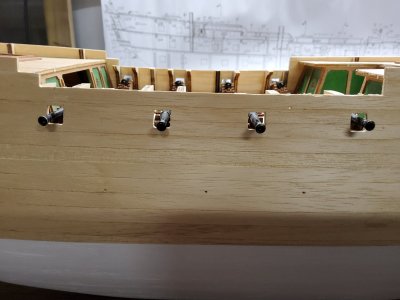
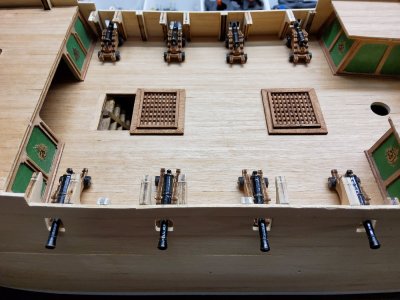
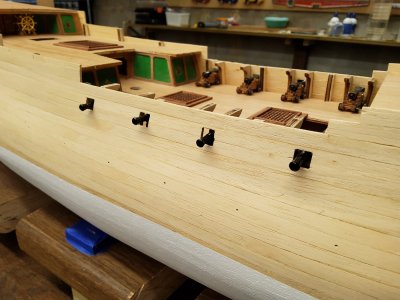
Hi Krister_L and Dean62, Thanks for the response! Now I know that I have to be careful with gluing the planks! Before I stain the upper half of the boat I will first be busy with making the guns with their base and with marking out the gun hatches. I also have to determine the position of the narrower planks on the hull. In the photos you can see that I have already mounted the bases of the guns, the wheels are also painted!

NL 0221.jpgNL 0223.jpgNL 0226.jpgNL 0220.jpg
 
The cannons mounted on the deck add a fantastic touch of realism : really well done! They give the ship so much character. Perhaps with a bit of weathering or a few additional details, they could look even more authentic, but it’s already an outstanding piece of work ! ;)
 
The cannons mounted on the deck add a fantastic touch of realism : really well done! They give the ship so much character. Perhaps with a bit of weathering or a few additional details, they could look even more authentic, but it’s already an outstanding piece of work ! ;)
Hello Oxor31, thanks for your response! How could I apply the weathering and extra details you mentioned to make the cannons even more authentic? Are there any techniques for this? Attached are photos with the 8 cut-out openings on the lower deck for the cannons! With a self-made mold I also indicated the other places for the cannons on the hull! They are small dots that I applied with a nail! Greetings from Belgium and Merry Christmas and a Happy New Year to everyone!

NL 0239.jpgNL 0240.jpgNL 0238.jpg
 
Hello, and thank you for your photos! You’re making excellent progress, it’s impressive to see such precise work on the openings and placements for the cannons, well done !

To give your cannons even more realism, I recommend applying a clear matte varnish to reduce the shine of the metal. After that, you can use black, burnt sienna, or dark brown pigments to simulate wear and exposure to the elements. This will help tone down the brightness and give them an aged and authentic appearance.
Remember, the most important thing is to achieve a finish that you’re happy with, as it’s ultimately a matter of personal taste. But honestly, your work is already at an outstanding level, and I believe these small adjustments will make them even more realistic.

Warm regards, and wishing you and everyone a Merry Christmas and a wonderful New Year filled with great modeling projects ! ;)
 
Hello, and thank you for your photos! You’re making excellent progress, it’s impressive to see such precise work on the openings and placements for the cannons, well done !

To give your cannons even more realism, I recommend applying a clear matte varnish to reduce the shine of the metal. After that, you can use black, burnt sienna, or dark brown pigments to simulate wear and exposure to the elements. This will help tone down the brightness and give them an aged and authentic appearance.
Remember, the most important thing is to achieve a finish that you’re happy with, as it’s ultimately a matter of personal taste. But honestly, your work is already at an outstanding level, and I believe these small adjustments will make them even more realistic.
Warm regards, and wishing you and everyone a Merry Christmas and a wonderful New Year filled with great modeling projects ! ;)
Hi Oxor31, I think the way I can make the guns more realistic will come too late! I have already mounted the guns on the carriages and glued the copper axle that slides through the guns and the wood with superglue! I think it would be very difficult to varnish and paint the guns with the black burnt sienna or dark brown pigments while they are already mounted! I find your suggestions for making the guns more realistic very interesting and I will certainly be able to apply them to the HMS Victory Limited edition that I have already bought. The Norske Love is my first boat and will give me a wealth of experience and techniques to start on the HMS Victory! I will certainly not forget the suggestions and the wonderful information that I get via this forum for making my next boat(s)! Thanks!!!
 
Dear Noël Luc

I don't really post that much anymore on SOS, but once in a while a build comes along that warrants attention and comment. Your NL build is such a one. Your planking was brilliantly done - not only in its accuracy but also in its execution. I believe that single-layered planking is the only way to go and you have pulled it off in no uncertain terms. From what I have seen of the rest of your work, I do not think you should have any worries whether you are up to the build of this model. As to staining the hull, have a look at CLOU Pulverbeize - medium oak.

Pulverbeize_164_eiche-mittel_D.jpg微信图片_20220821095642.jpg
微信图片_20220821095657.jpg
 
Dear Noël Luc

I don't really post that much anymore on SOS, but once in a while a build comes along that warrants attention and comment. Your NL build is such a one. Your planking was brilliantly done - not only in its accuracy but also in its execution. I believe that single-layered planking is the only way to go and you have pulled it off in no uncertain terms. From what I have seen of the rest of your work, I do not think you should have any worries whether you are up to the build of this model. As to staining the hull, have a look at CLOU Pulverbeize - medium oak.

View attachment 491606View attachment 491607
View attachment 491608
Hello Heinrich, thanks for the kind words in your comment!! The hull of the ship in your picture looks fantastic! I looked up this stain on the internet and I found a site where I can order it!
Maybe you also read in my build log that I am a bit afraid to stain the hull, this because when gluing the planks I probably used too much glue that penetrated into the pores of the planks. In those places I get (I think) lighter spots on the planks during staining. If I start staining there is no way back! I realize that at some point I will have to decide what to do!
The stain you show is in powder form and I have never worked with that before! I think I will have the stain delivered and I will try it out on a separate piece of glued planks! So far I have used the stain from Occre!
Thanks again for your comment and if you have any other info, suggestions or thoughts in the future, I would be happy to hear them! I can only learn from it!!
Greetings from Belgium, Merry Christmas and Happy New Year!!
 
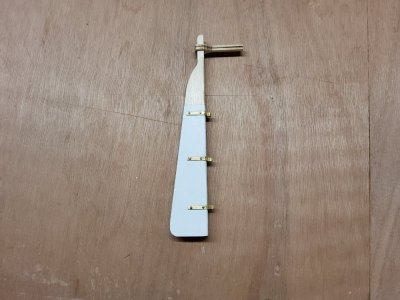
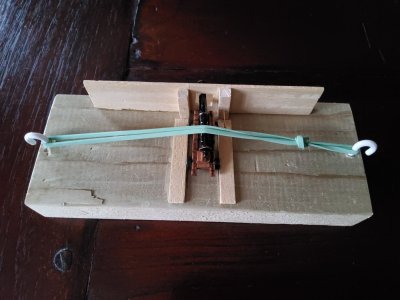
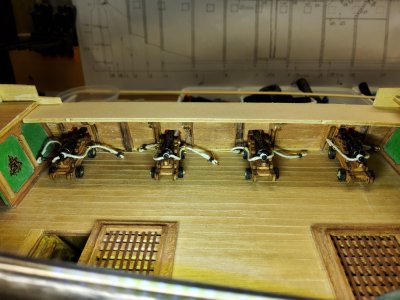
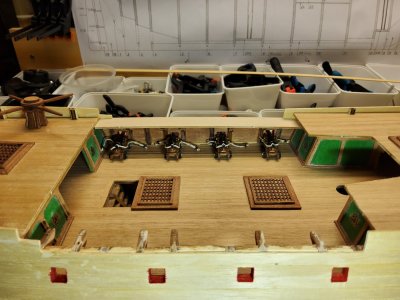
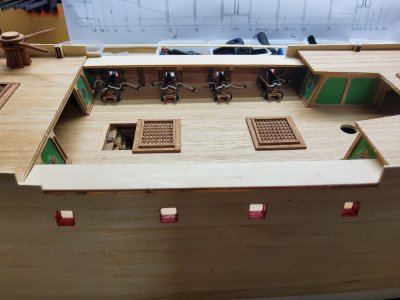
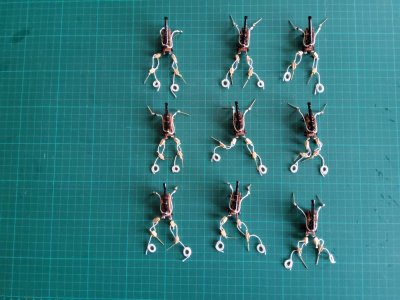
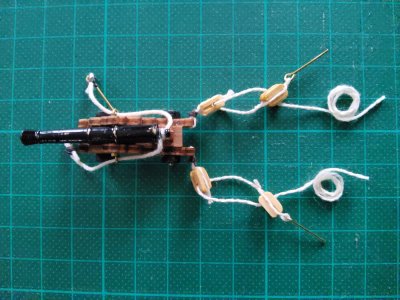
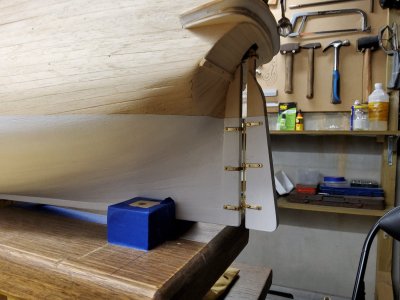
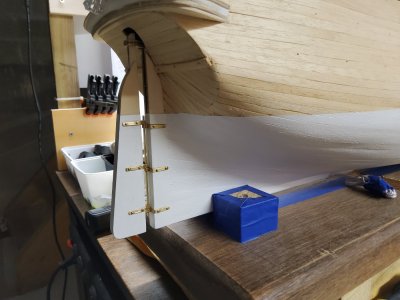
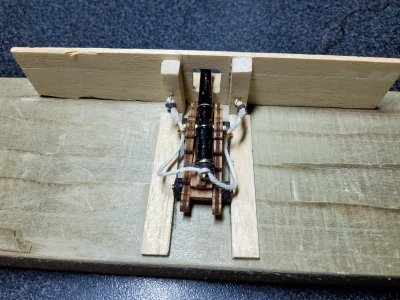
Hello everyone, after the holidays I got back to work! I mounted the rudder and then I continued with finishing the already sawn and sanded gun holes. I made the wall of the boat thicker at the gun holes and painted it red! Now I started rigging the guns. I looked up how I could do that best and called in a helper (my wife) to start rigging, she did a great job! It is not done yet because the blocks to turn the guns left and right still have to be added! When that is done I can mount the guns in the boat and I can mount the walkway from one deck to the other deck!

NL 0242.jpg
NL 0244.jpg
NL 0243.jpg
NL 0251.jpg
NL 0252.jpg
NL 0253.jpg
NL 0254.jpg


NL 0259.jpg
NL 259.jpg
NL 0260.jpg
 
I like the progress of your assembly, very accurate and neat. However, if you don't mind, I think the gun rigging is slightly off your nice ship. Despite the rigging blocks and rigging ropes are out of scale, you have used the blocks incorrectly. I think rigging a gun, specifically on a small scale, is a challenging task so they will look OK. Sometimes, I don't even bother to fully rig the guns, and use the breeching line only. This should be a much better appearance compared to an oversized or incorrect rigging, IMHO

Again, I hope you don't mind the critics, as I understand how much time you've spent rigging those guns.
 
Back
Top