- Joined
- Mar 18, 2021
- Messages
- 338
- Points
- 323

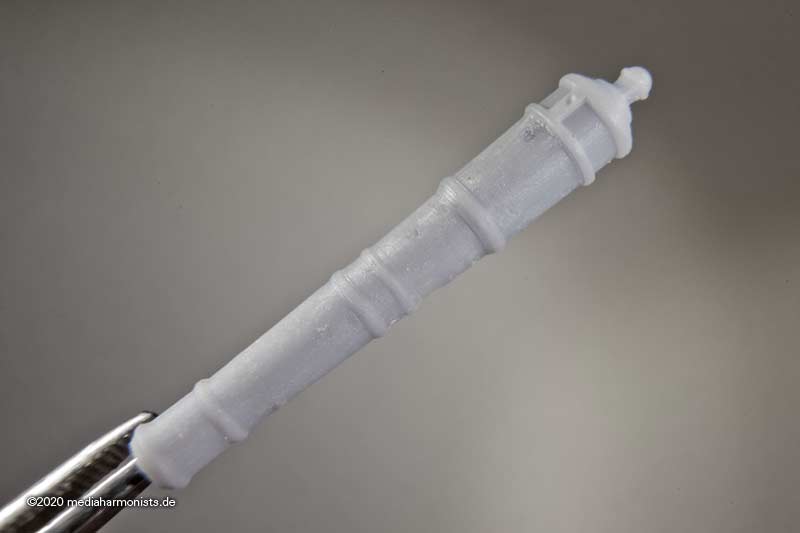
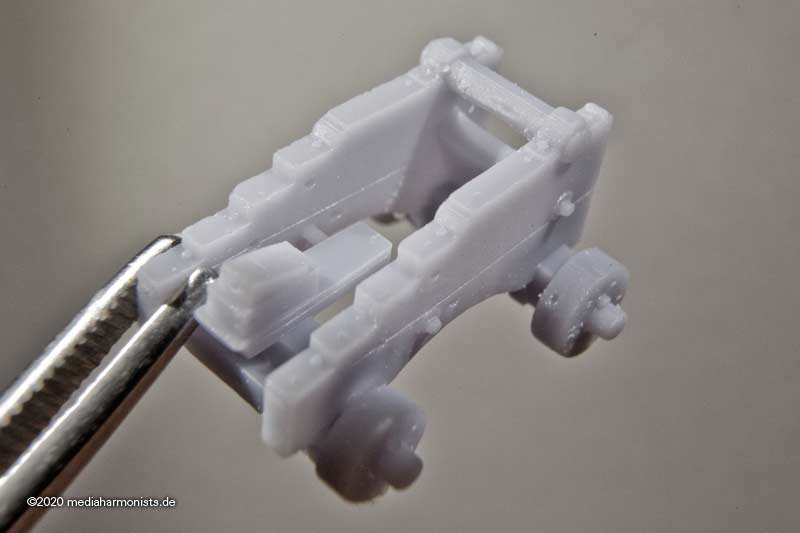
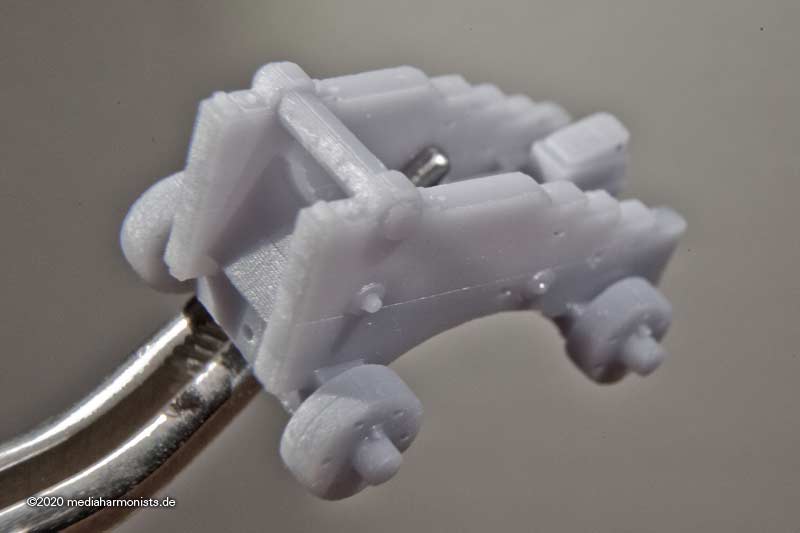
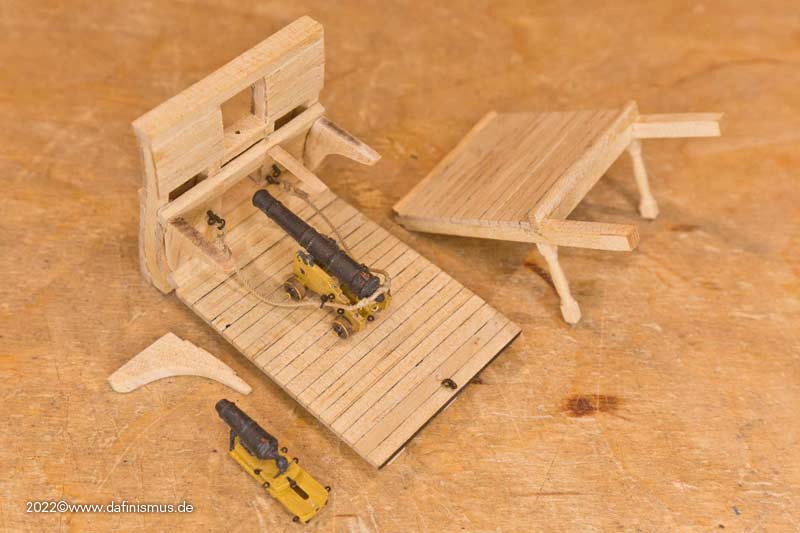
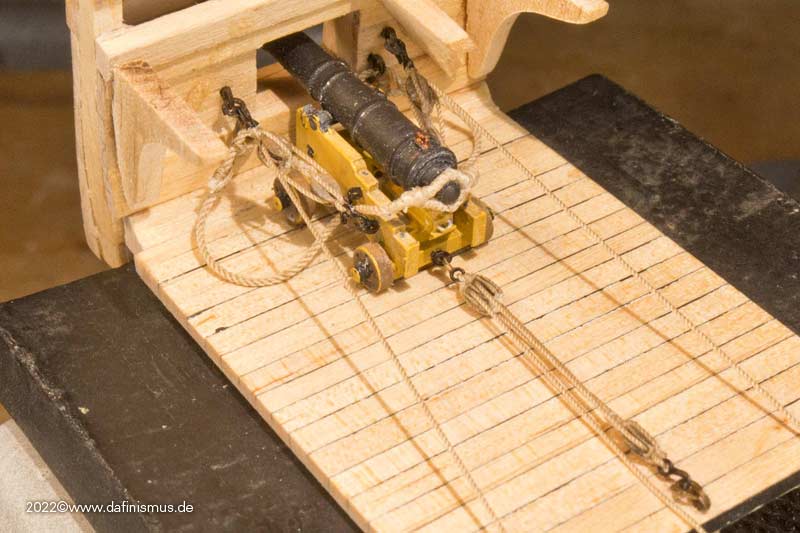
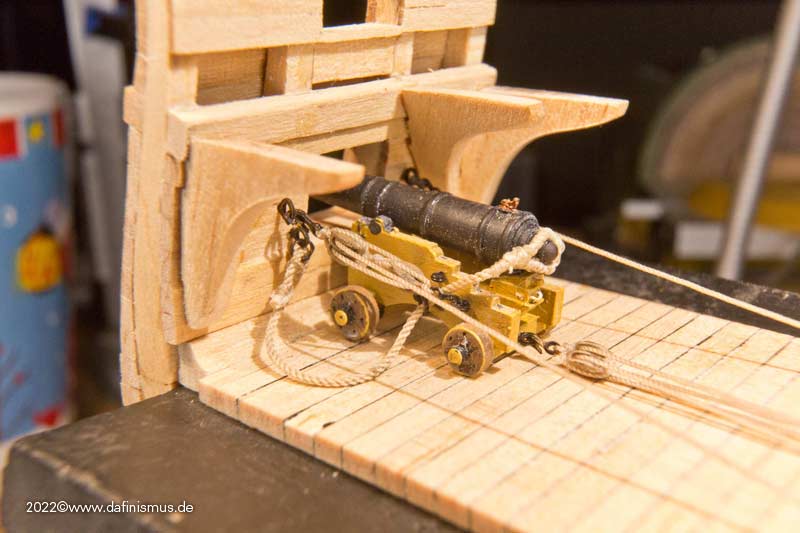
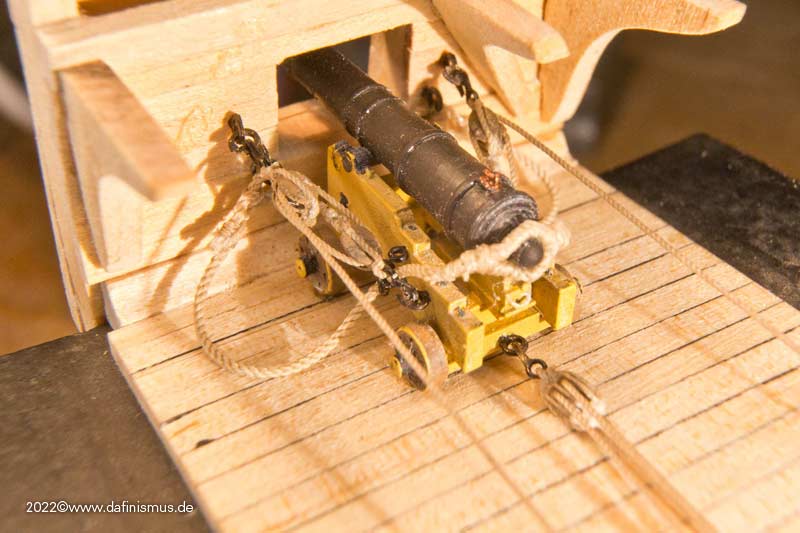
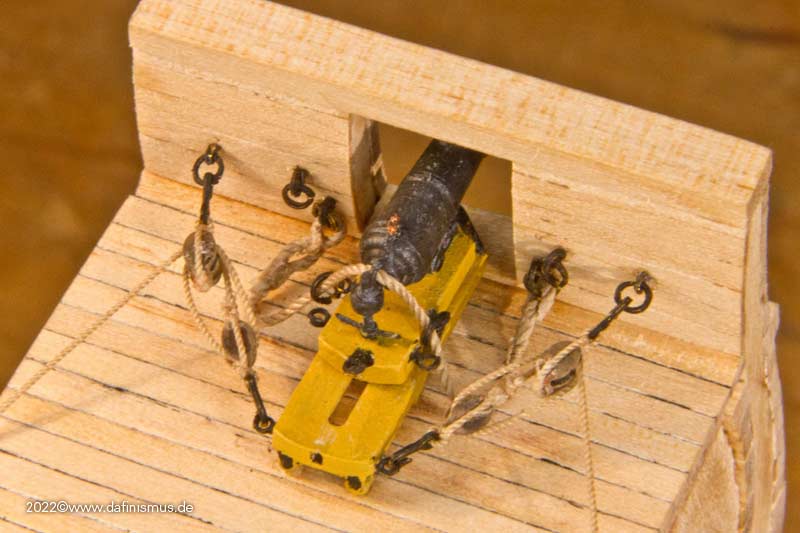
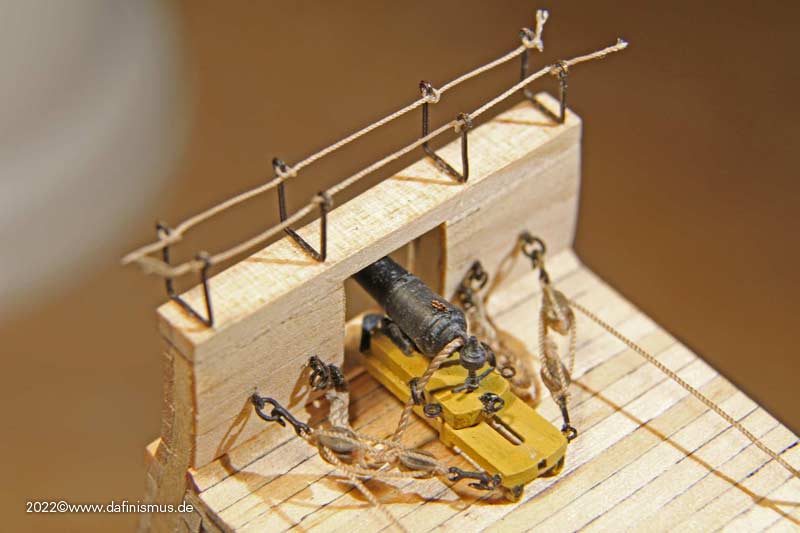
Until now, the bottleneck in rigging the guns were the blocks: There were almost no small ones, and if there were, they were often difficult in appearance or quality.
Recently, I have test rigged my smallest self-printed blocks times and noticed that fine thin and steady surgeon hands are needed, including good visual reinforcements And I realized that suddenly I am the bottleneck ...
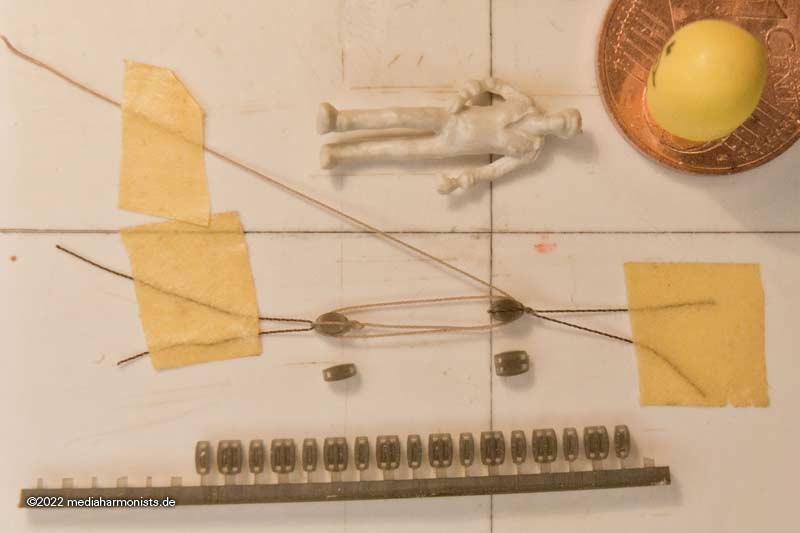
Here the measure of things was the thinnest rope I needed in 1:100, 0.2 mm diameter. Something for the filigran ones among us
Now the pragmatist in me came out again. According to the old literature I need for the guns in 1:100 / 1:98 the diameter off 0,3- 0,4 mm for the ropes for the lanjards of the side- and back tackles. The 0.4 mm rope is also a common thickness for Gondesen and other suppliers in the aftermarket. So a block combination on this rope thickness is required, and also a good method in which this is done quickly and with good visual results.
It has cost me a few attempts, meanwhile I have found the right variant for myself.
First a normal classical knot to tie the hook in ...
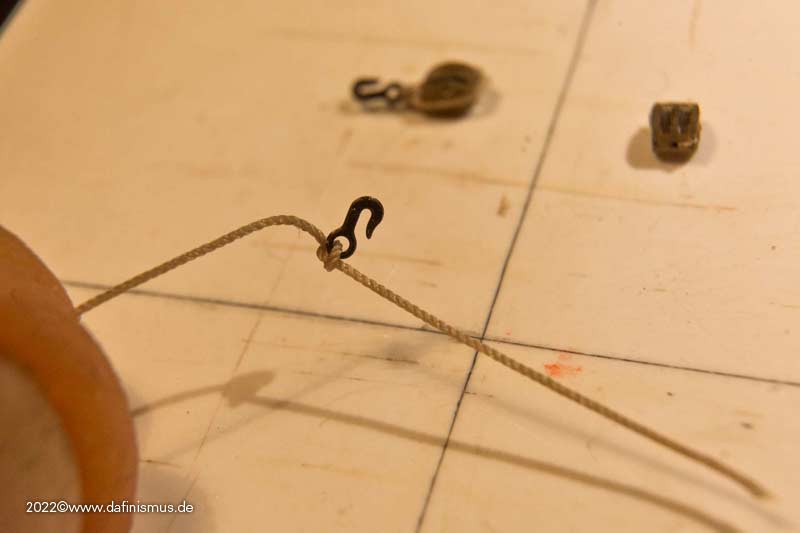
... then the whole thing tightened to the back, in order to make the hook sit well in the middle ...
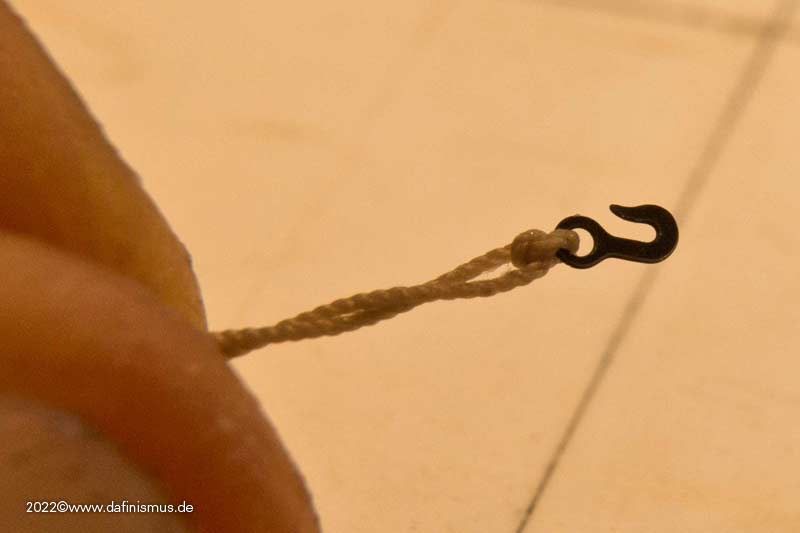
... spreading the ends again and ...
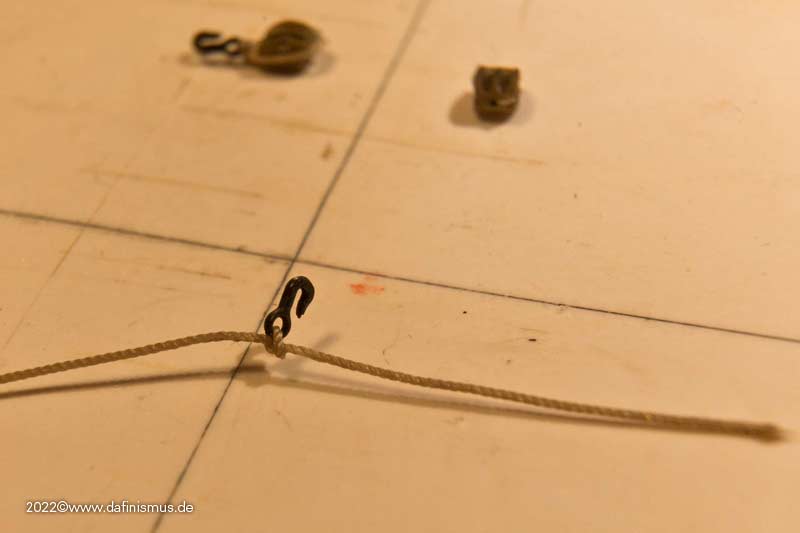
... put the block of choice ready.
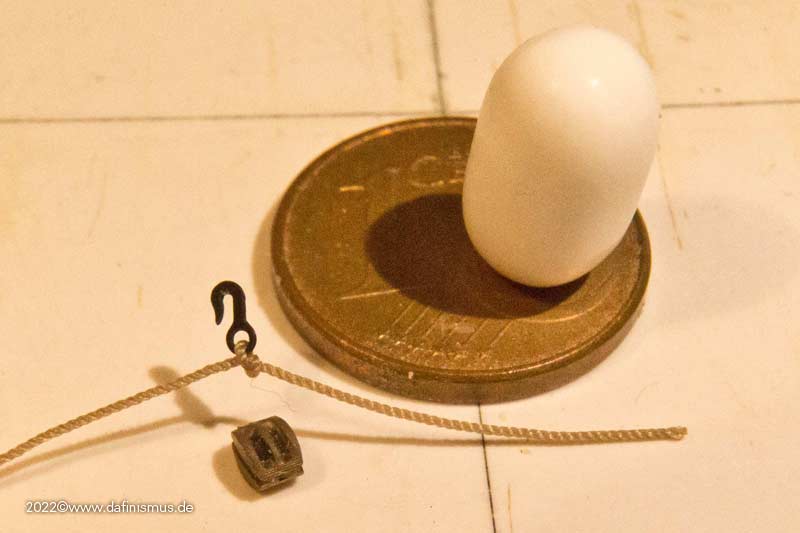
Then clamped the hook between my fingers, used a toothpick to make a drop of super glue in the middle on the knot of the hook and centered the block on it.
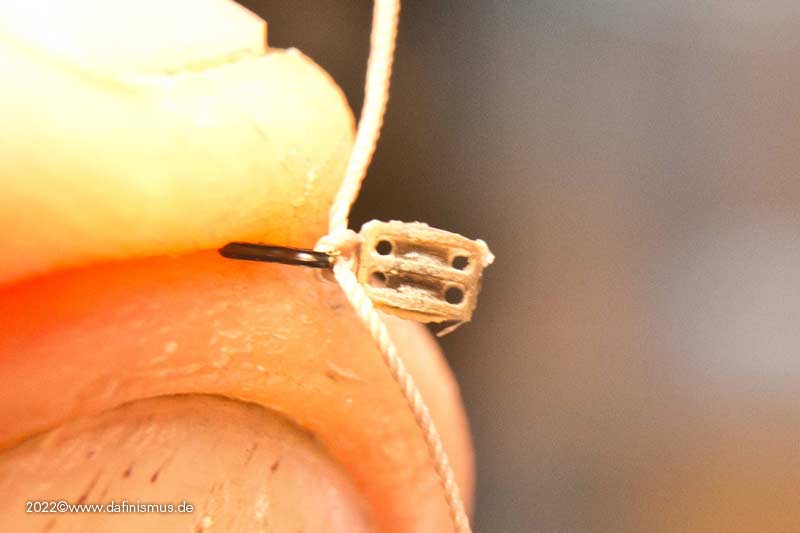
Don't let go of the hook now, but detached it would look like this.
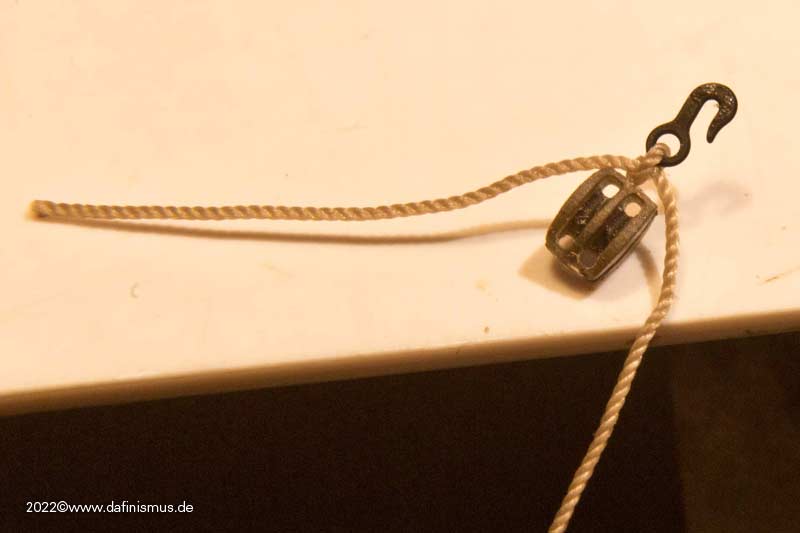
This is just the positioning guide to superglue the groove on the side with the toothpick on one side and pull the rope well over it.
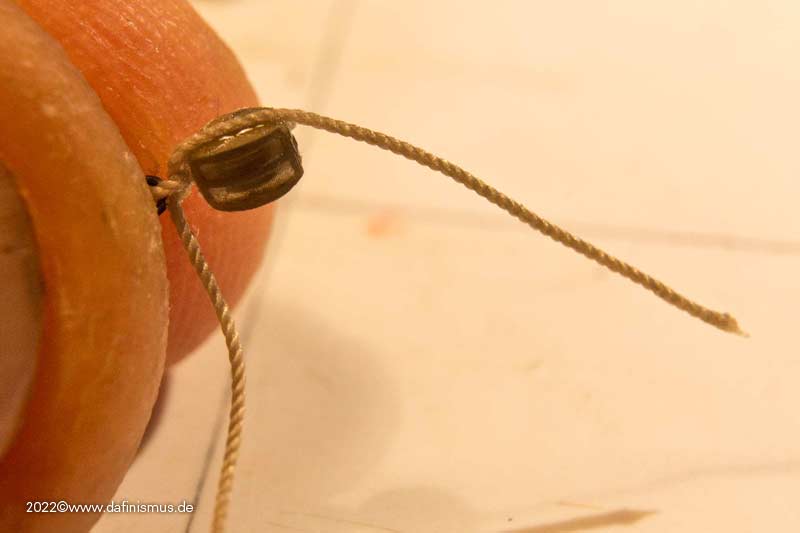
Do not grab the glued area, but pull on the free end. This works quite well without the whole thing forming an inseparable bond with the builder.
Then glue the groove on the other side, pull the rope over it accordingly and make sure that the pull is even and the hook hangs centrally over the block.
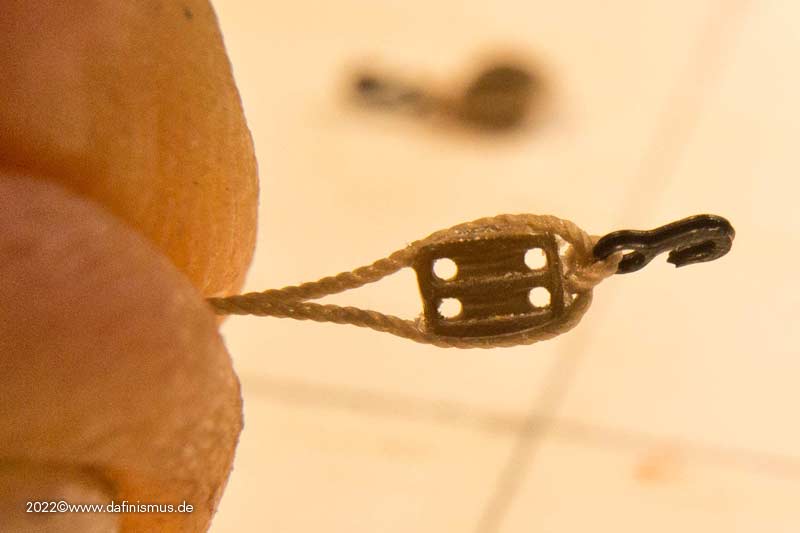
Then glue the bottom of the block with the toothpick and pull the ends against each other, cut off the excess diagonally, and press the two slanted ends against each other with tweezers or pliers, securing again with glue if necessary.
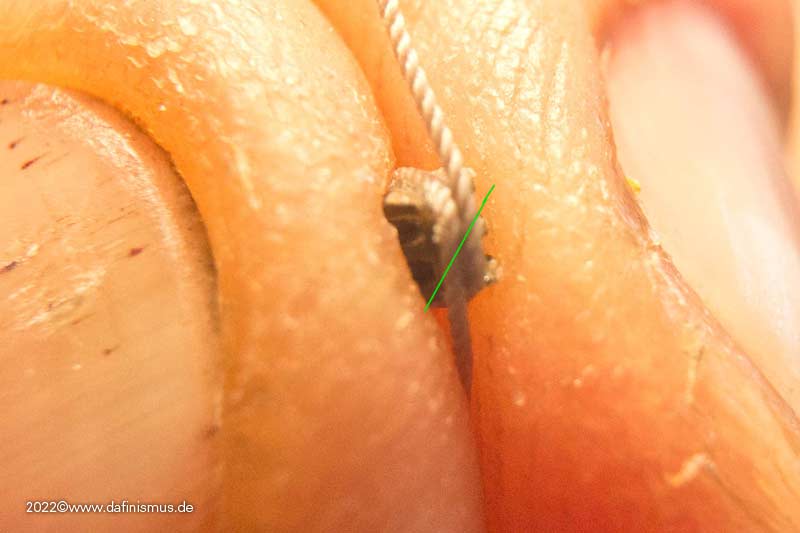
And then you already have it in your hand, the rigged double block
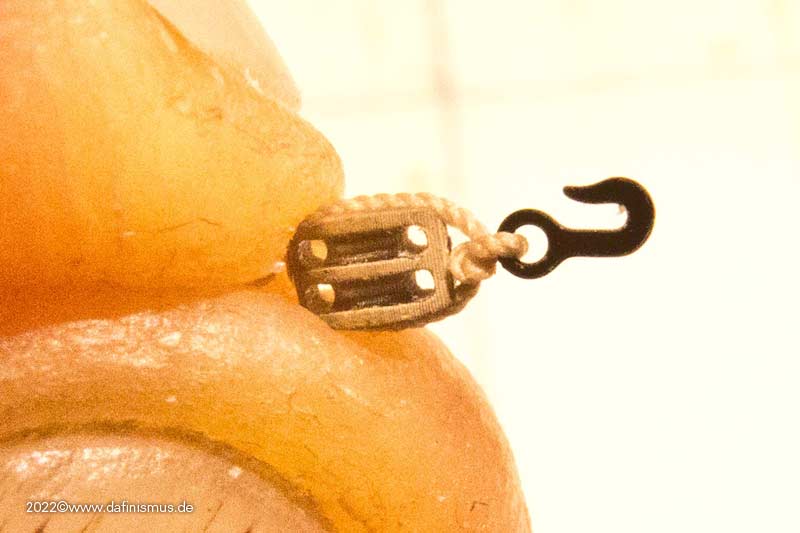
If you want you can strop the bridge between hook block a little bit, but I noticed that it doesn't help that much, so I made it easy for myself here.
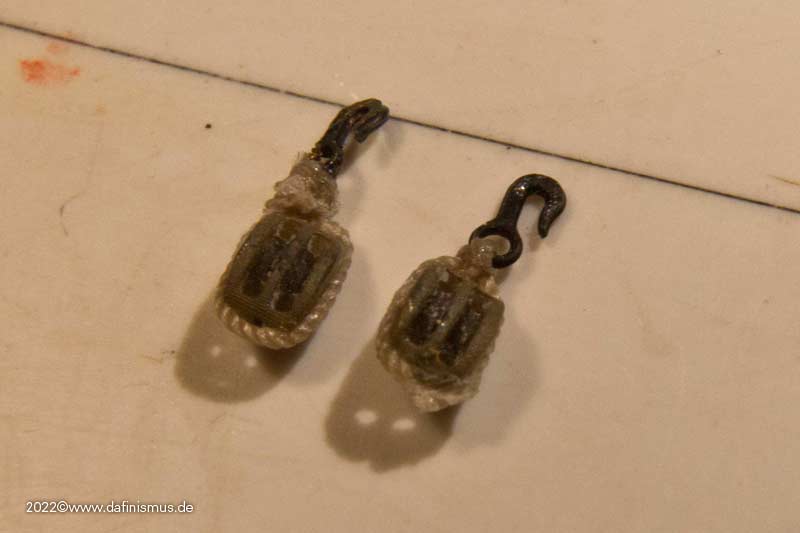
By the way, here is my first attempt, you can still see it somehow crooked, and the one after that, you can see, practice makes perfect ;-)
With the single block it is the same, thread hook on the rope, knot, pull back, spread, hook between the fingers, glue in the middle, block on it to secure, glue the side and pull rope over it, glue the other side and pull over it, and now the difference, on the bottom a knot and secured with glue.
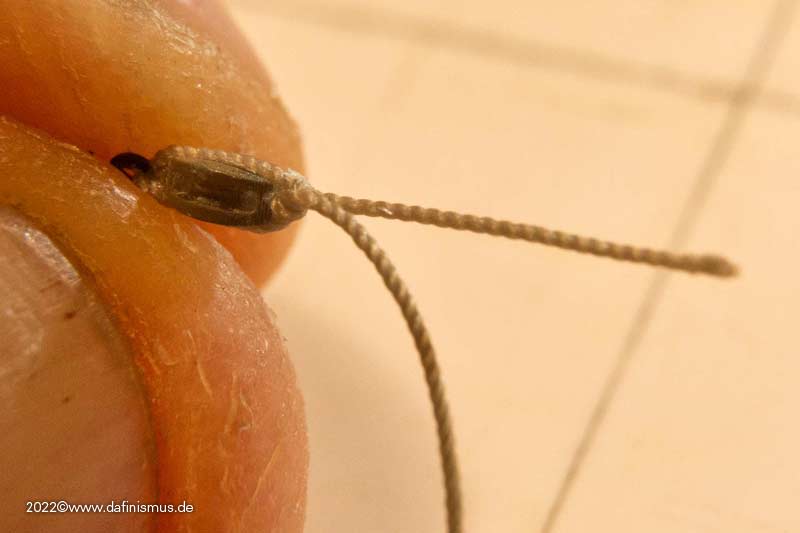
Then the free end stropped up, glued and cut tight ...
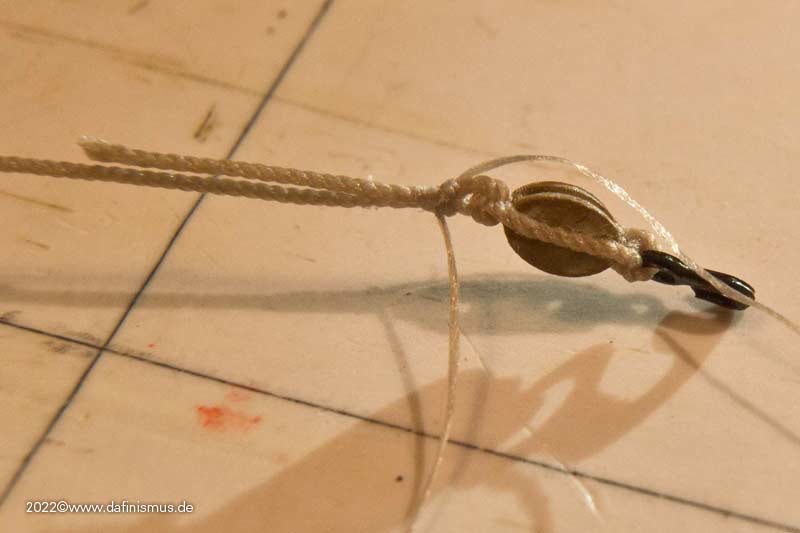
... and the pair of block is ready
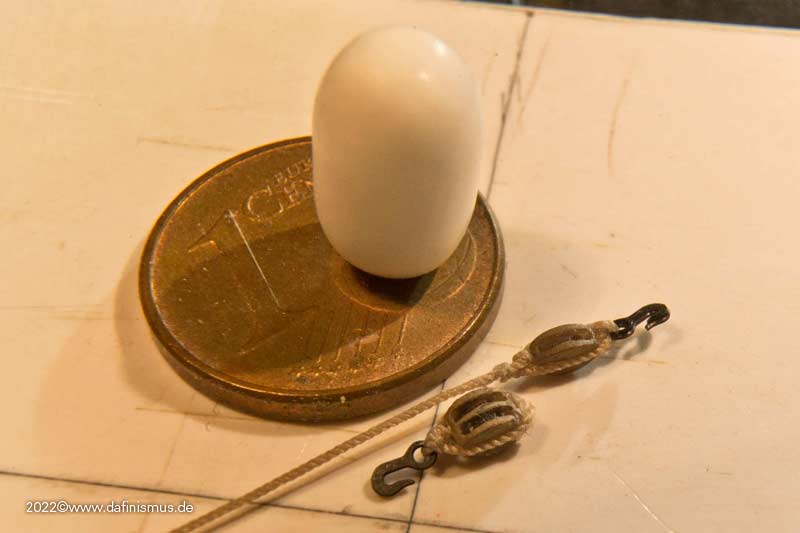
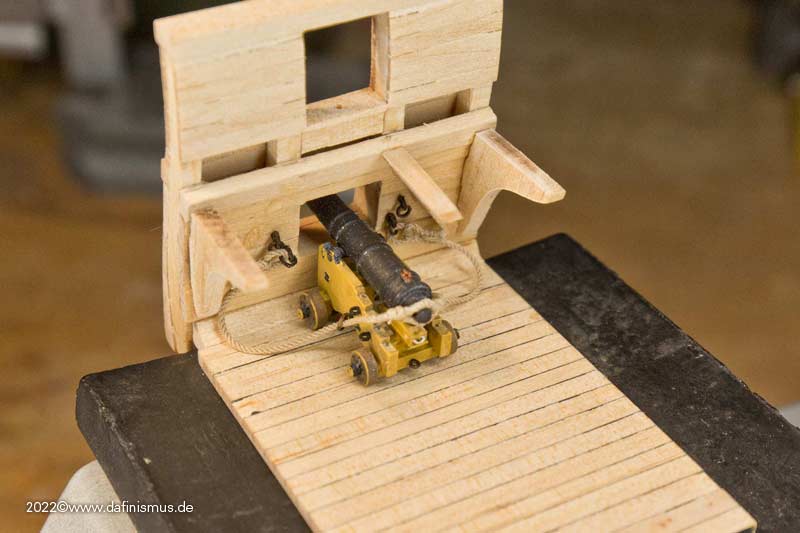
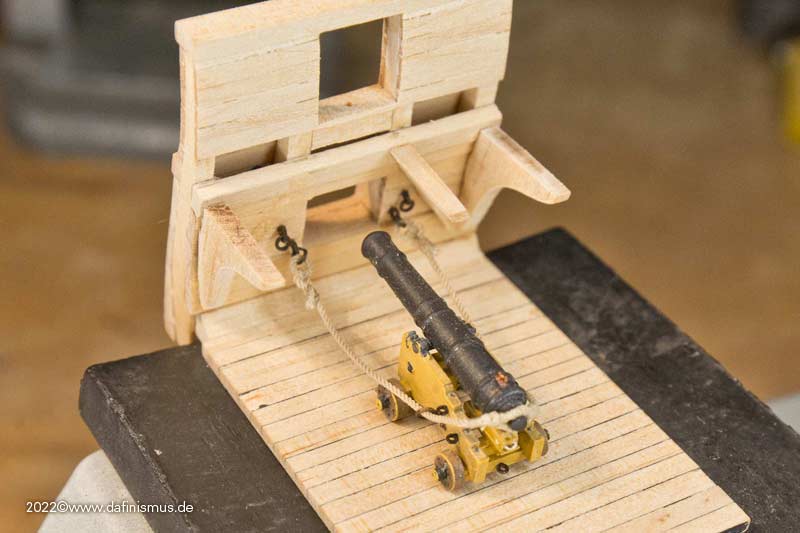
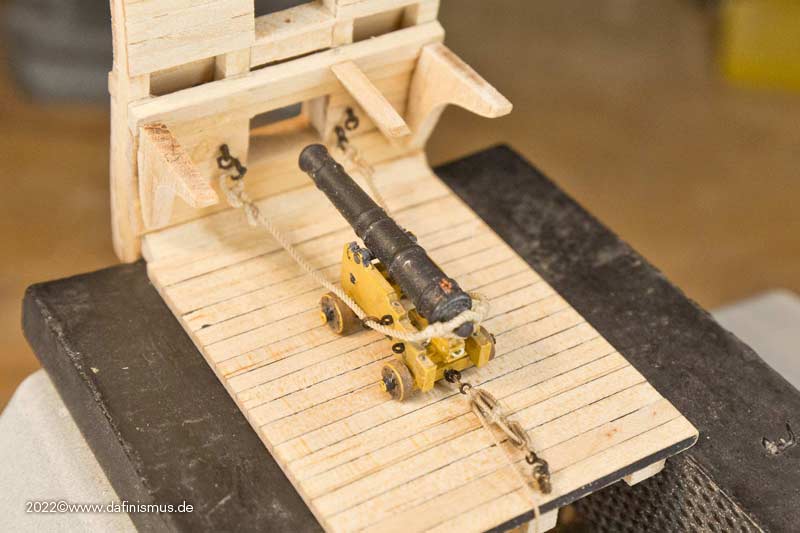
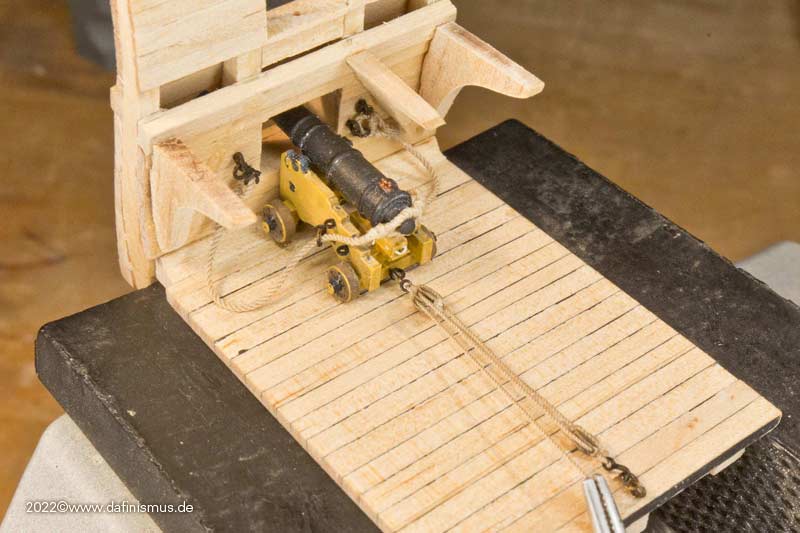
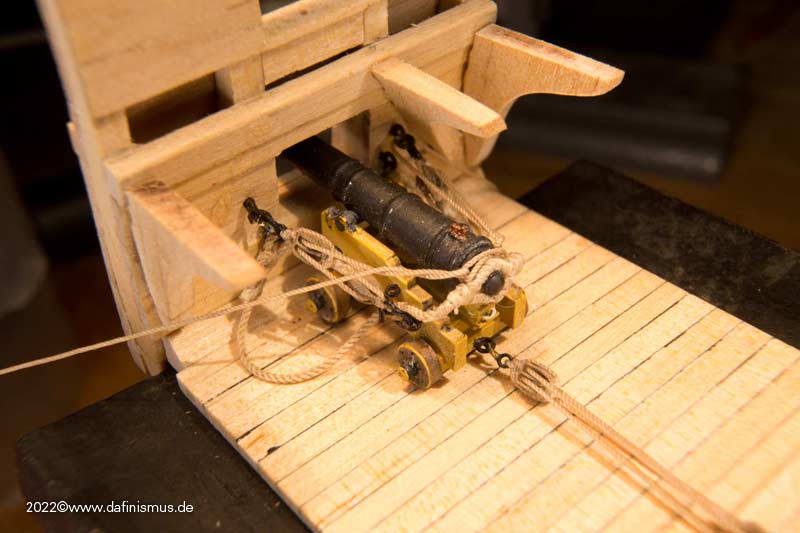
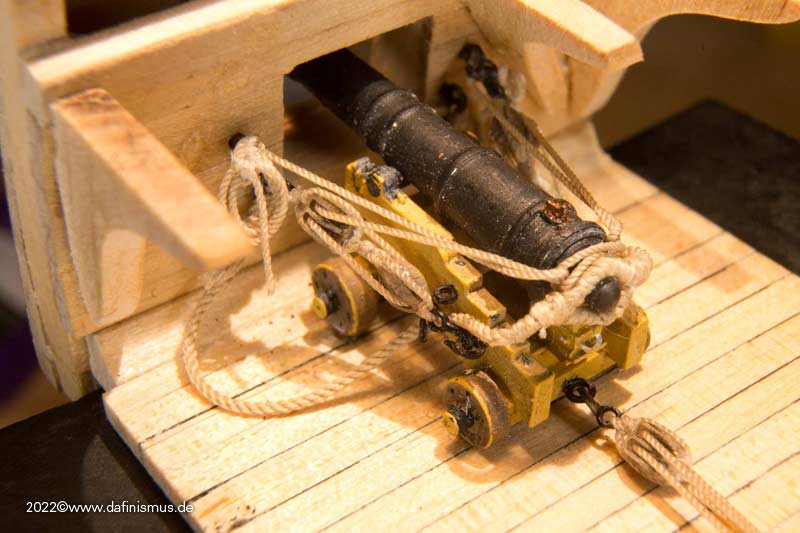
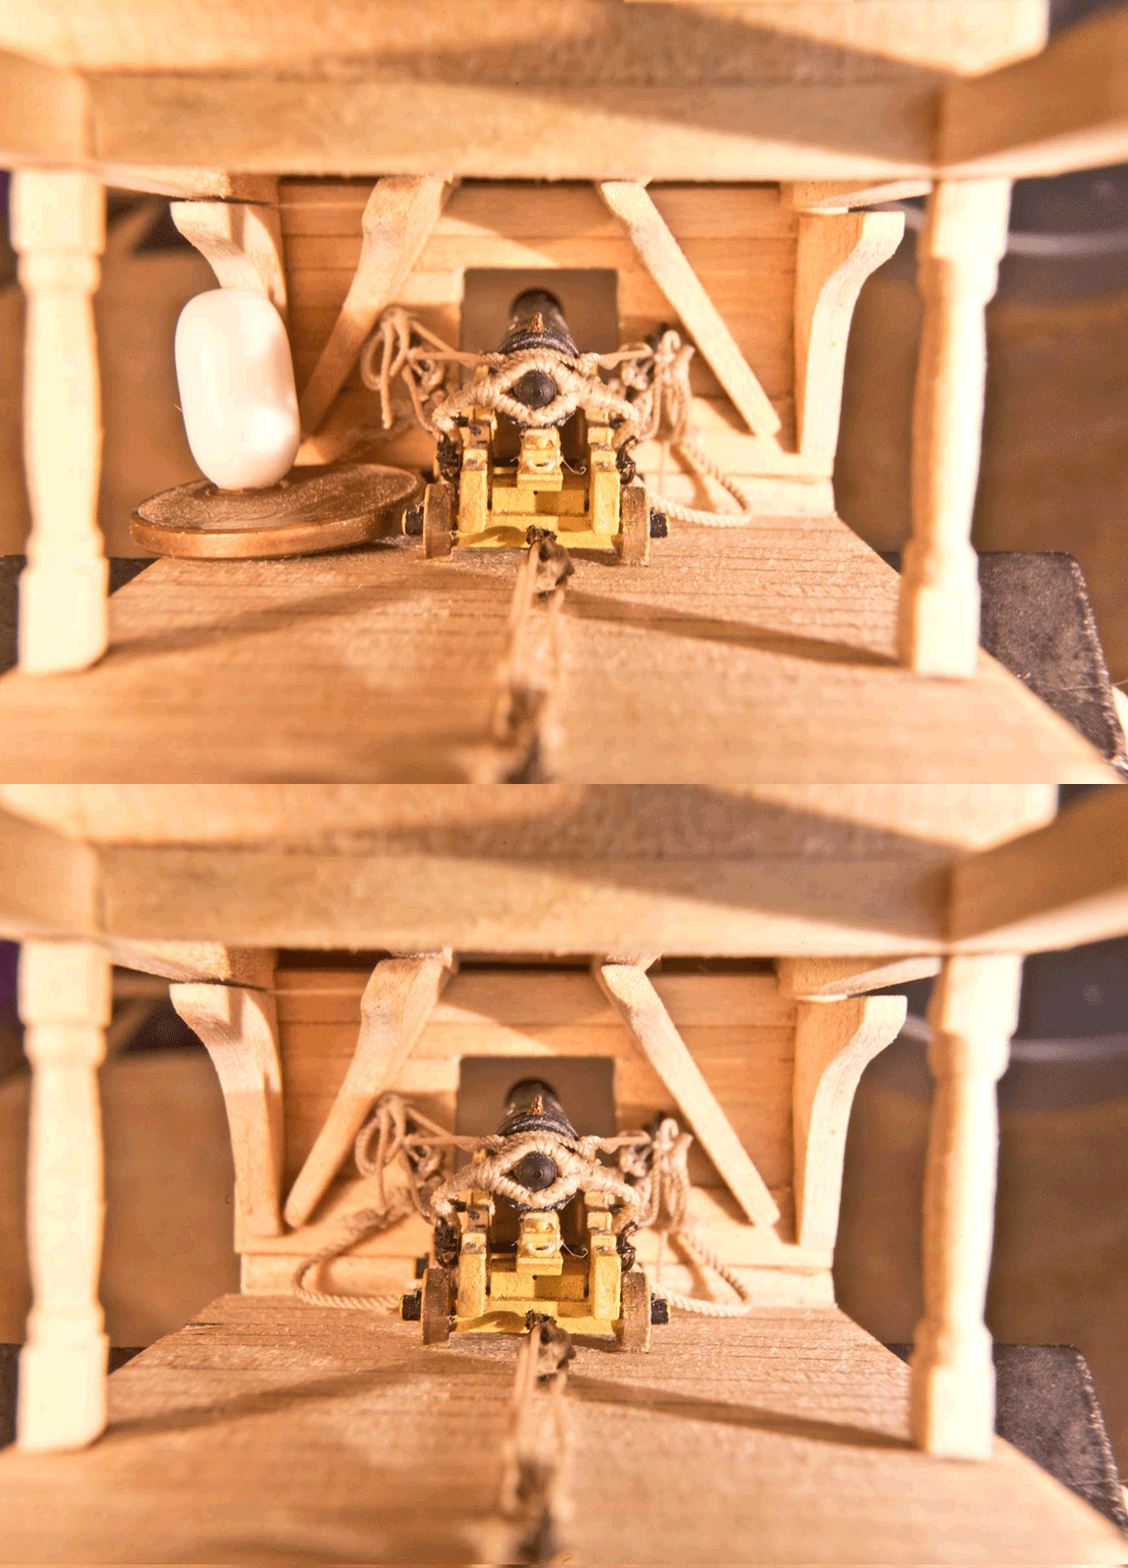
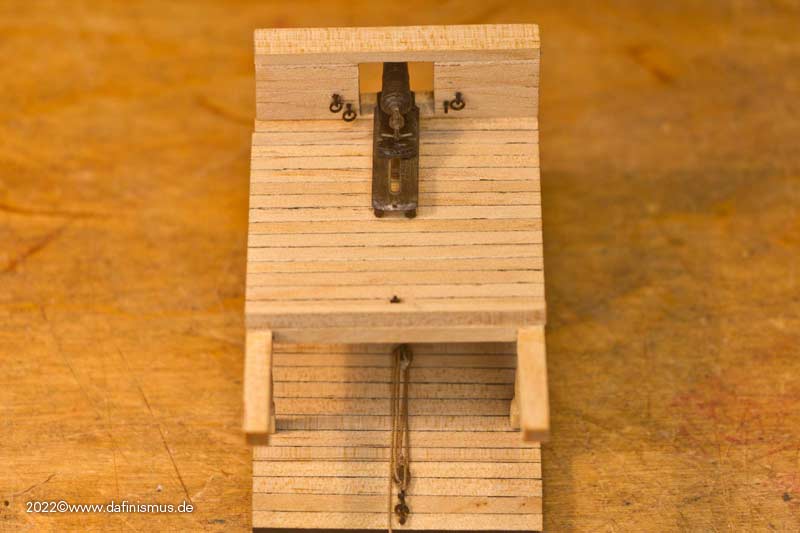
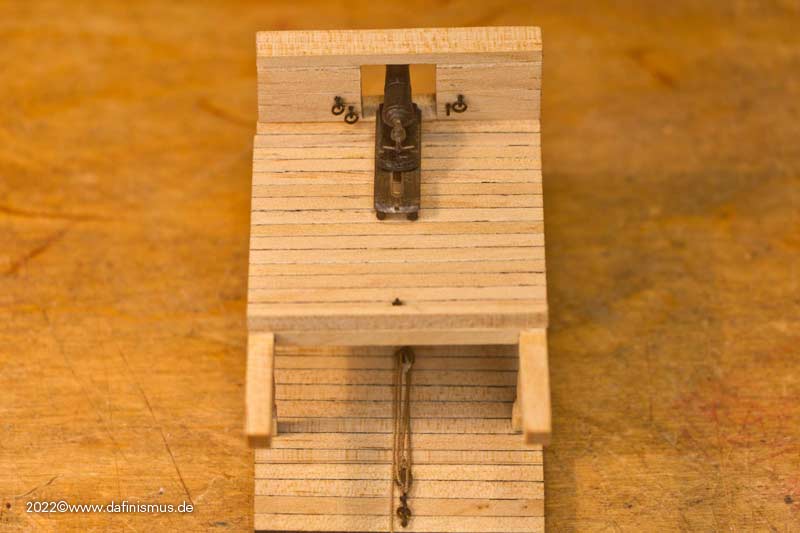
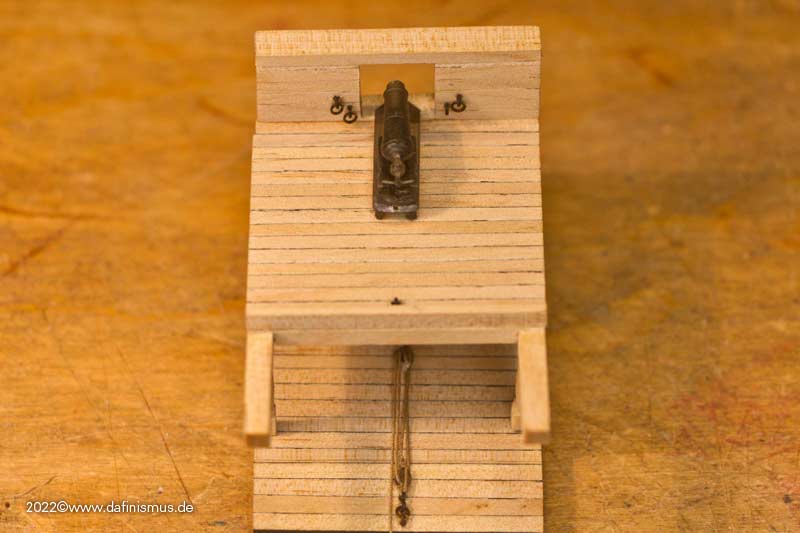
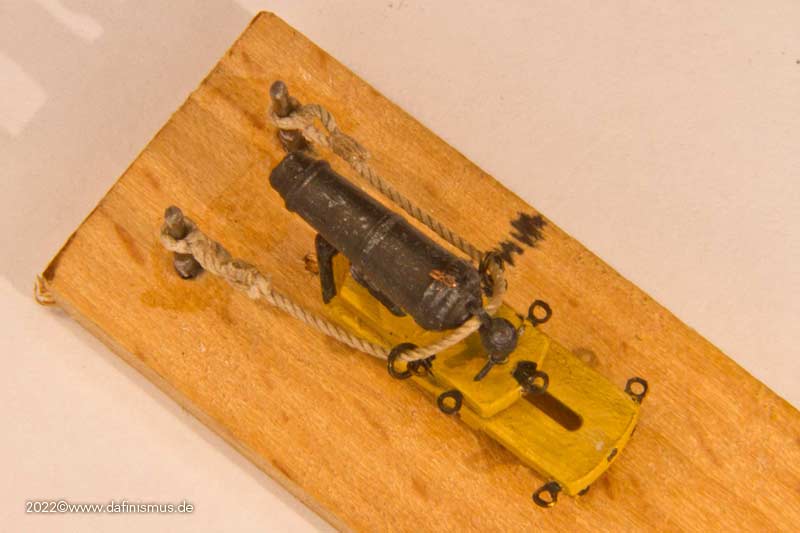
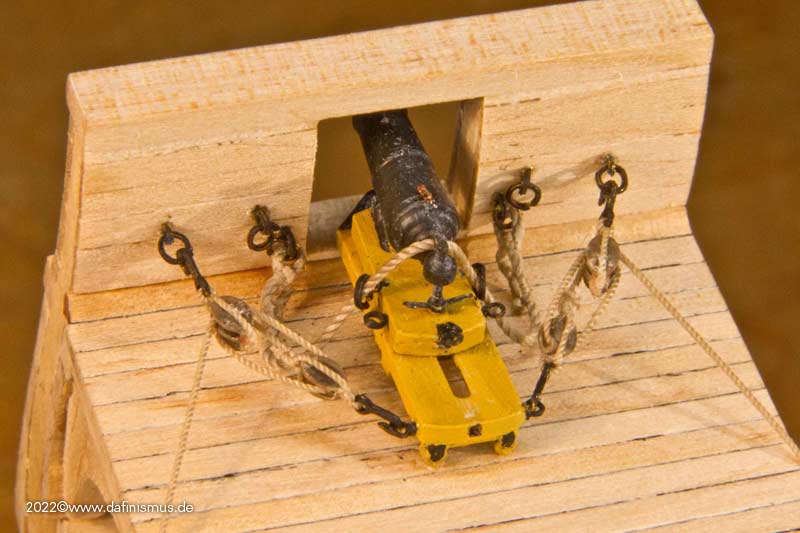
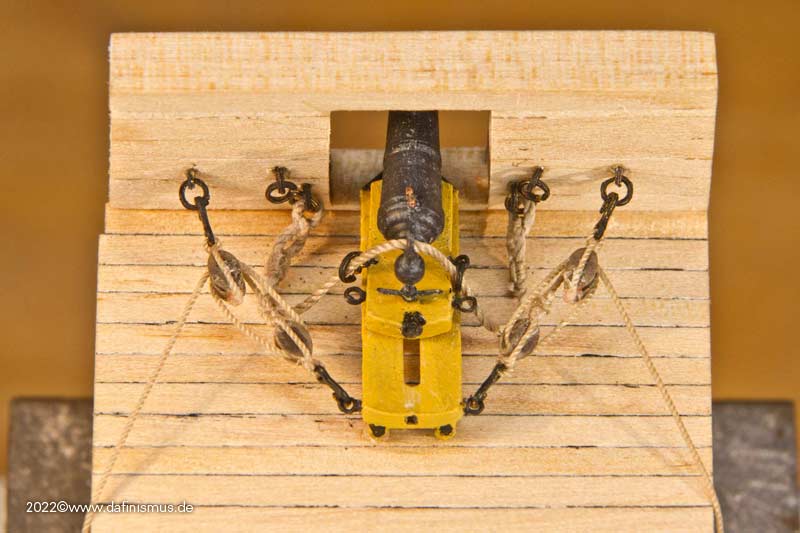
And the other two pairs came together quite quickly, so I soon had a set of three ready for my gun setup.
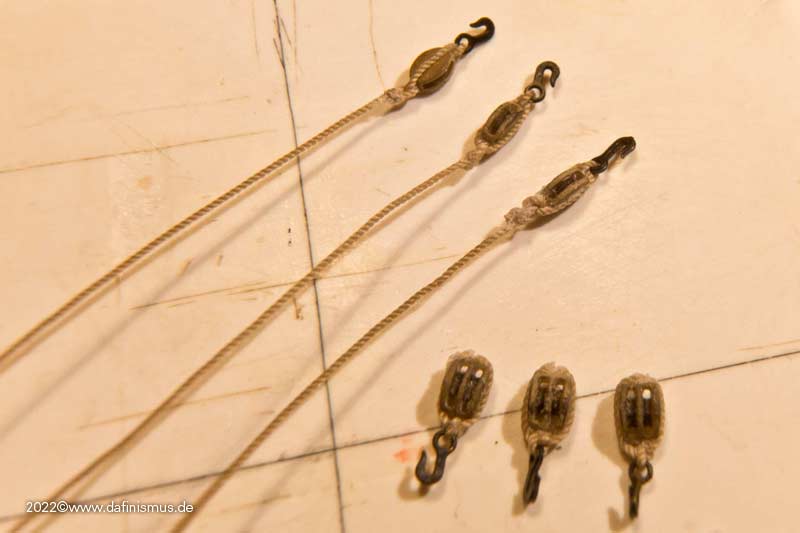
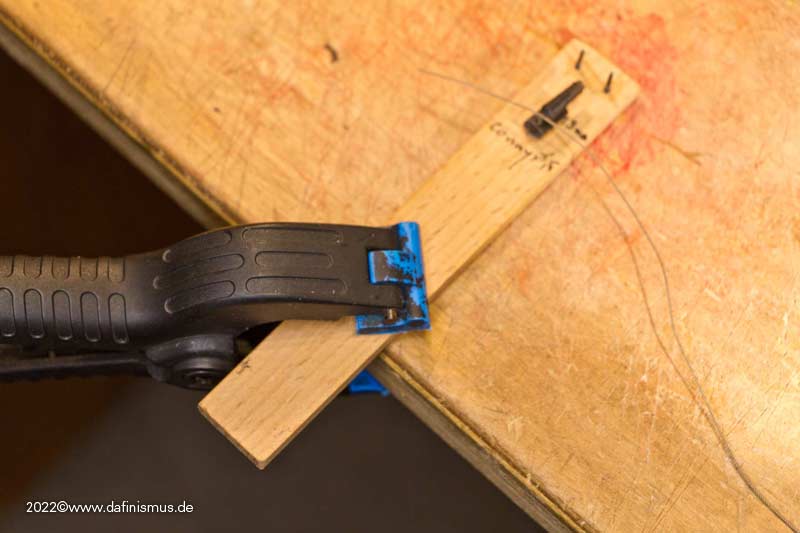
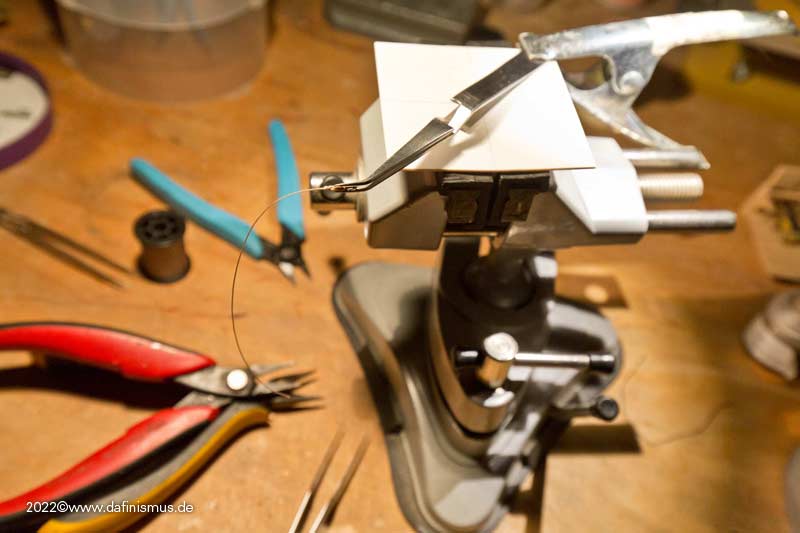
And as I said, no other tools or jigs were needed than a toothpick as a super glue applicator, I only used a pair of self-clamping tweezers on my bench vice to srop on the free end of the single block.
All the best, DAniel
Recently, I have test rigged my smallest self-printed blocks times and noticed that fine thin and steady surgeon hands are needed, including good visual reinforcements And I realized that suddenly I am the bottleneck ...

Here the measure of things was the thinnest rope I needed in 1:100, 0.2 mm diameter. Something for the filigran ones among us
Now the pragmatist in me came out again. According to the old literature I need for the guns in 1:100 / 1:98 the diameter off 0,3- 0,4 mm for the ropes for the lanjards of the side- and back tackles. The 0.4 mm rope is also a common thickness for Gondesen and other suppliers in the aftermarket. So a block combination on this rope thickness is required, and also a good method in which this is done quickly and with good visual results.
It has cost me a few attempts, meanwhile I have found the right variant for myself.
First a normal classical knot to tie the hook in ...

... then the whole thing tightened to the back, in order to make the hook sit well in the middle ...

... spreading the ends again and ...

... put the block of choice ready.

Then clamped the hook between my fingers, used a toothpick to make a drop of super glue in the middle on the knot of the hook and centered the block on it.

Don't let go of the hook now, but detached it would look like this.

This is just the positioning guide to superglue the groove on the side with the toothpick on one side and pull the rope well over it.

Do not grab the glued area, but pull on the free end. This works quite well without the whole thing forming an inseparable bond with the builder.
Then glue the groove on the other side, pull the rope over it accordingly and make sure that the pull is even and the hook hangs centrally over the block.

Then glue the bottom of the block with the toothpick and pull the ends against each other, cut off the excess diagonally, and press the two slanted ends against each other with tweezers or pliers, securing again with glue if necessary.

And then you already have it in your hand, the rigged double block

If you want you can strop the bridge between hook block a little bit, but I noticed that it doesn't help that much, so I made it easy for myself here.
By the way, here is my first attempt, you can still see it somehow crooked, and the one after that, you can see, practice makes perfect ;-)

With the single block it is the same, thread hook on the rope, knot, pull back, spread, hook between the fingers, glue in the middle, block on it to secure, glue the side and pull rope over it, glue the other side and pull over it, and now the difference, on the bottom a knot and secured with glue.

Then the free end stropped up, glued and cut tight ...

... and the pair of block is ready

And the other two pairs came together quite quickly, so I soon had a set of three ready for my gun setup.

And as I said, no other tools or jigs were needed than a toothpick as a super glue applicator, I only used a pair of self-clamping tweezers on my bench vice to srop on the free end of the single block.

All the best, DAniel


