- Joined
- Mar 18, 2021
- Messages
- 351
- Points
- 323

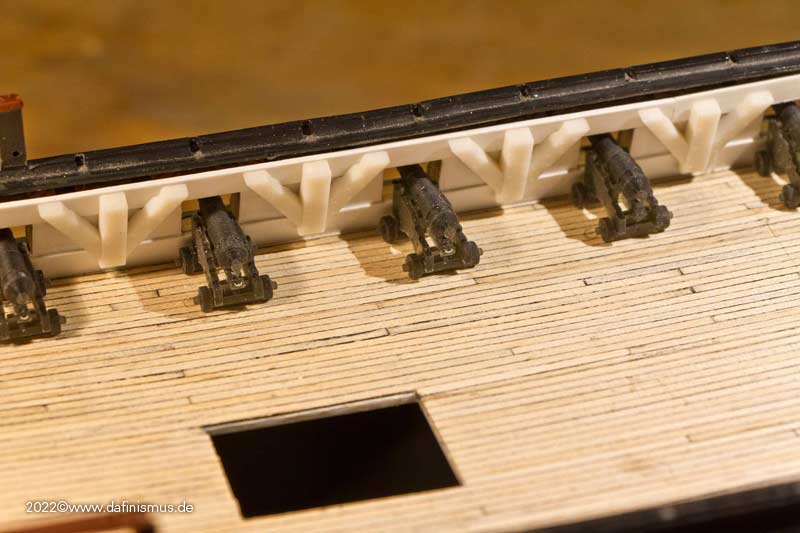
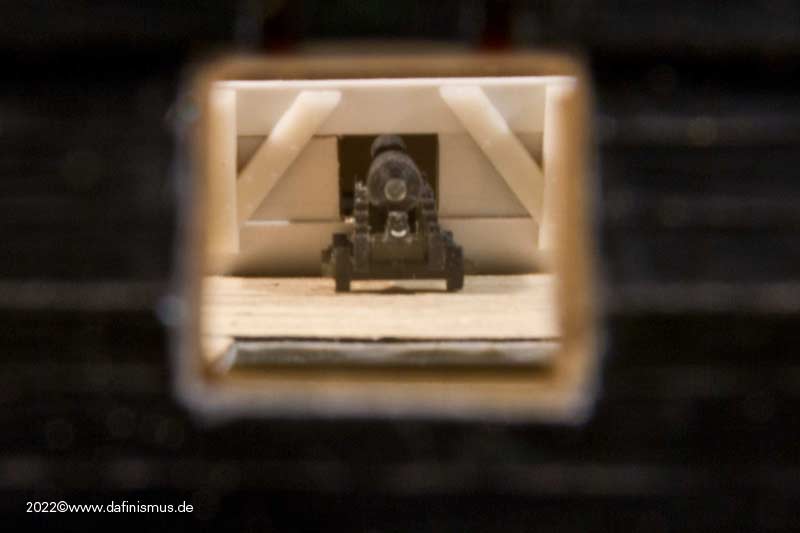
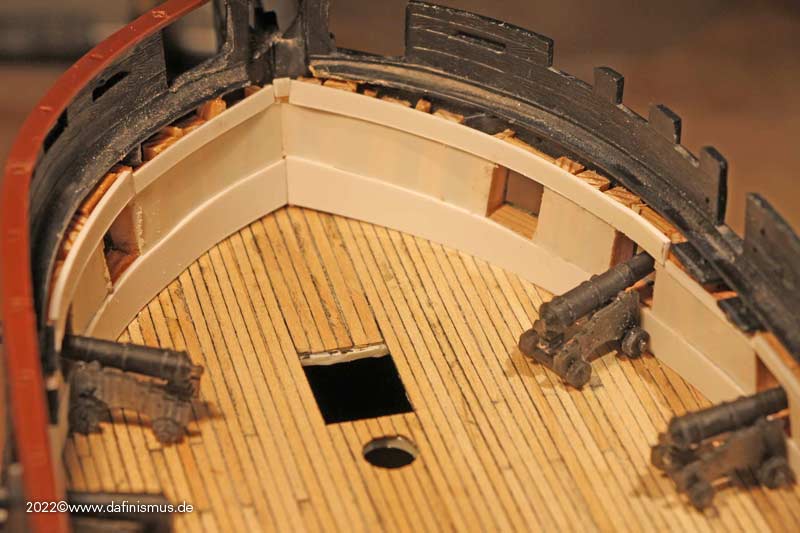
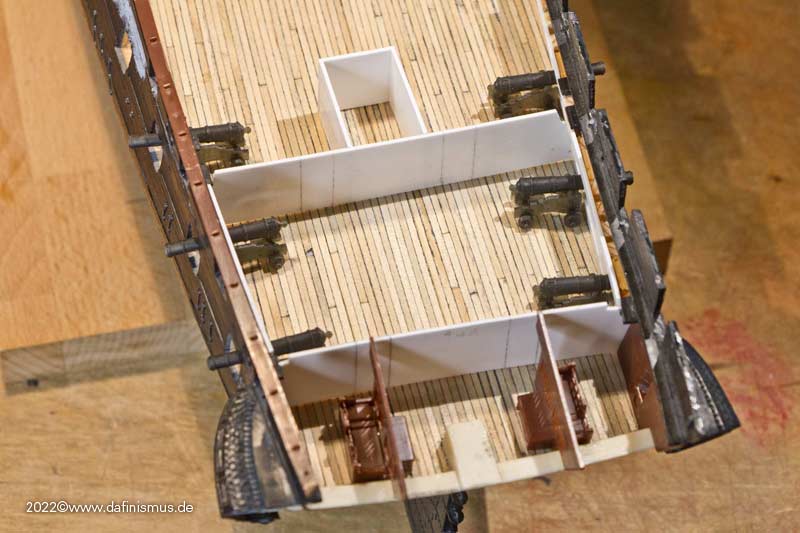
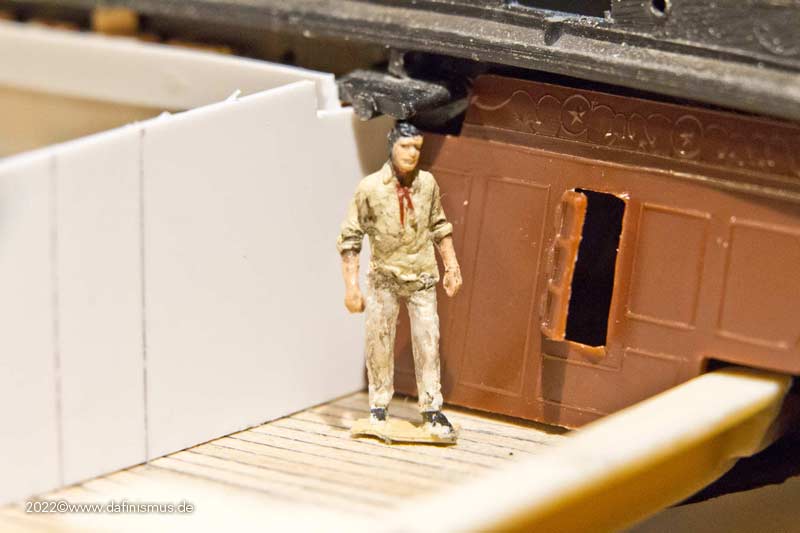
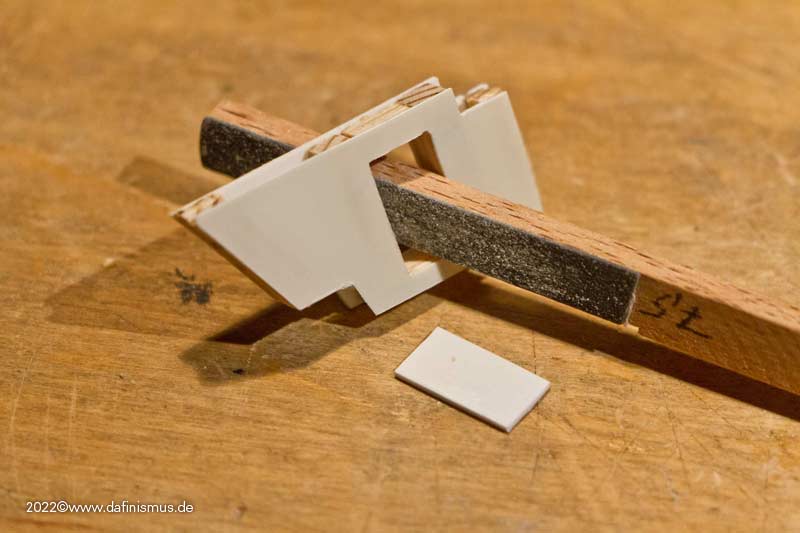
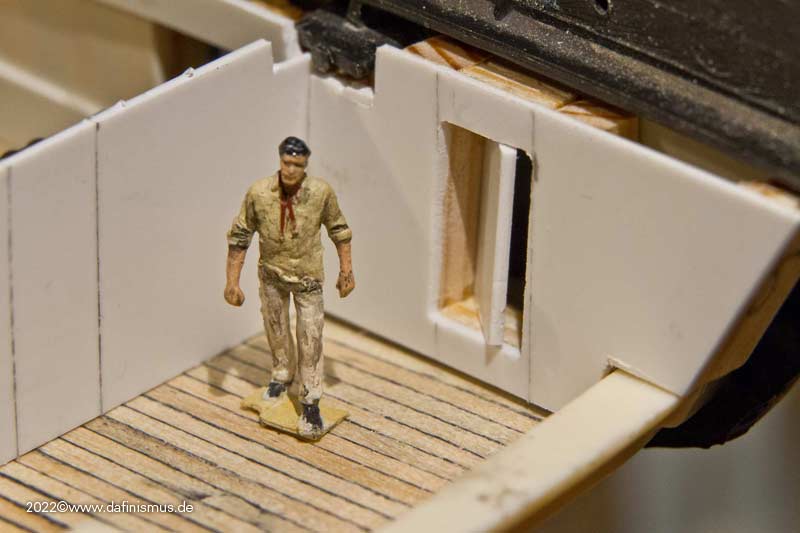
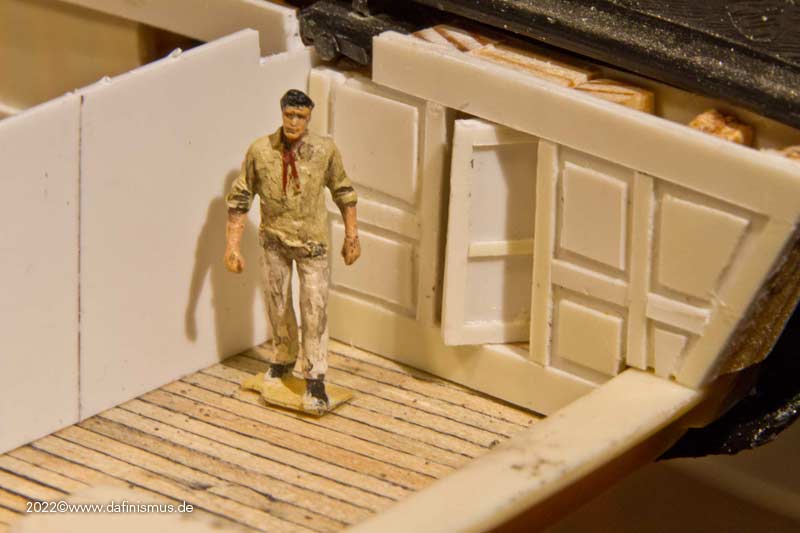
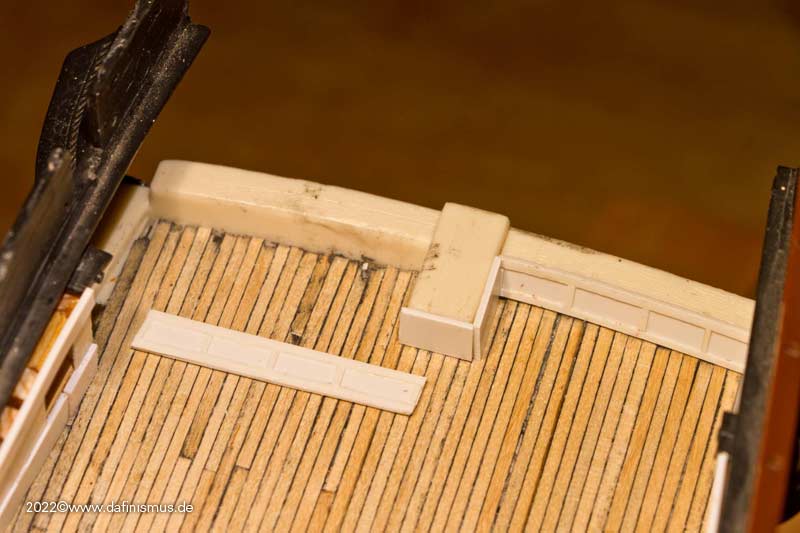
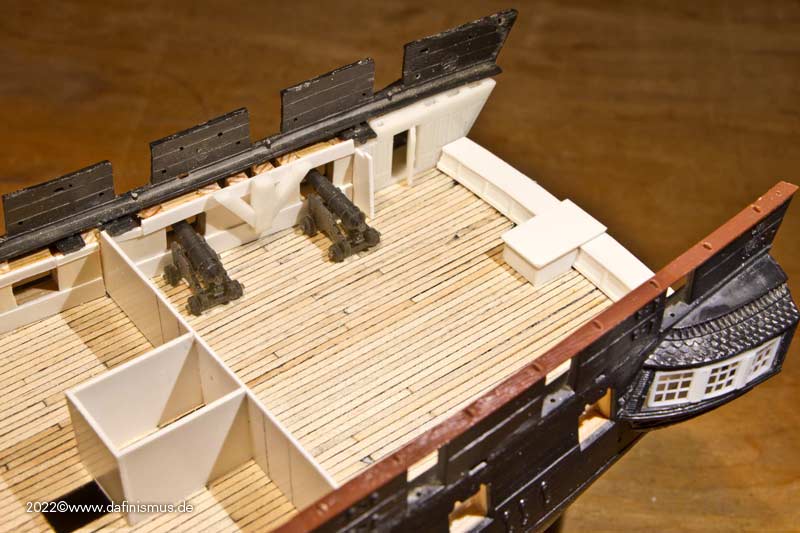
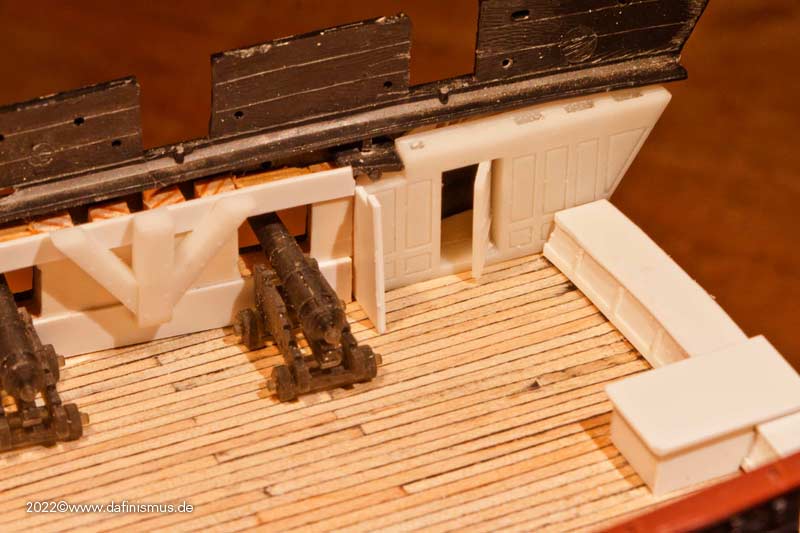
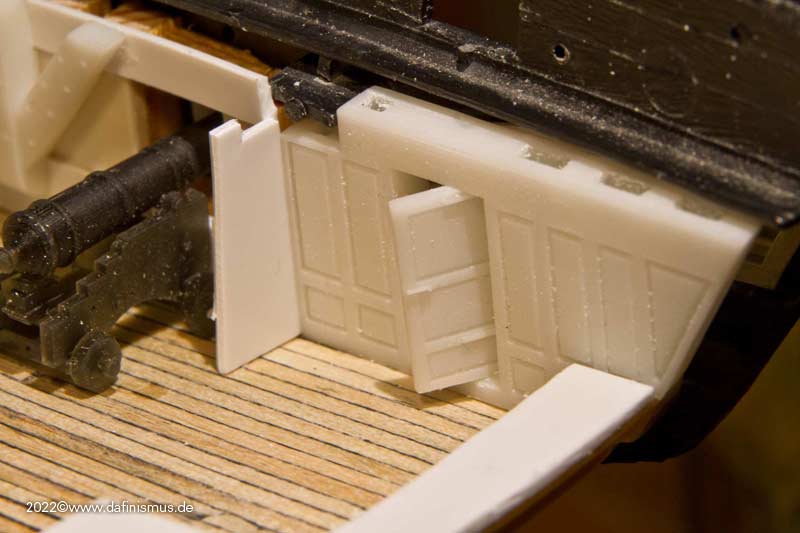
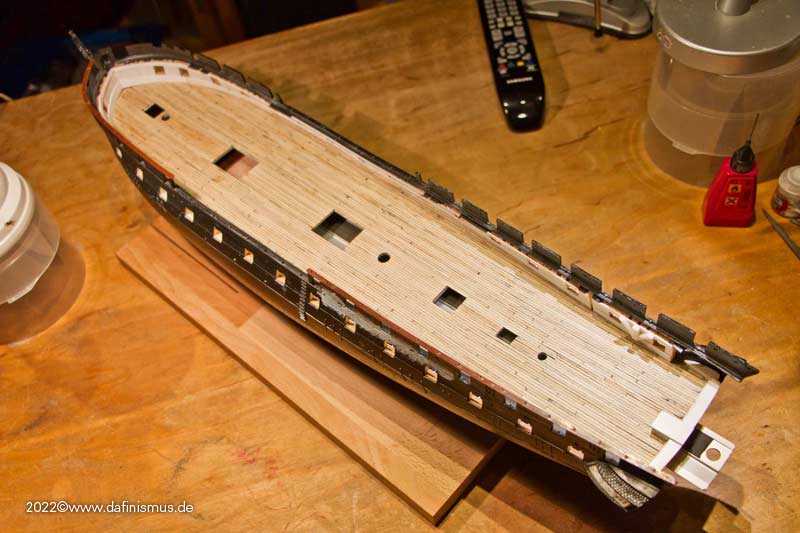
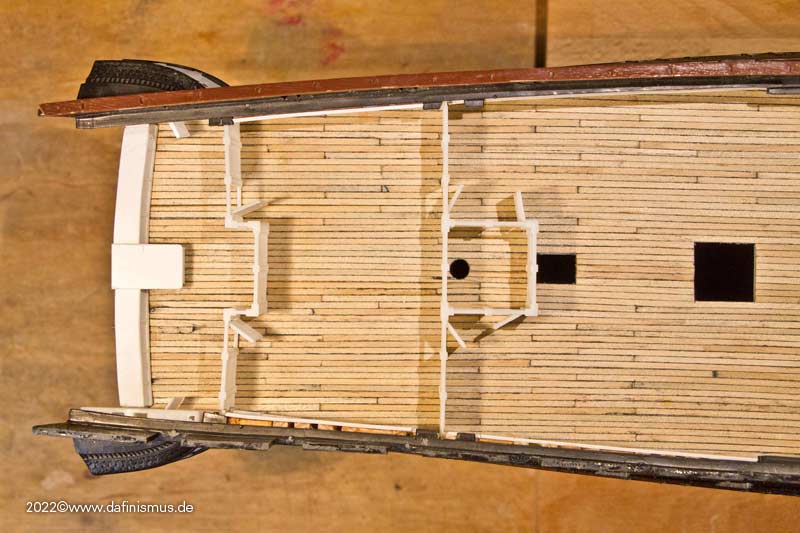
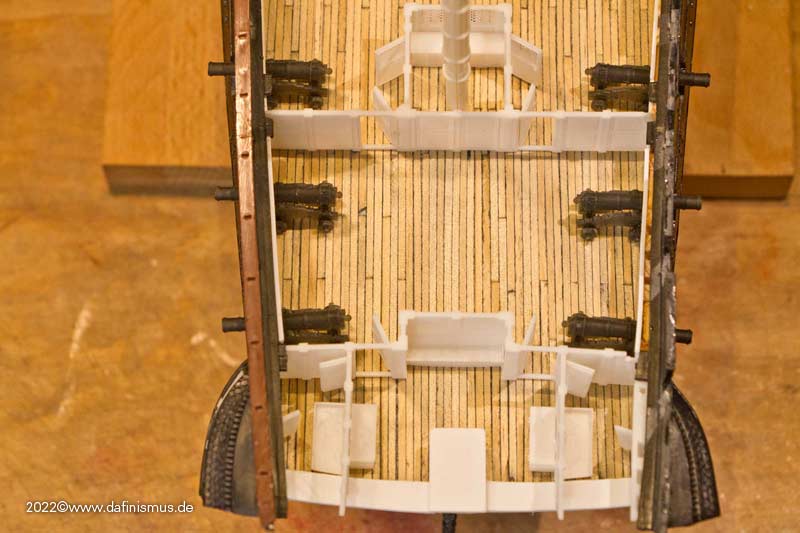
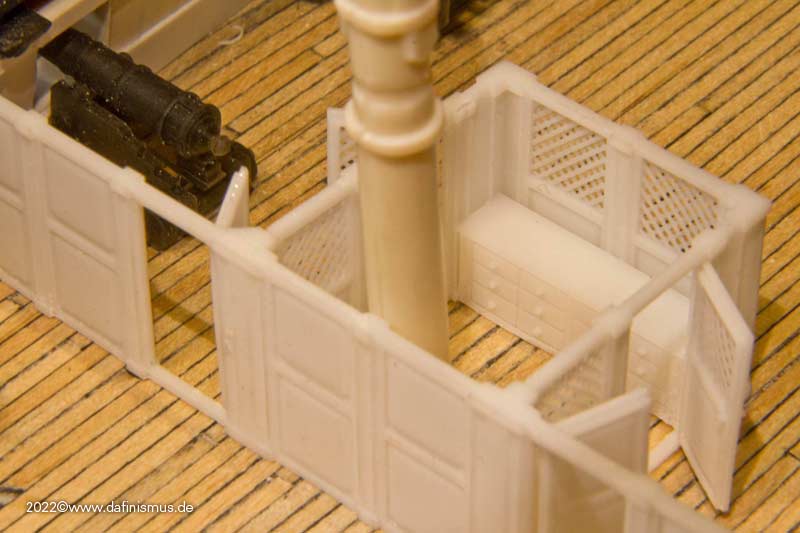
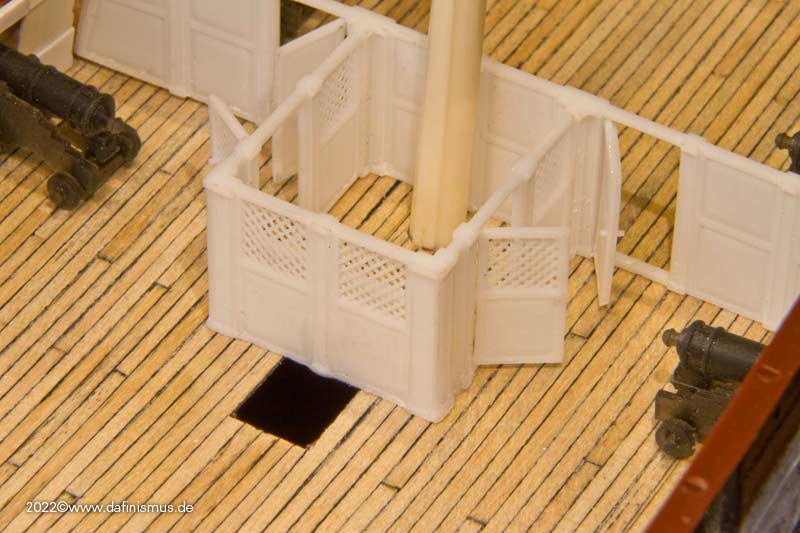
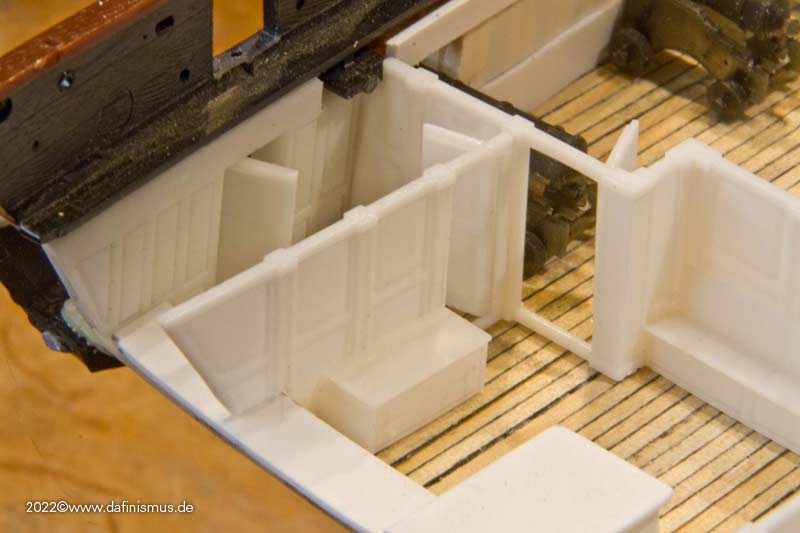
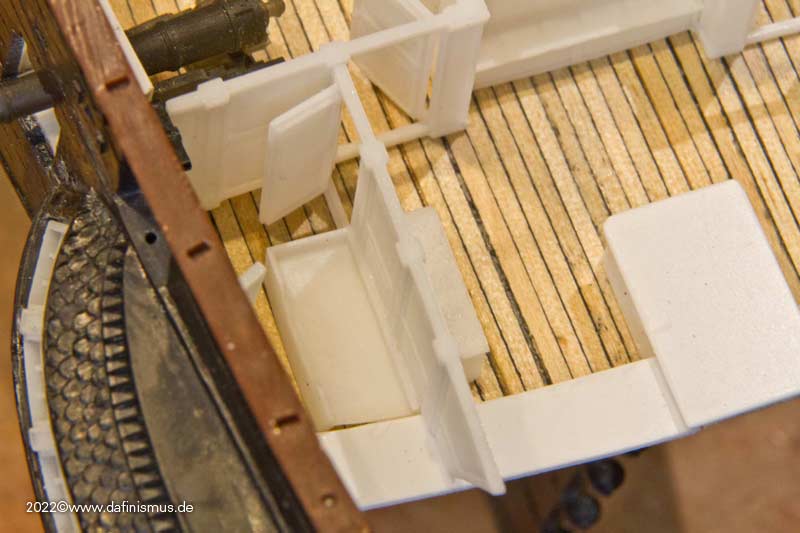
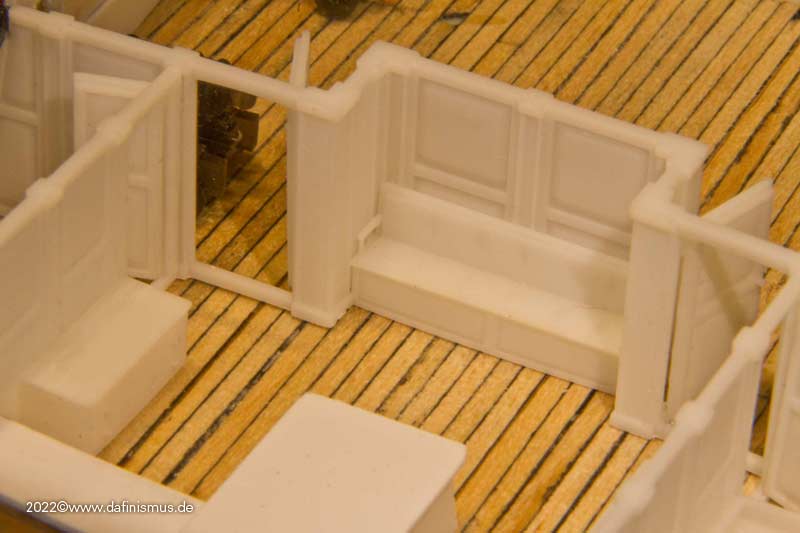
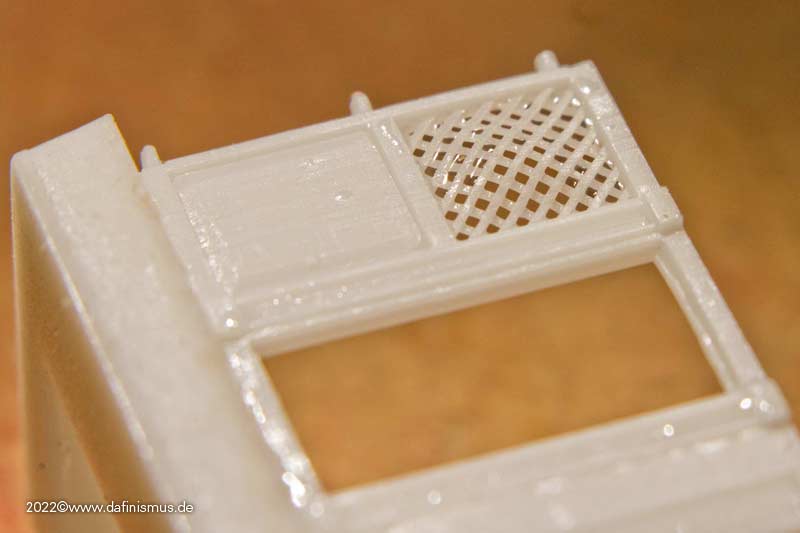
I'll come back to the Battle Station later to still add some life. But it was time to do some stretching.
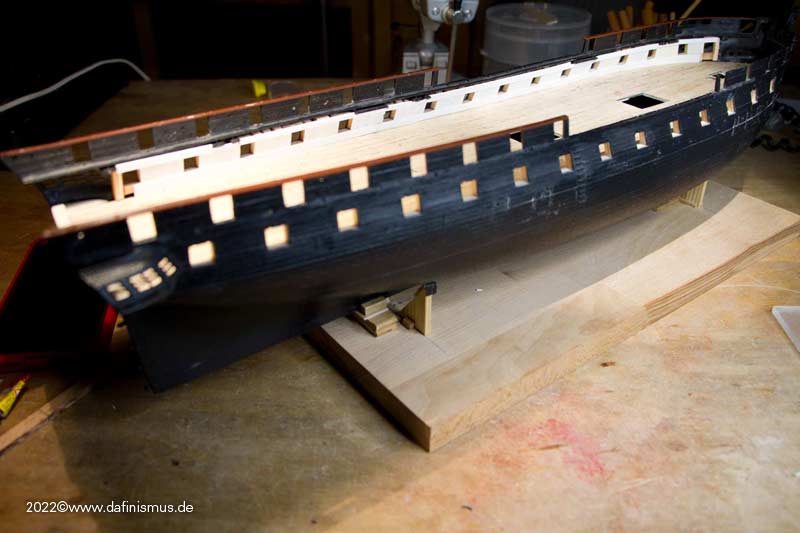
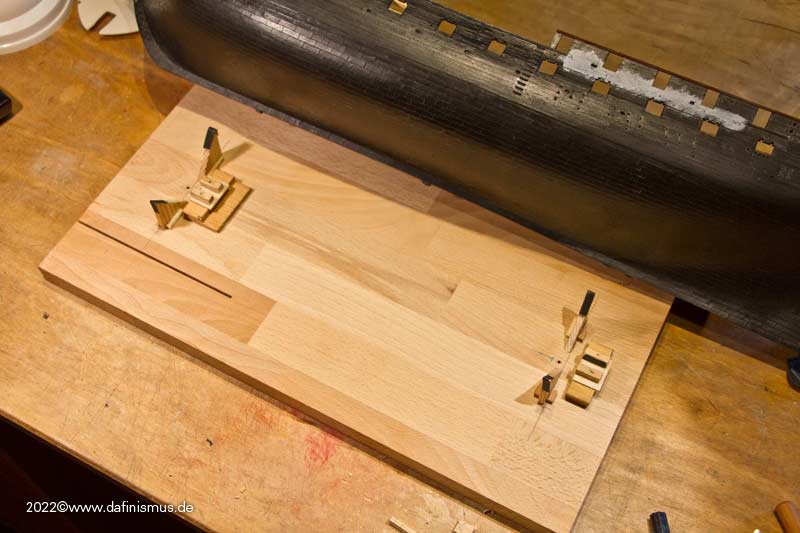
First off, built a sturdy stand.
Then came bondage. The hull is unfortunately so warped, that here rougher force in the form of tight lacing had been necessary.
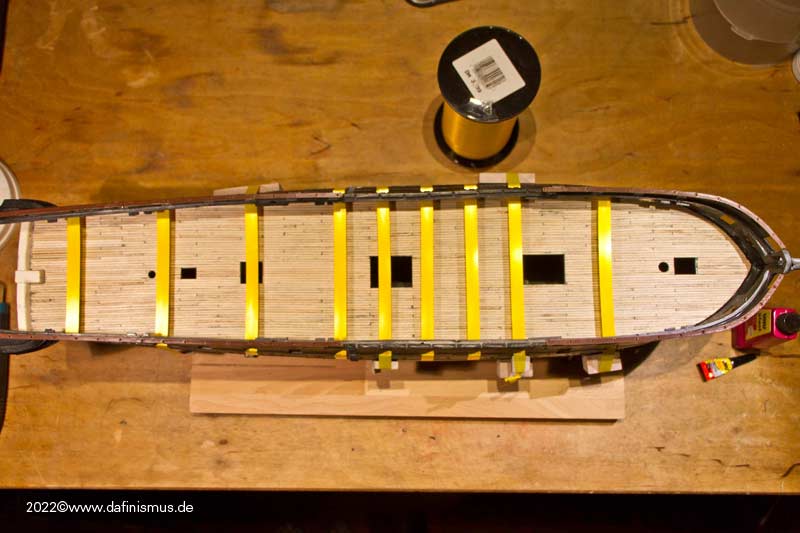
The lacing allowed me to spread the load better. Still, later the hull partially burst open again, so the rougher tools came into play. Result was that it finally lasted ...
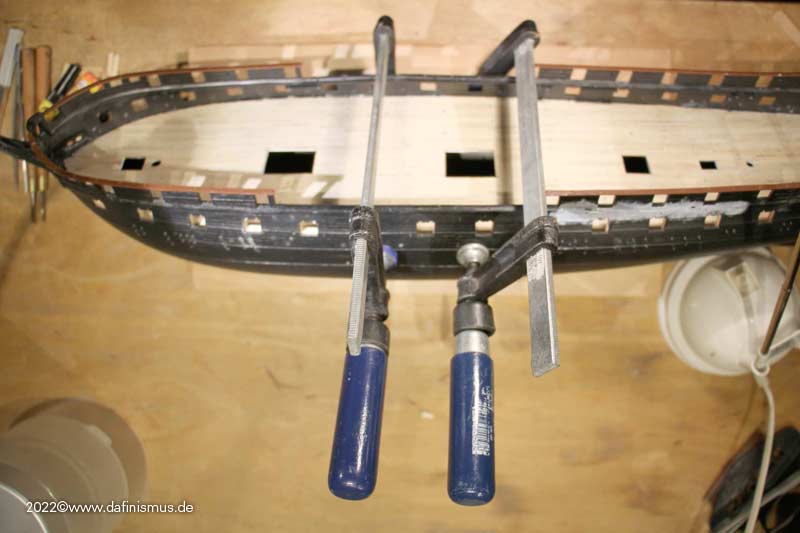
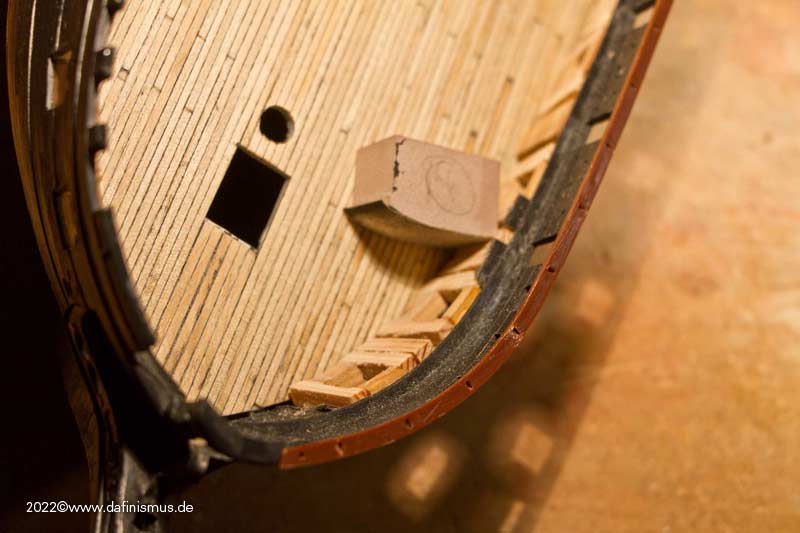
... but as collateral damage the hull had become quite wavy. Later on, the insertion of the upper deck will be a even-ing challenge ;-) (Mark the bun!)
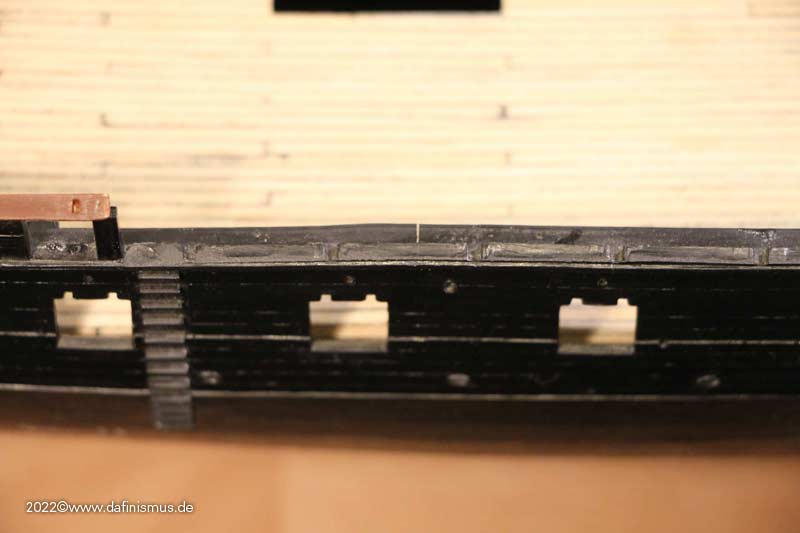
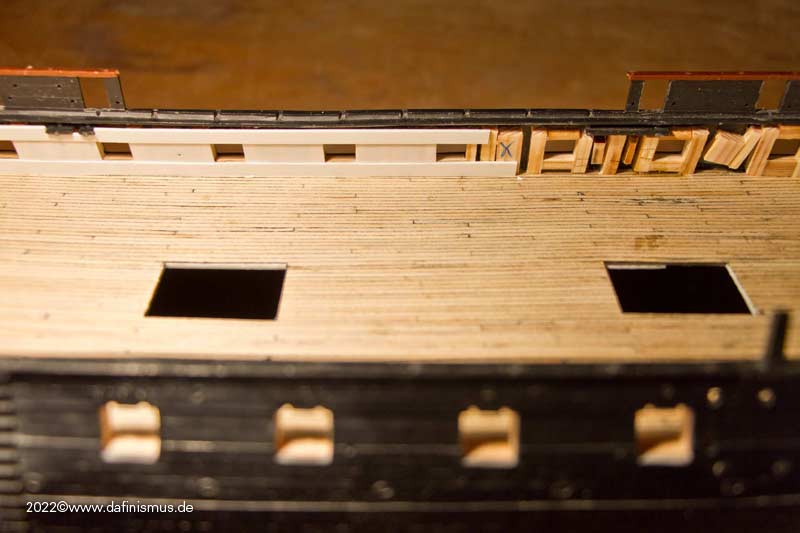
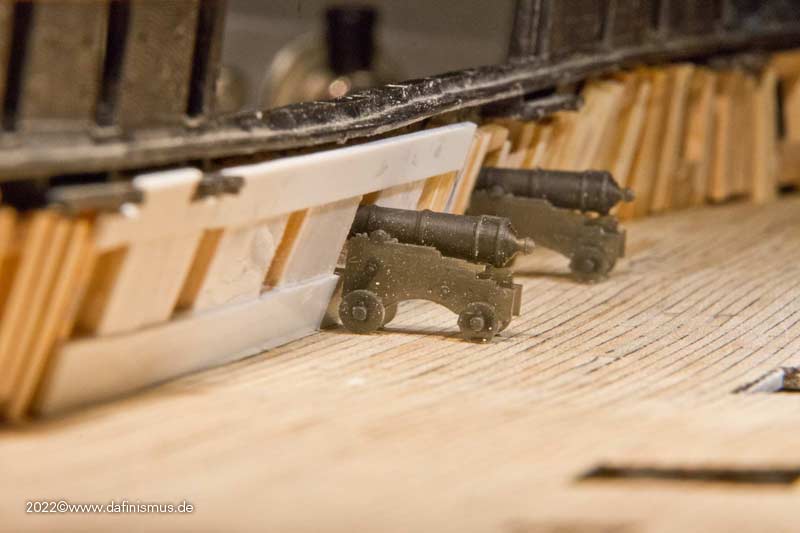
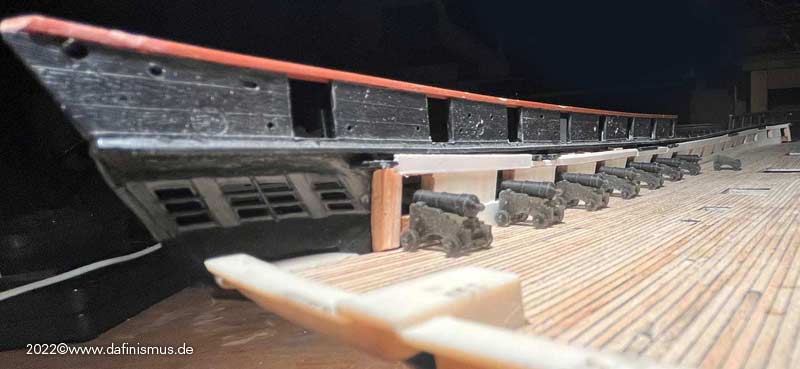
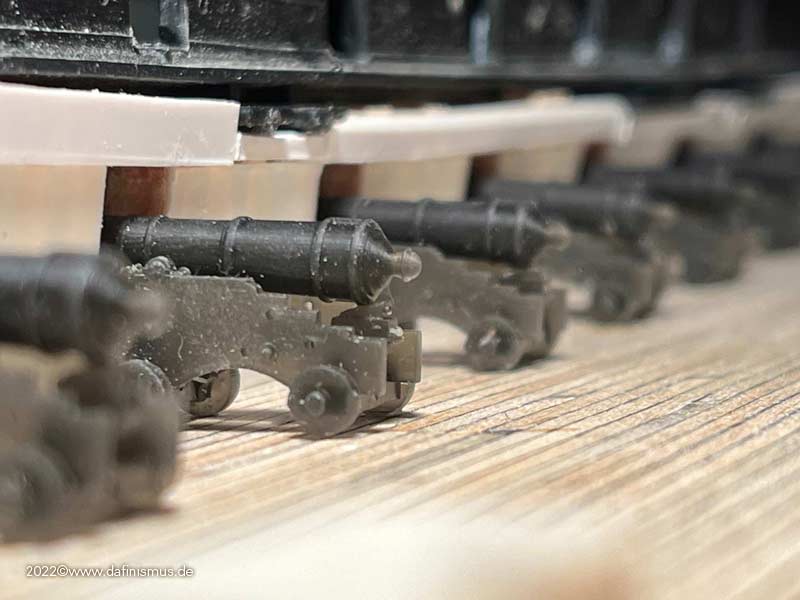
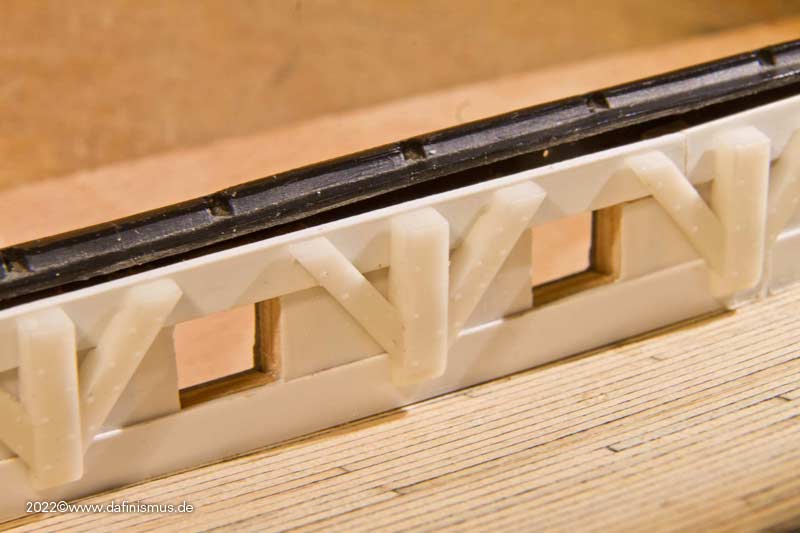
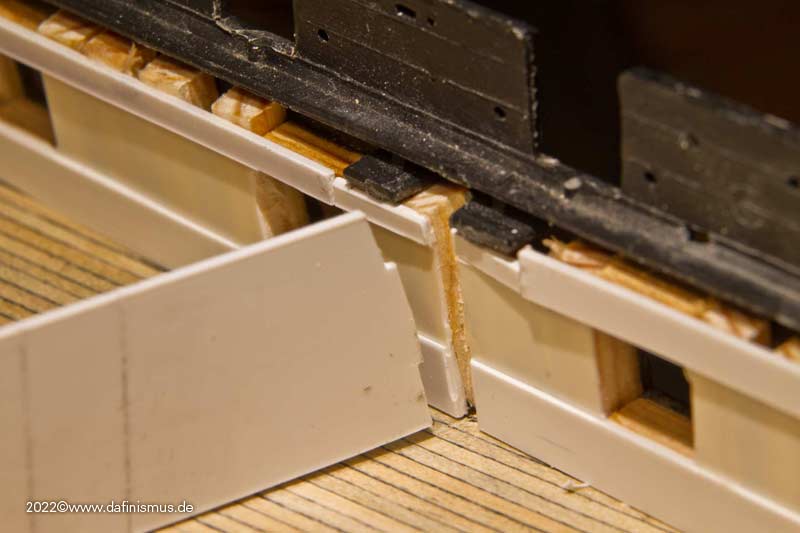
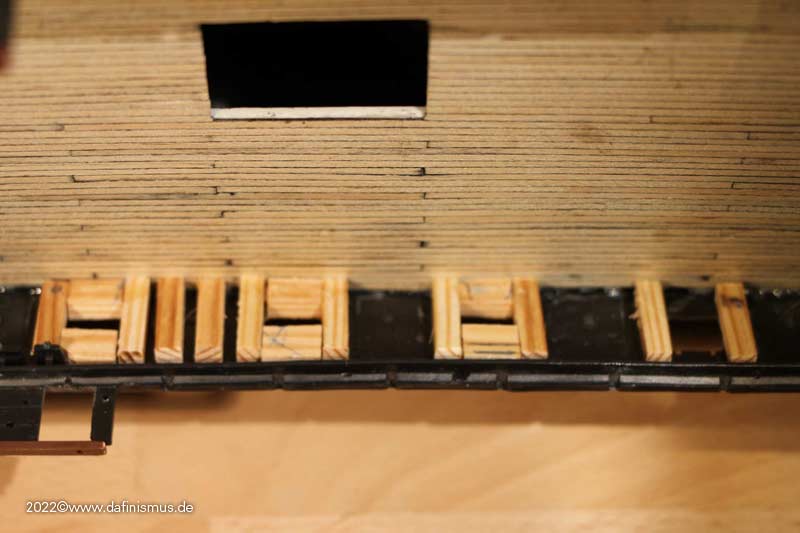
The next step was to double up the ship's side. This makes the difference between the appearance as a classic plastic kit and upscale modeling appearance. Built up a small stop to do the doubling.
Then glued inside 4 mm battens against the stop.
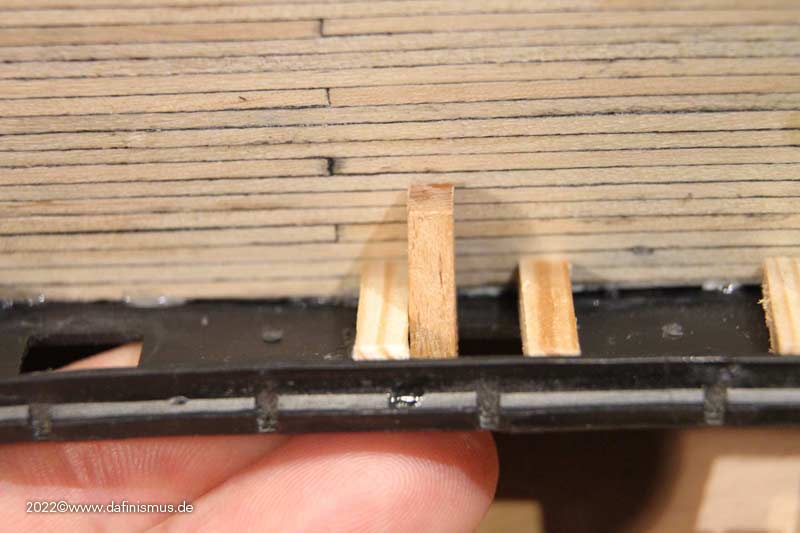
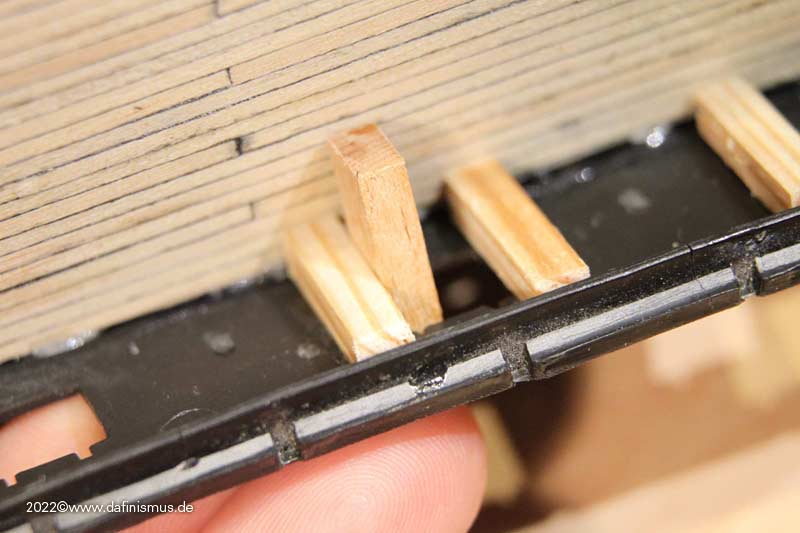
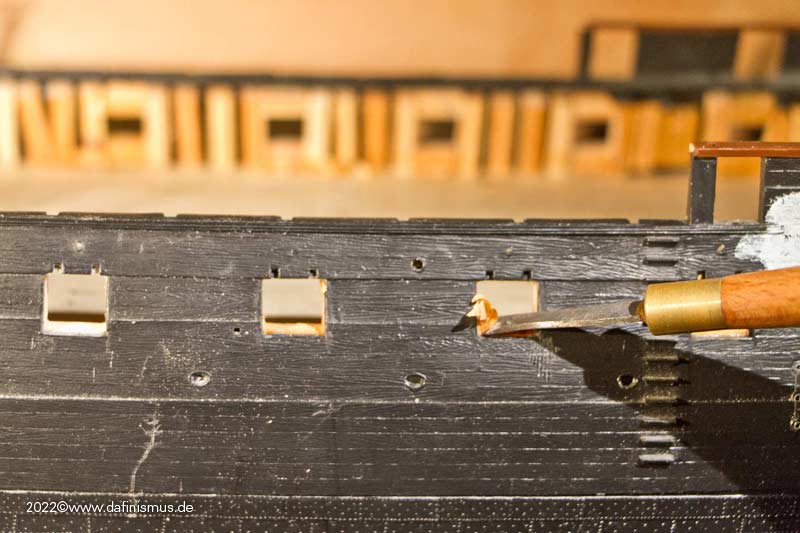
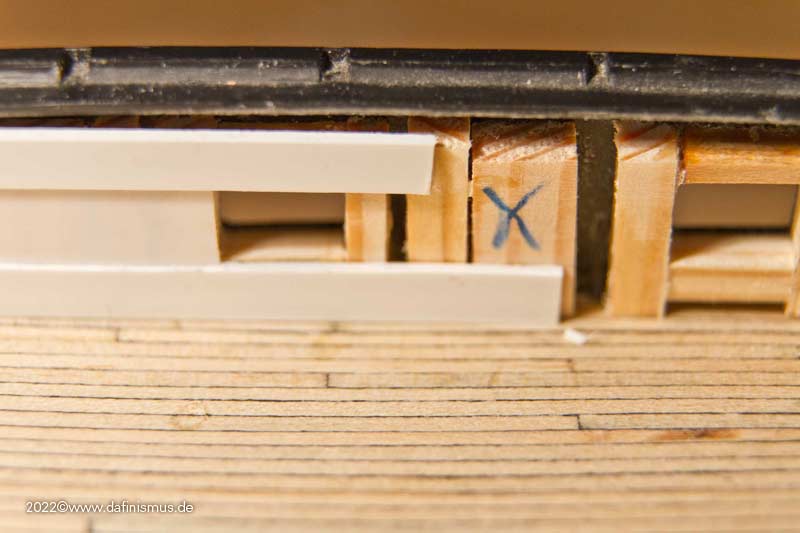
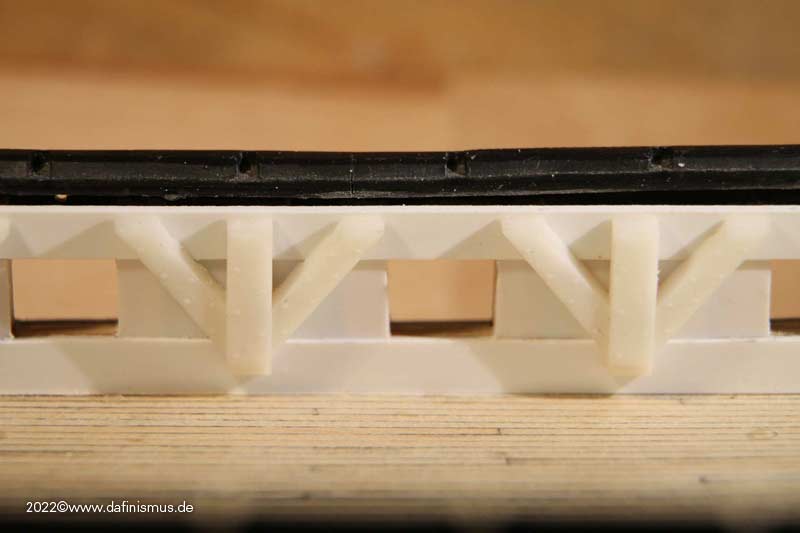
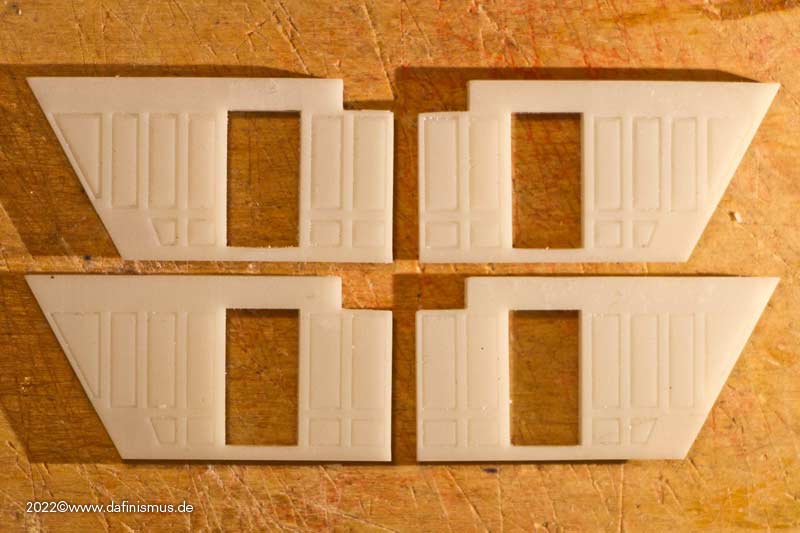
Then inserted the sills at the top and bottom, making sure that there is enough overhang in each case. The space between these port frames was also filled with battens.
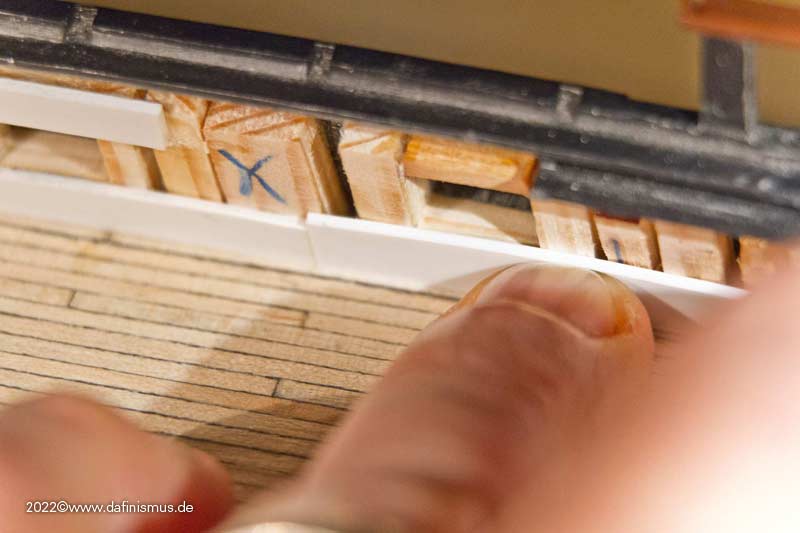
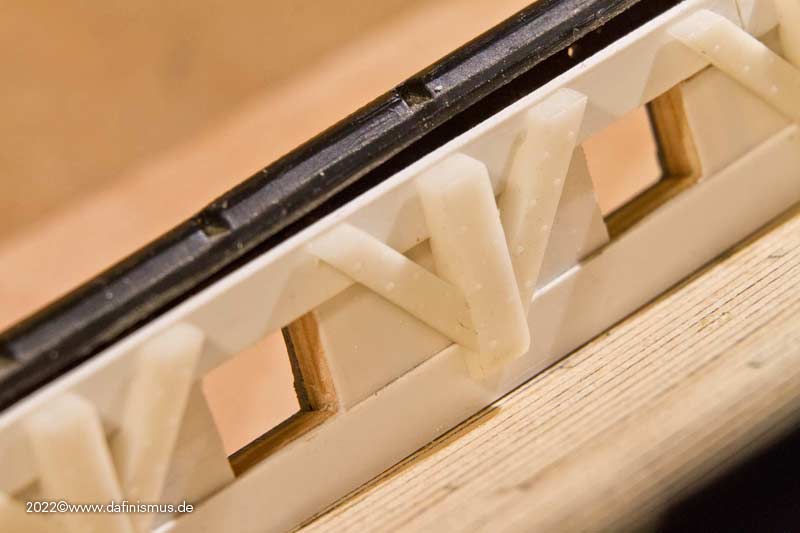
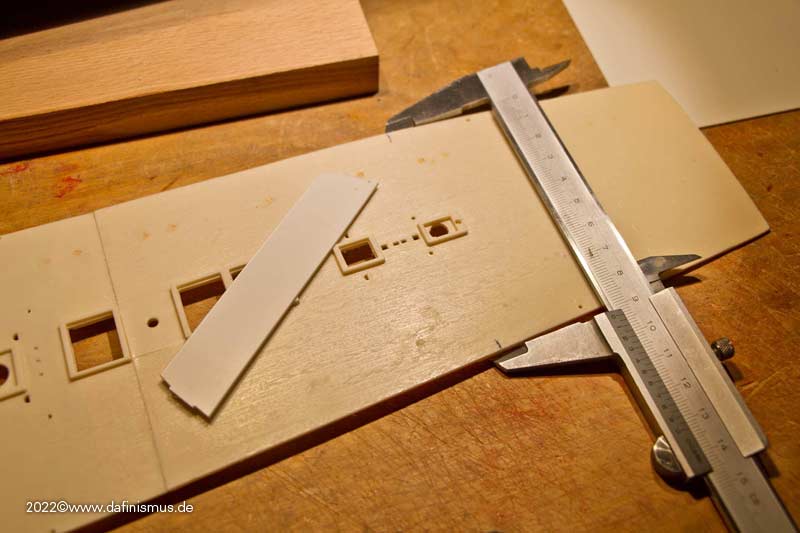
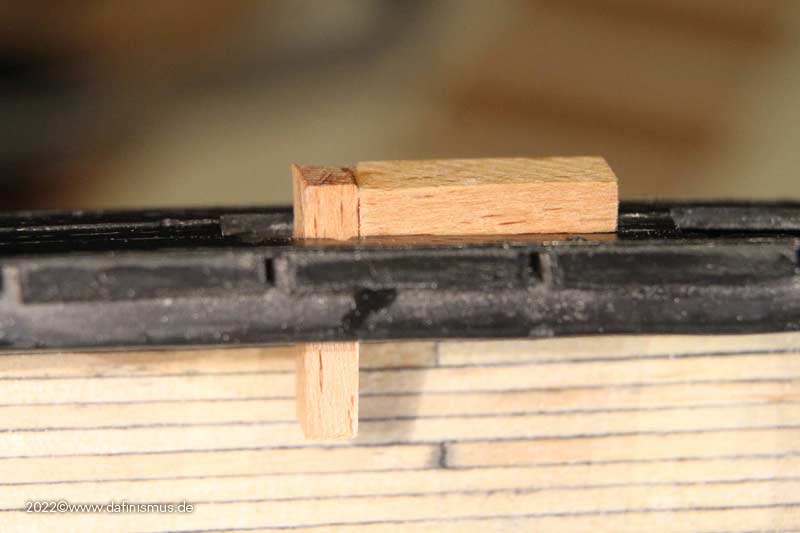
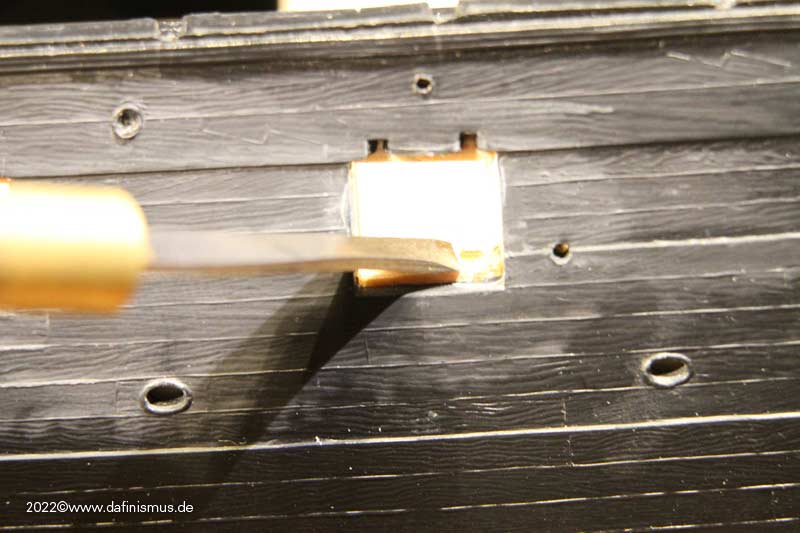
If there is too much protrusion of the sills, this is first minimized them with a sharp tool.
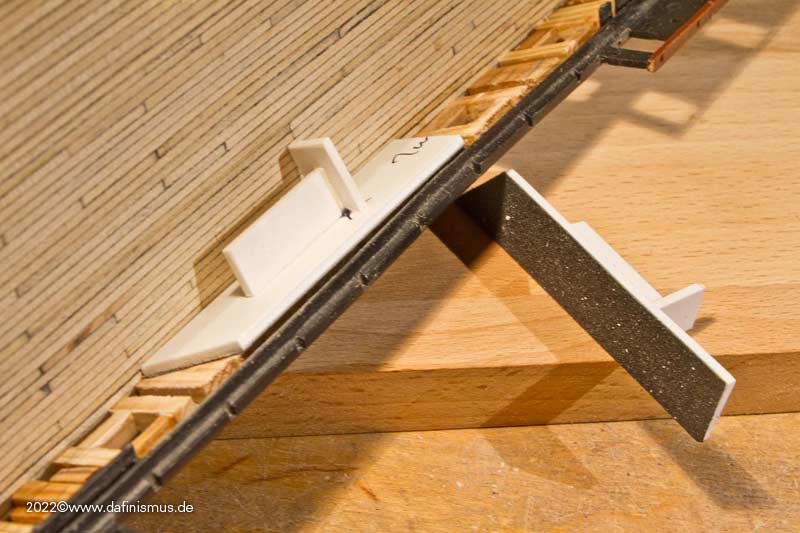
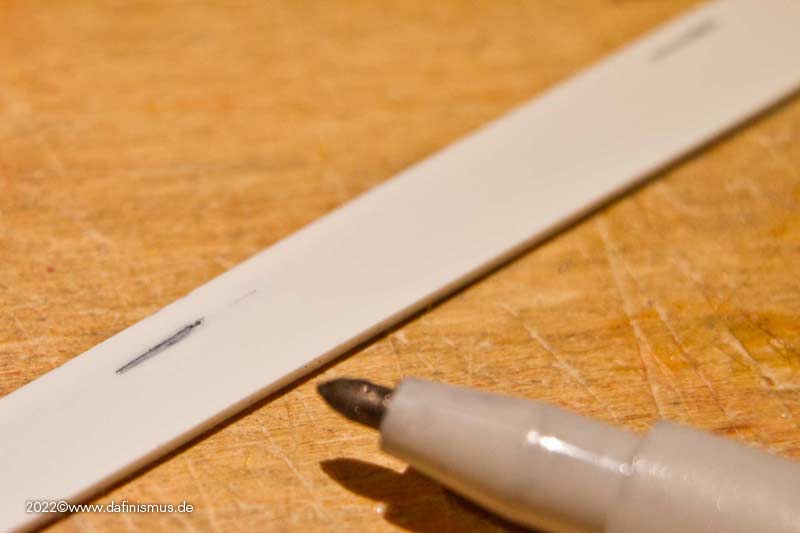
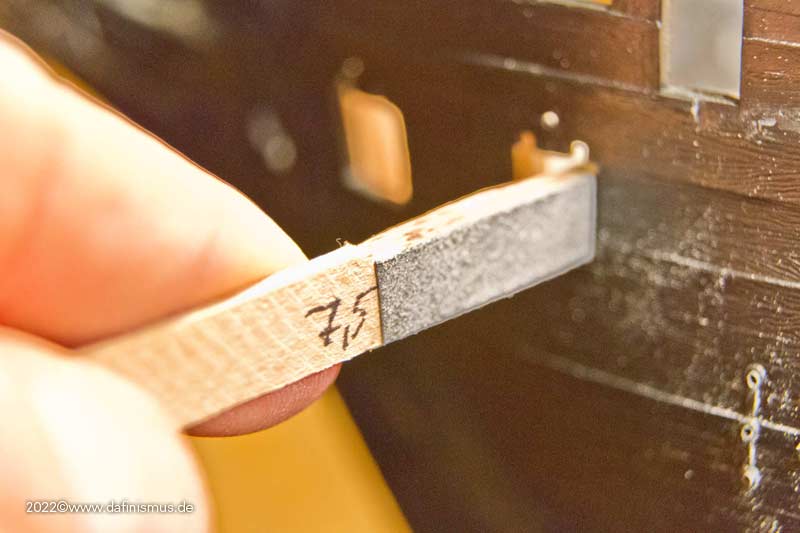
Then cut a flat batten to sand down the remaining overhang at the top/bottom, with minimal undersize in the sanding area and slightly more on the opposite side port. Taped 240 grit sandpaper to it with double sided tape, that fits well with my rather soft battens.
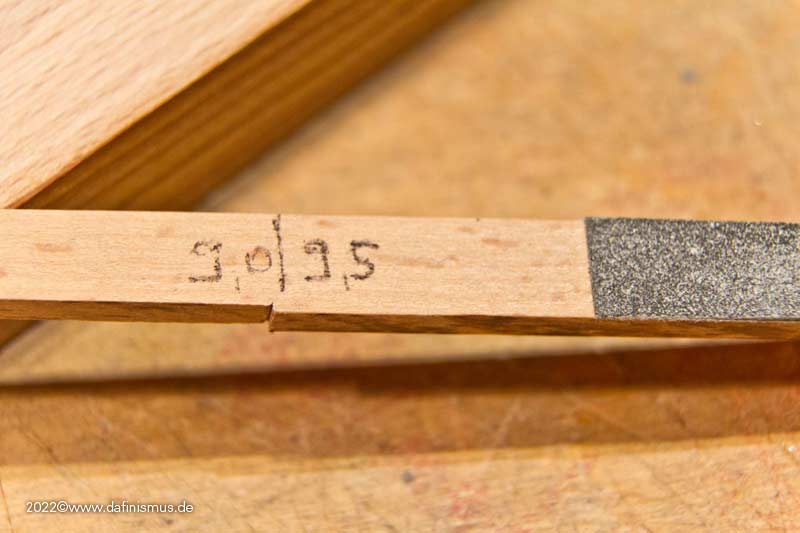
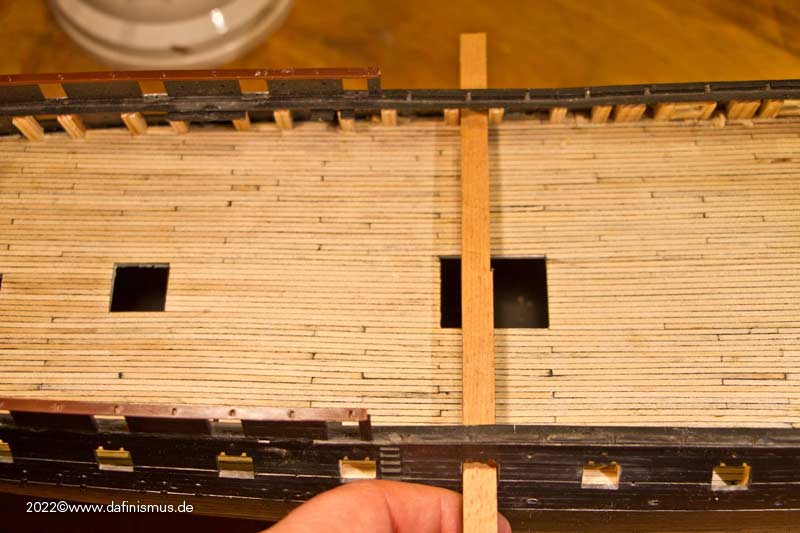
The strip is passed through the port on the opposite side, this gives an even horizontal angle.
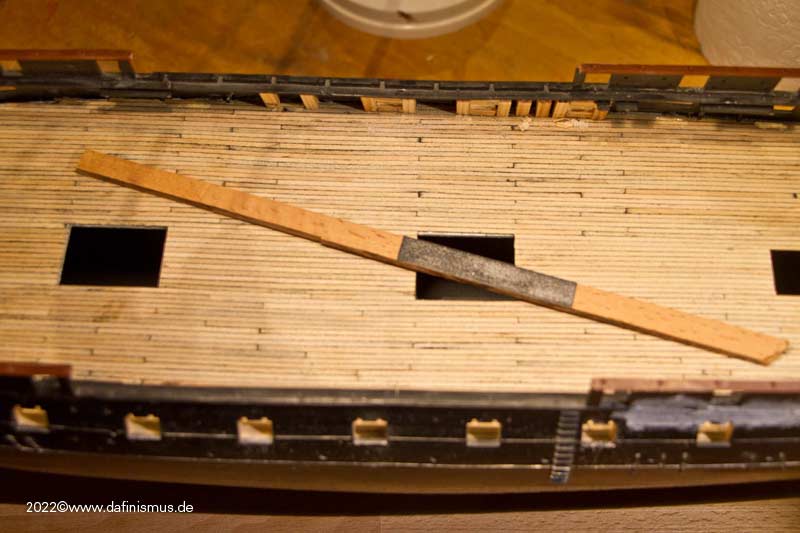
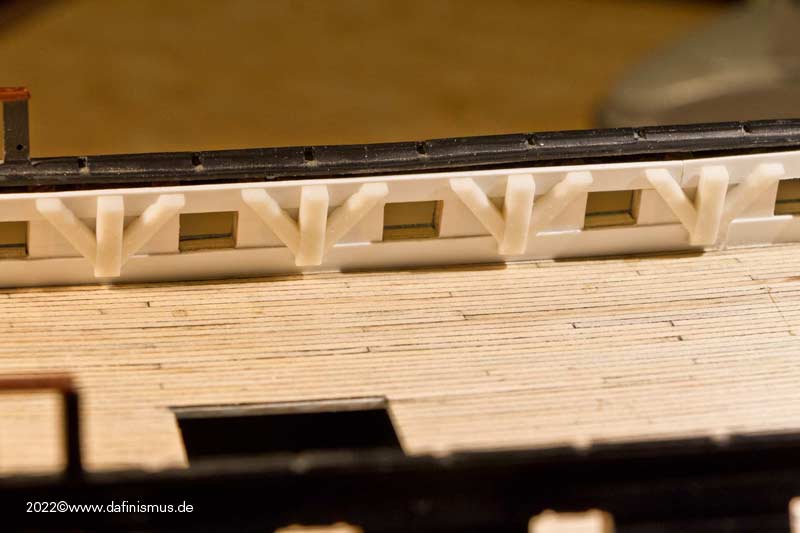
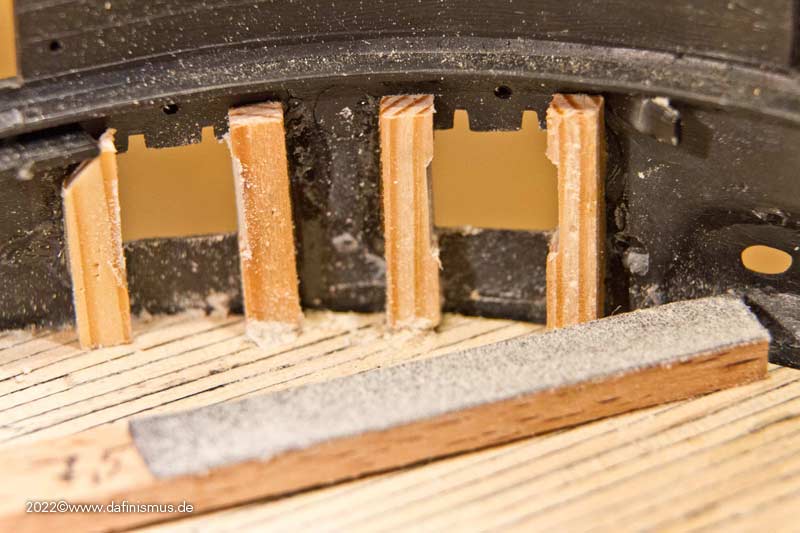
Then sanded the sill on top ...
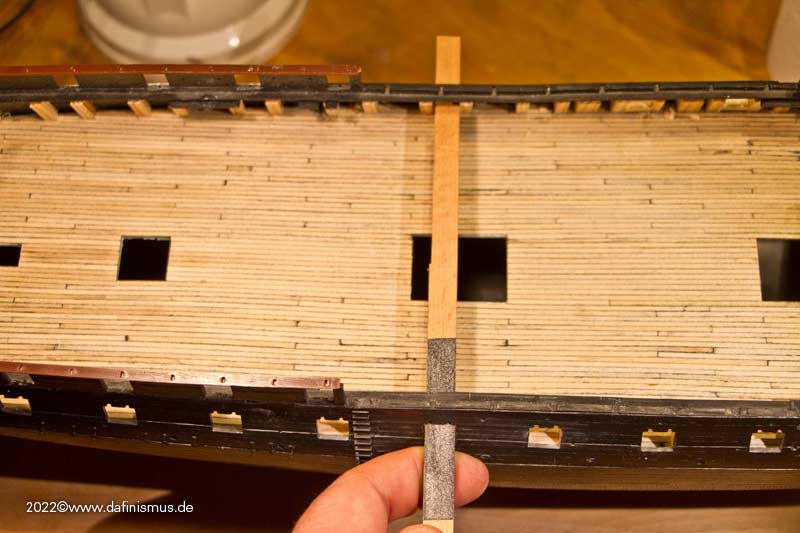
... turned the batten over and sanded the bottom sill.
Prepared another sanding strip for the sides ...
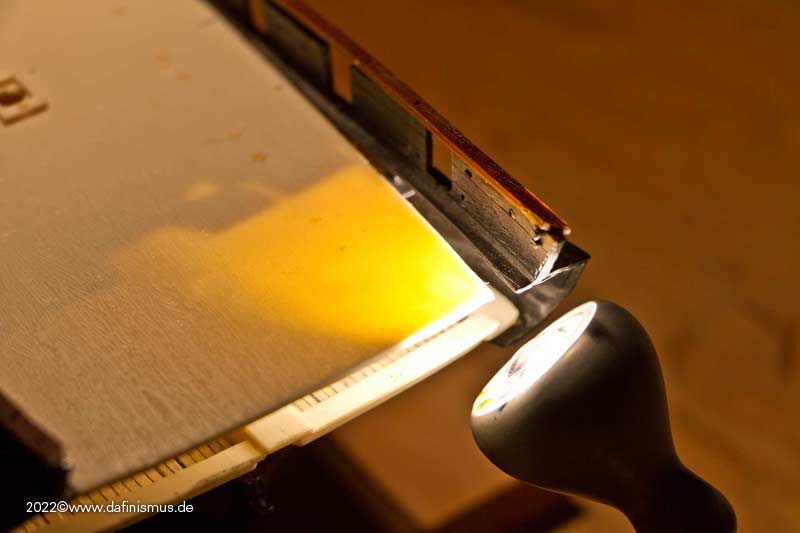
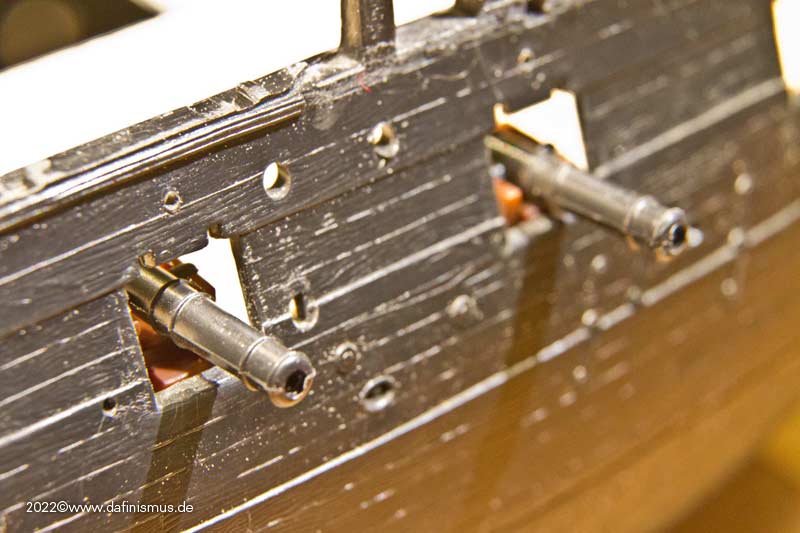
... especially in the bow area at the idle ports, some rework is needed because of the strong bend.
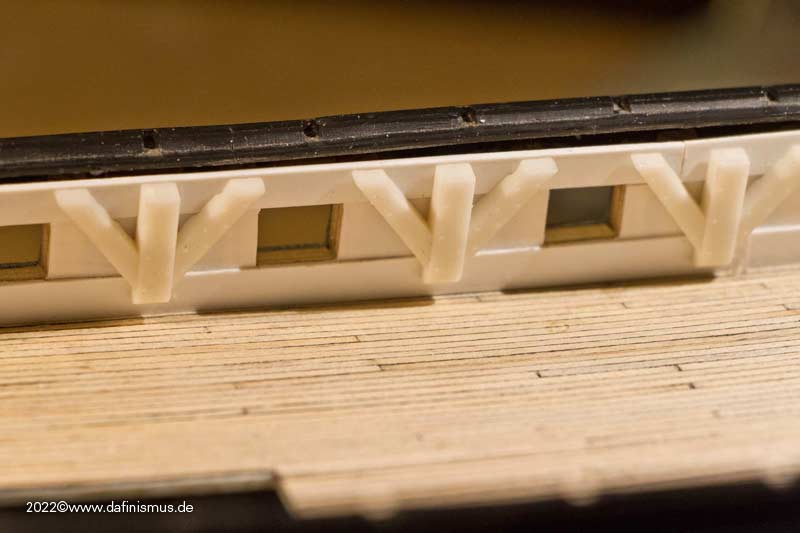
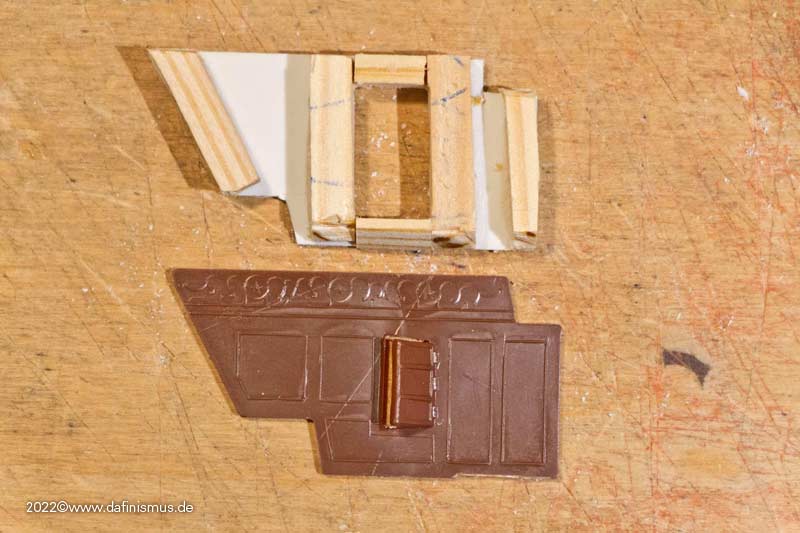
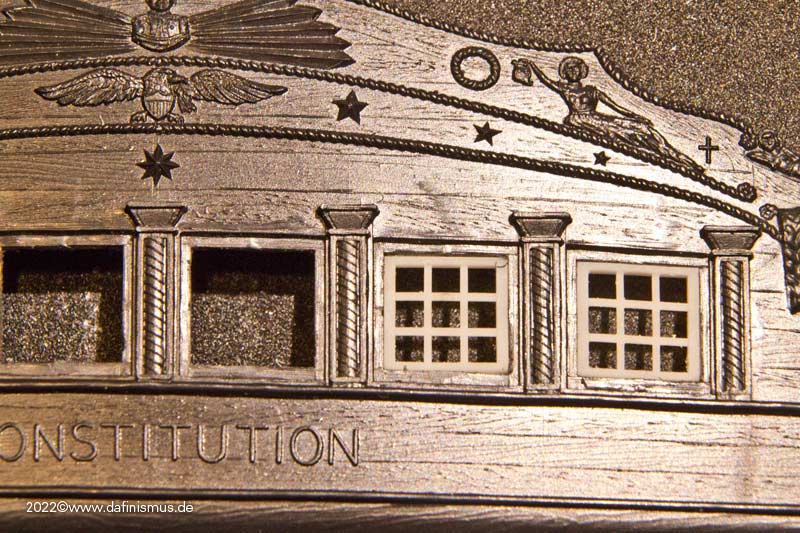
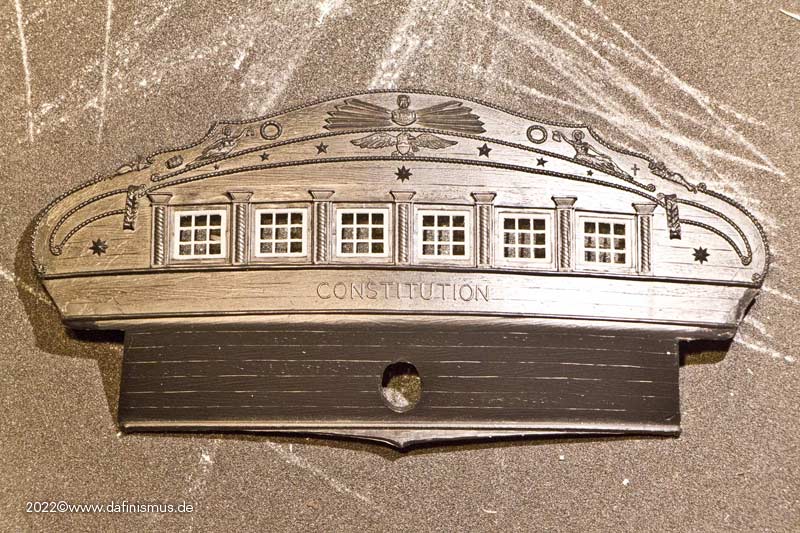
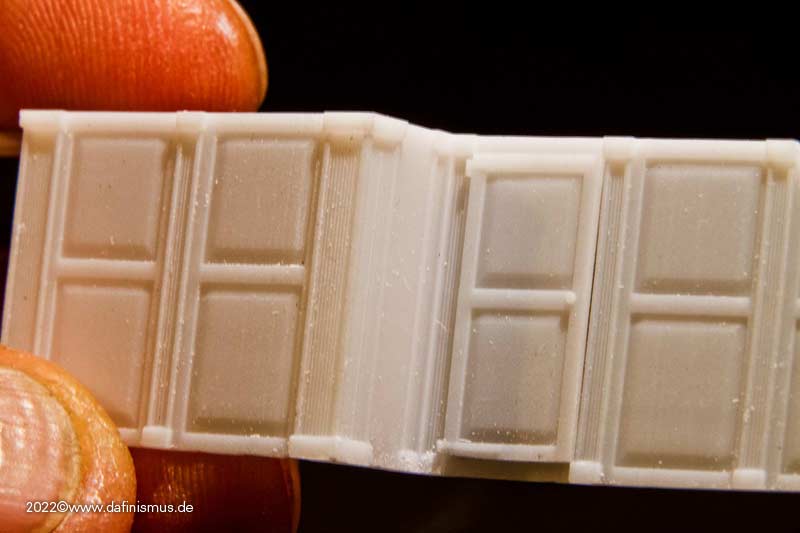
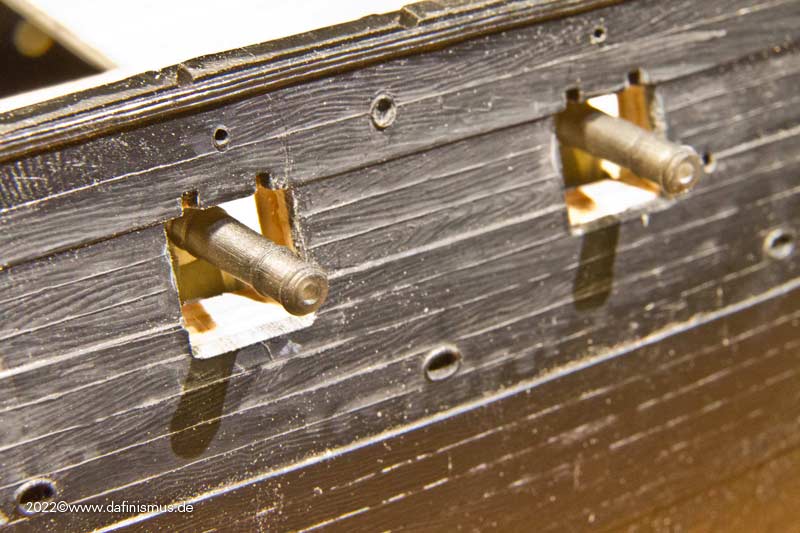
And this you get as comparison: original version Revell ...
... and the revised version")
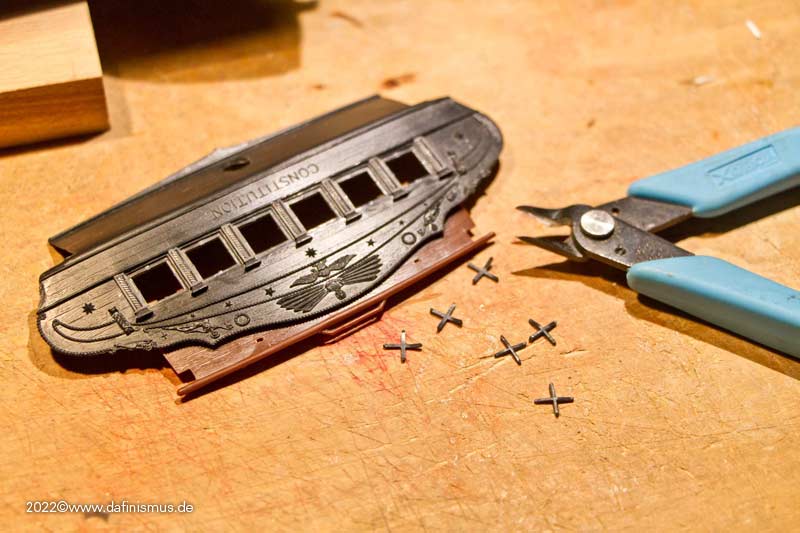
XXXDAn
First off, built a sturdy stand.
Then came bondage. The hull is unfortunately so warped, that here rougher force in the form of tight lacing had been necessary.
The lacing allowed me to spread the load better. Still, later the hull partially burst open again, so the rougher tools came into play. Result was that it finally lasted ...
... but as collateral damage the hull had become quite wavy. Later on, the insertion of the upper deck will be a even-ing challenge ;-) (Mark the bun!)
The next step was to double up the ship's side. This makes the difference between the appearance as a classic plastic kit and upscale modeling appearance. Built up a small stop to do the doubling.
Then glued inside 4 mm battens against the stop.
Then inserted the sills at the top and bottom, making sure that there is enough overhang in each case. The space between these port frames was also filled with battens.
If there is too much protrusion of the sills, this is first minimized them with a sharp tool.
Then cut a flat batten to sand down the remaining overhang at the top/bottom, with minimal undersize in the sanding area and slightly more on the opposite side port. Taped 240 grit sandpaper to it with double sided tape, that fits well with my rather soft battens.
The strip is passed through the port on the opposite side, this gives an even horizontal angle.
Then sanded the sill on top ...
... turned the batten over and sanded the bottom sill.
Prepared another sanding strip for the sides ...
... especially in the bow area at the idle ports, some rework is needed because of the strong bend.
And this you get as comparison: original version Revell ...
... and the revised version
XXXDAn