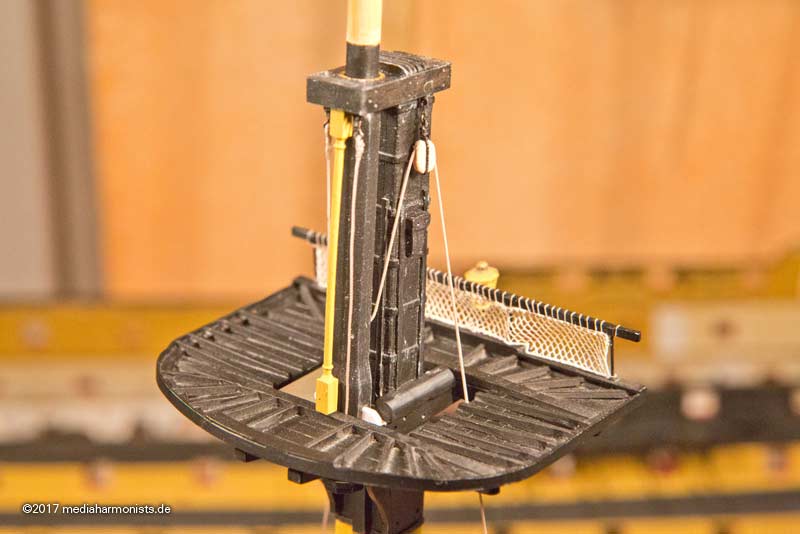
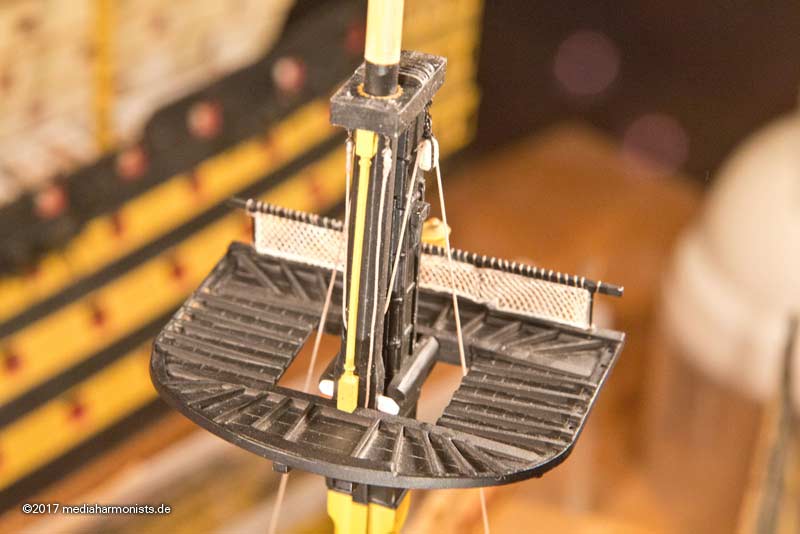
And the next stage was already on the agenda, I had just glued the fightig top onto the trestle trees when I remembered all the blocks that were needed underneath ...
... so I quickly tore the fightig top off and removed the glue residue. Well, that's the way it always goes with me.
At least 4 small single blocks for the leech line and two double blocks for the buntlines have to go under there. But as I can't say for sure that that's all there is - as always, there are very many different sources - I have also fitted the other suspension points with blocks. But cutting them off is always easier than retrofitting them once all other things are installed.
Based on the tests I had already presented some time ago, the first block still took just as long as the other eleven. But I had to develop a good strategy for them.
First, I pressed the block onto a needle as usual and stropped it in. I secured the strop well with glue and only cut off the short end of the strop, but not the seizing ends.
Then tie the remaining long leg with the seizing as a loop. The seizing has a double knot, but is not glued so that the loop can move.
A thin thread with slip-through protection is passed through the hole from above ...
... and threads the loop of the block on the underside and ...
... pulls the loop onto the top and secure it temporarily with a wire hook.
Then pull the long leg on the underside to bring the block to the correct length.
Then carefully pull out the wire on the upper side, insert the toggle and tighten it again from below.
Now a drop of glue on the through hole and knot and neaten everything up. Done.
A little hint in between: And always take documentary photos of the rope thicknesses ;-)
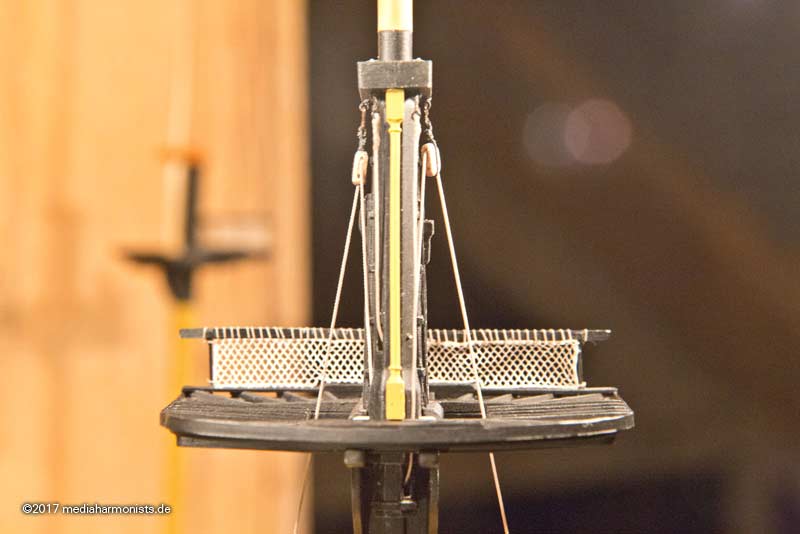
And the result looks like this.
And the exciting moment, the fightig top can finally really be glued in

And then finally: another milestone reached! Even my little Midshipman is happy.
XXXDAn


 " here, strong black coffee with Baileys Irish Cream in it.


