Have fun in Amsterdam and bring us a lot of photos
-

Win a Free Custom Engraved Brass Coin!!!
As a way to introduce our brass coins to the community, we will raffle off a free coin during the month of August. Follow link ABOVE for instructions for entering.
-

PRE-ORDER SHIPS IN SCALE TODAY!
The beloved Ships in Scale Magazine is back and charting a new course for 2026!
Discover new skills, new techniques, and new inspirations in every issue.
NOTE THAT OUR FIRST ISSUE WILL BE JAN/FEB 2026
You are using an out of date browser. It may not display this or other websites correctly.
You should upgrade or use an alternative browser.
You should upgrade or use an alternative browser.
- Joined
- Mar 18, 2021
- Messages
- 338
- Points
- 323

The next thing was of course a matter of heart. Fixing the stay of the foremast was still easy. To avoid having to wrap the thick stay around the bowsprit, a half-sod cable was used twice as a counterpart.
The heart has two side grooves, in the first one the rope was glued in, the length of which I had previously measured with a test piece. Then the rope was looped into the second groove.
The cut of the rope is later elegantly covered by the strapping.
The two loops are then tied together under the bowsprit.
The upper heart on the stay is tied in the classic way like the deadeyes and the excess is lashed on. The excess serves in case the stay has to be spliced.
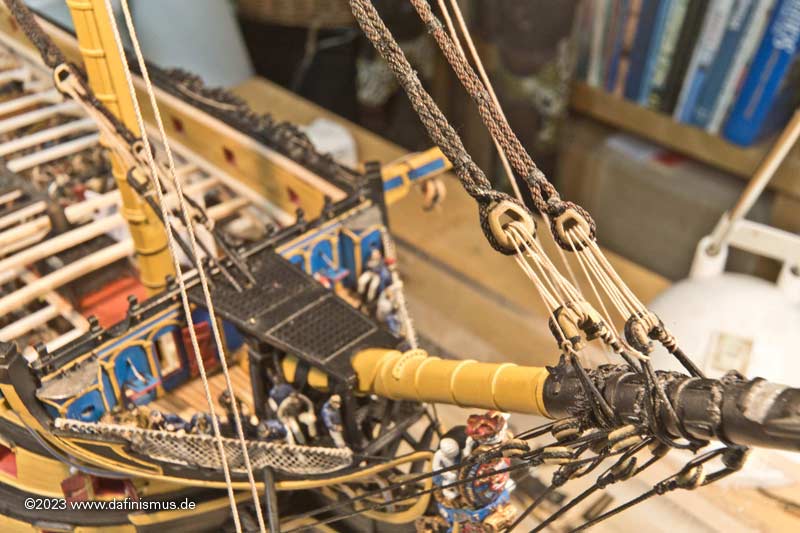
If the stay brakes, the somewhat thinner preventer stay above serves to keep reminders up. Thats why I will later on still sneak them together. A break of the stay has actually happened to the Vic before: On 19.09.1797, the mainstay below the Maus broke in a storm. An auxiliary stay was built from tackles and with a hawser, and the topmast was lowered.
In these pictures I was still wondering about the large distance between the lower hearts and the bowsprit. However, my foolish luck prevented me from shortening them a little. The resolution follows.
It got funny with the two stays of the main mast. As with the gammoning, I didn't want to disturb anyone doing urgent business there. Only this time I had an extremely balky 1.1 mm cable, which had to go through 1.3 mm holes and twice around a right angle.
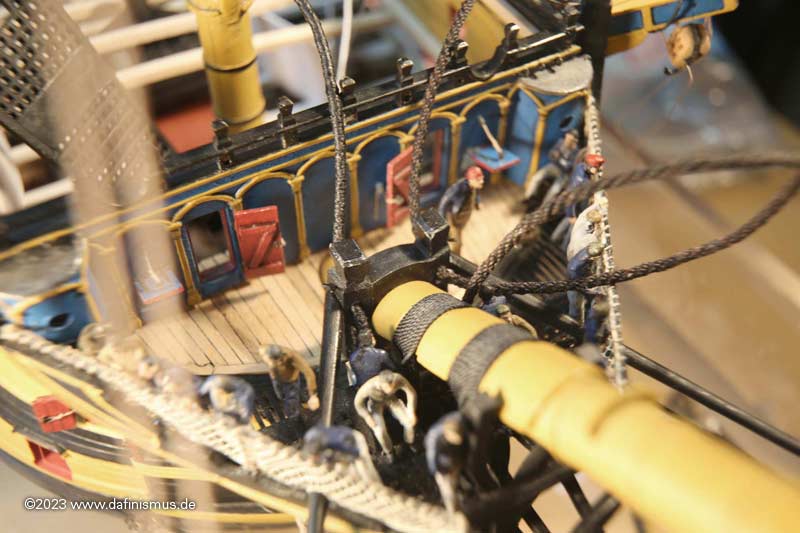
The Großborgmain preventer stay was also delightful. First of all, finding the right length on the model ...
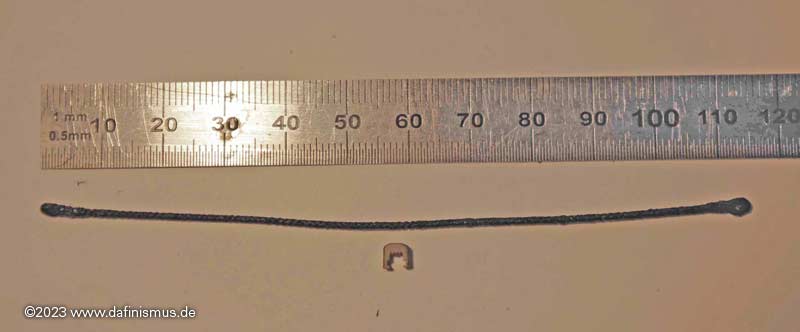
... and served as usual. This time not double, but in the same thickness as its counterpart above the hearts.
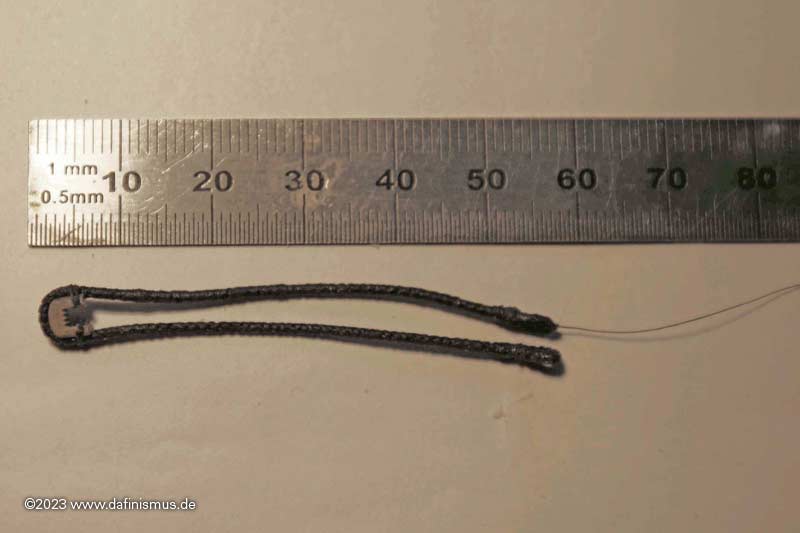
But it should be tied together at the bottom, but there is hardly any room to get through under the bowsprit - Ohschockschwerenot - OMG!
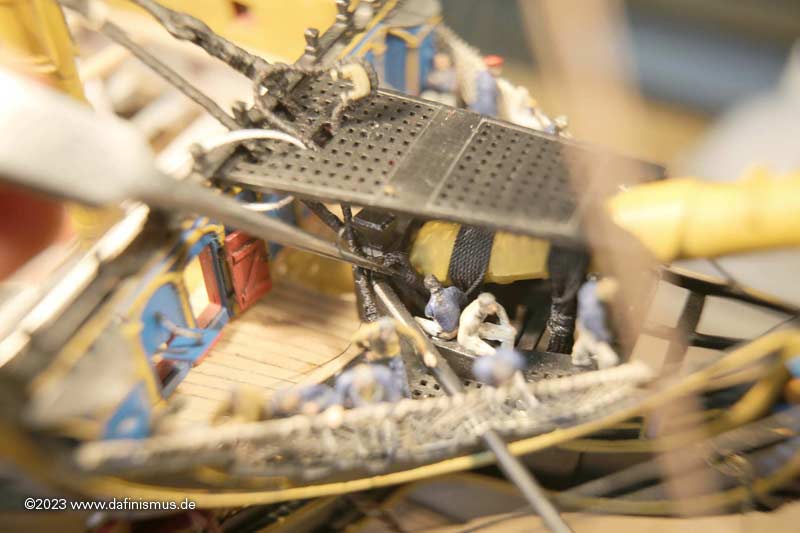
So I threaded the auxiliary yarn through and pulled the collar along. I pushed it also through with tweezers until I could reach the eye on the other side, tied it and rotated the whole thing back again. Uffz!
But the sight is comforting.
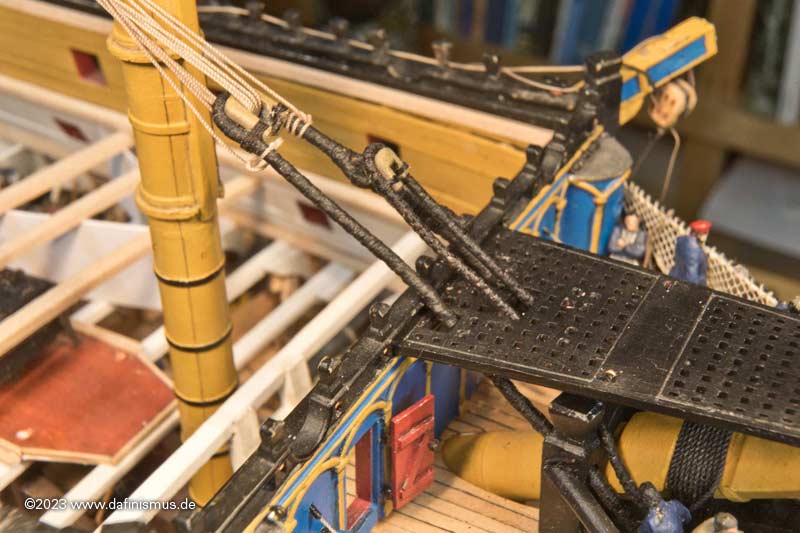
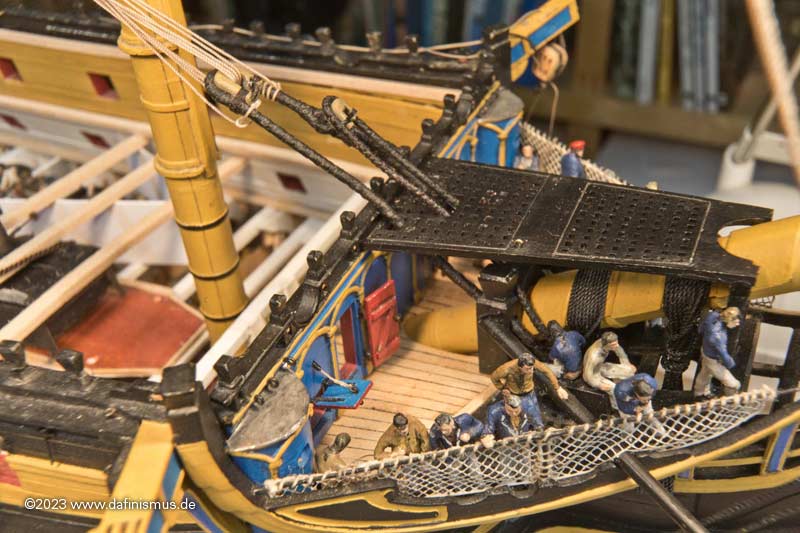
The view of the surroundings too, everyone survived.
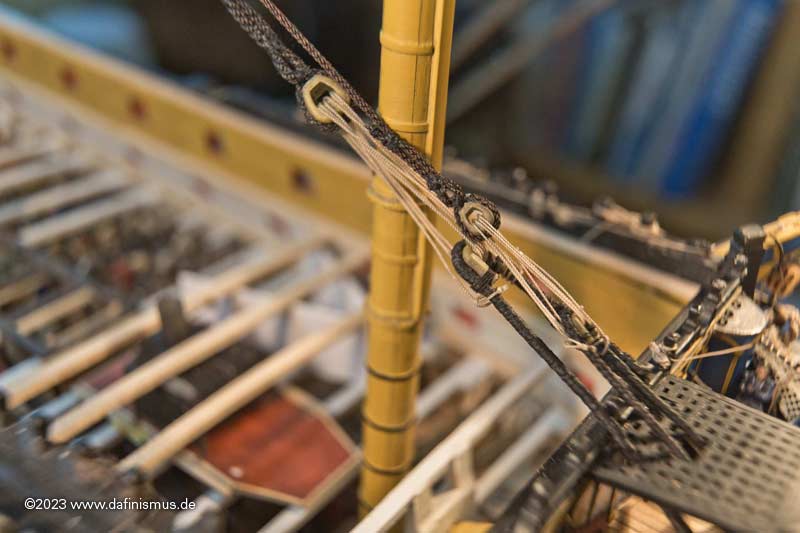
And then there are the lanyards to keep the hearts together.
XXXDAn

The heart has two side grooves, in the first one the rope was glued in, the length of which I had previously measured with a test piece. Then the rope was looped into the second groove.

The cut of the rope is later elegantly covered by the strapping.

The two loops are then tied together under the bowsprit.
The upper heart on the stay is tied in the classic way like the deadeyes and the excess is lashed on. The excess serves in case the stay has to be spliced.


If the stay brakes, the somewhat thinner preventer stay above serves to keep reminders up. Thats why I will later on still sneak them together. A break of the stay has actually happened to the Vic before: On 19.09.1797, the mainstay below the Maus broke in a storm. An auxiliary stay was built from tackles and with a hawser, and the topmast was lowered.
In these pictures I was still wondering about the large distance between the lower hearts and the bowsprit. However, my foolish luck prevented me from shortening them a little. The resolution follows.
It got funny with the two stays of the main mast. As with the gammoning, I didn't want to disturb anyone doing urgent business there. Only this time I had an extremely balky 1.1 mm cable, which had to go through 1.3 mm holes and twice around a right angle.

The Großborgmain preventer stay was also delightful. First of all, finding the right length on the model ...

... and served as usual. This time not double, but in the same thickness as its counterpart above the hearts.

But it should be tied together at the bottom, but there is hardly any room to get through under the bowsprit - Ohschockschwerenot - OMG!

So I threaded the auxiliary yarn through and pulled the collar along. I pushed it also through with tweezers until I could reach the eye on the other side, tied it and rotated the whole thing back again. Uffz!
But the sight is comforting.

The view of the surroundings too, everyone survived.

And then there are the lanyards to keep the hearts together.

XXXDAn
Ober-WOW
Great
Great
- Joined
- Mar 18, 2021
- Messages
- 338
- Points
- 323

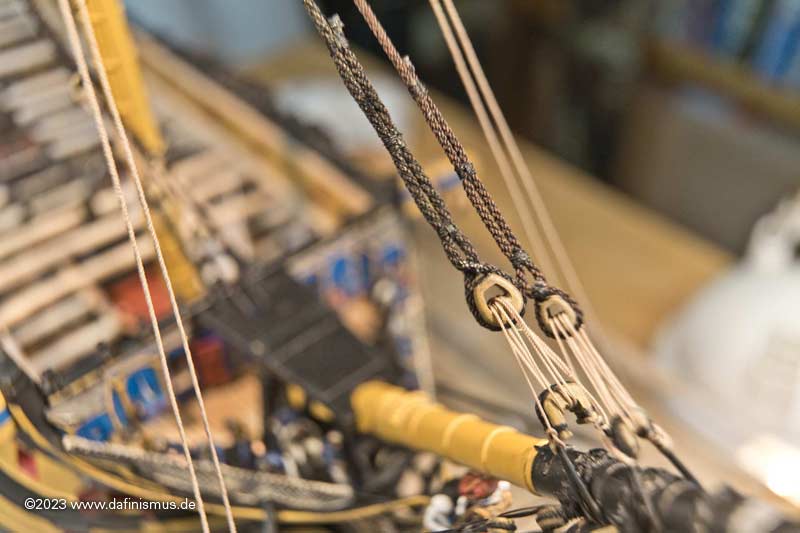
And to finish off this wonderful conglomerate, the manropes were added, the railings so to speak.
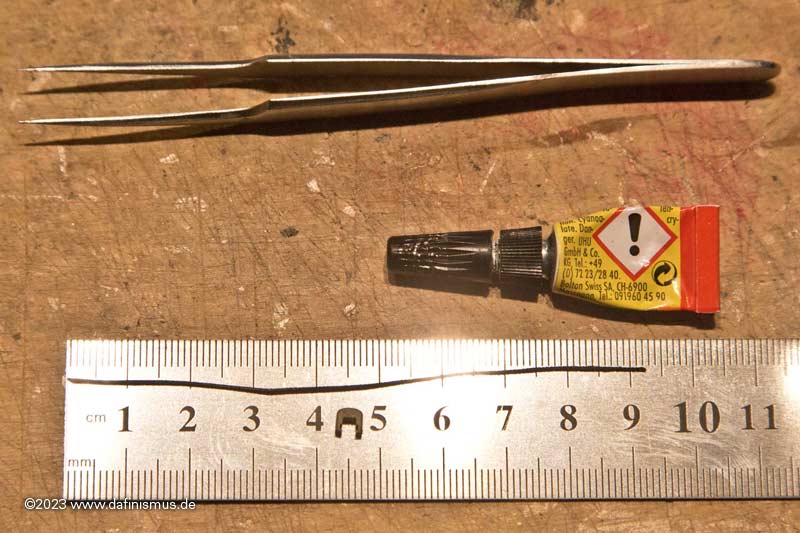
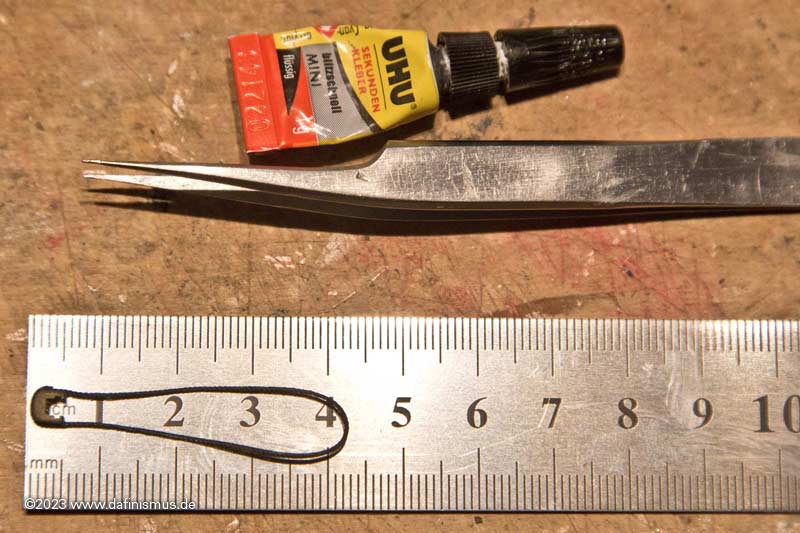
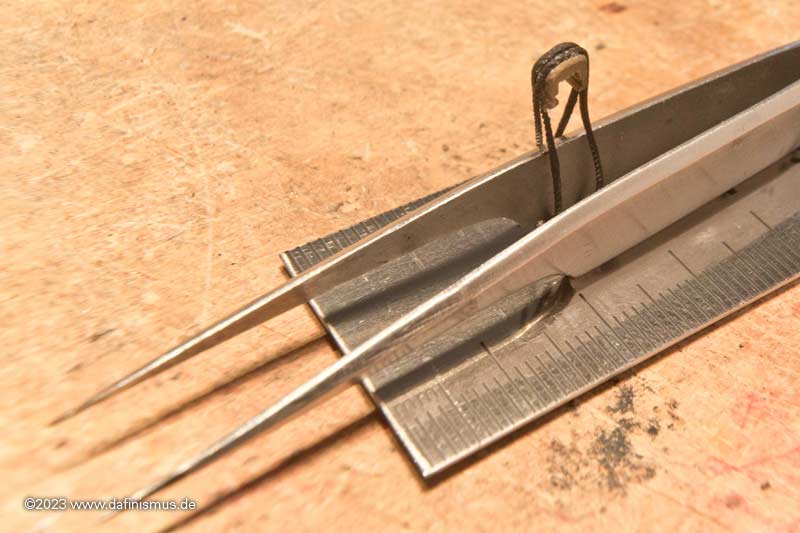
A template helps with the knot, by opening and closing a pair of pointed tweezers, the knot can easily be moved sideways ...
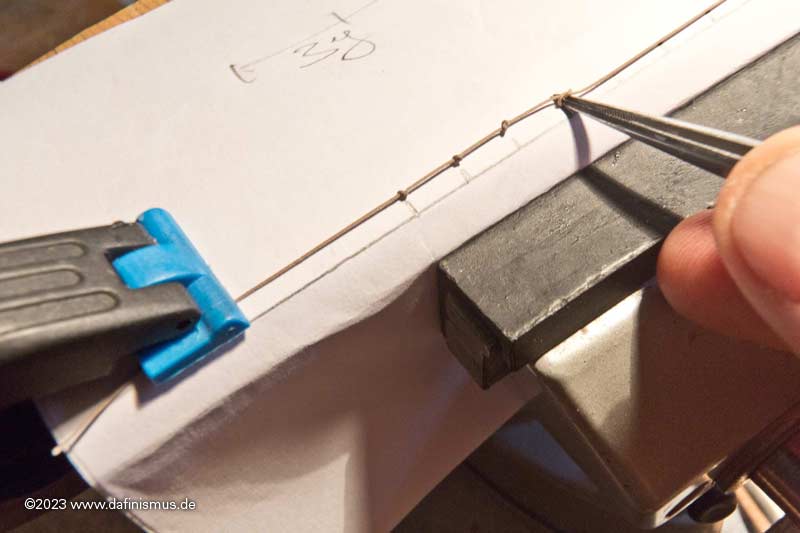 ... and the eyebolt was also placed to size.
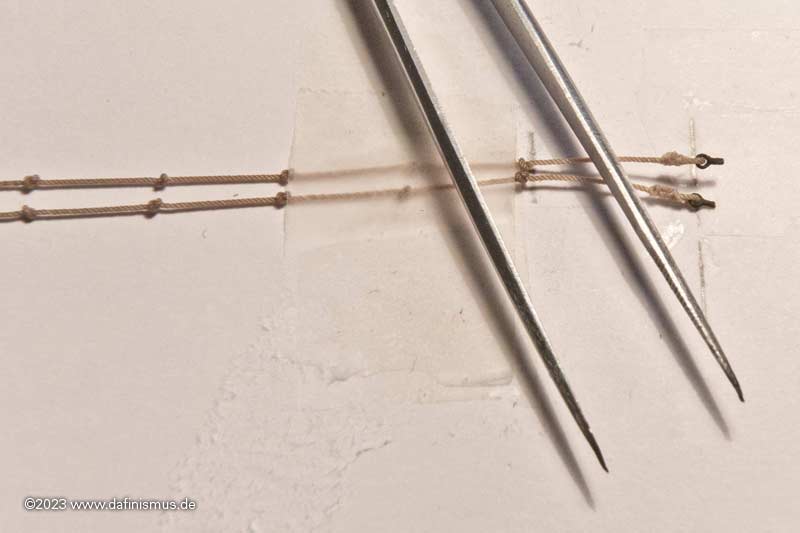
Then the small net so that the jib sails don't get caught under the spars.
First clamped in a cardboard frame ...
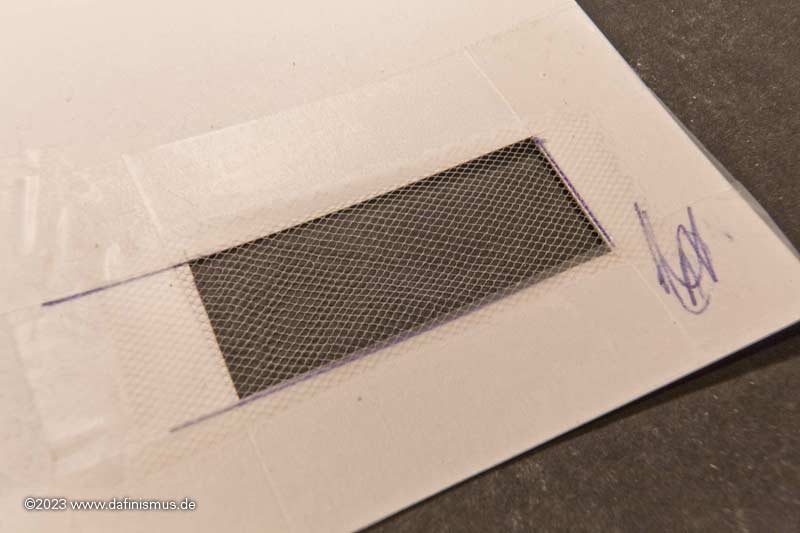
... then primed with white and tinted with brown.
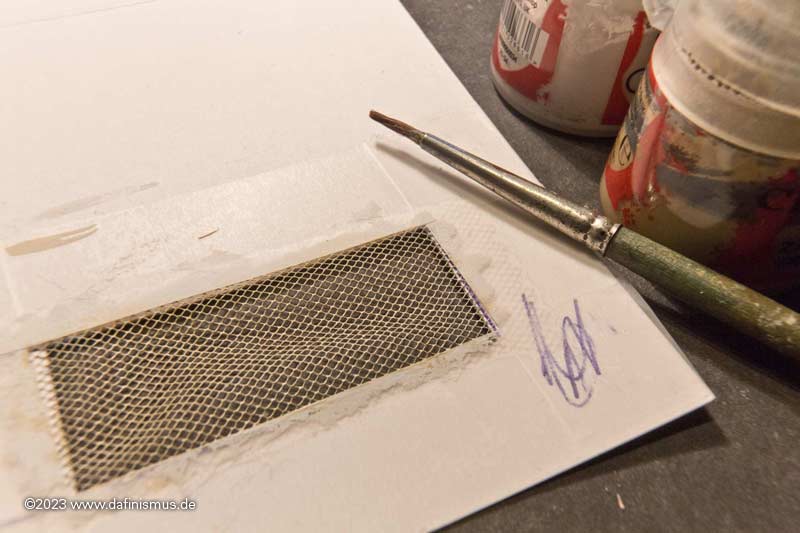
Then glued on a frame of twisted wire ...
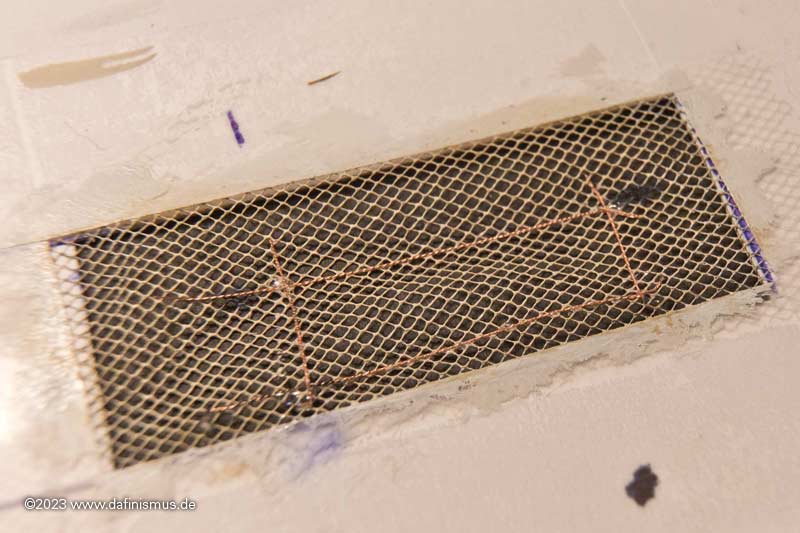
...and cut it out.
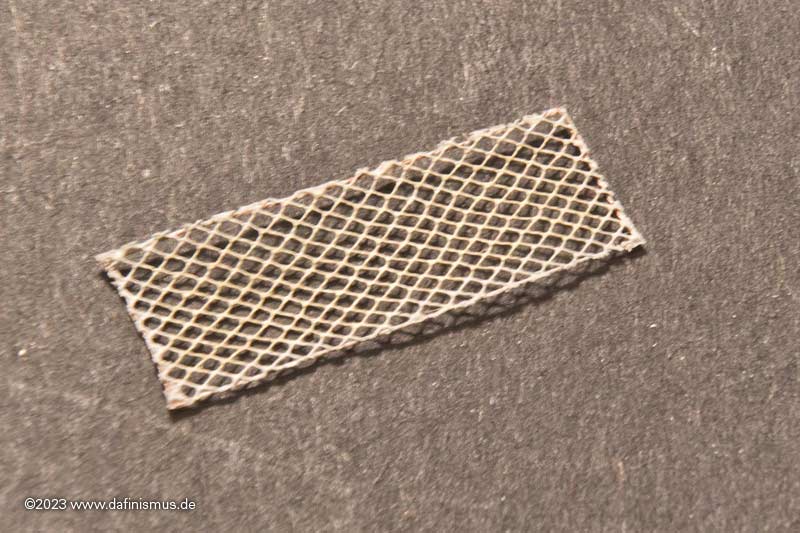
Then fastened the manropes ...
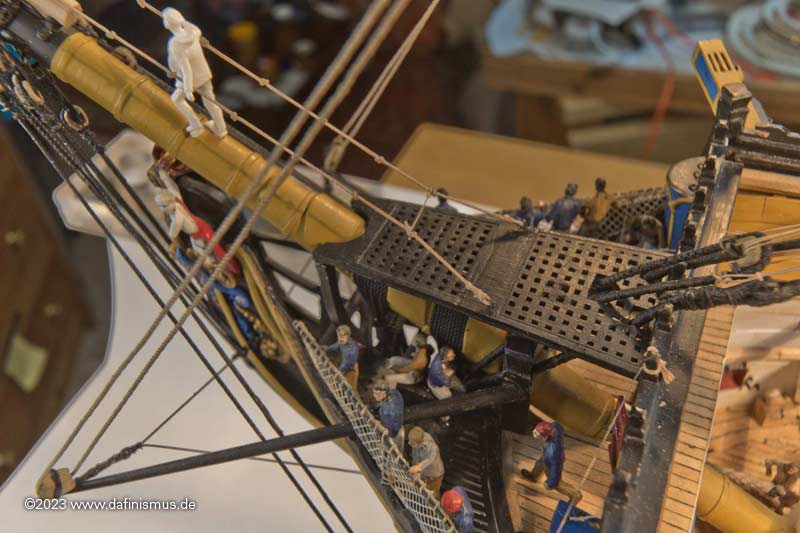
...and sewed the netting onto them.
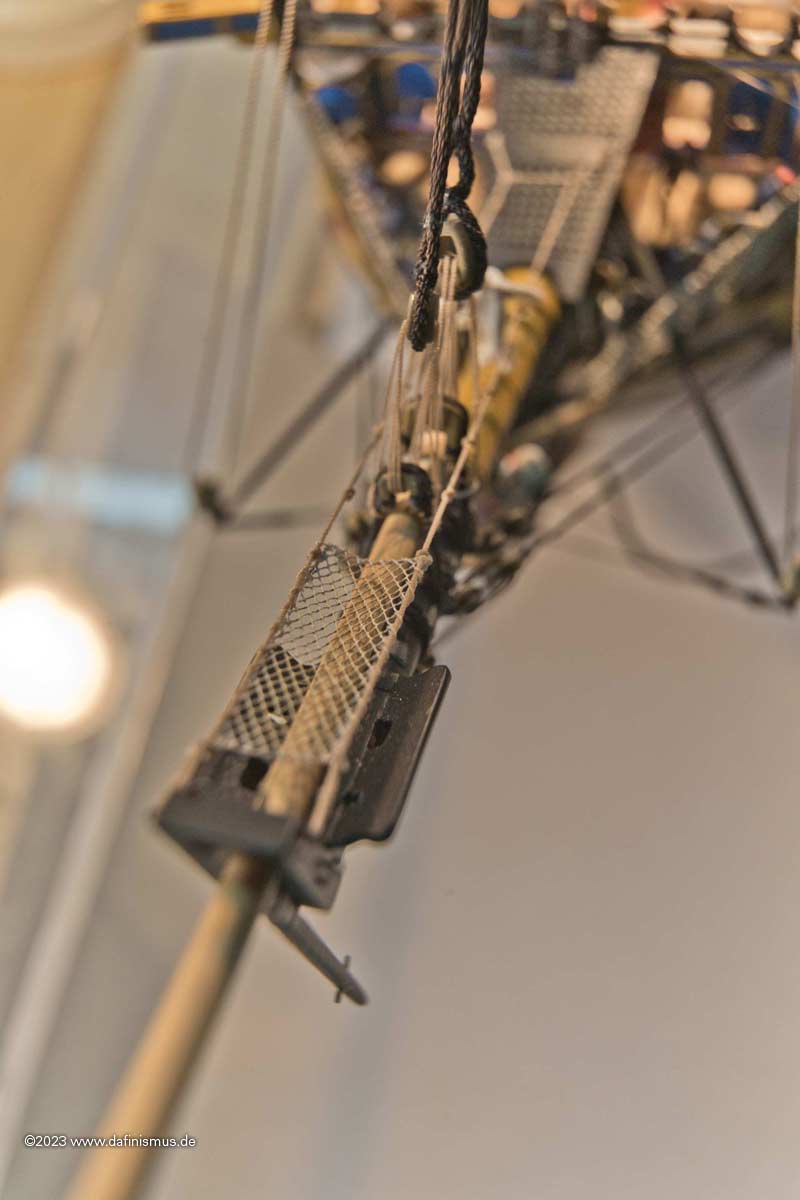
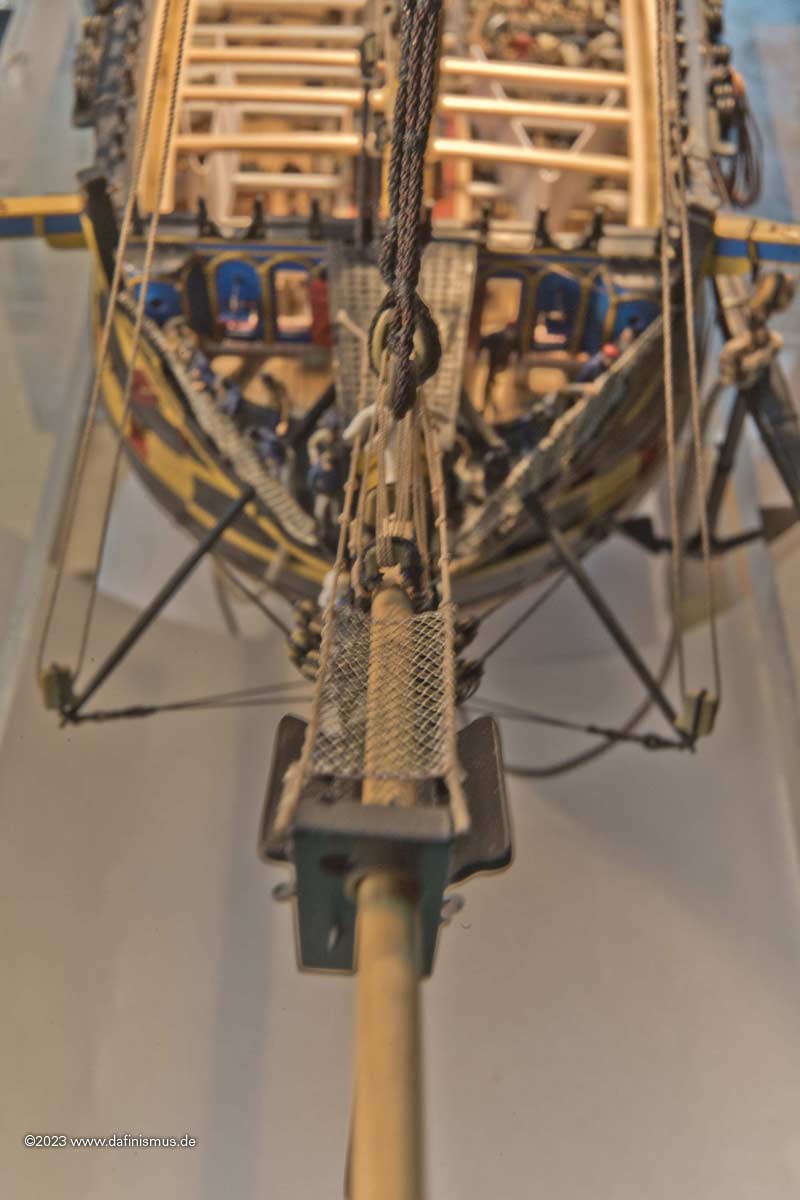
And immediately sent up a sailor to test it.
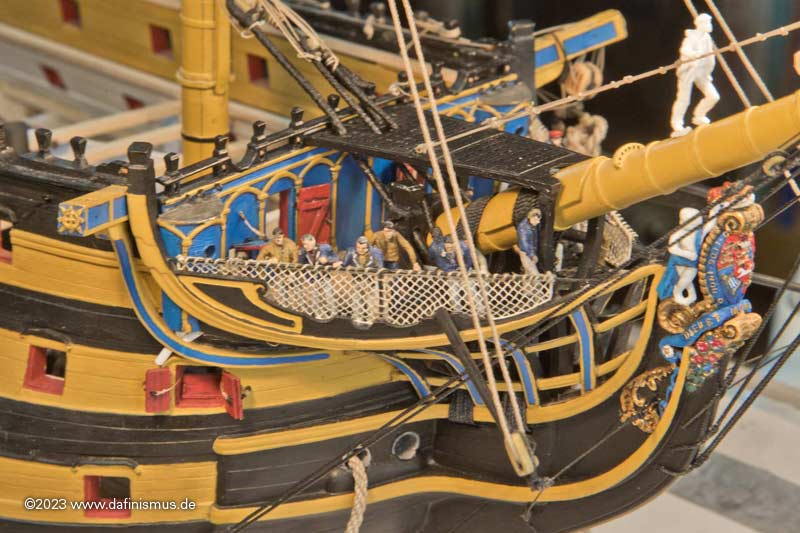
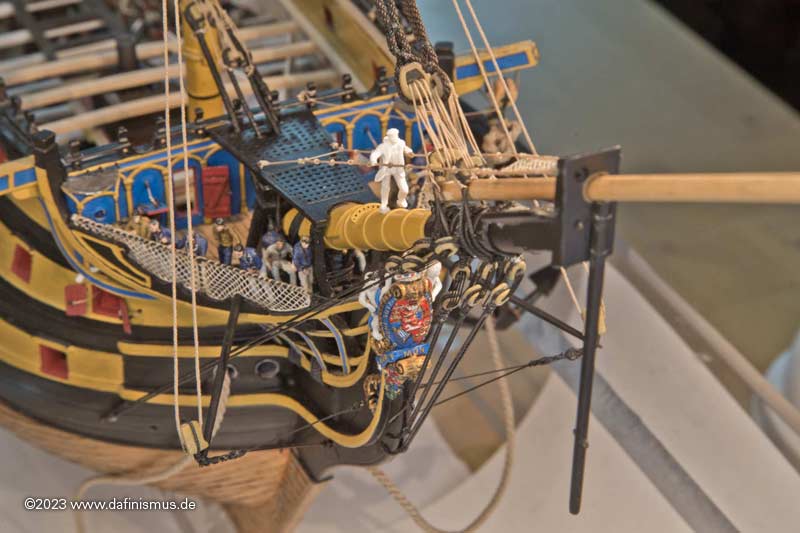
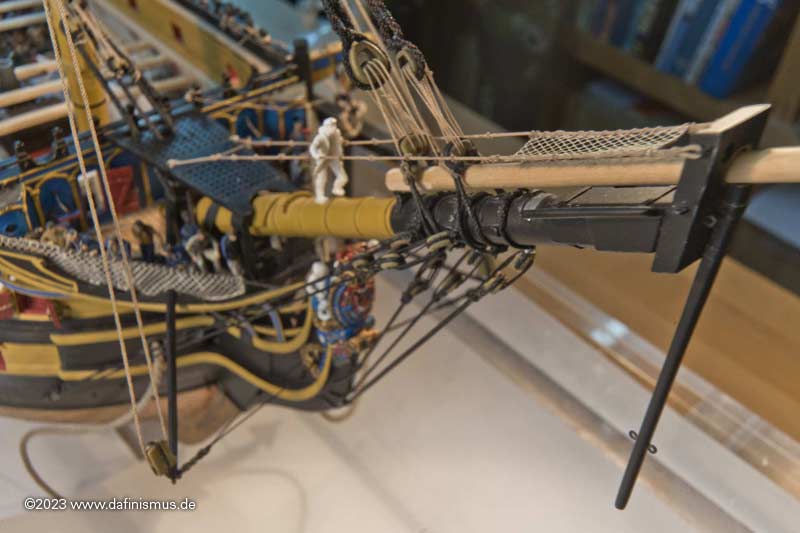
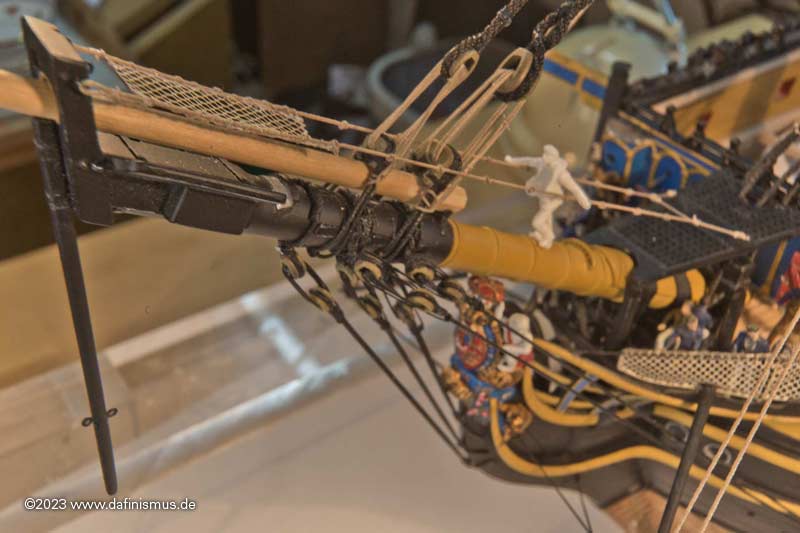
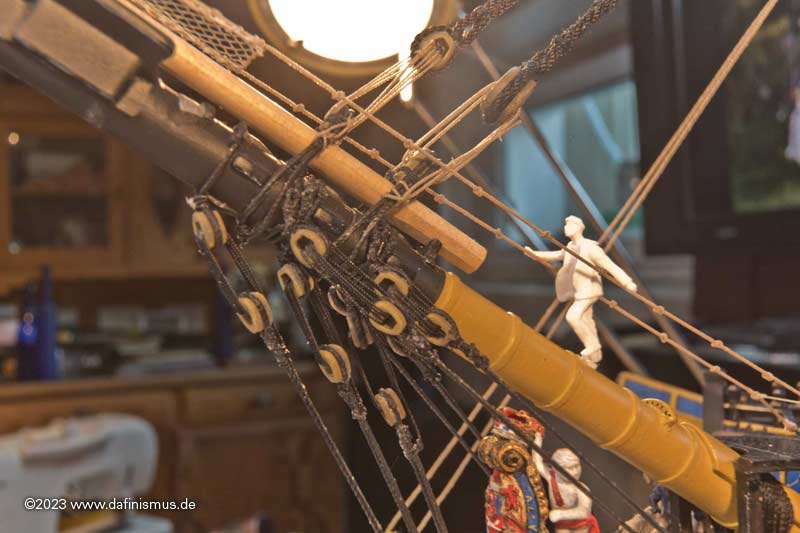
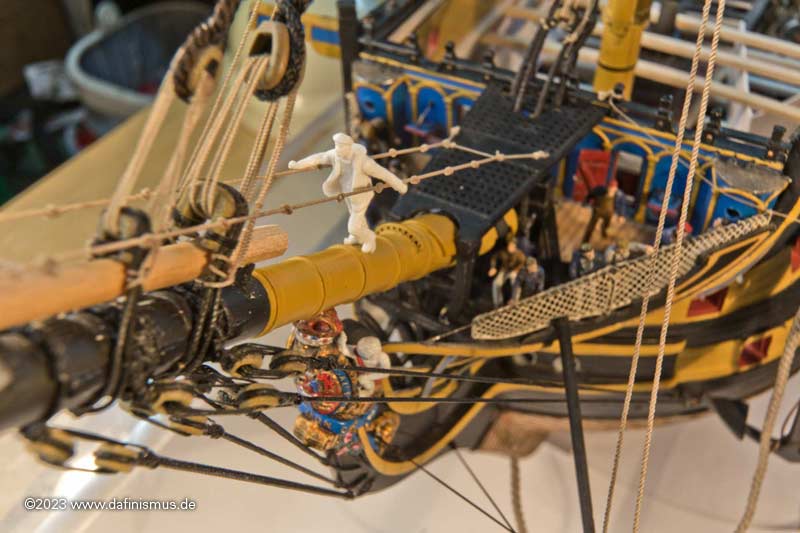
It's just a corner that was a lot of fun!
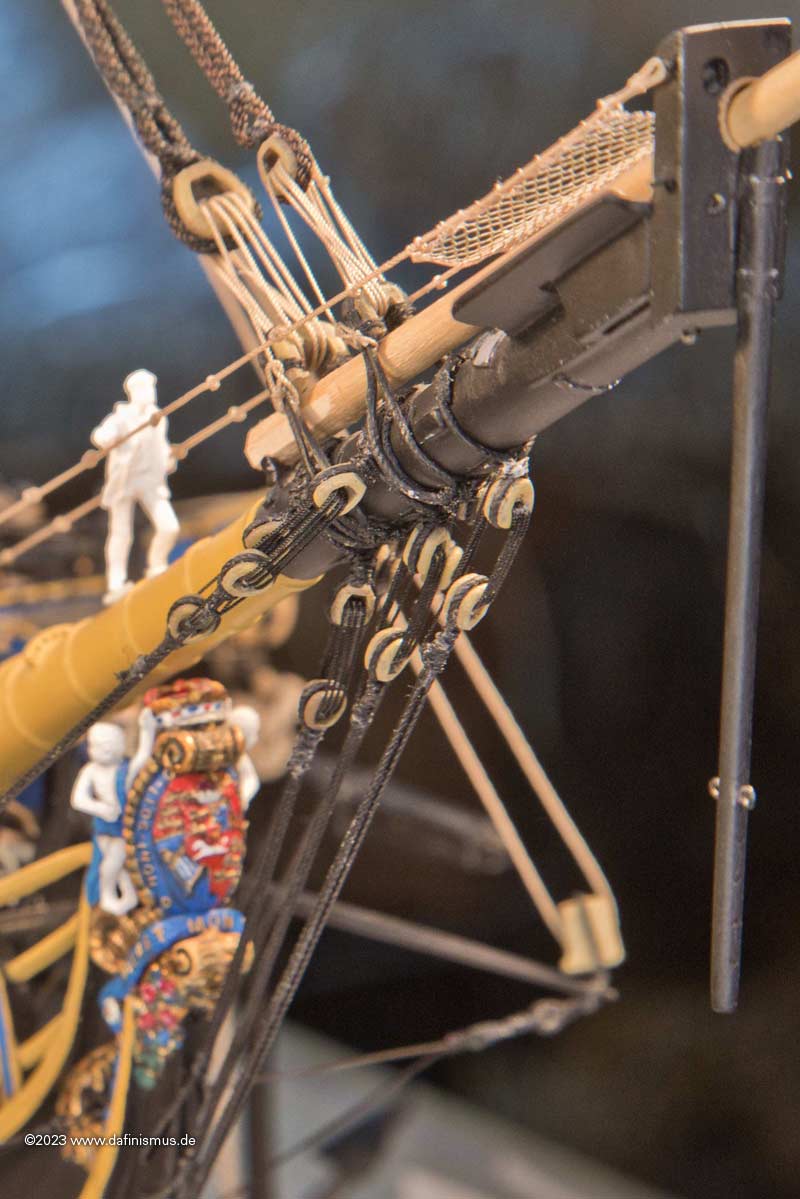
And here you can see my foolish luck: The hearts have the big distance to the bowsprite, because the jib boom has to be pushed through :-0
XXXDAn
A template helps with the knot, by opening and closing a pair of pointed tweezers, the knot can easily be moved sideways ...


Then the small net so that the jib sails don't get caught under the spars.
First clamped in a cardboard frame ...

... then primed with white and tinted with brown.

Then glued on a frame of twisted wire ...

...and cut it out.

Then fastened the manropes ...

...and sewed the netting onto them.


And immediately sent up a sailor to test it.


It's just a corner that was a lot of fun!

And here you can see my foolish luck: The hearts have the big distance to the bowsprite, because the jib boom has to be pushed through :-0
XXXDAn
- Joined
- Mar 18, 2021
- Messages
- 338
- Points
- 323

Starry sky, I dreamed of the starry sky ...

So the small box went into the big box ...
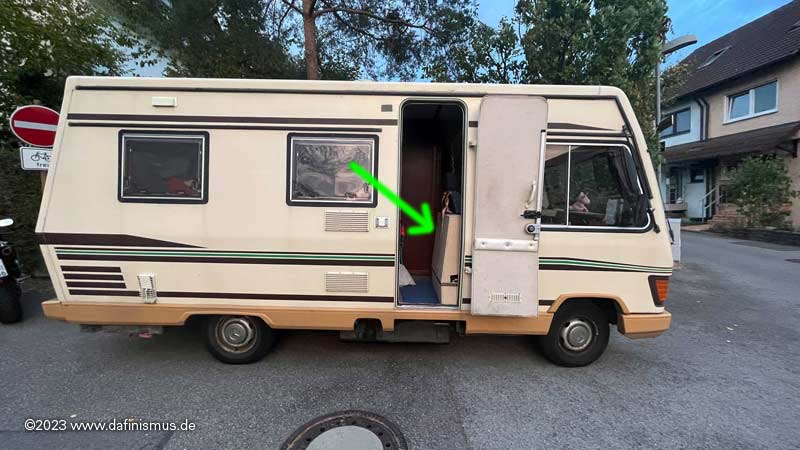
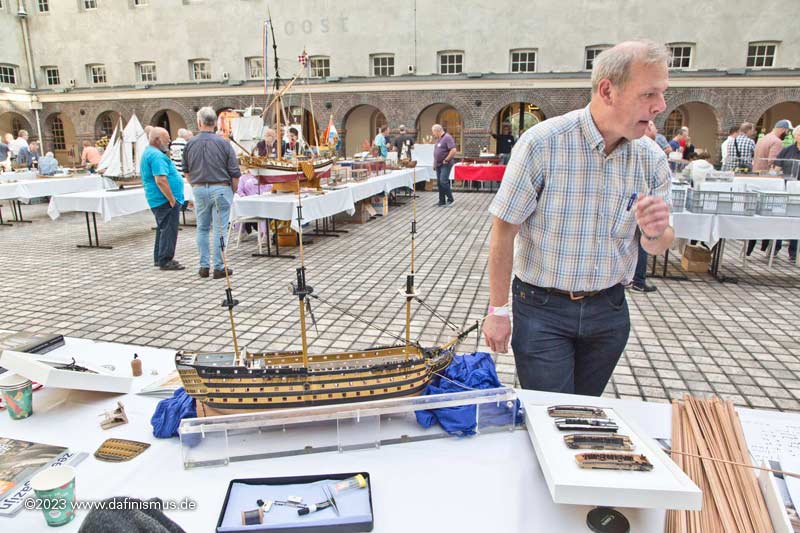
... and off to Het Scheepvaartmuseum in Amsterdam (Marine Museuum Amsterdam).
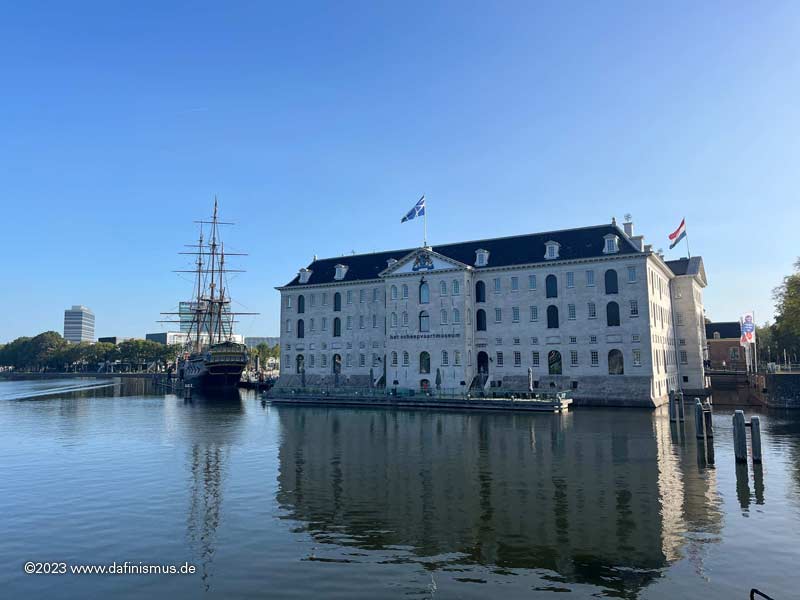
Holy Grounds - here we are

And my little round one was sitting in the mids all these other great models.
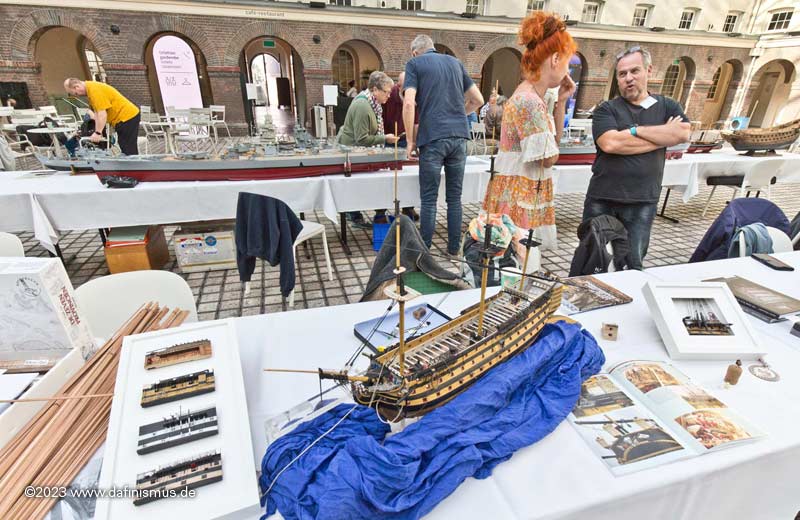
Right next to it the Joachim Schiffebastler with his big Amerigo and his small Berlin.
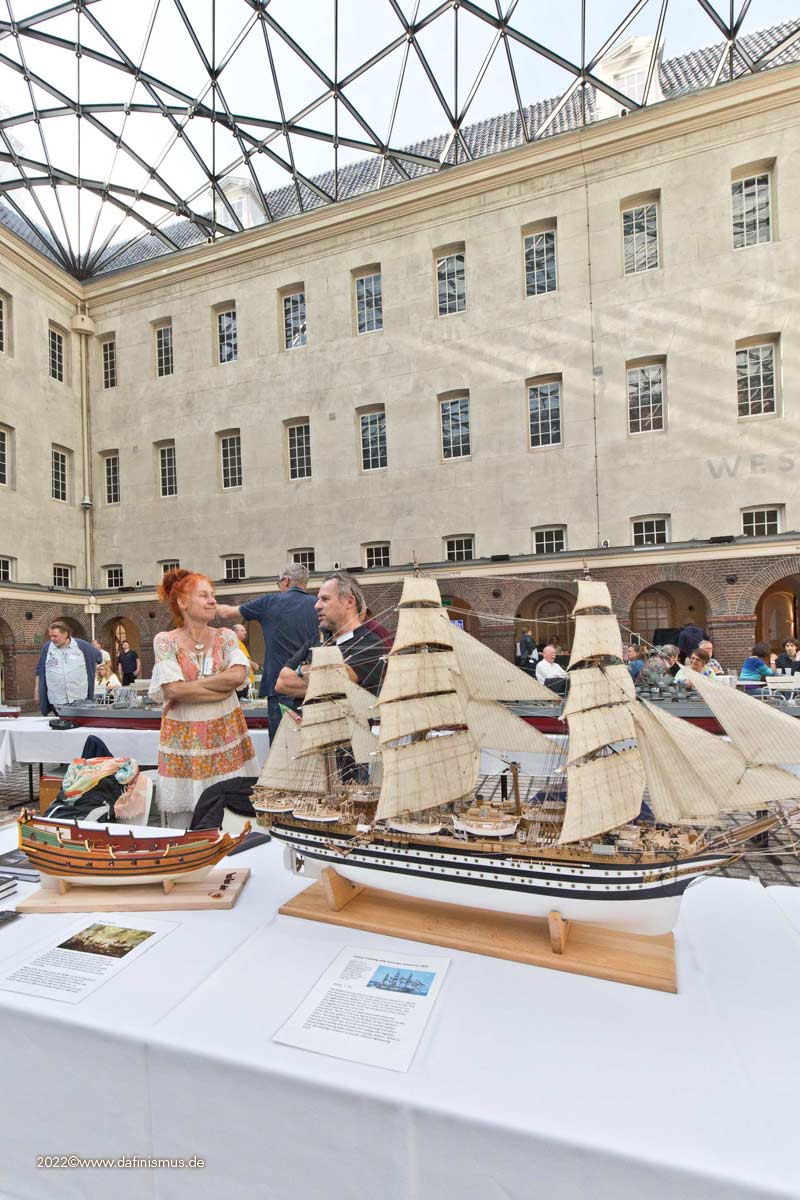
And here comes Schmidt
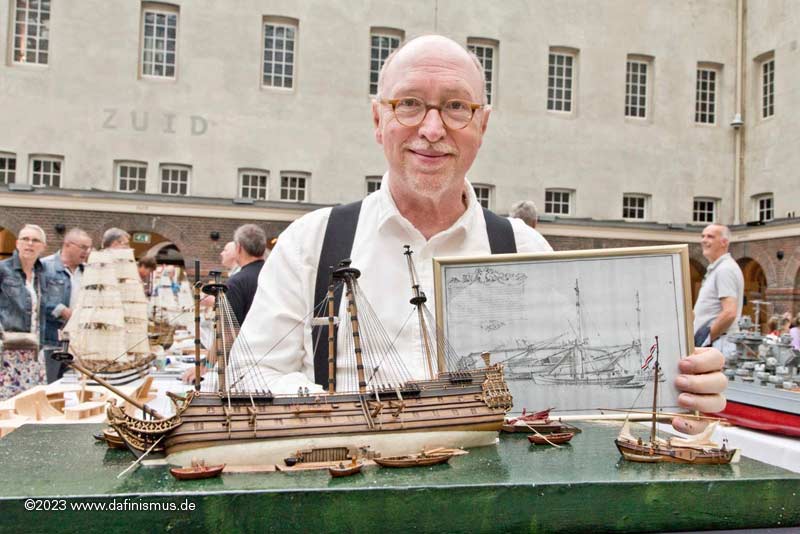
Great to see him grinning.
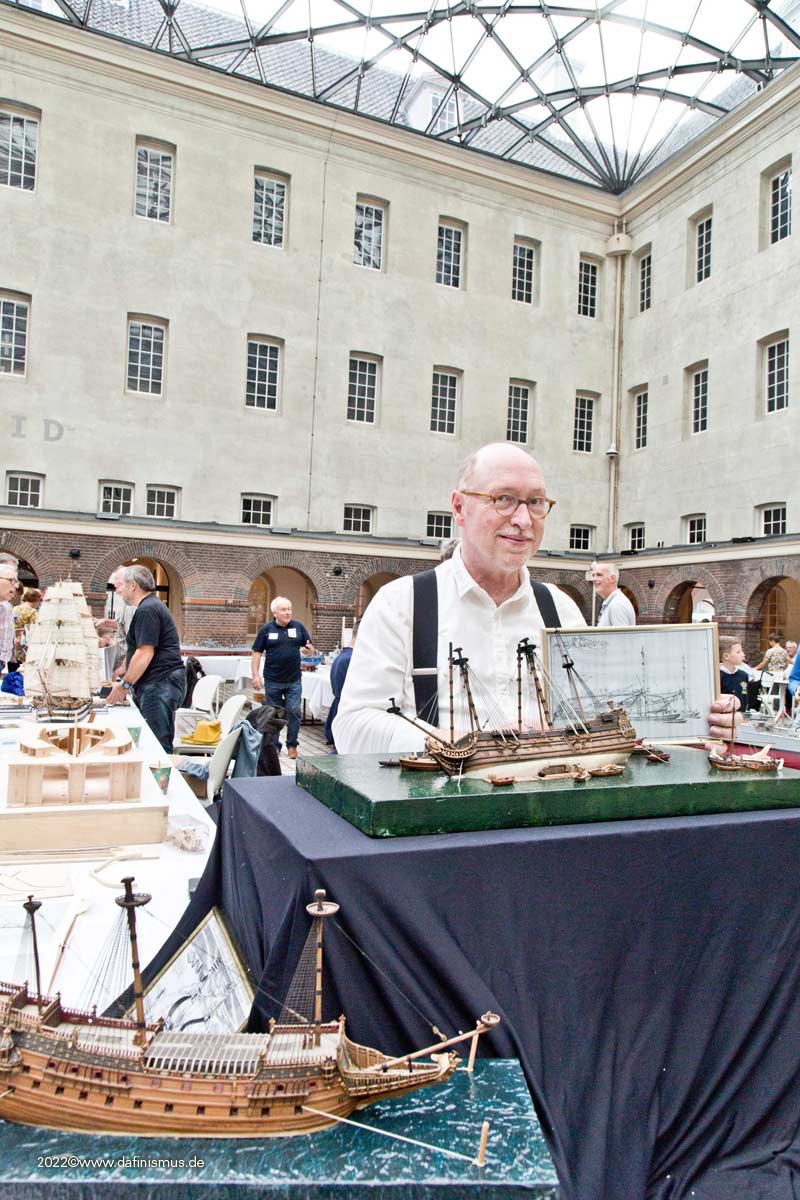
Simply a feast for the eyes his little jewels.
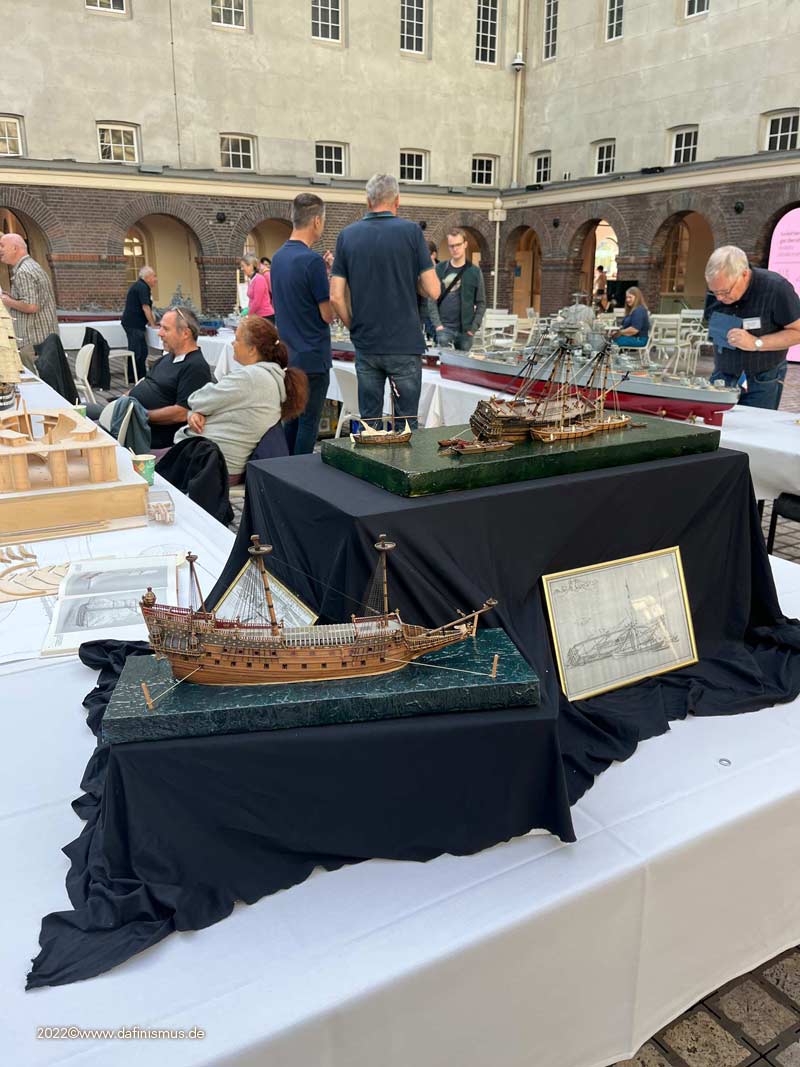
Here comes AnobiumPunctatum Christian ...
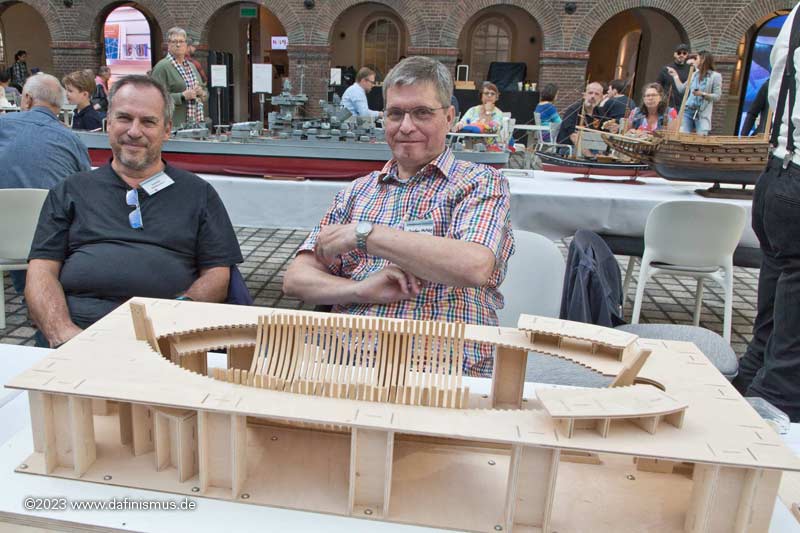
... and a dutch amateur was also there ;-)
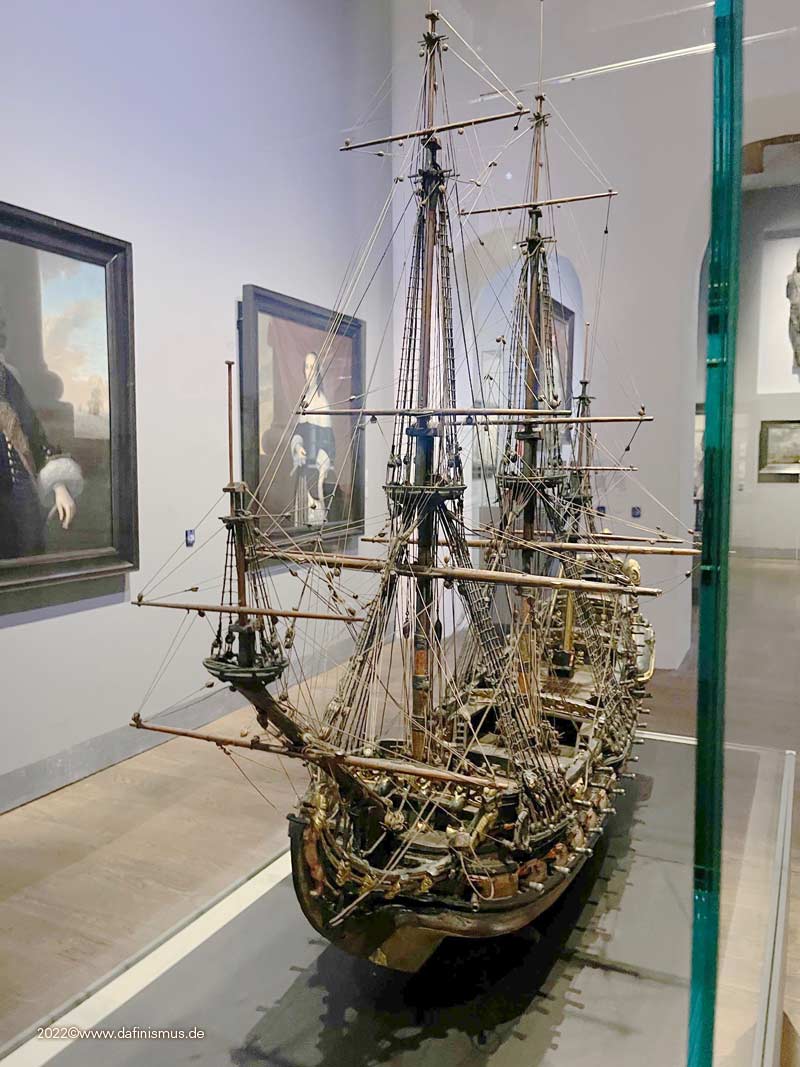
The museum itself was unfortunately very poorly stocked, but there were still some great things. For example this model ...
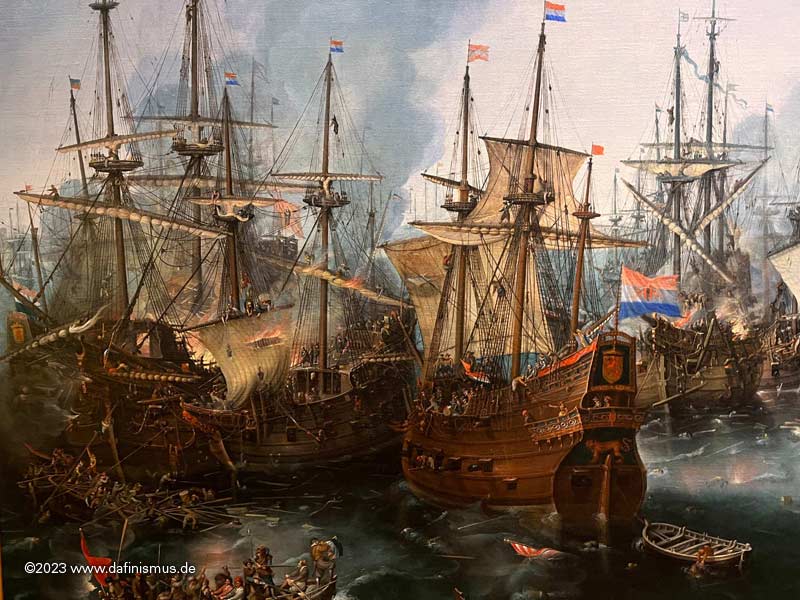
... and some battle paintings that are well known, including one of my favorite scenes with the gentleman sitting astride the gun wiping out the cannon, who can find him?
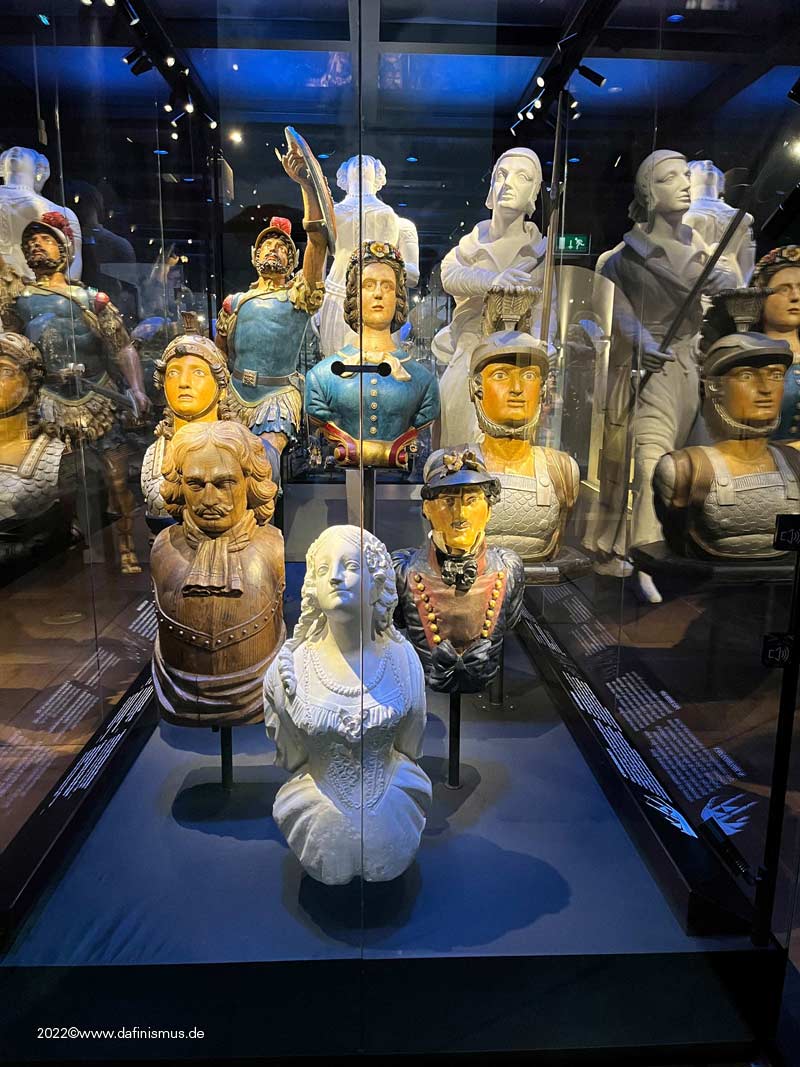
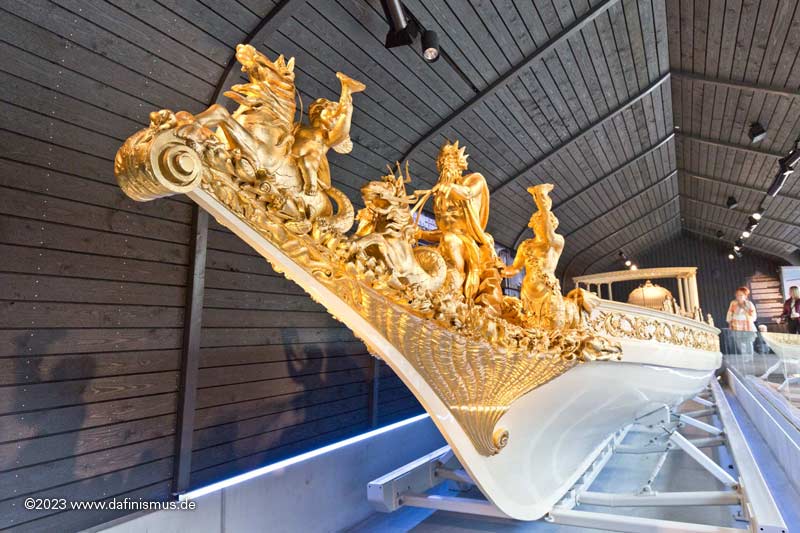
The collection of figureheads was fascinating ...


... so was the imperial bark.
Then came Disneyland ;-)
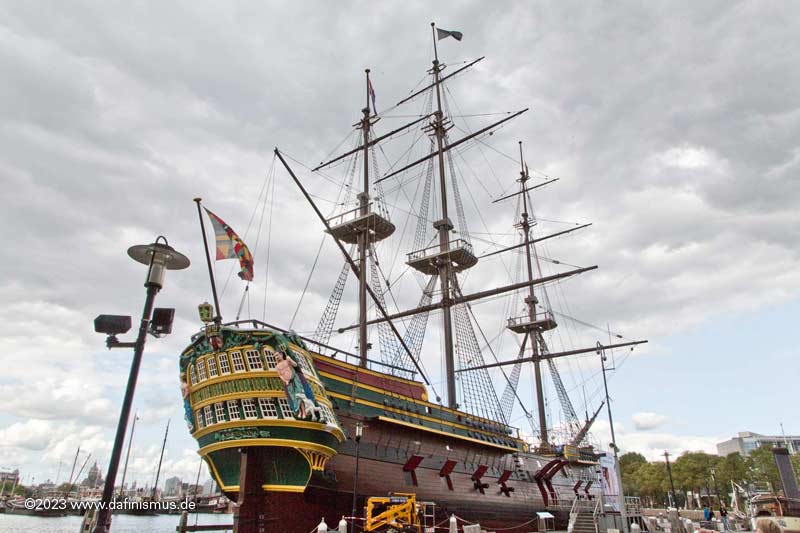
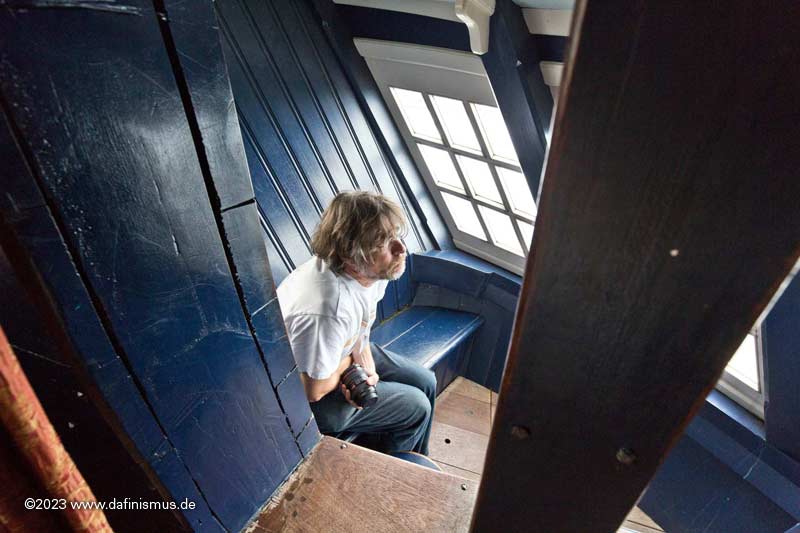
I spare you most of the pictures at this point, only once it was stronger than me ;-)
Then shortly after Oudeschild on Texel ...
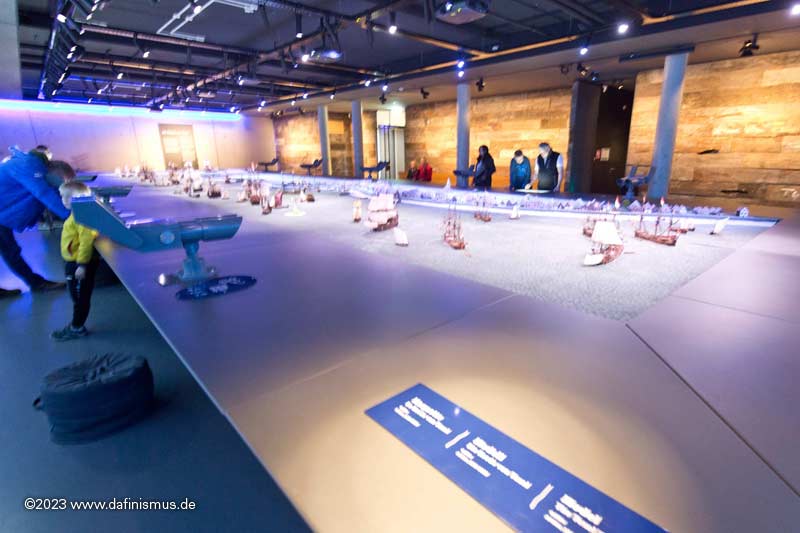
... and looked at the wonderful diorama of the Texel roadstead. Madness!
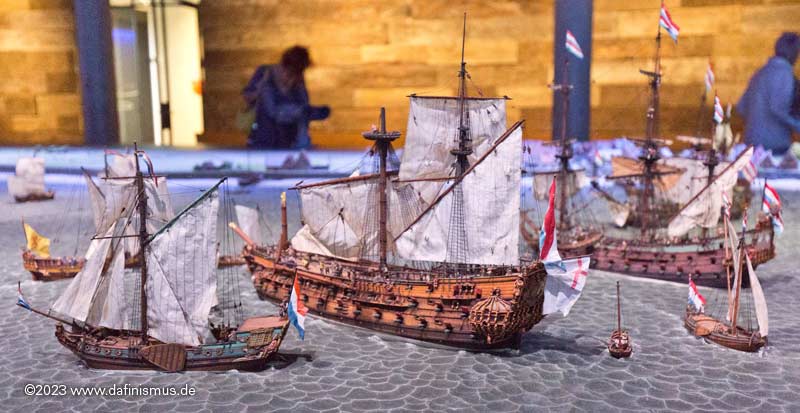
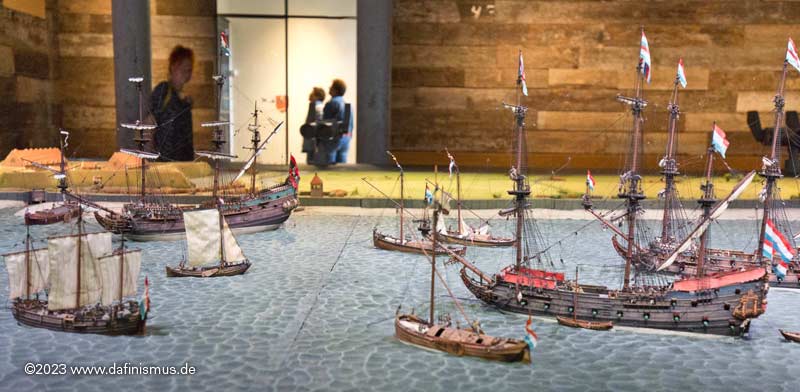
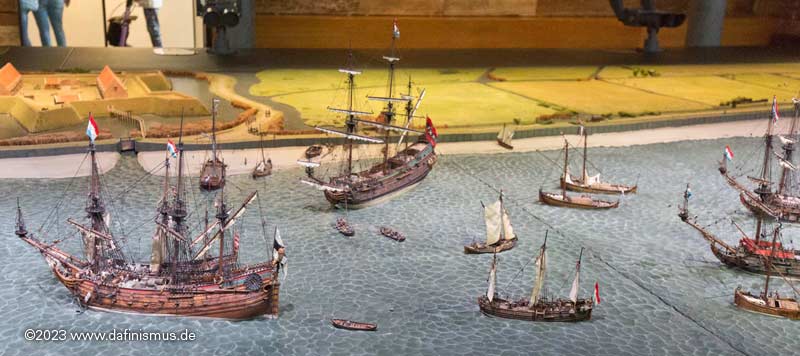
And then via Middelburg and Aachen back home.
It was nice, met a lot of great people and the other pictures of the museums will be detailed later
Greetings, Daniel

So the small box went into the big box ...

... and off to Het Scheepvaartmuseum in Amsterdam (Marine Museuum Amsterdam).

Holy Grounds - here we are

And my little round one was sitting in the mids all these other great models.

Right next to it the Joachim Schiffebastler with his big Amerigo and his small Berlin.

And here comes Schmidt

Great to see him grinning.

Simply a feast for the eyes his little jewels.

Here comes AnobiumPunctatum Christian ...

... and a dutch amateur was also there ;-)

The museum itself was unfortunately very poorly stocked, but there were still some great things. For example this model ...

... and some battle paintings that are well known, including one of my favorite scenes with the gentleman sitting astride the gun wiping out the cannon, who can find him?

The collection of figureheads was fascinating ...


... so was the imperial bark.

Then came Disneyland ;-)

I spare you most of the pictures at this point, only once it was stronger than me ;-)

Then shortly after Oudeschild on Texel ...

... and looked at the wonderful diorama of the Texel roadstead. Madness!


And then via Middelburg and Aachen back home.
It was nice, met a lot of great people and the other pictures of the museums will be detailed later
Greetings, Daniel
- Joined
- Mar 18, 2021
- Messages
- 338
- Points
- 323

This was the last status before Amsterdam ...

... and it came ...
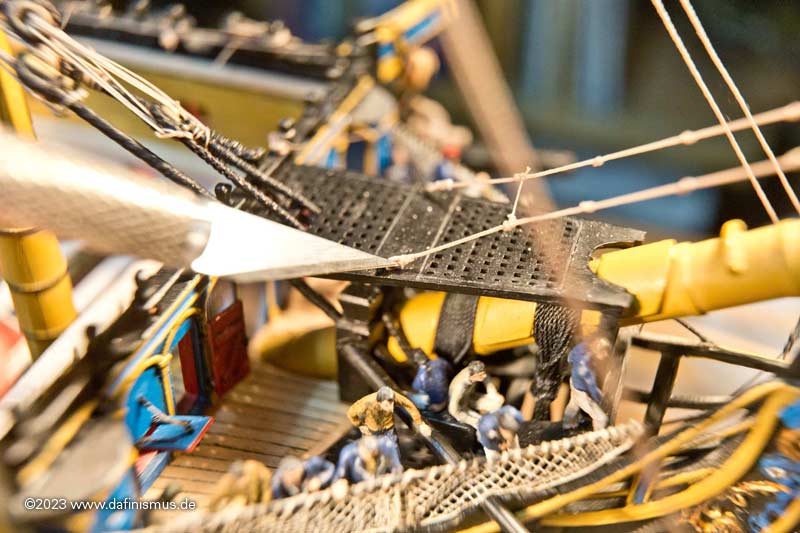
... as it had to come ...
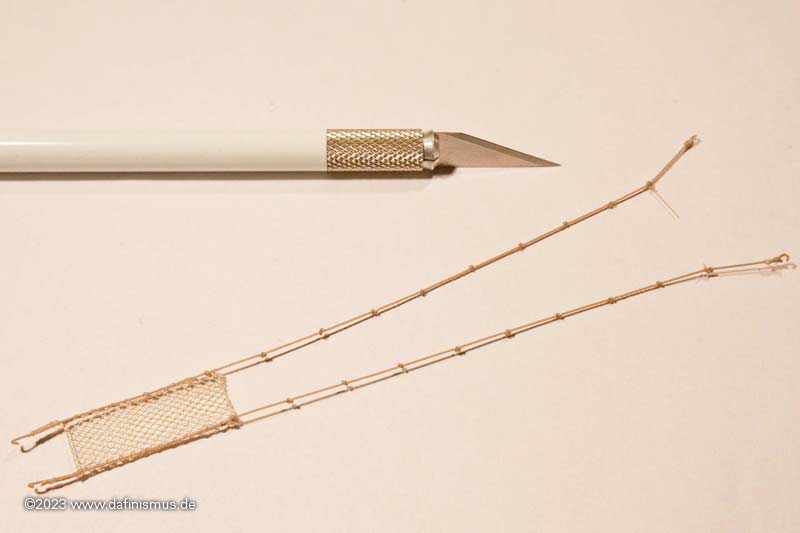
... demolition.
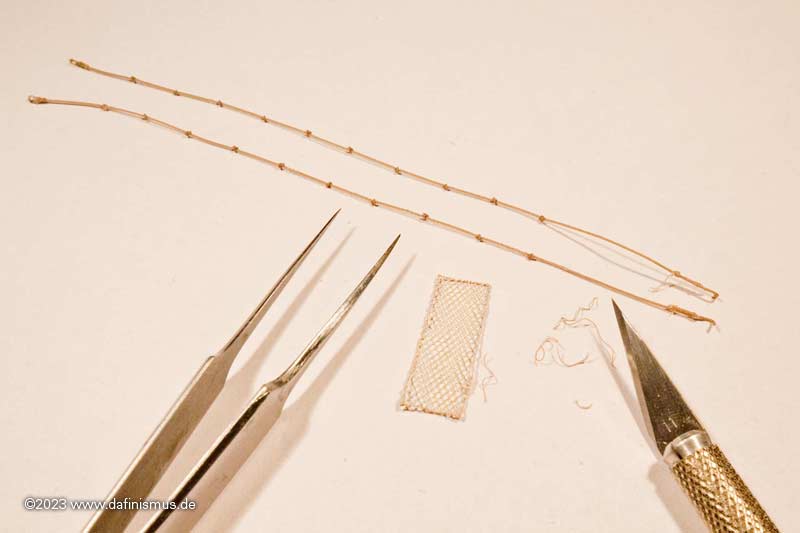
What had happened? While building the manropes, I noticed that some sources depicted them with knots and some without. My decision then ran through Lees and Marquardt, both with knots. However, this was a bit strange, since the knots usually only were there if the ropes were for the feet.
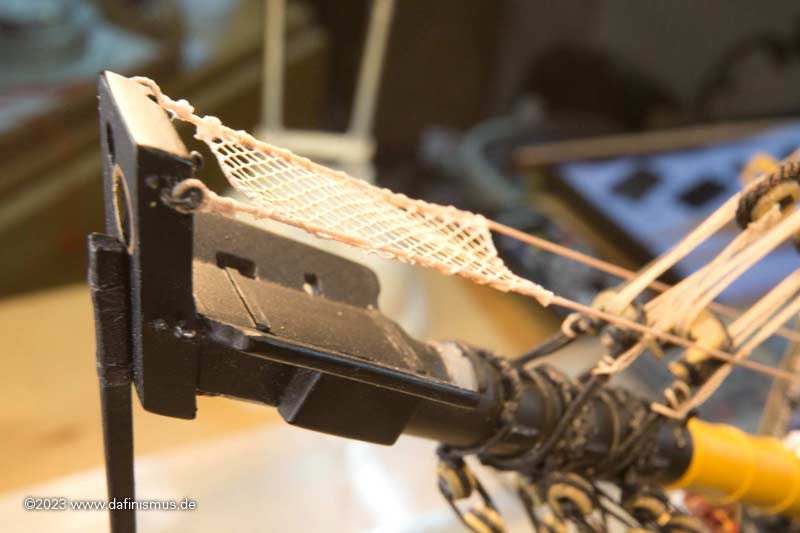
No sooner had I uploaded the pictures than David Antscherl in the MSW kindly pointed out that both Lees and Marquardt were exceptionally wrong here. After his hint on the contemporary indication of Steel I also found an identical passage in the Rees: Outside with thimble in an eyebolt, inside with thimble and lanyard on eyebolt.
Ok I think, I possibly get it right.
Outside.
Inside.
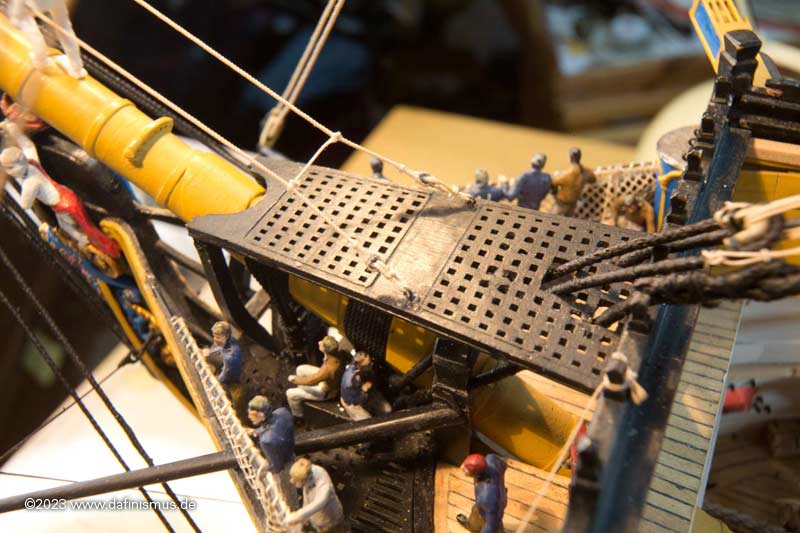
And as usual a climbing test.
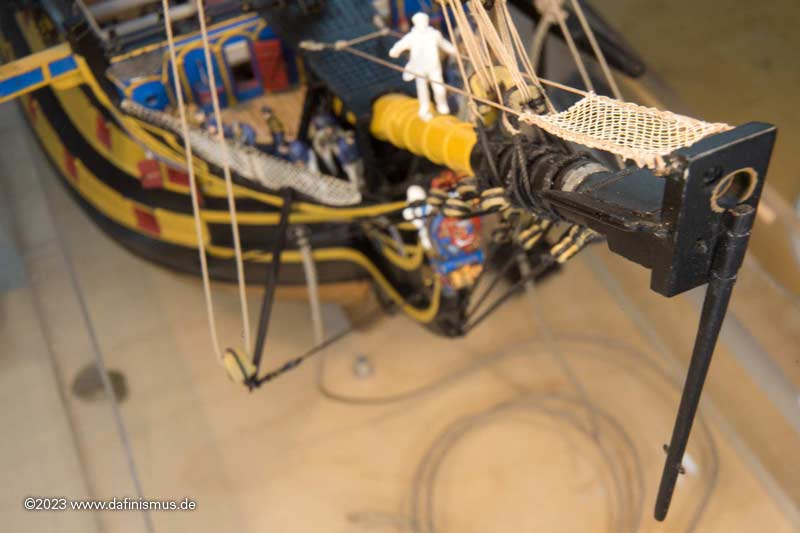
And since the old picture was so nice and I couldn't get the light right, just a round of image processing and this one is right too ;-)
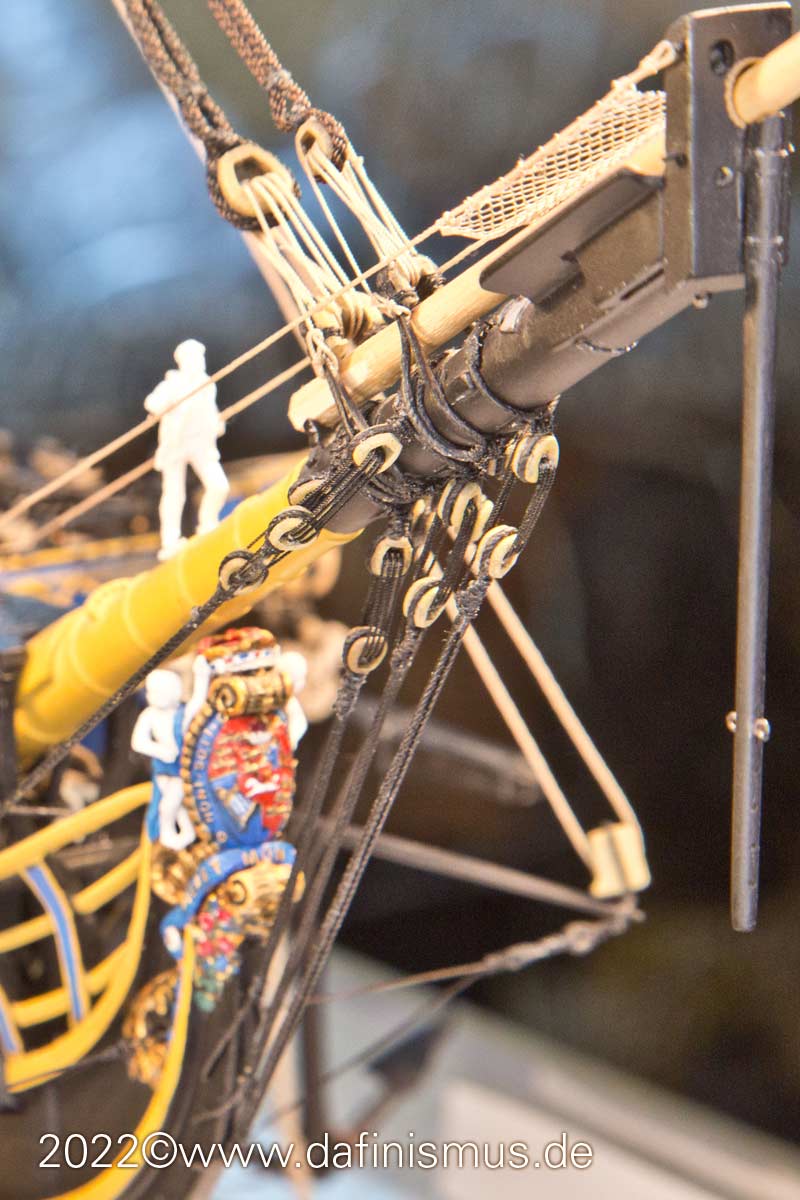
XXXDAn

... and it came ...

... as it had to come ...

... demolition.

What had happened? While building the manropes, I noticed that some sources depicted them with knots and some without. My decision then ran through Lees and Marquardt, both with knots. However, this was a bit strange, since the knots usually only were there if the ropes were for the feet.
No sooner had I uploaded the pictures than David Antscherl in the MSW kindly pointed out that both Lees and Marquardt were exceptionally wrong here. After his hint on the contemporary indication of Steel I also found an identical passage in the Rees: Outside with thimble in an eyebolt, inside with thimble and lanyard on eyebolt.
Ok I think, I possibly get it right.
Outside.

Inside.

And as usual a climbing test.

And since the old picture was so nice and I couldn't get the light right, just a round of image processing and this one is right too ;-)

XXXDAn
Daniel……fantastic
Many thanks for sharing. Daniel! Great photos!
- Joined
- Mar 18, 2021
- Messages
- 338
- Points
- 323

Elsewhere, people asked whether the net in front was not a hindrance and whether it would not make more sense underneath, as is the case today.
So I simply made some pictures that I don't want to withhold from you
Here without the jib boom
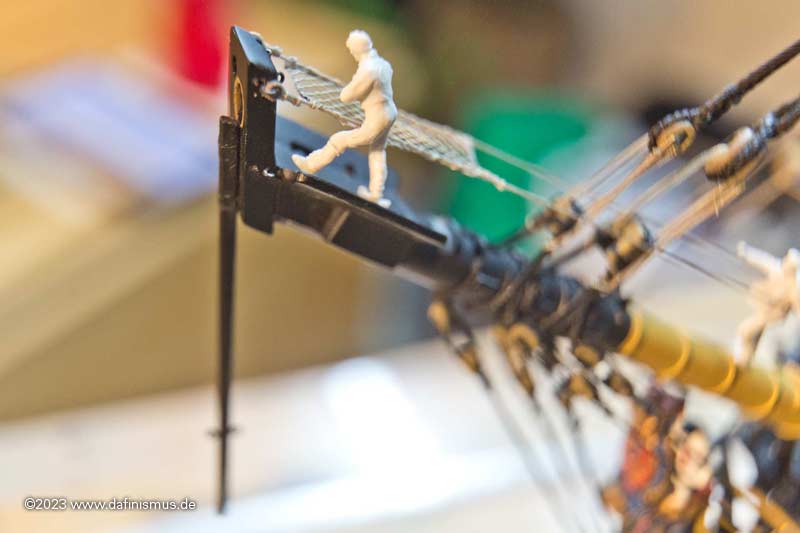
And here with
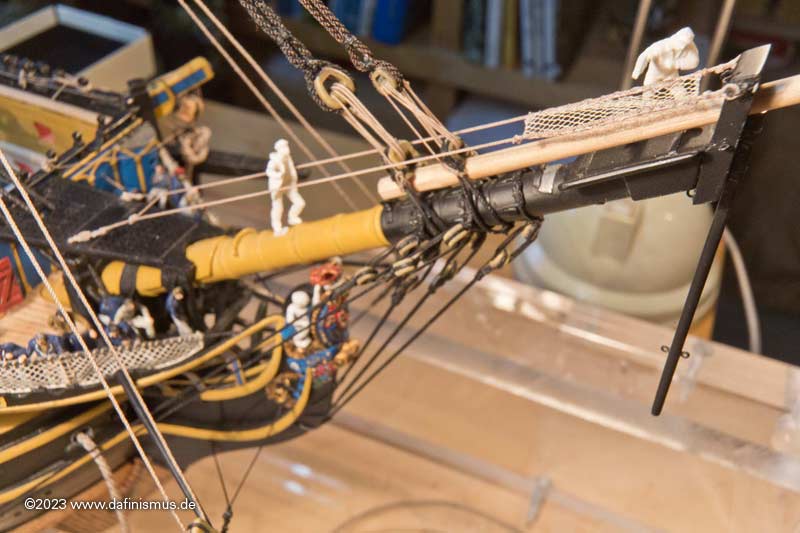
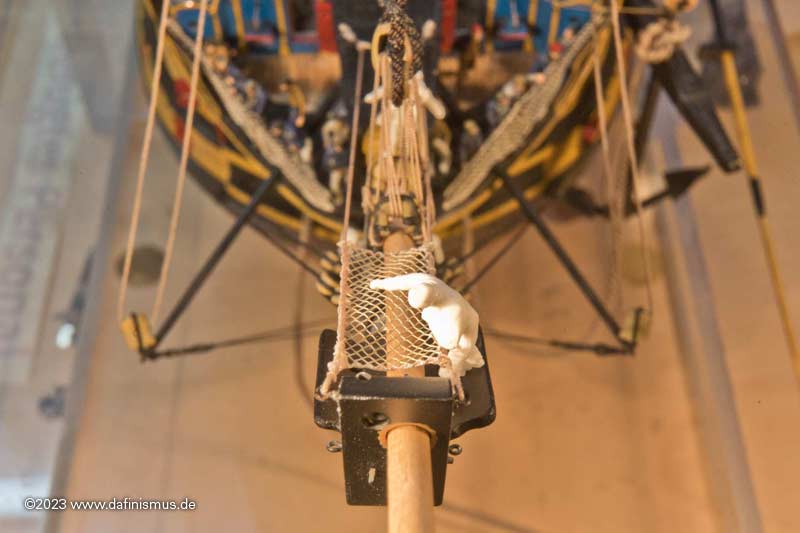
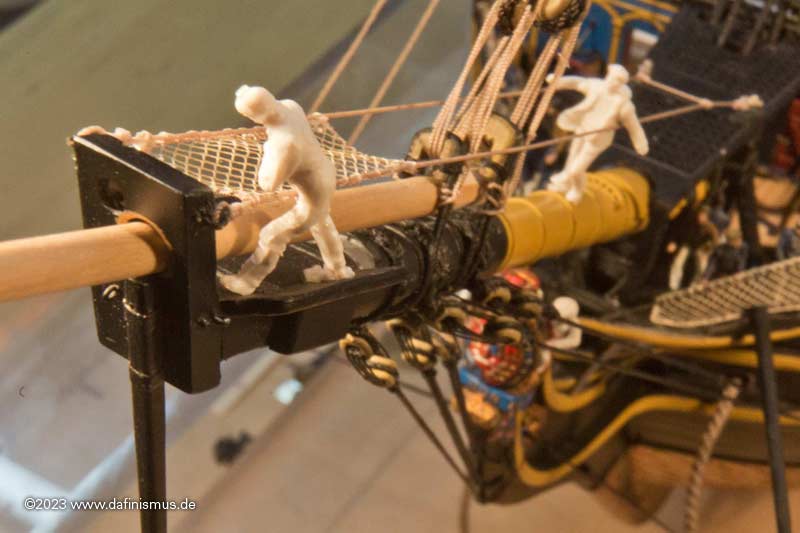
You can see some things well.
- The wings of the bee give our little sailor a good foothold, which also explains the slanting position, which makes it easy to support oneself.
- The net is not particularly in the way, as you have to fish around the bowsprit cap in front of it anyway.
- The inner jib lands immediately in the net when it is brought down and does not lie over the spars. If it is stowed properly and successively when lowering, the standing area of our seamen also stays accessible.
- When the sail is stowed, the jib boom can still be moved.
What is also true, of course, is that this small net has evolved into the jib net we know today, where it has been reversed, because today you stand in the net and the sail rests on the boom. Even when stowing a medium-sized sail like the Hendrika, it takes a lot of strength to reach around and underneath the downhaul to fasten the sail. What was it like with the big sheets?
And the all-clear was also given elsewhere: In the literature, instead of the net, you always see two battens as a boundary at the top and bottom, connected with a zig-zag rope running lengthwise. David Antscherl gave me the hint that this was only a very short-term intermediate development stage that was very quickly replaced by the net.
Sorry, so I don't have any more demolition for you today ....
XXXDAn
So I simply made some pictures that I don't want to withhold from you
Here without the jib boom
And here with
You can see some things well.
- The wings of the bee give our little sailor a good foothold, which also explains the slanting position, which makes it easy to support oneself.
- The net is not particularly in the way, as you have to fish around the bowsprit cap in front of it anyway.
- The inner jib lands immediately in the net when it is brought down and does not lie over the spars. If it is stowed properly and successively when lowering, the standing area of our seamen also stays accessible.
- When the sail is stowed, the jib boom can still be moved.
What is also true, of course, is that this small net has evolved into the jib net we know today, where it has been reversed, because today you stand in the net and the sail rests on the boom. Even when stowing a medium-sized sail like the Hendrika, it takes a lot of strength to reach around and underneath the downhaul to fasten the sail. What was it like with the big sheets?
And the all-clear was also given elsewhere: In the literature, instead of the net, you always see two battens as a boundary at the top and bottom, connected with a zig-zag rope running lengthwise. David Antscherl gave me the hint that this was only a very short-term intermediate development stage that was very quickly replaced by the net.
Sorry, so I don't have any more demolition for you today ....
XXXDAn
- Joined
- Mar 18, 2021
- Messages
- 338
- Points
- 323

With the main yard I tried out the first blocks on the ship, and I really got into it with the hearts on the bow.
In the meantime it has developed further. It's amazing what a large amount came together for the standing rigging alone. Here is a family picture.
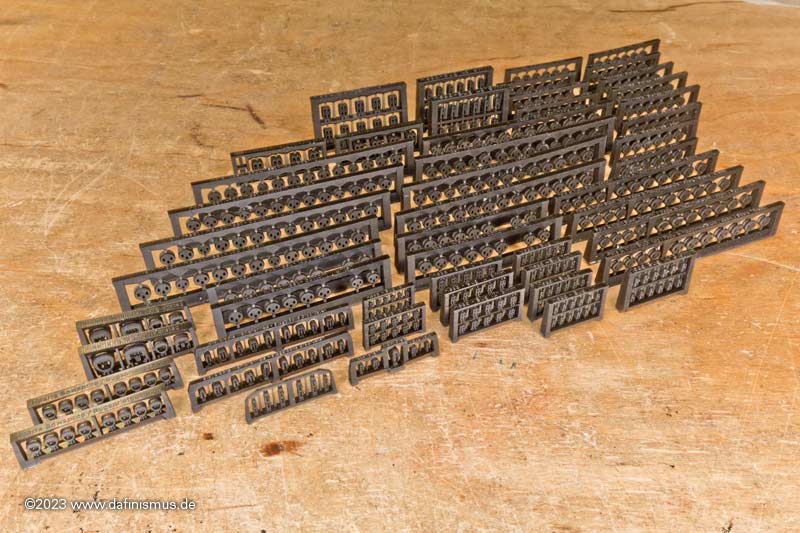
The special blocks were the most fun. Here are some in the foreground.
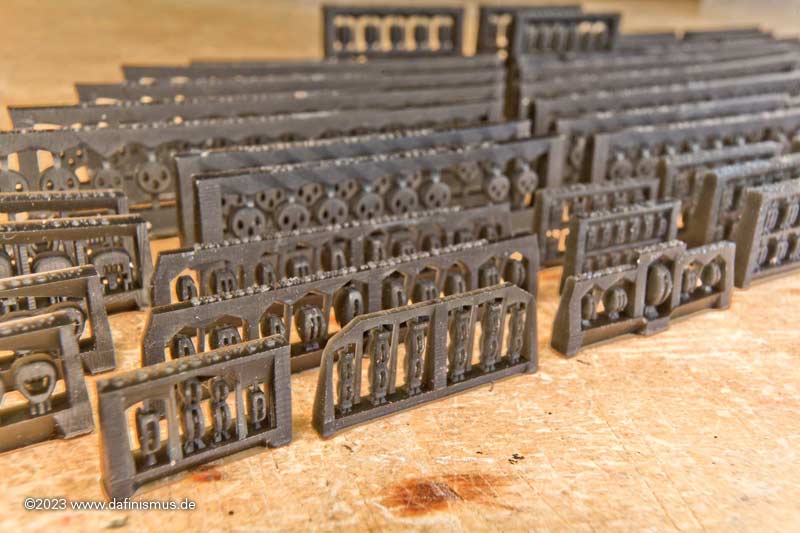
First the Sisterblocks, in German with the crisp name "Stengewantblocks", just try to speak that out loud.
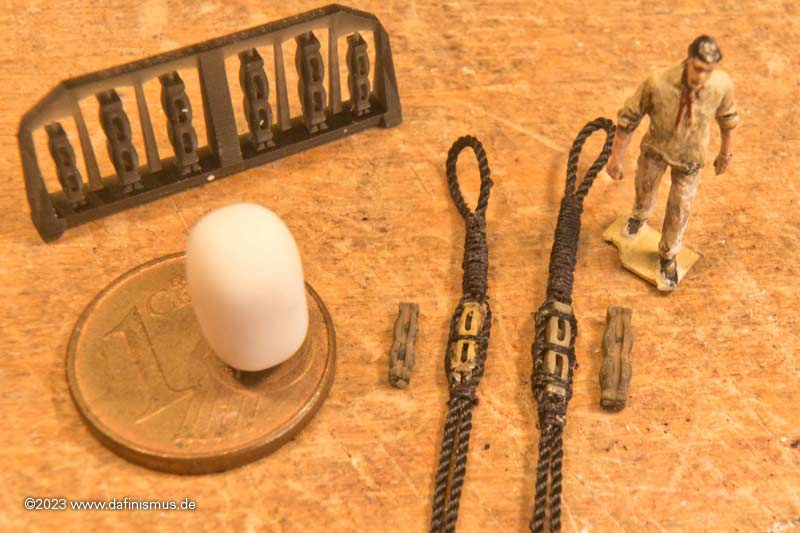
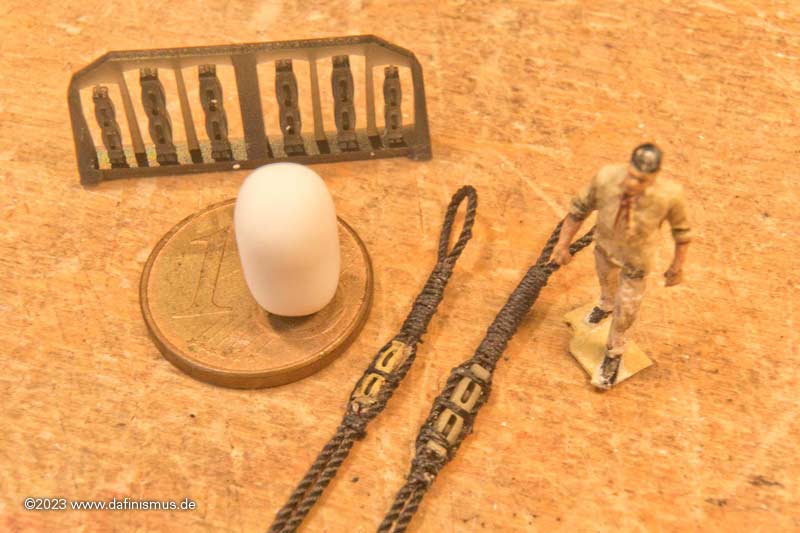
Of course, the test assembly here on the main mast was exciting ...
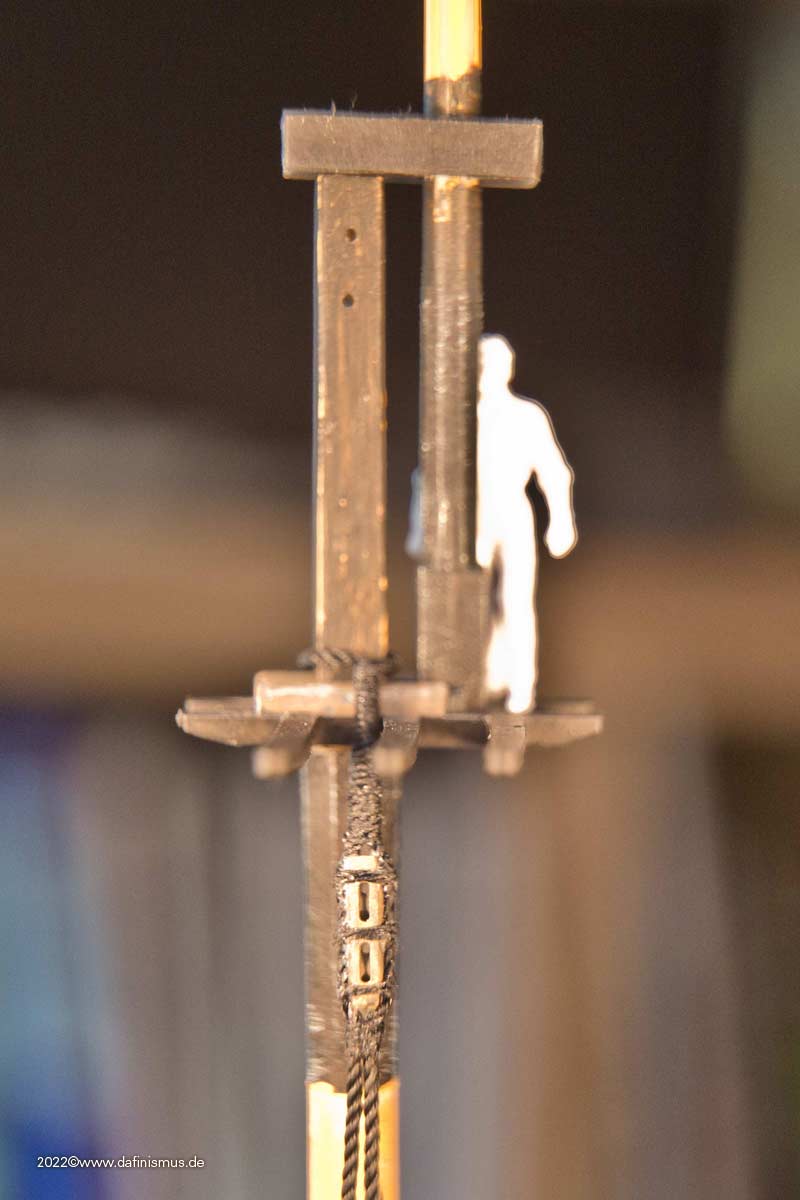
... also with the matching ropes.
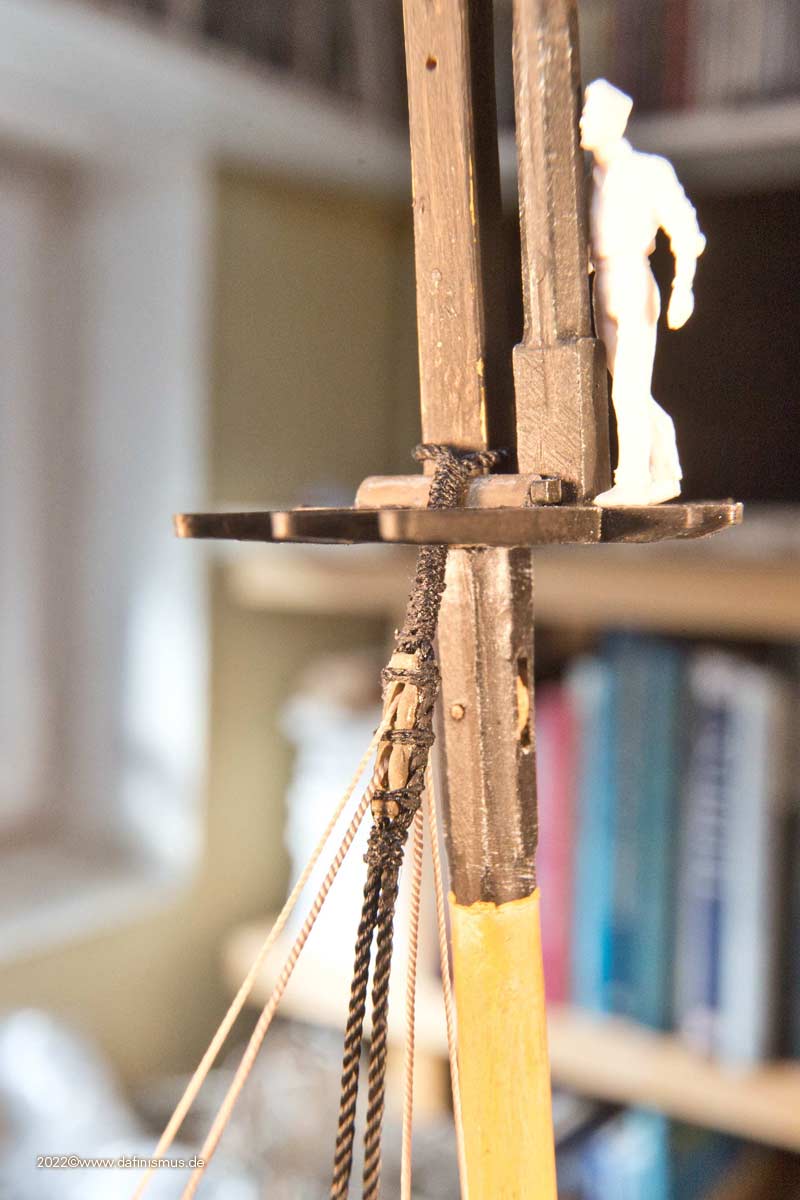
And also cute the smaller version on the mizzen mast.
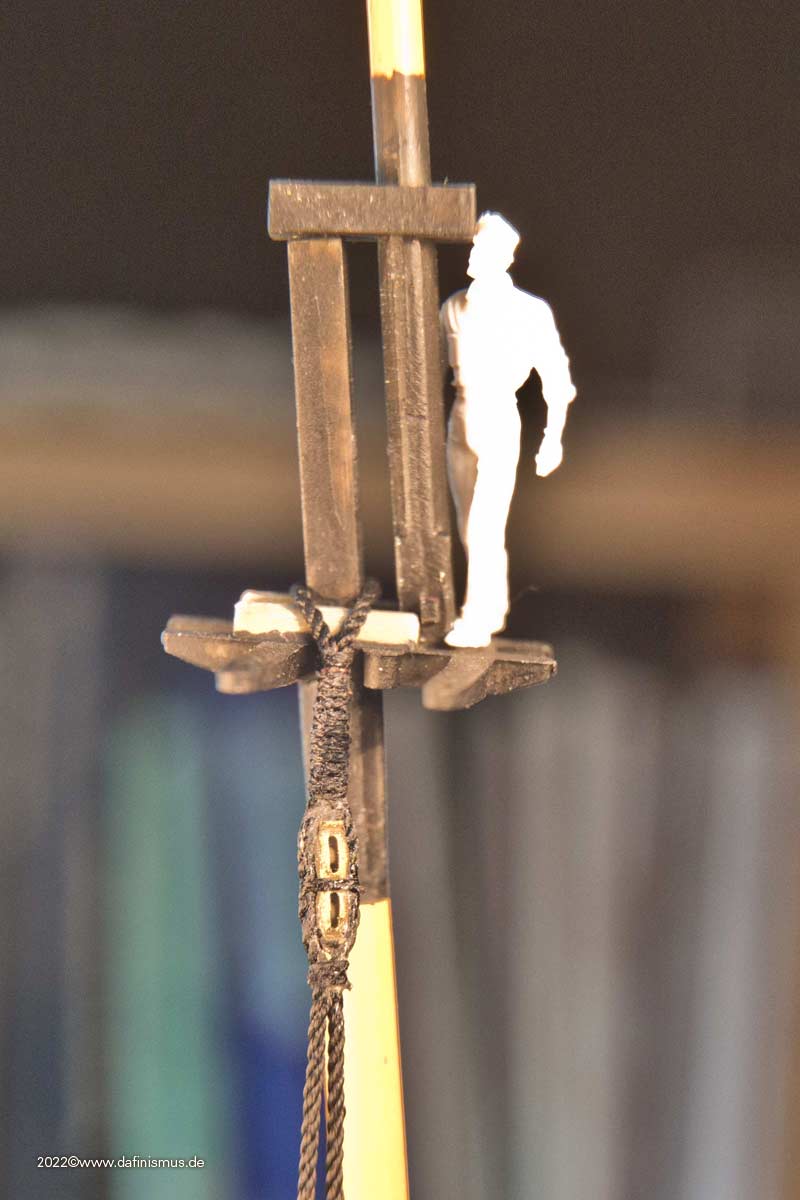
Long tackles blocks are used to stiffen the fore topmast stay and its preventer stay.
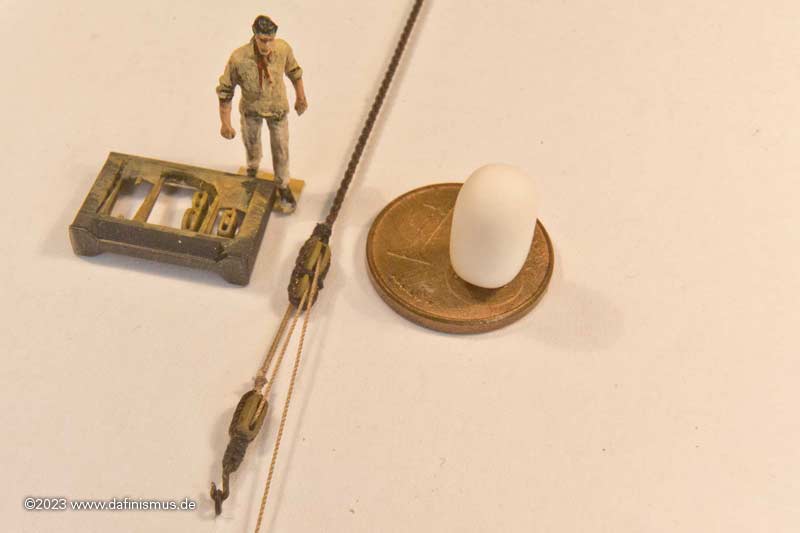
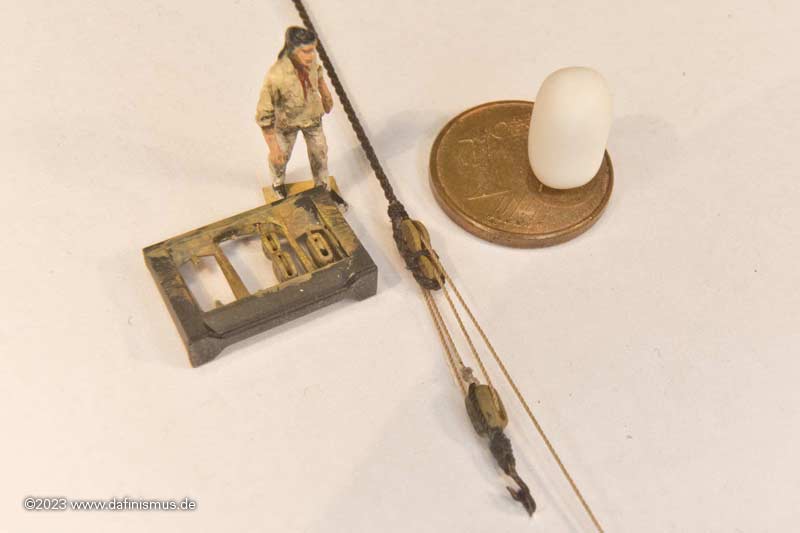
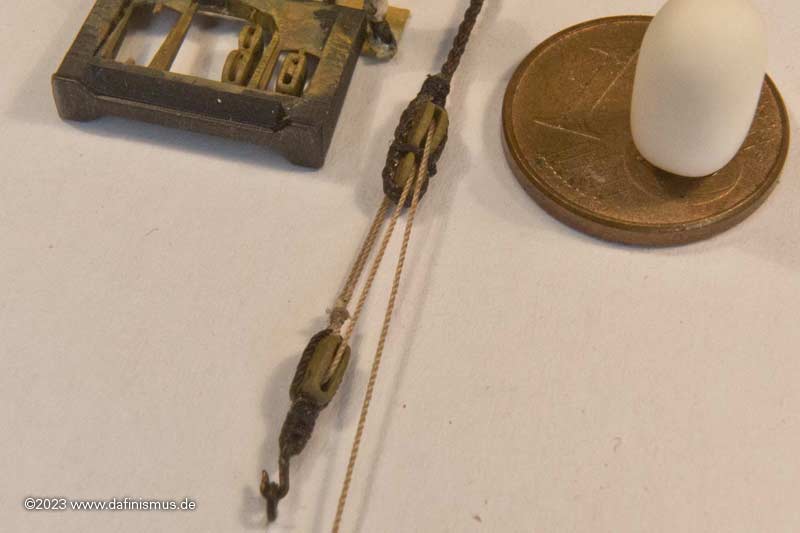
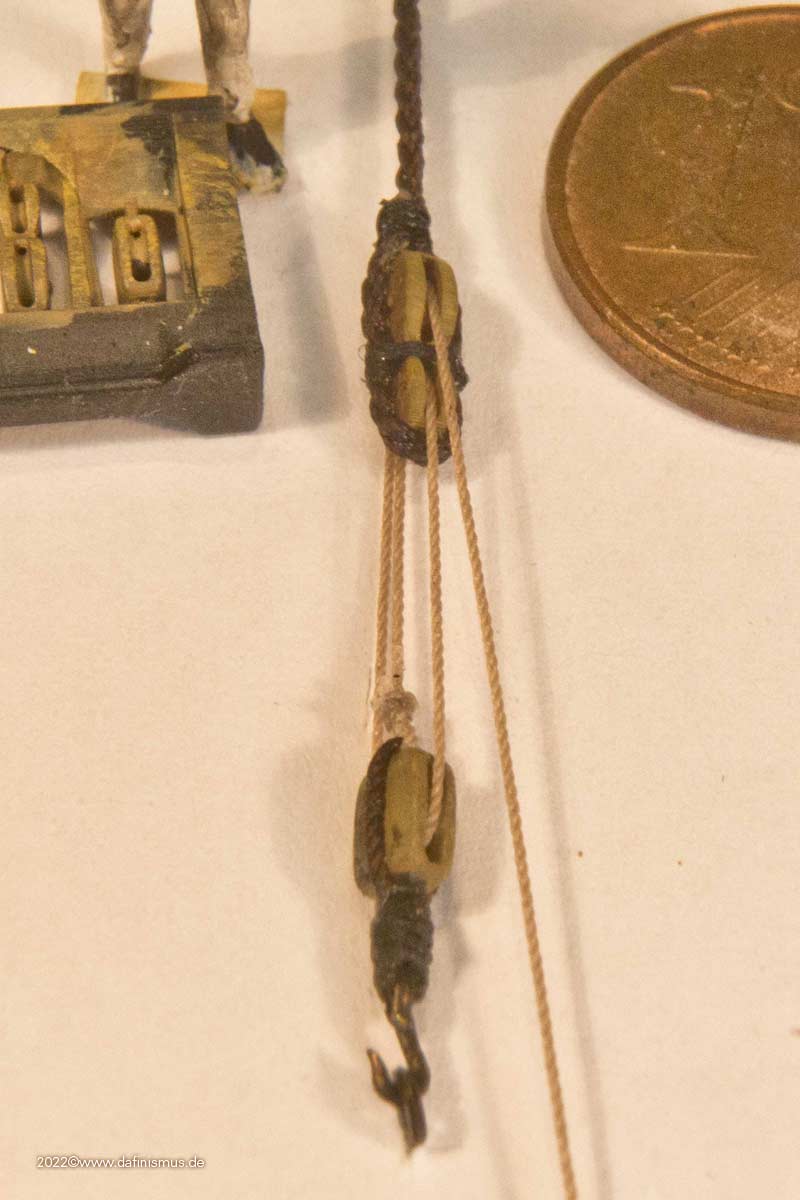
I'm also supposed to pass this in between the guys at the heads. Will also be exciting again.
XXXDAn
In the meantime it has developed further. It's amazing what a large amount came together for the standing rigging alone. Here is a family picture.

The special blocks were the most fun. Here are some in the foreground.

First the Sisterblocks, in German with the crisp name "Stengewantblocks", just try to speak that out loud.


Of course, the test assembly here on the main mast was exciting ...

... also with the matching ropes.

And also cute the smaller version on the mizzen mast.

Long tackles blocks are used to stiffen the fore topmast stay and its preventer stay.


I'm also supposed to pass this in between the guys at the heads. Will also be exciting again.
XXXDAn
excellent work on the blocks and tackles
- Joined
- Mar 18, 2021
- Messages
- 338
- Points
- 323

Once upon a time ...
The dafi had its annual public tinkering session with its modelling club at the Stuttgart trade fair. Then we went straight from the trade fair to a customer in Austria for a while. I didn't have a chance to think about anything model-building-related.
I'm back home now, and I can only catch up on what I've been doing over the last two months. But first things first
Before the trade fair, I had finished the running rigging. I wanted to try it out at the fair to see if it would be manageable, as the stuff - if true to scale - is very, very small.
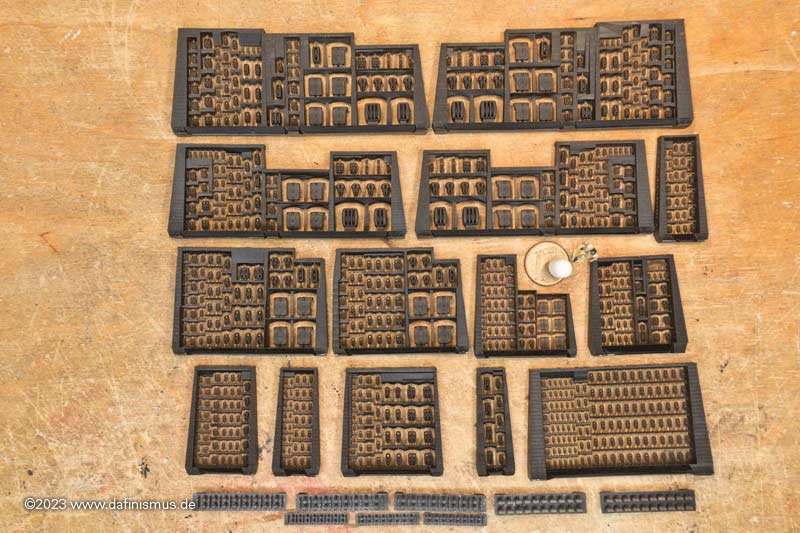
As with the standing rigging, I have summarised the block sets for the individual locations.
Here are the yards of the main mast ...
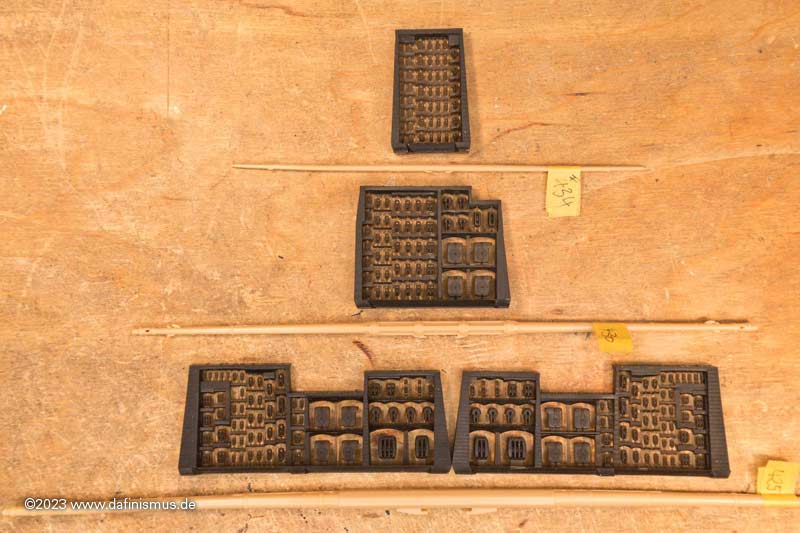
... of the foremast ...
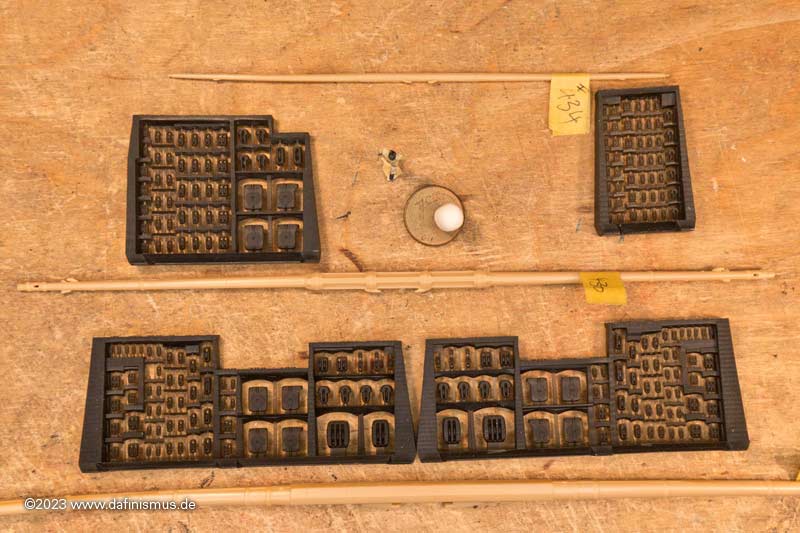
... and the mizzen mast.
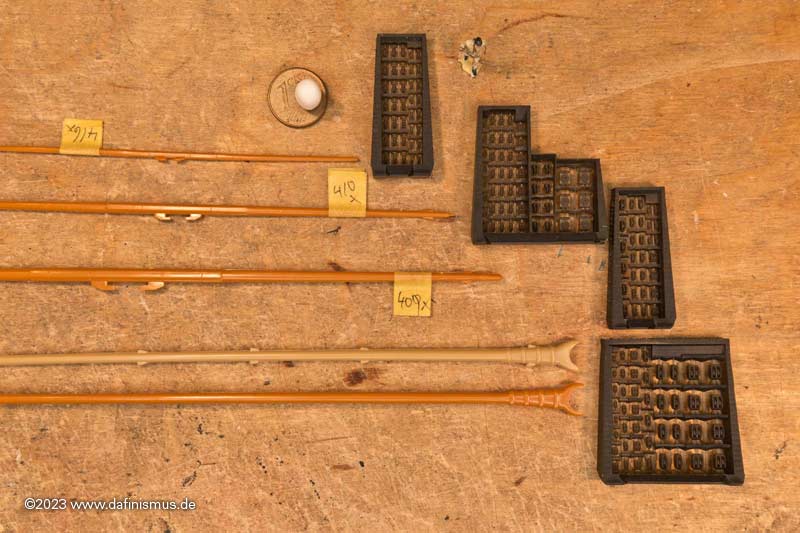
There are also the collections for headsails, stunsails and other locations.
It was fun again at the trade fair.
Our booth ...
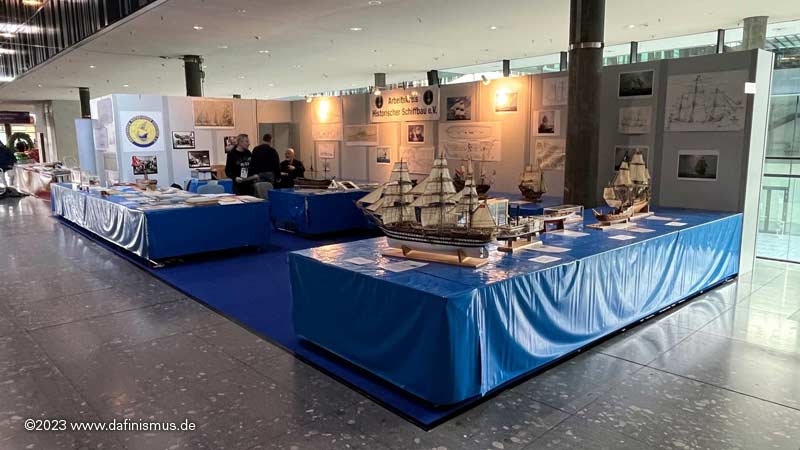
... my workplace ...
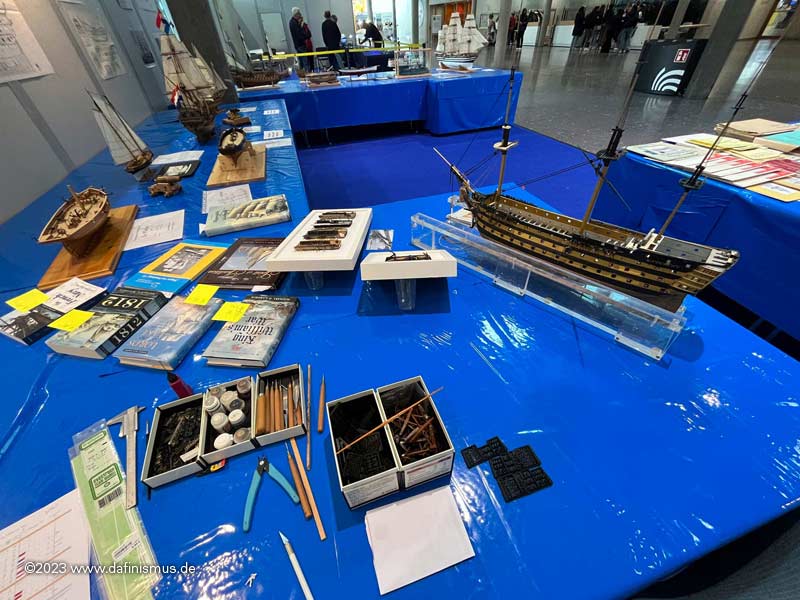
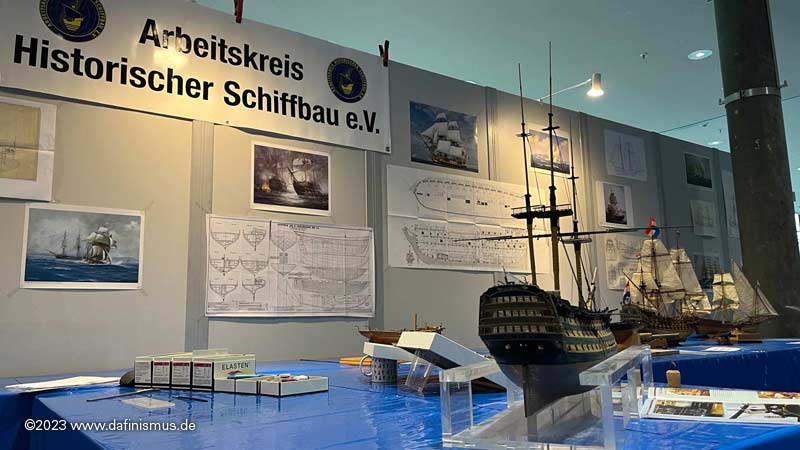
... and my colleagues in typical working posture ;-)
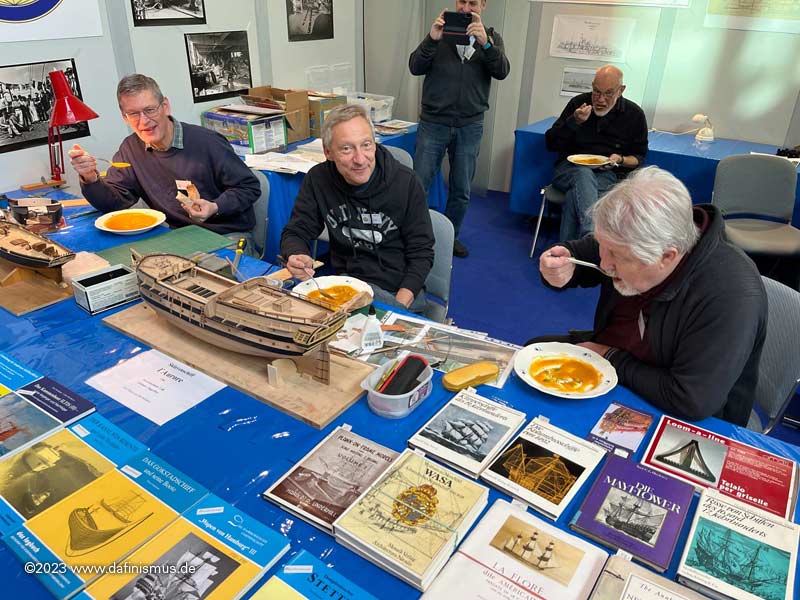
It was especially funny there when you want to try out the 2 mm blocks - the smallest of the sets - and don't have everything you need with you. Dear Alex then played vice and held my auxiliary jig for rigging - thanks for that!
It worked straight away and with my now tried and tested technique, even these small blocks are wonderfully quick and easy to rig.
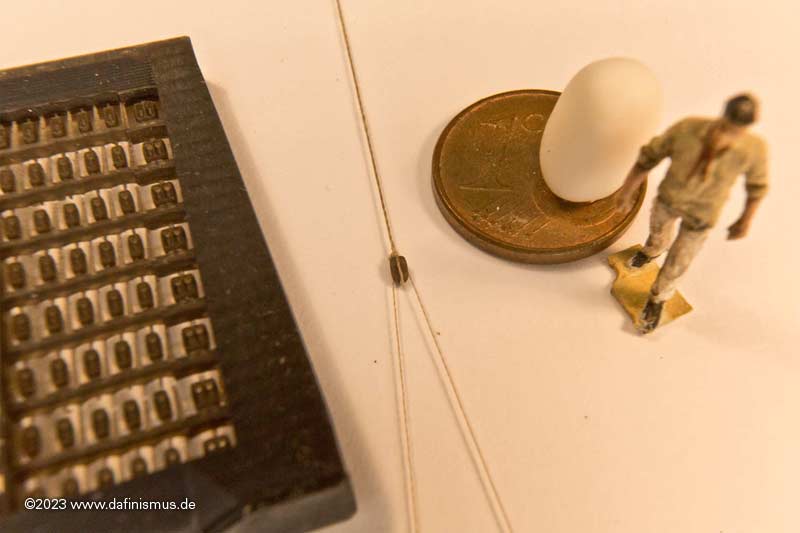
What was still missing were the parrells. I also managed to do this in a last-minute operation. Here are the two sizes with ribs for the top and topgallant yards.
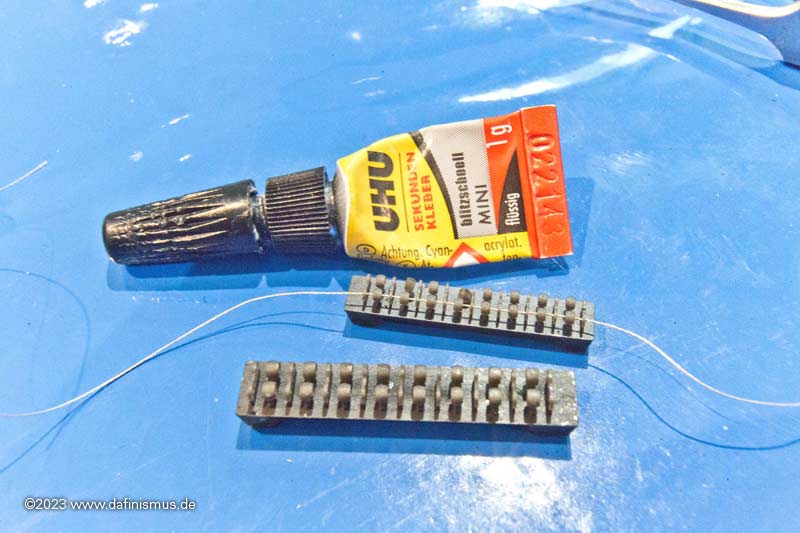
Threaded for neatening ...
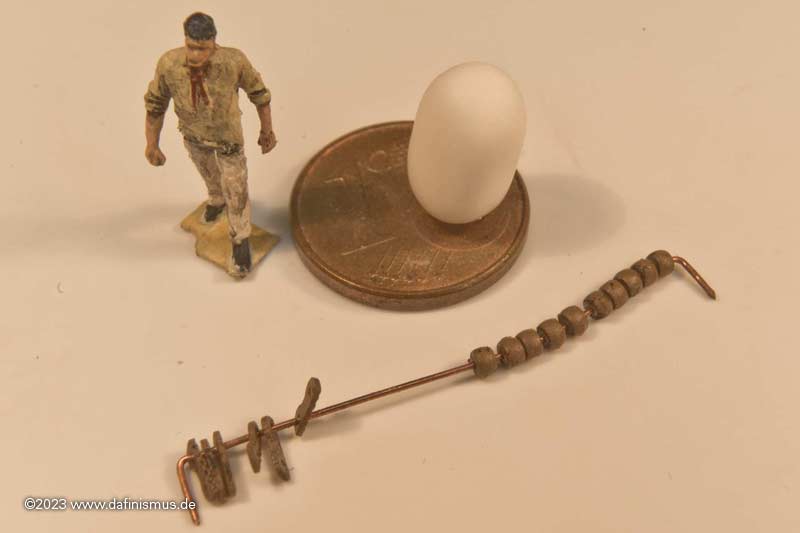
... and the first tying attempt to find out how many are needed.
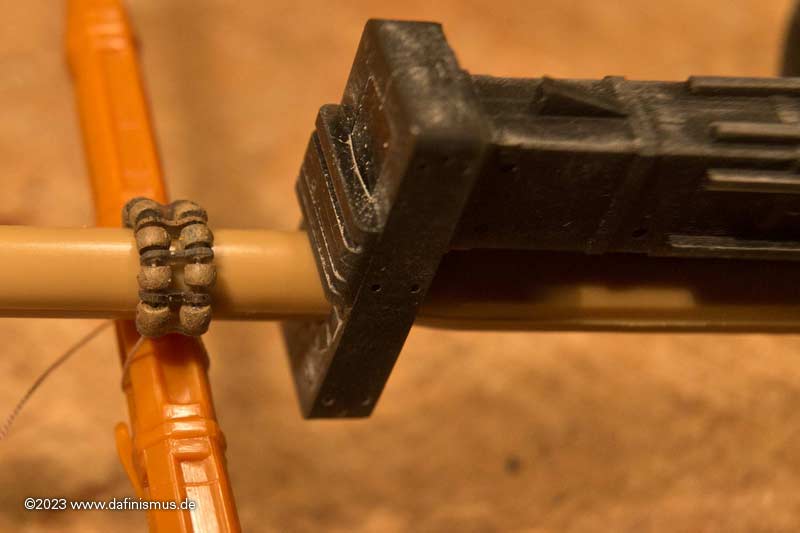
Here is the final version on the main top yard ...
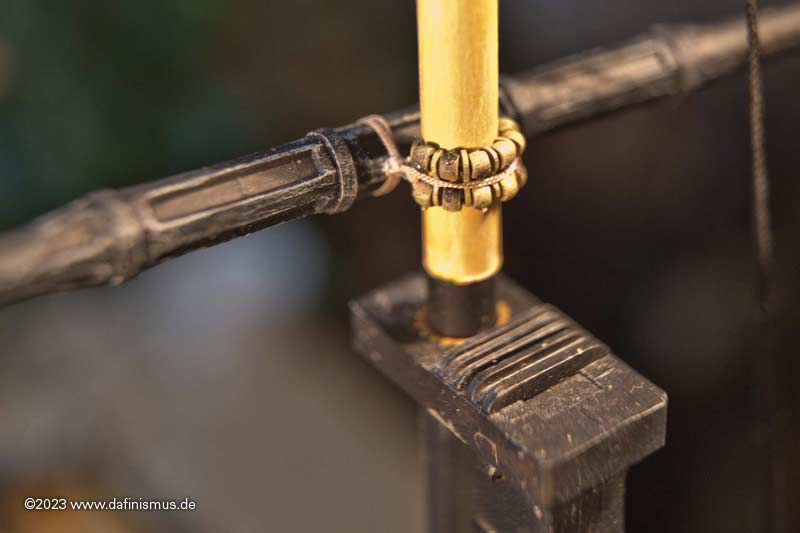
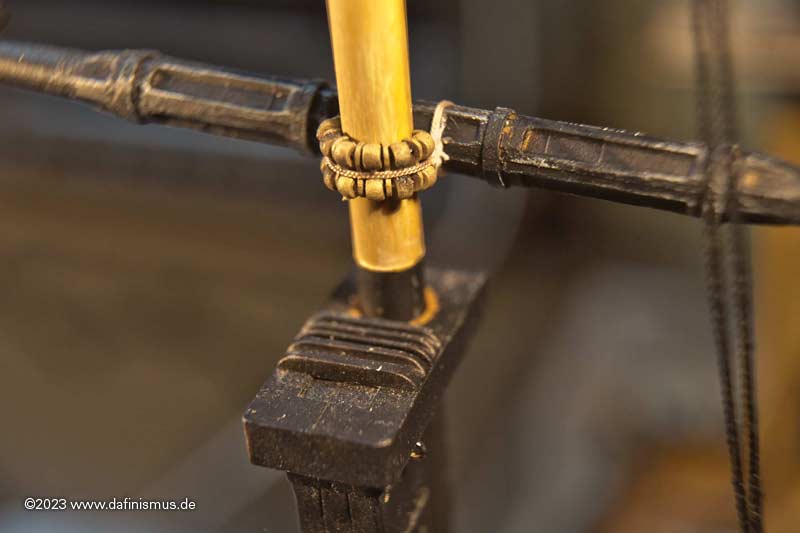
... and with a able seaman for the dimensions.
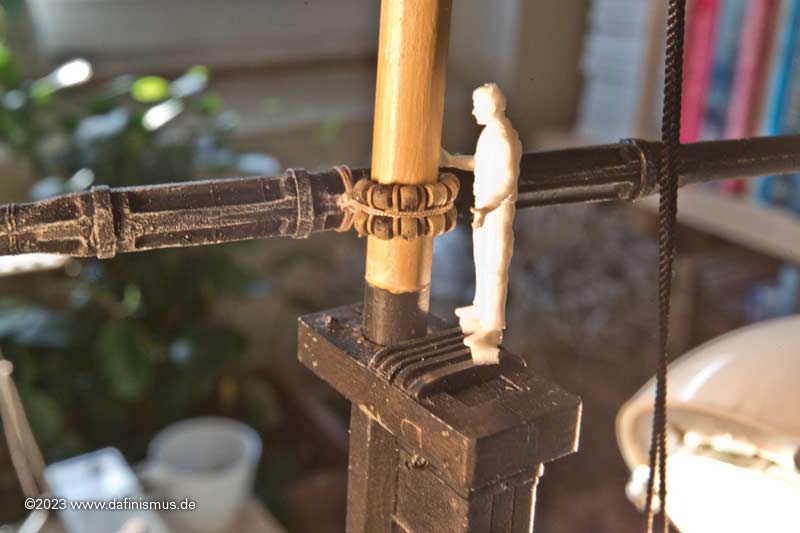
Someone also climbed up especially for the topgallant yard.
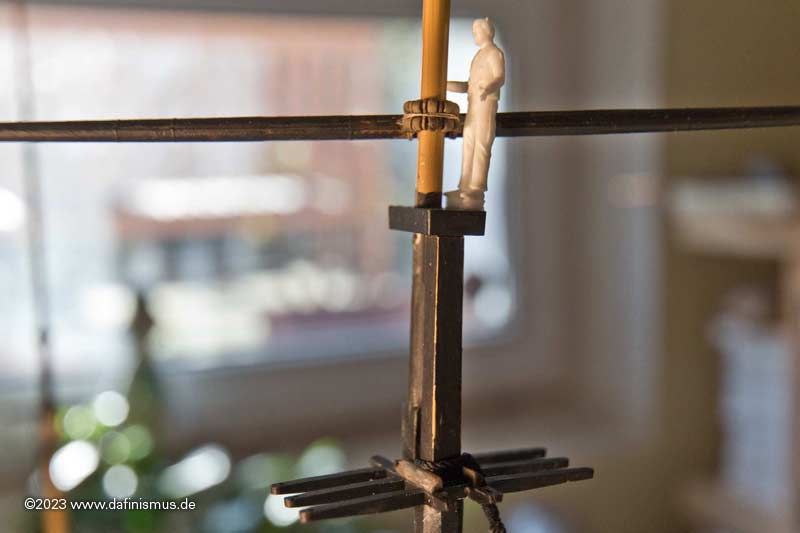
And to round things off, the stuff for the gaff also got their own size of parrells. First try ...
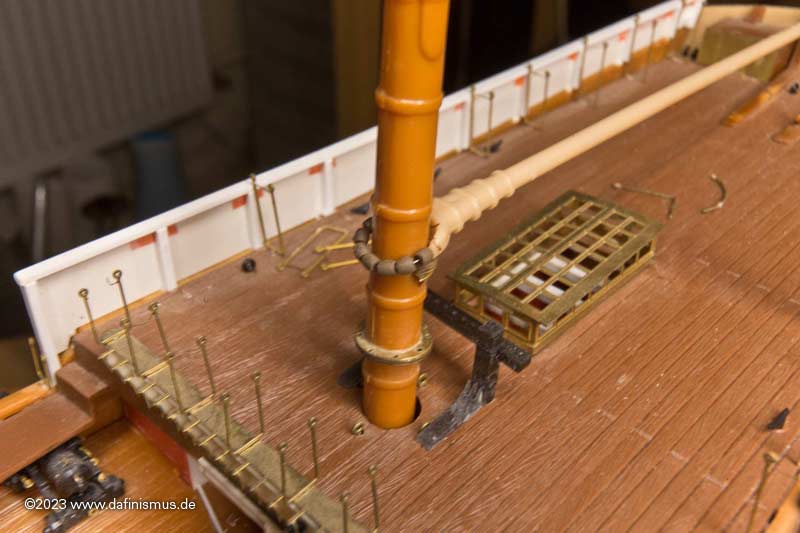
... the shape was adjusted a little and the final version is on its way.
The claw is also grained with the centre punch ...
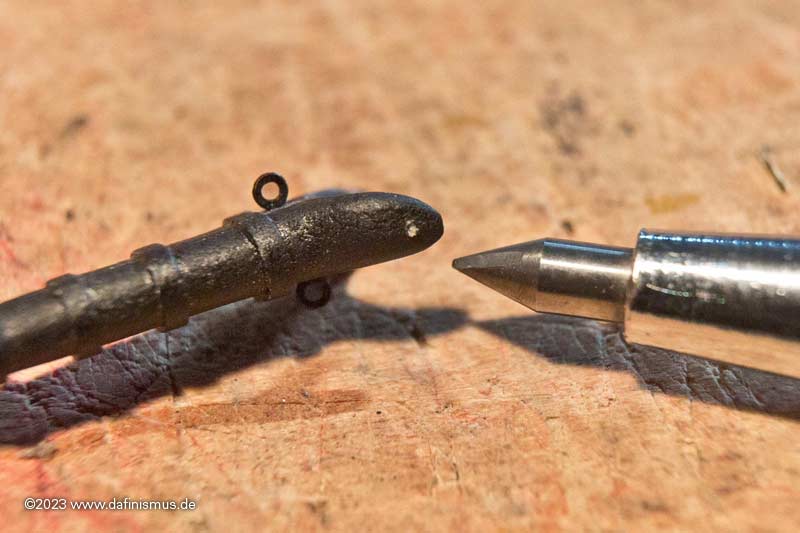
... and drilled out with 0.5 mm ...
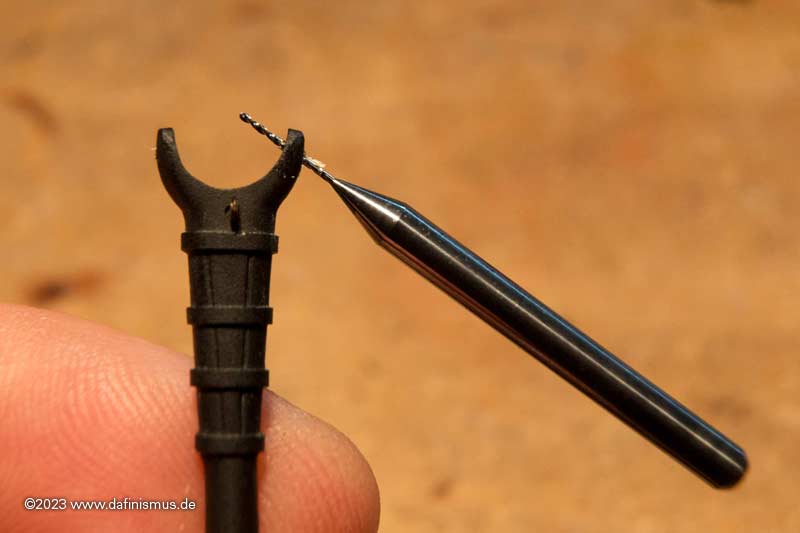
... the blocks trimmed and wooded ...
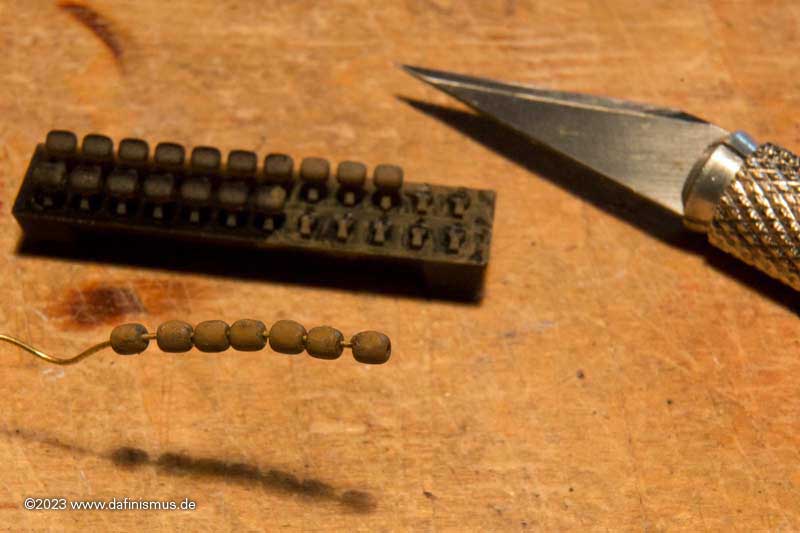
... and into place ...
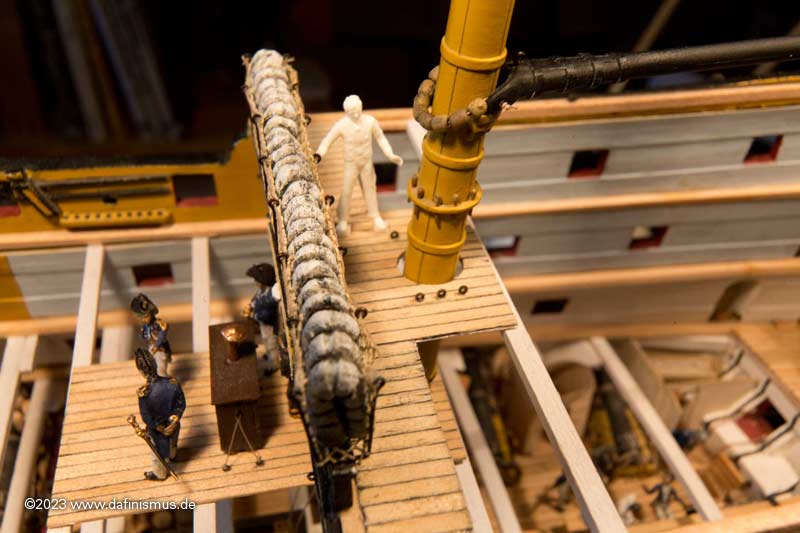
... and everything fits! Fits
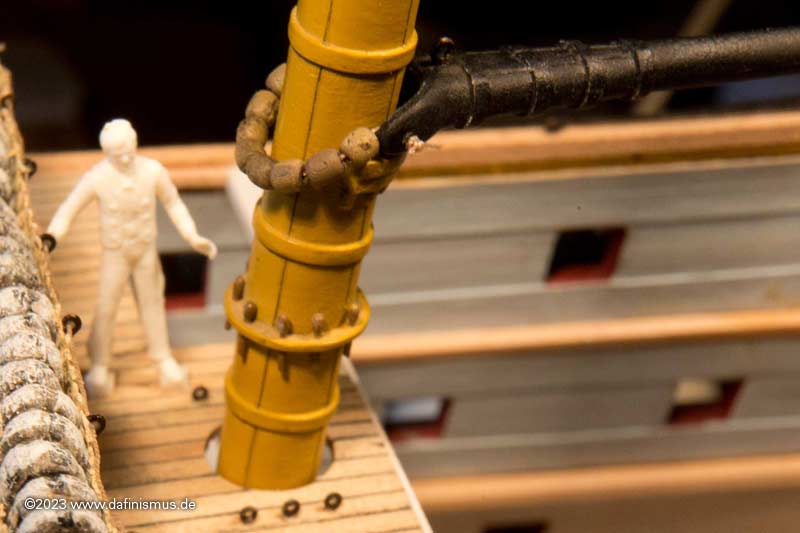
Best regards, Daniel
The dafi had its annual public tinkering session with its modelling club at the Stuttgart trade fair. Then we went straight from the trade fair to a customer in Austria for a while. I didn't have a chance to think about anything model-building-related.
I'm back home now, and I can only catch up on what I've been doing over the last two months. But first things first
Before the trade fair, I had finished the running rigging. I wanted to try it out at the fair to see if it would be manageable, as the stuff - if true to scale - is very, very small.

As with the standing rigging, I have summarised the block sets for the individual locations.
Here are the yards of the main mast ...

... of the foremast ...

... and the mizzen mast.

There are also the collections for headsails, stunsails and other locations.
It was fun again at the trade fair.
Our booth ...

... my workplace ...


... and my colleagues in typical working posture ;-)

It was especially funny there when you want to try out the 2 mm blocks - the smallest of the sets - and don't have everything you need with you. Dear Alex then played vice and held my auxiliary jig for rigging - thanks for that!
It worked straight away and with my now tried and tested technique, even these small blocks are wonderfully quick and easy to rig.

What was still missing were the parrells. I also managed to do this in a last-minute operation. Here are the two sizes with ribs for the top and topgallant yards.

Threaded for neatening ...

... and the first tying attempt to find out how many are needed.

Here is the final version on the main top yard ...


... and with a able seaman for the dimensions.

Someone also climbed up especially for the topgallant yard.

And to round things off, the stuff for the gaff also got their own size of parrells. First try ...

... the shape was adjusted a little and the final version is on its way.
The claw is also grained with the centre punch ...

... and drilled out with 0.5 mm ...

... the blocks trimmed and wooded ...

... and into place ...

... and everything fits! Fits

Best regards, Daniel
As always, amazing work!
- Joined
- Mar 18, 2021
- Messages
- 338
- Points
- 323

I've been busy lately and haven't had much time to tinker. But the list of blocks to be used on the Vic and the corresponding rope thicknesses has finally been finalized. Time to check some of them again. As the blocks are sorted by yards and other locations, here is the block set for the main yard.

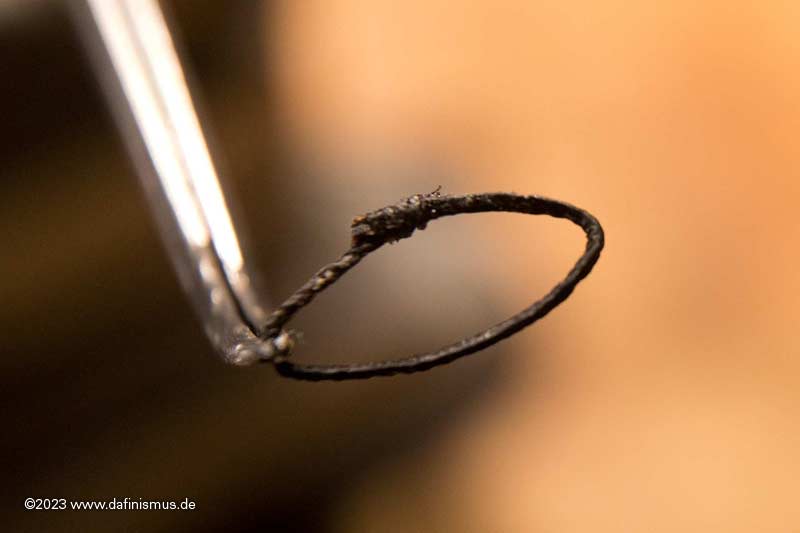
Since the main yard has already been started, I've taken on the lifts. First the hangers. As usually served with white glue and black paint.
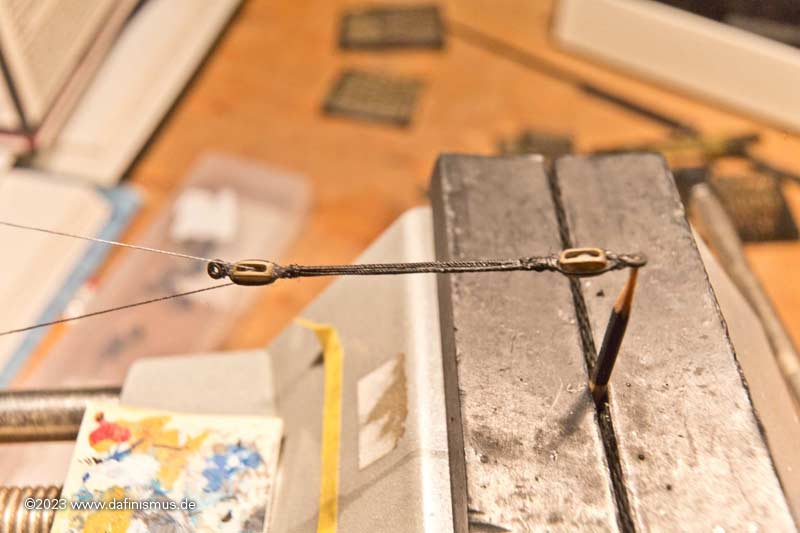
The loop underneath the cap that holds the hanger together.
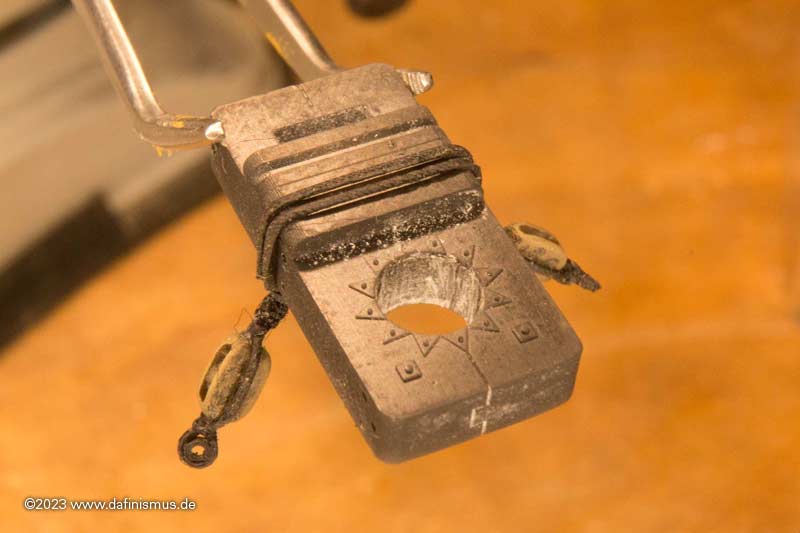
And here the assembly on a spare mast cap.
More hopefully soon.
XXXDAn

Since the main yard has already been started, I've taken on the lifts. First the hangers. As usually served with white glue and black paint.

The loop underneath the cap that holds the hanger together.

And here the assembly on a spare mast cap.

More hopefully soon.
XXXDAn
- Joined
- Mar 18, 2021
- Messages
- 338
- Points
- 323

Thank you Rokket 
Next, of course, was the combination of blocks with a shoulder block for the top sail sheet and a normal block for the lift on the yardarm.
First the two blocks stropped together ...
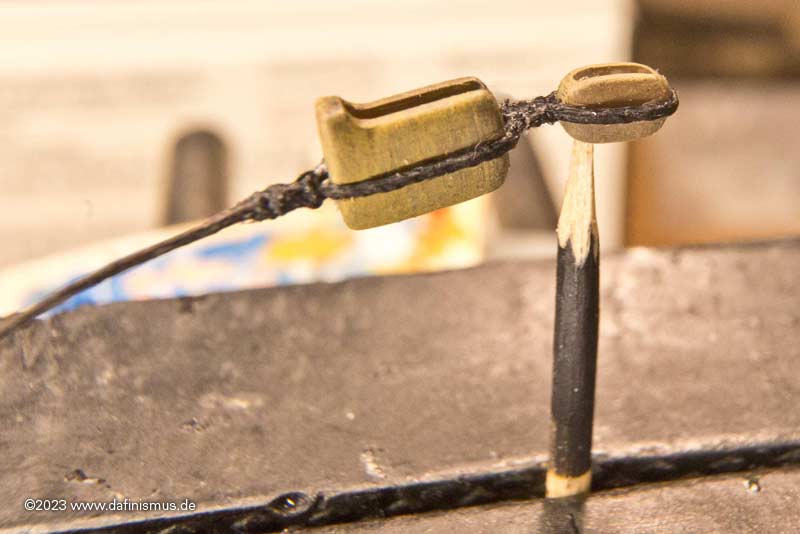
... then still smuggled in with bright rope the loop for the horses onto the cleat and finally tied in the eye for the double block at the outside.
First one side ...
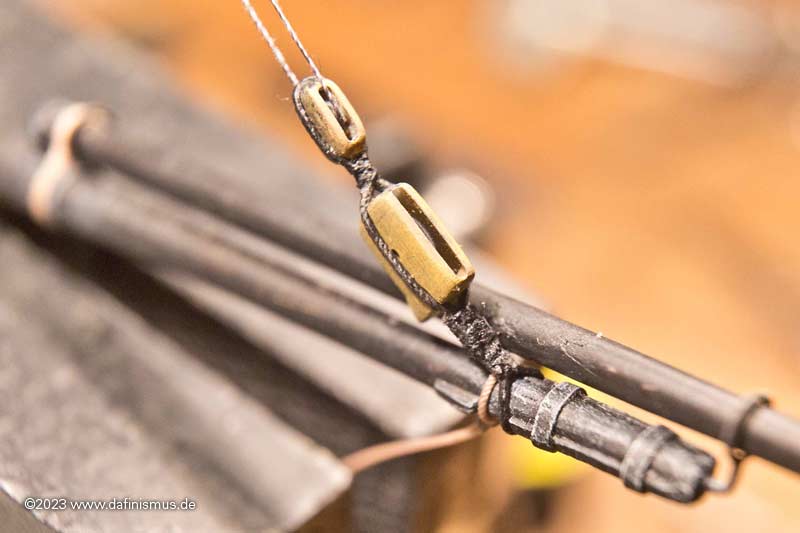
... and then the second ...
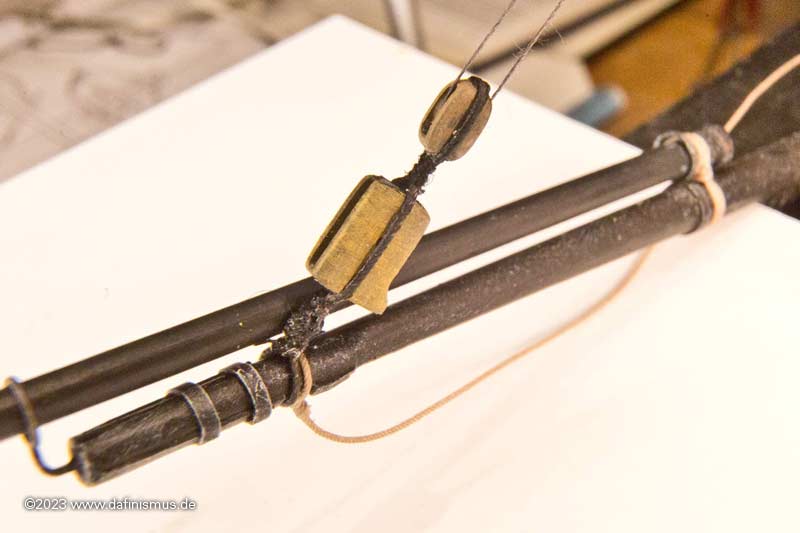
... and everything for the lifts is on the yardarm
XXXDAn
Next, of course, was the combination of blocks with a shoulder block for the top sail sheet and a normal block for the lift on the yardarm.
First the two blocks stropped together ...

... then still smuggled in with bright rope the loop for the horses onto the cleat and finally tied in the eye for the double block at the outside.
First one side ...

... and then the second ...

... and everything for the lifts is on the yardarm
XXXDAn
Last edited:
- Joined
- Aug 20, 2022
- Messages
- 177
- Points
- 88

Awesome as usual Dan. Looks like it's time for another hard copy printing update.


