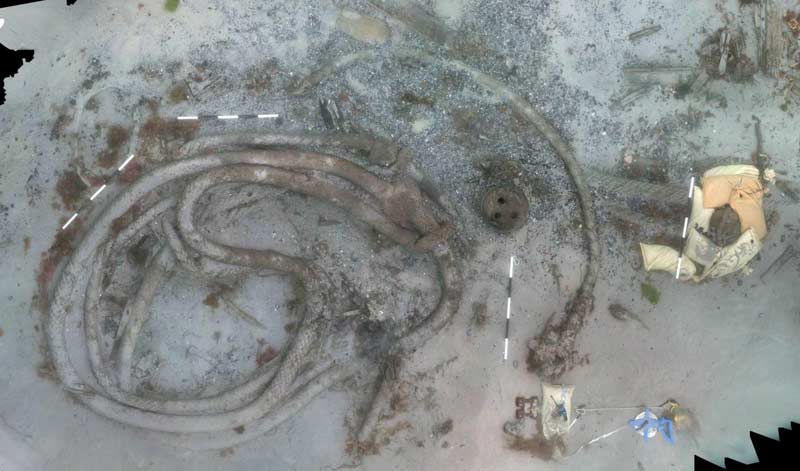
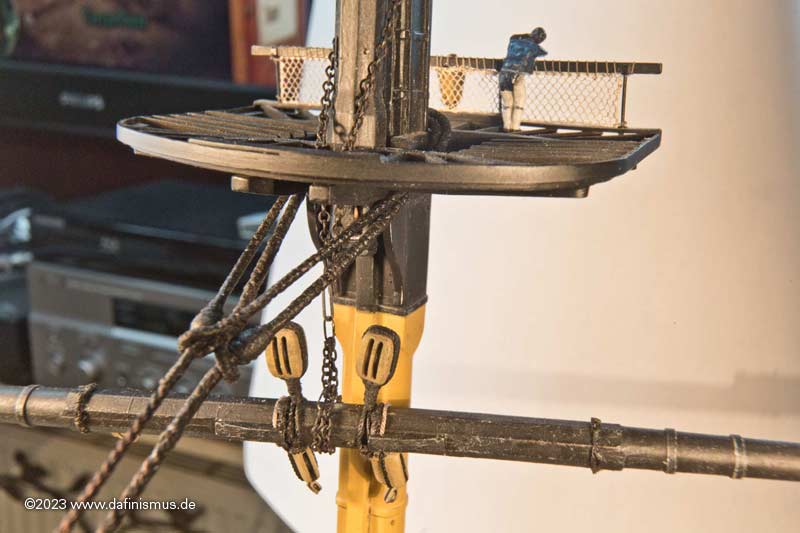
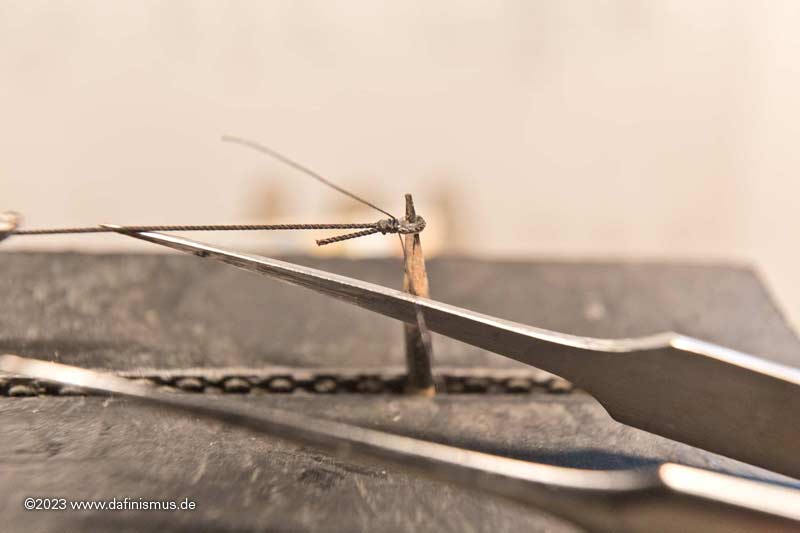
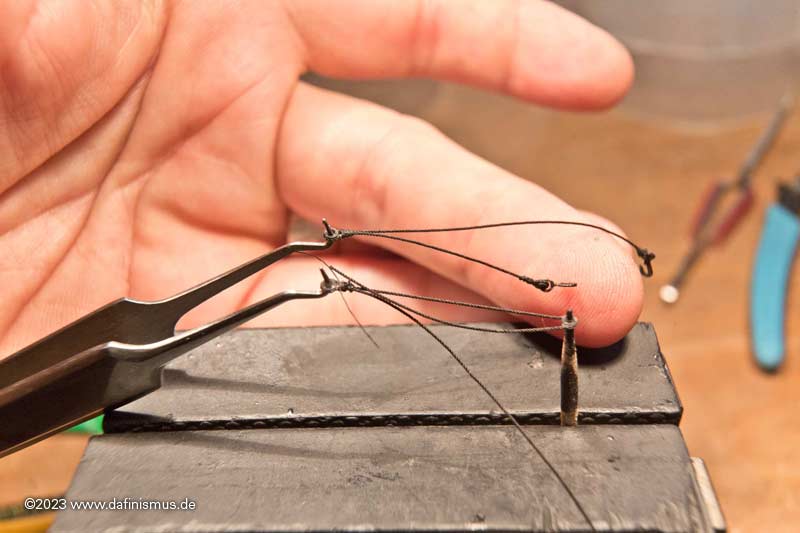
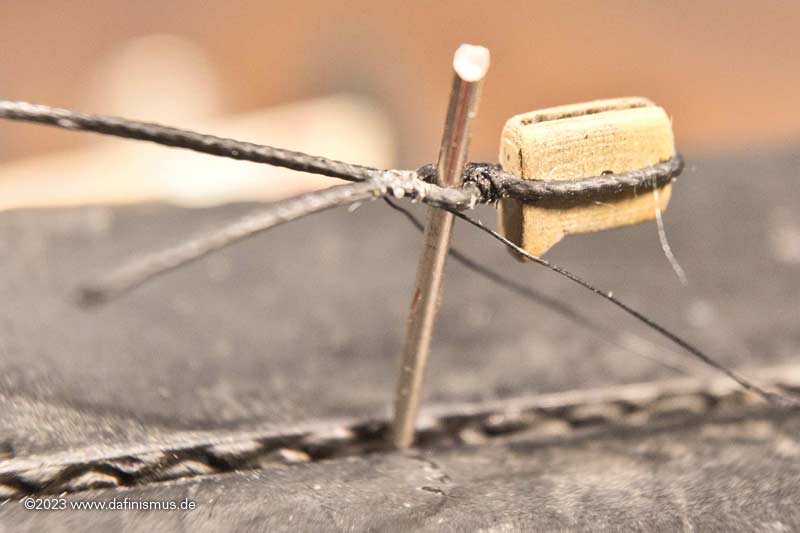
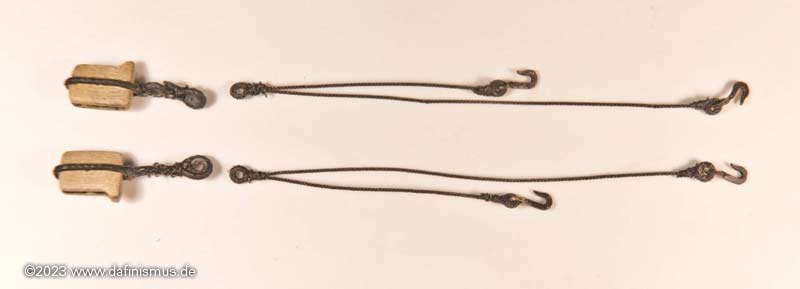
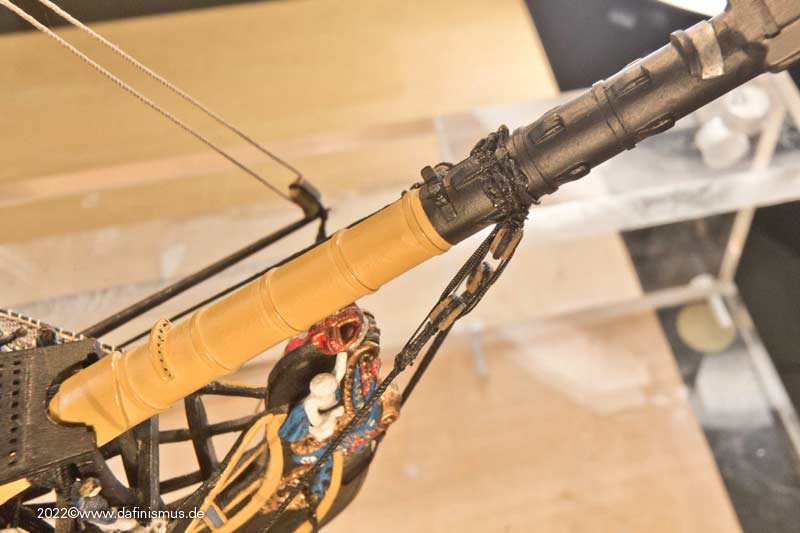
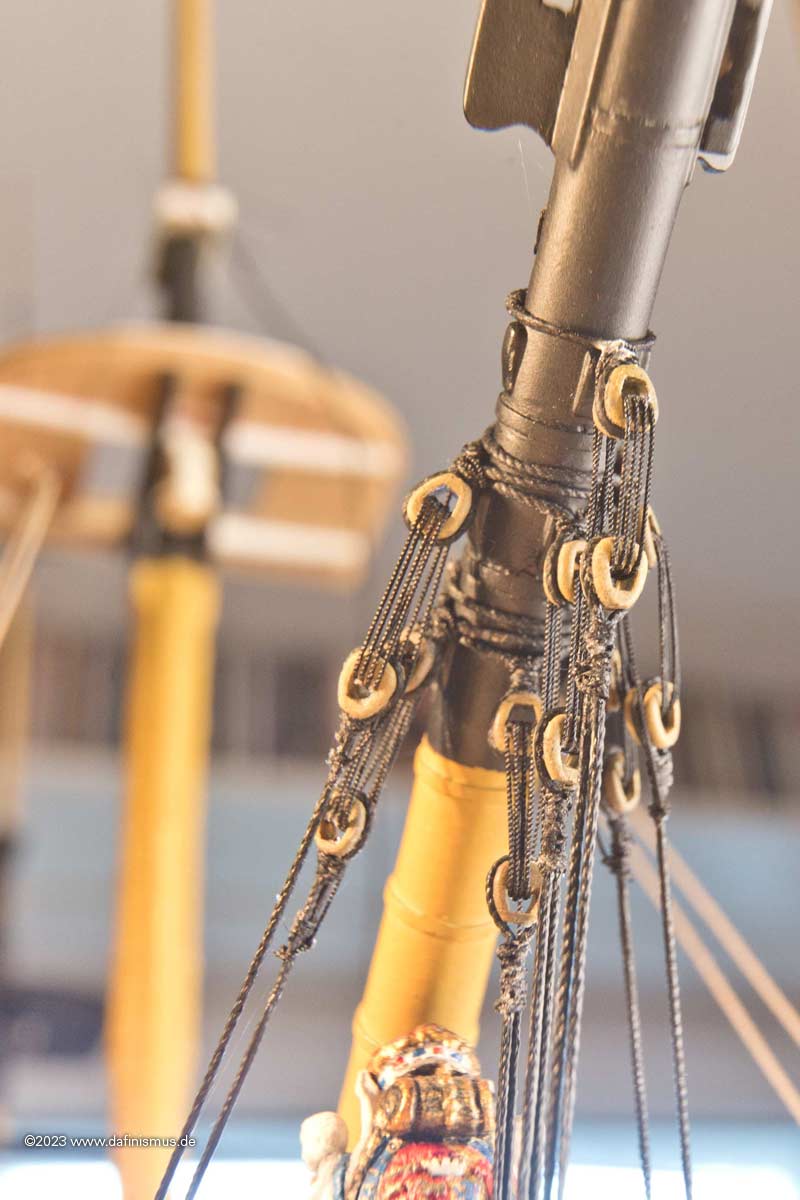
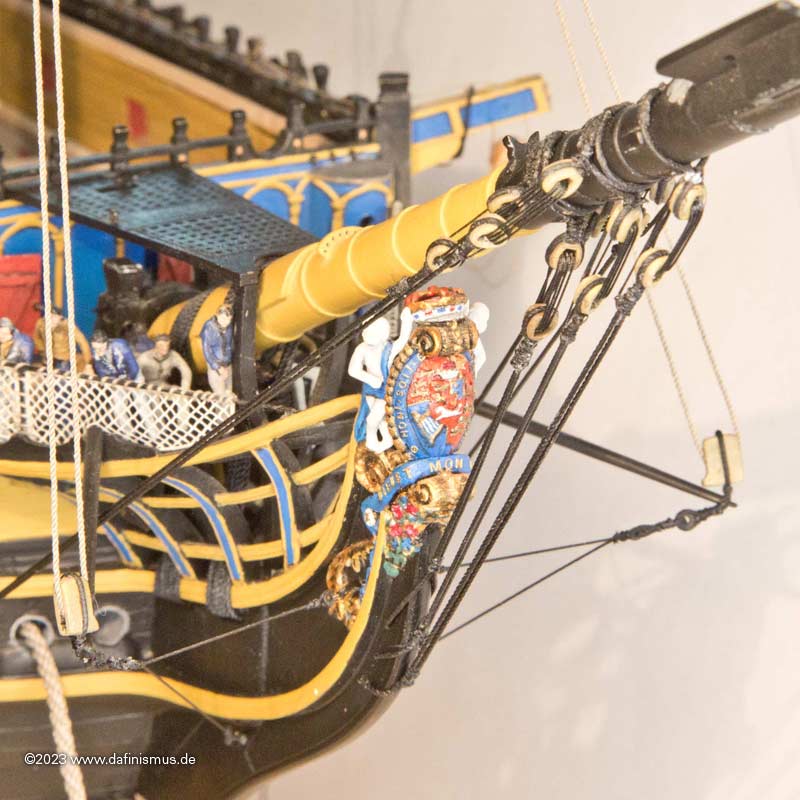
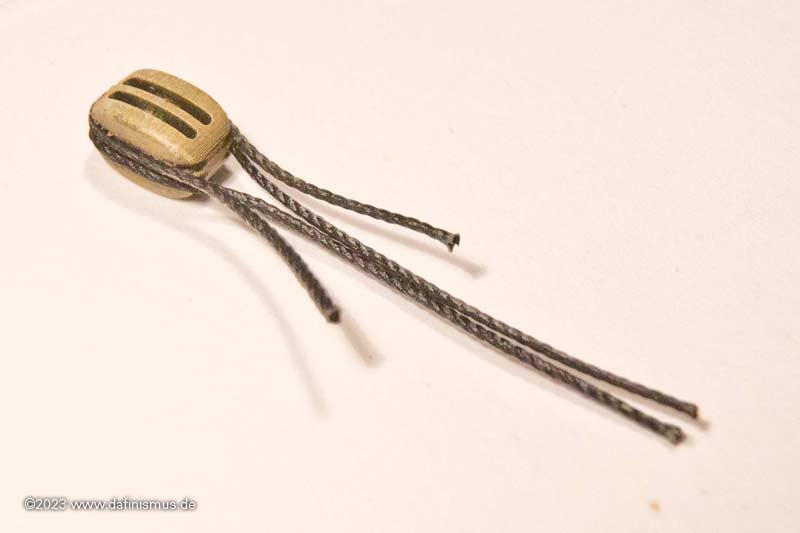
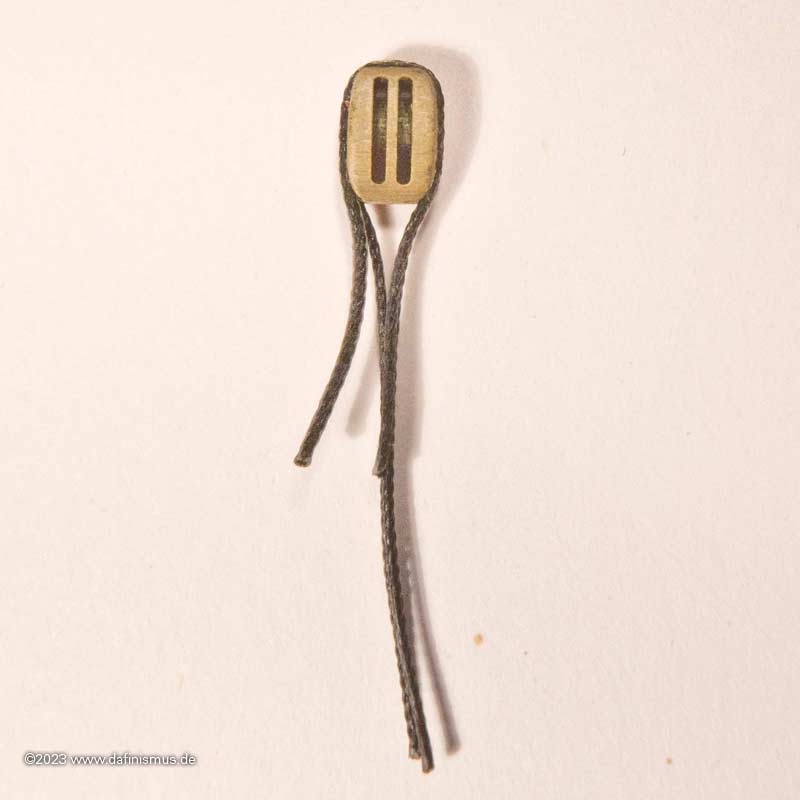
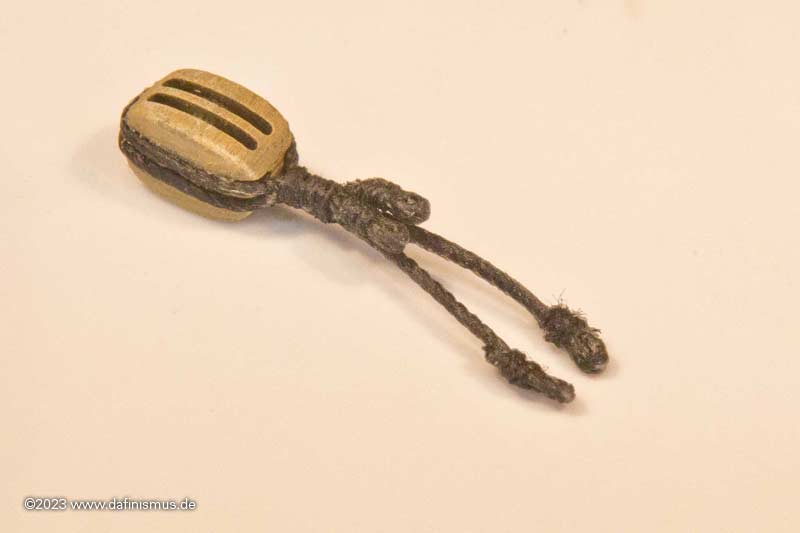
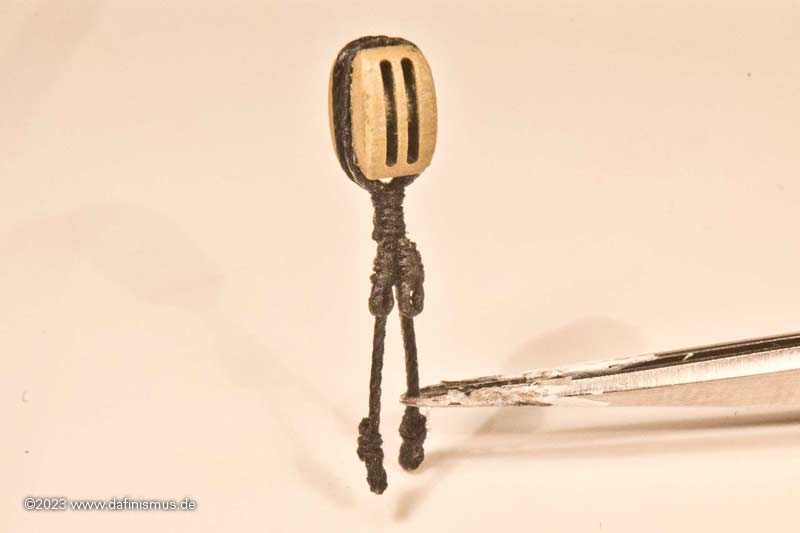
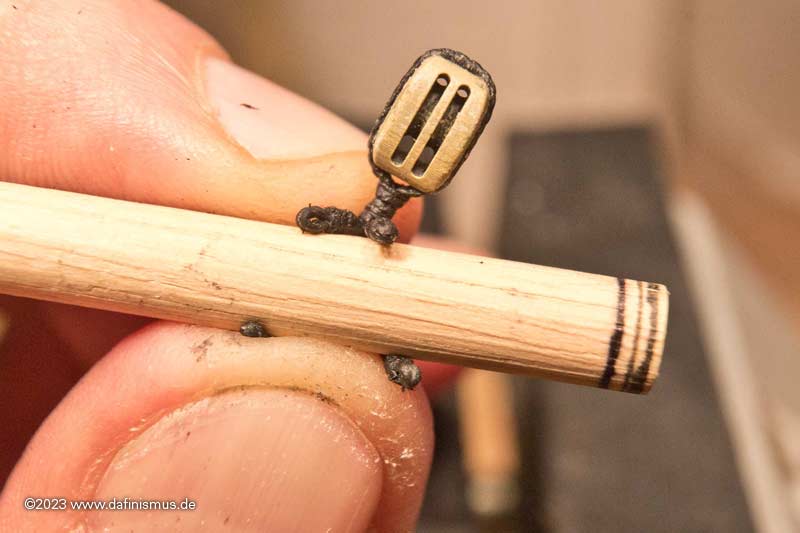
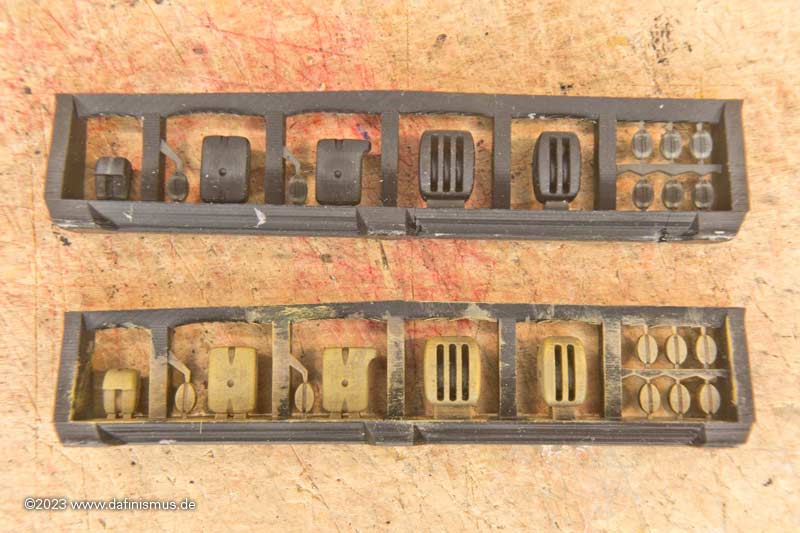
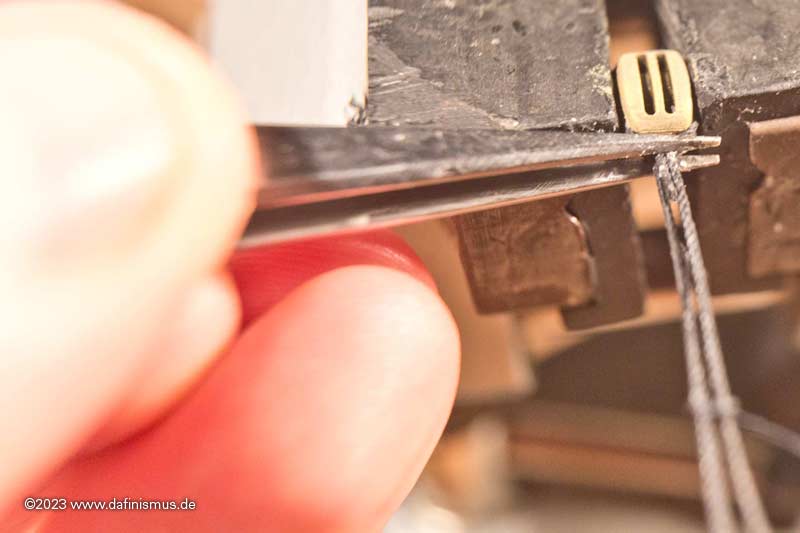
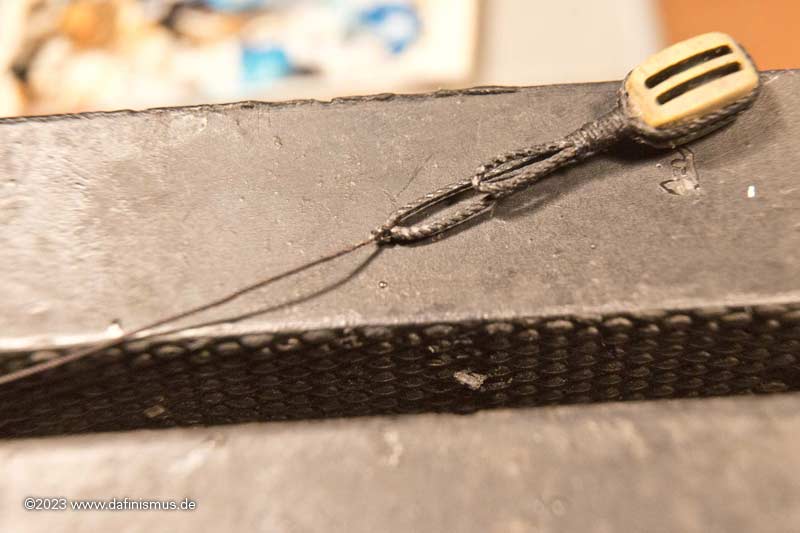
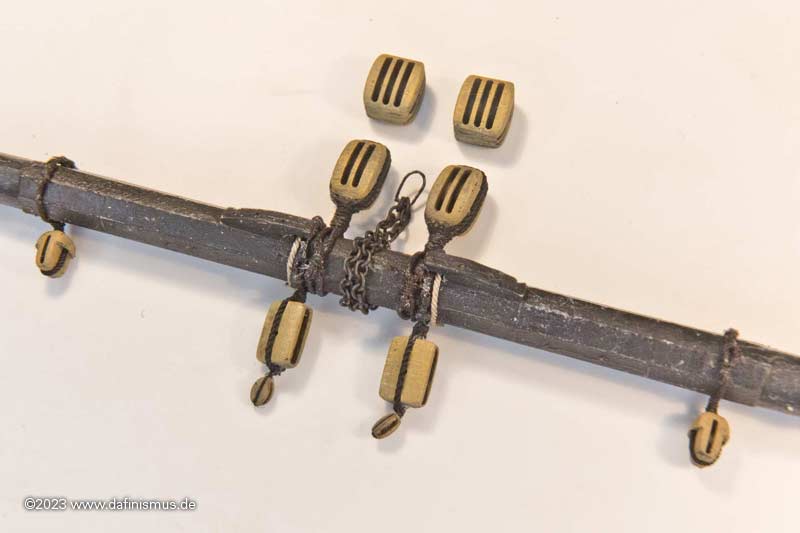
Ganz schön langes "Gestänge"
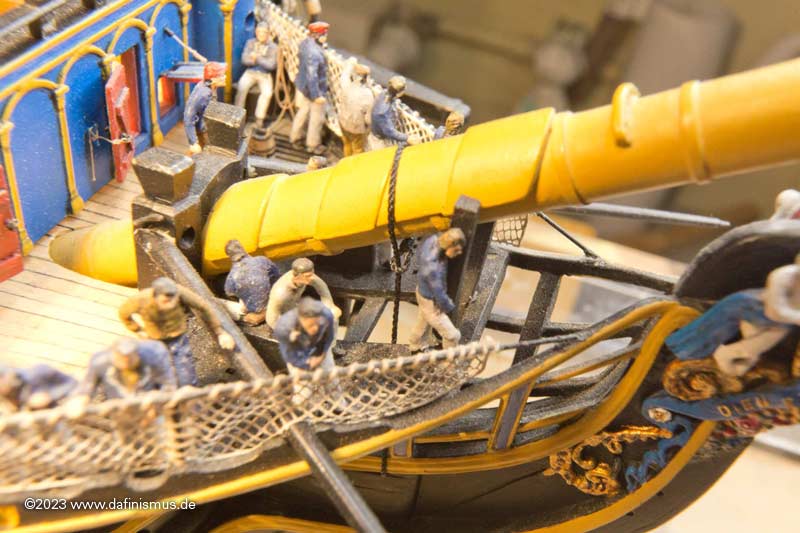
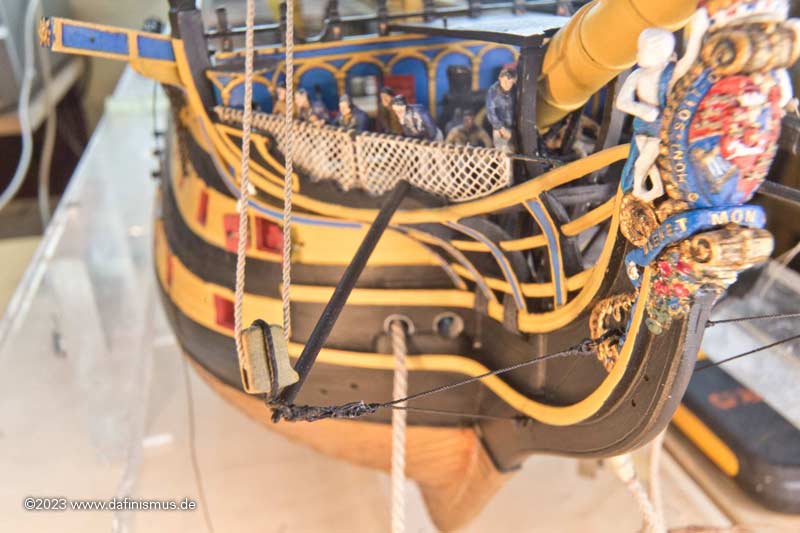
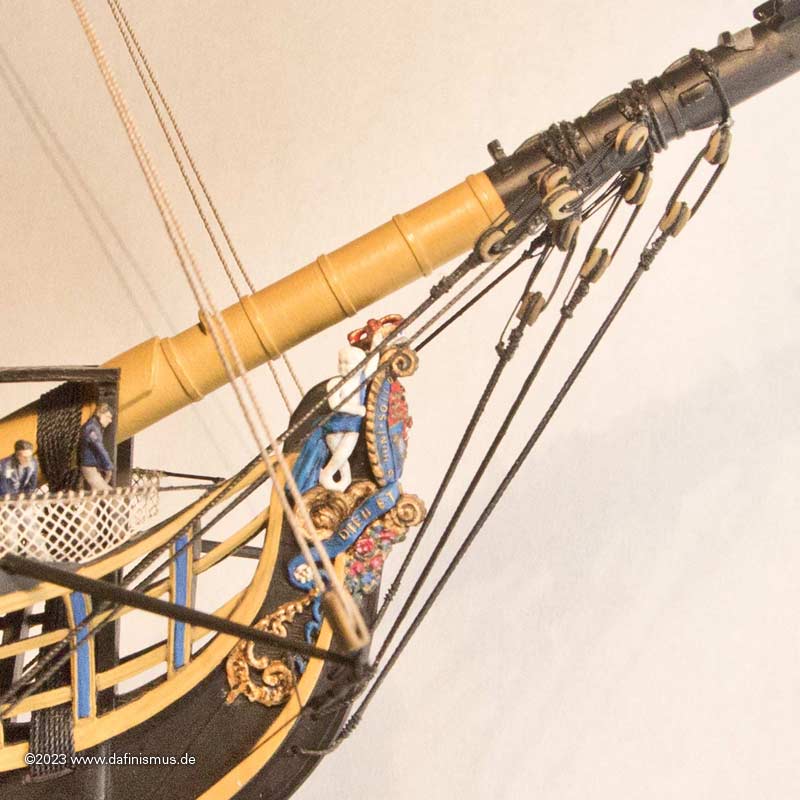
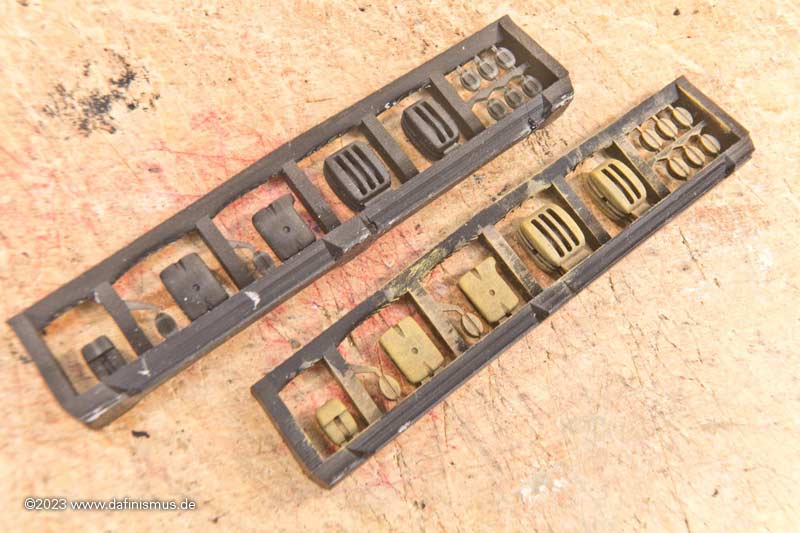
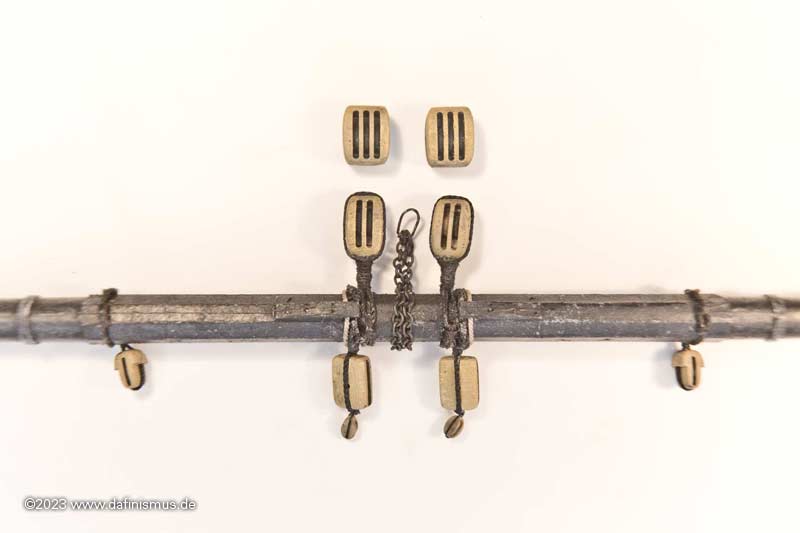
Looking good with the correct colour..... and amazing when you imagine all studdingsails installed
Looking good with the correct colour..... and amazing when you imagine all studdingsails installed

 |
The beloved Ships in Scale Magazine is back and charting a new course for 2026! Discover new skills, new techniques, and new inspirations in every issue. NOTE THAT OUR NEXT ISSUE WILL BE July/August 2026 |
|
 |
As a way to introduce our brass coins to the community, we will raffle off a free coin during the month of August. Follow link ABOVE for instructions for entering. |
|


")
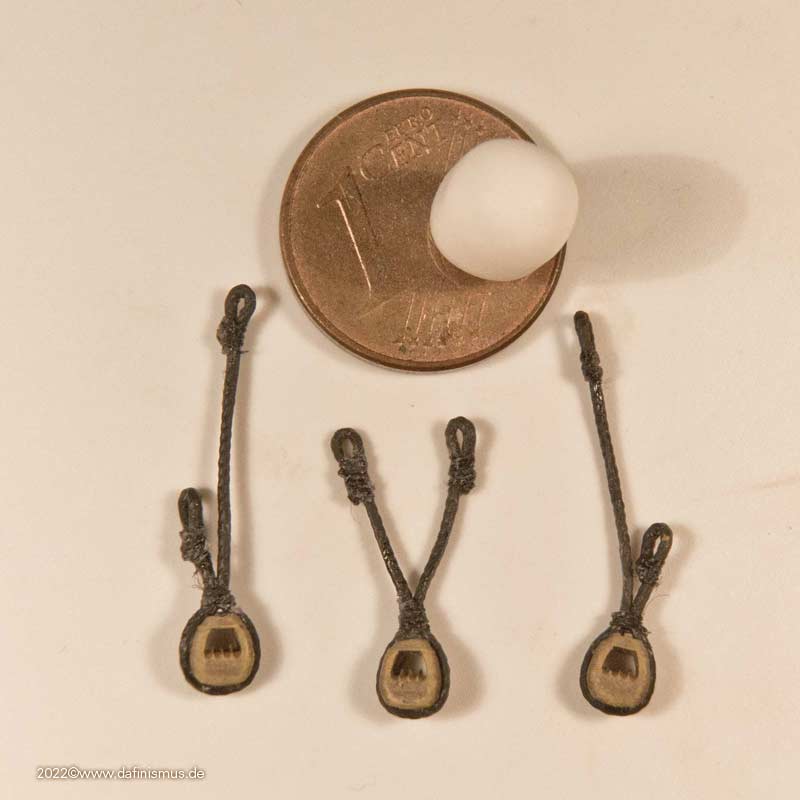


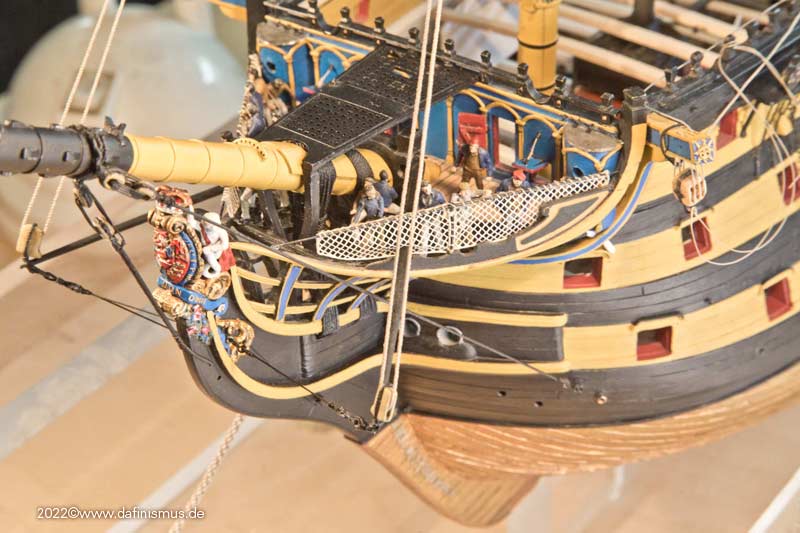


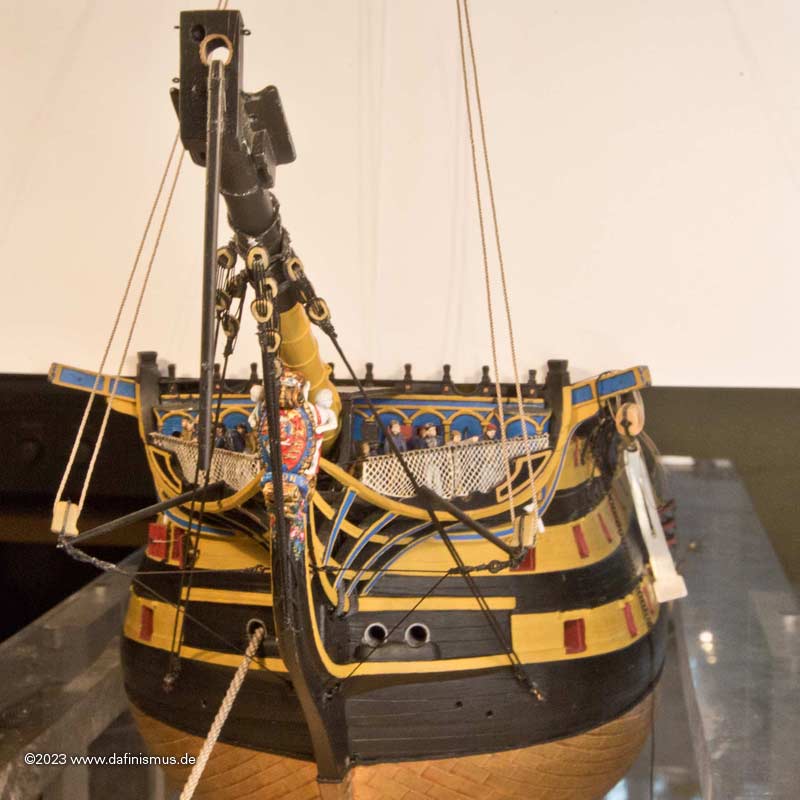
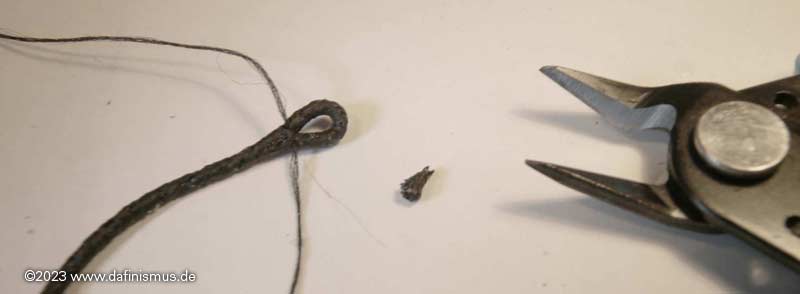
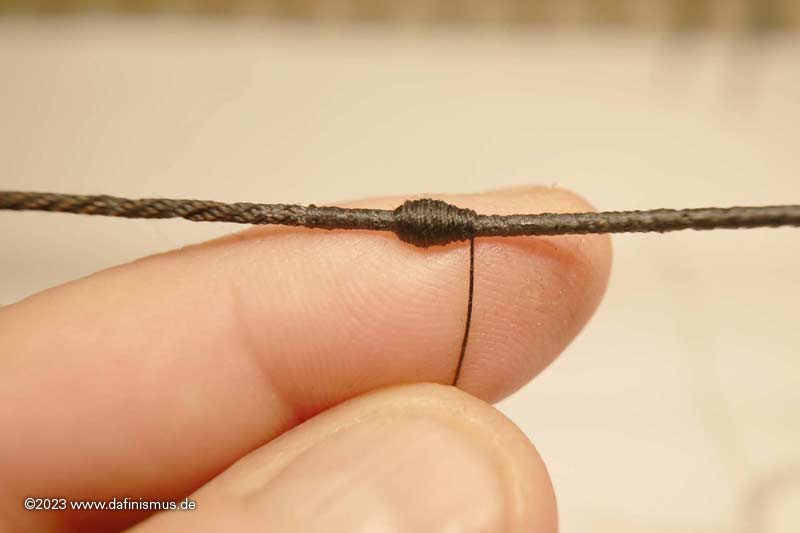
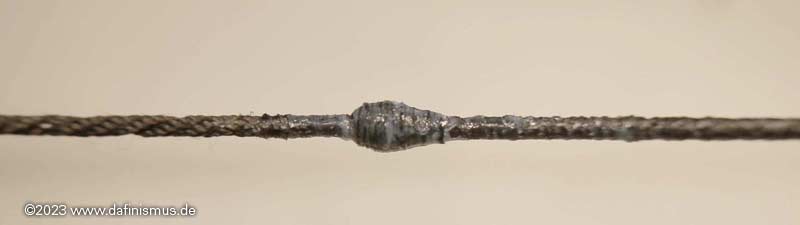
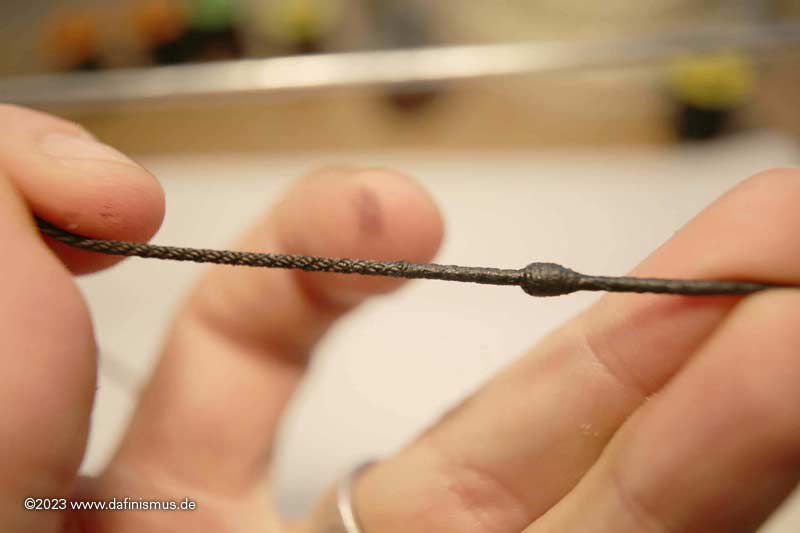
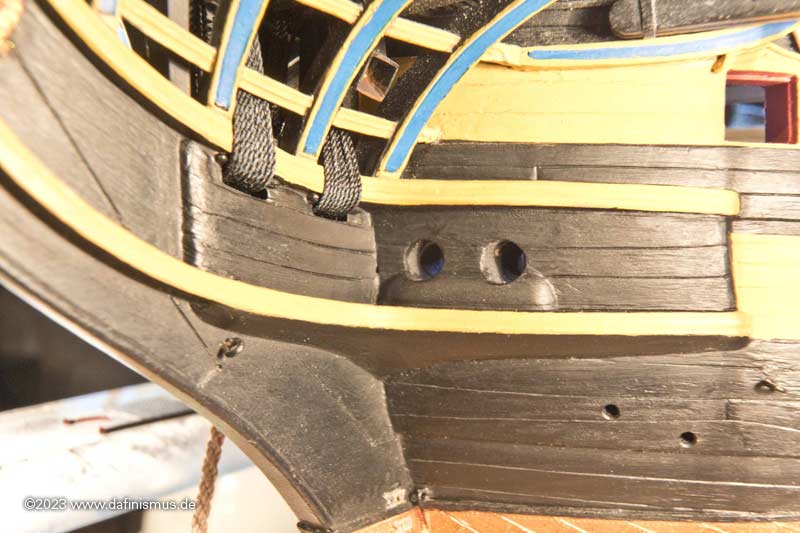
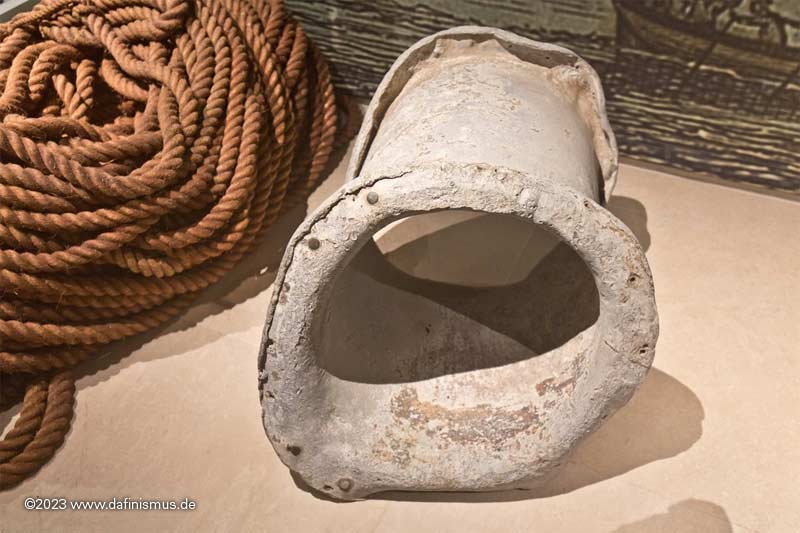
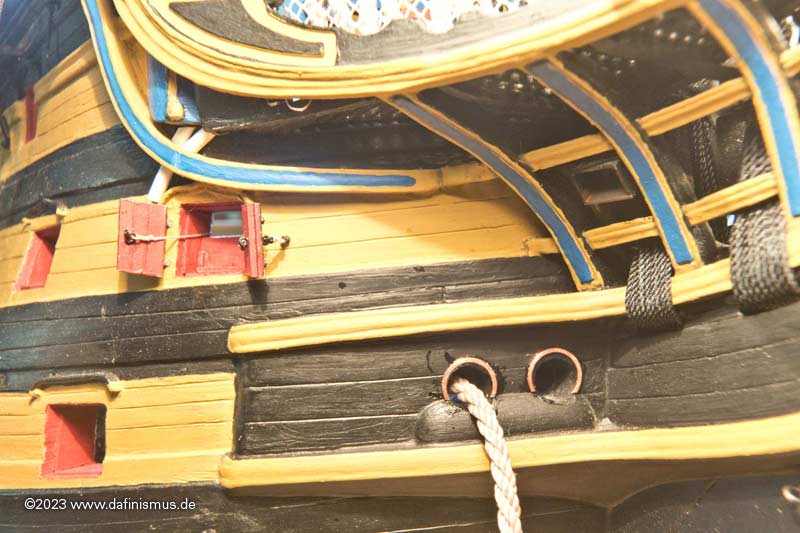
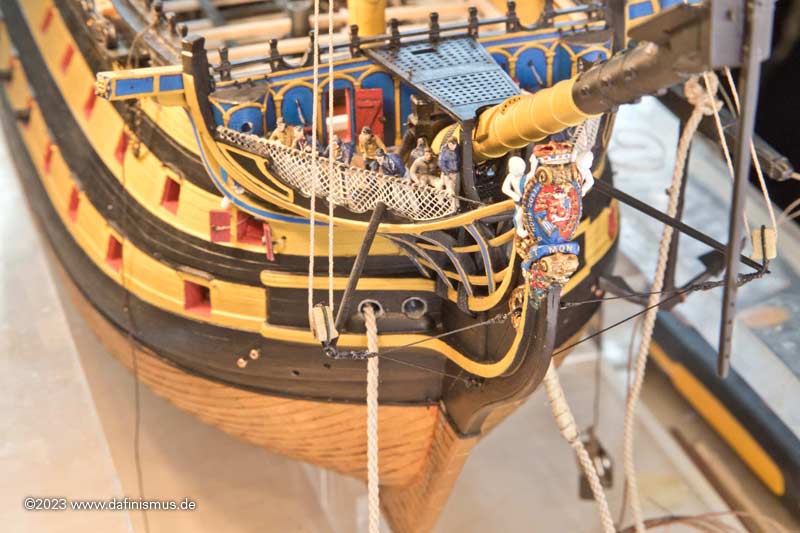
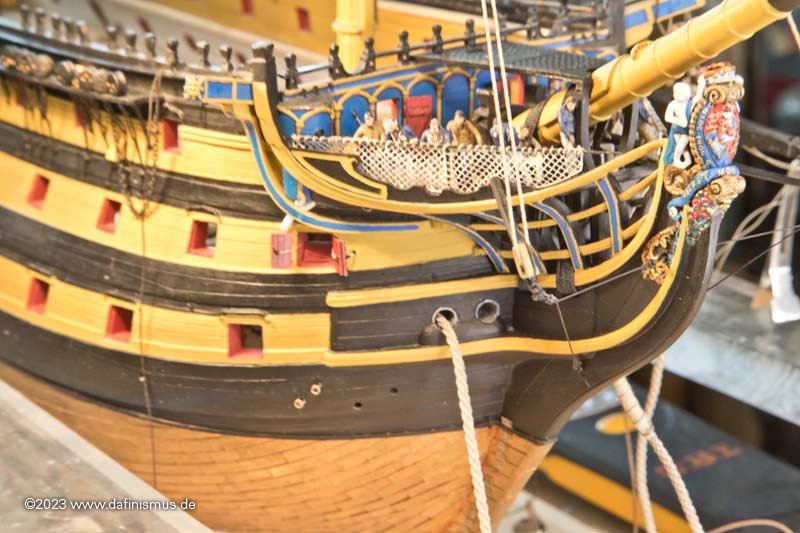
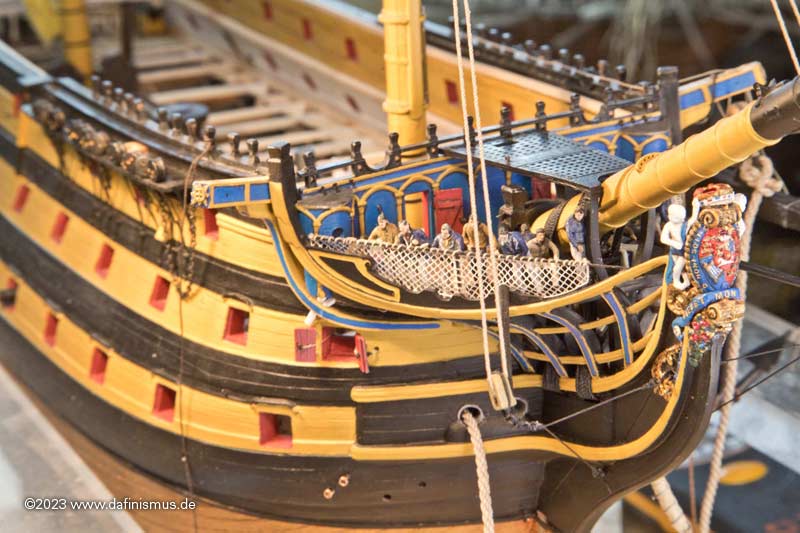
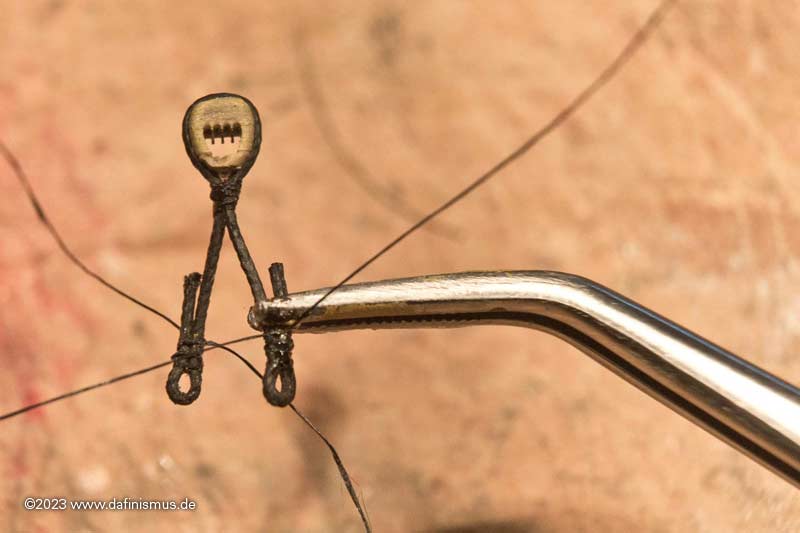
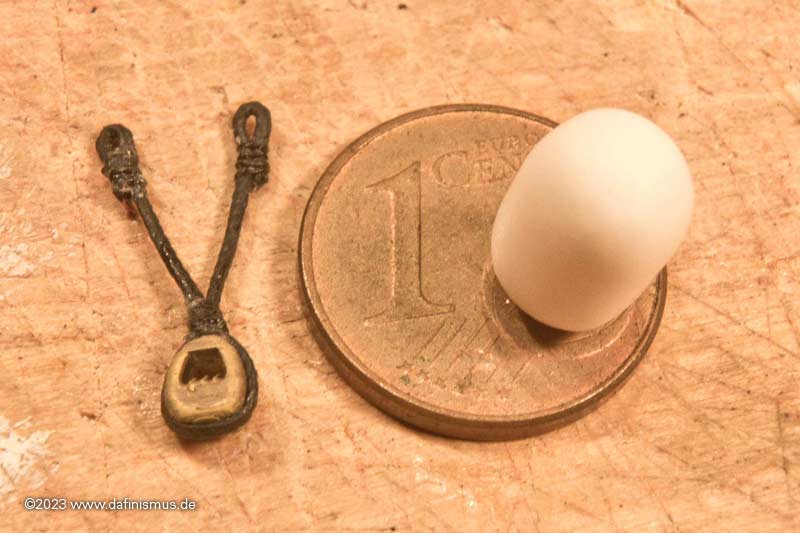
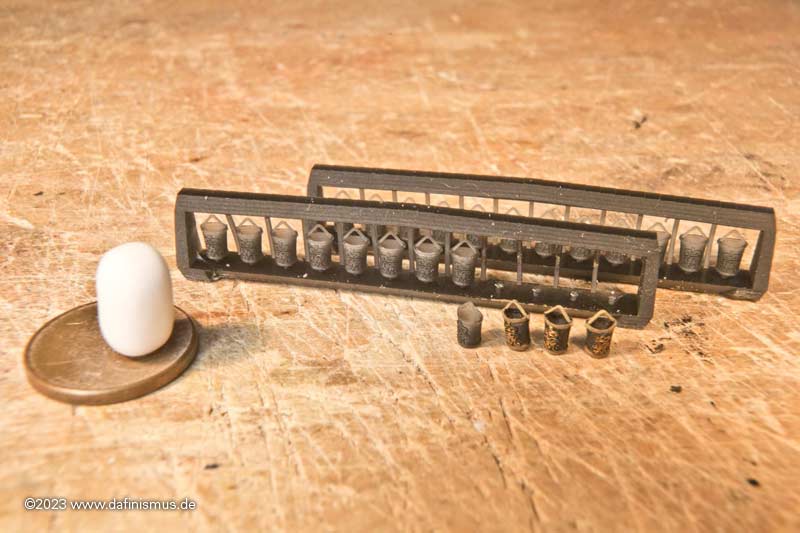
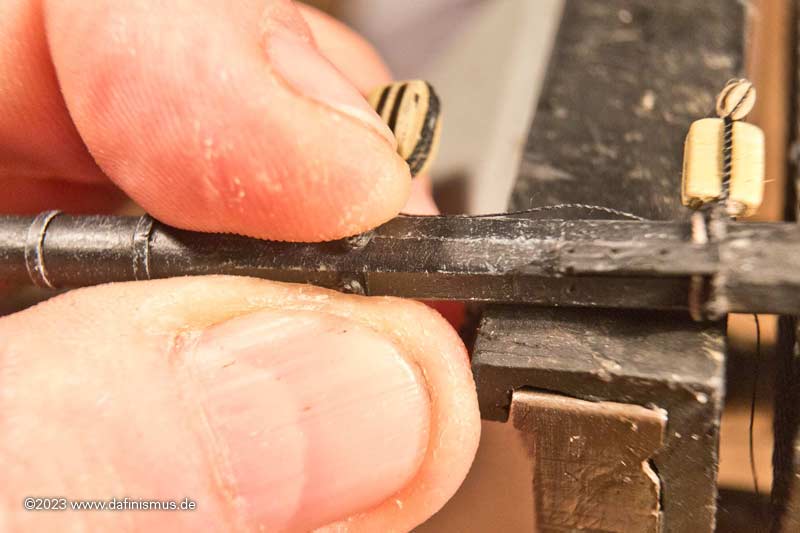
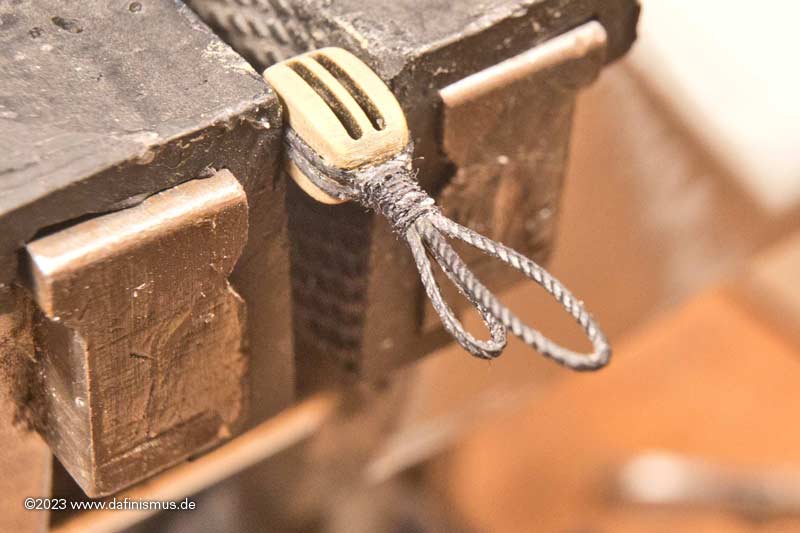
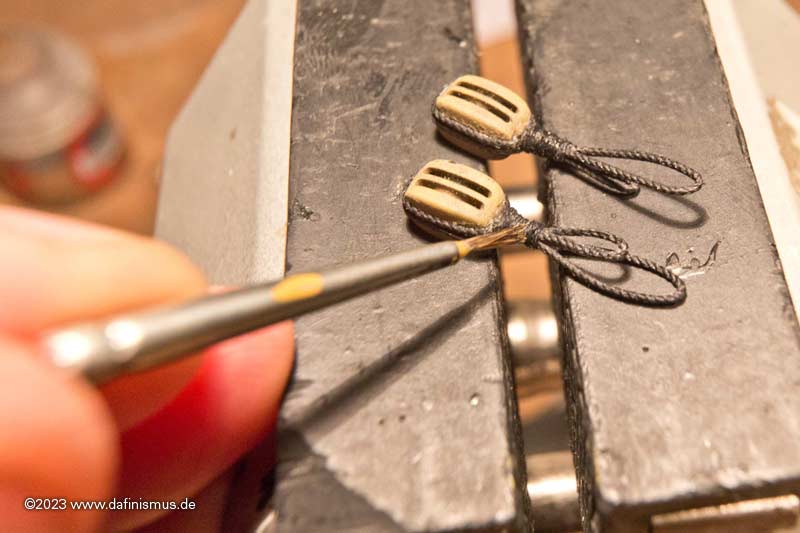
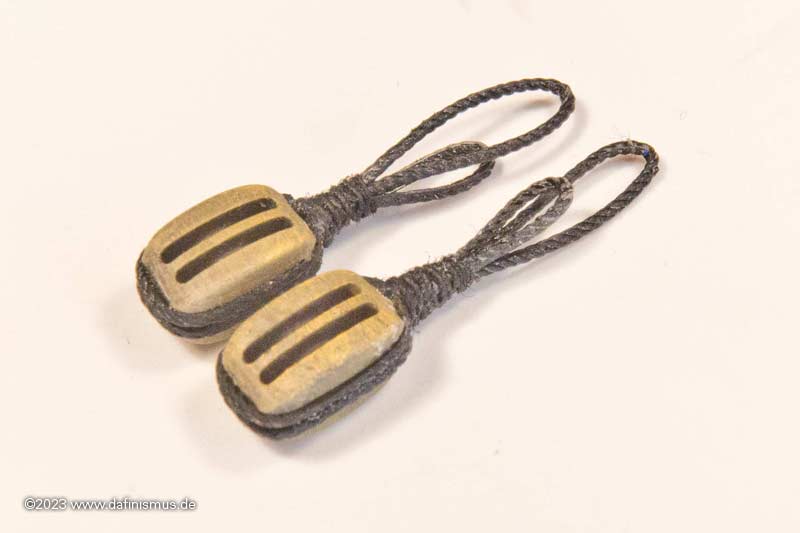
Now I am looking forward how you make the sand in correct scale?A little project in between, the Vic's fire buckets on the railing of the cabin deck.

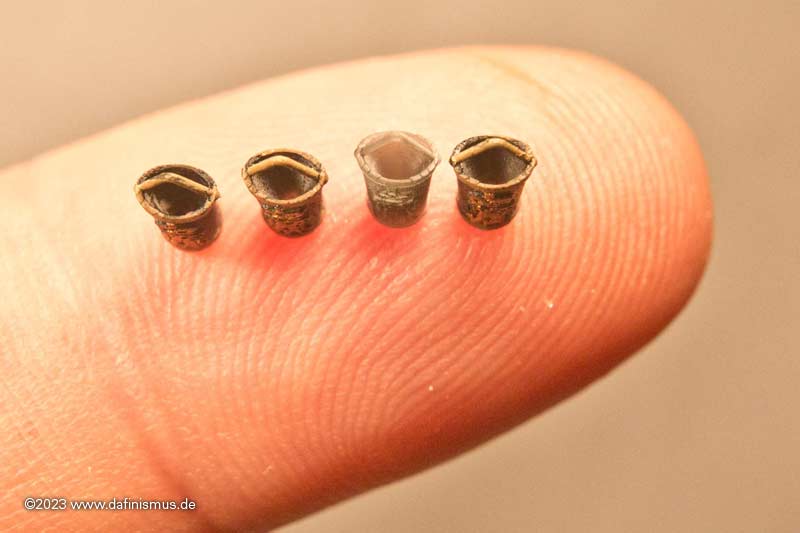
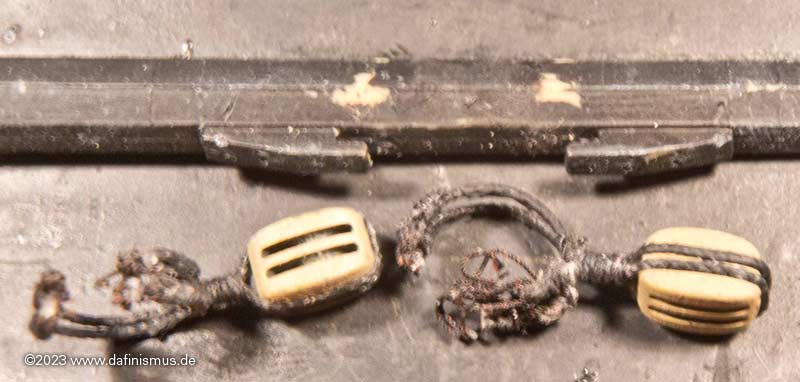
And since the good pieces are made of leather and not metal, I gave them a little deformation as a little dafinistic touch.
XXXDAn
")


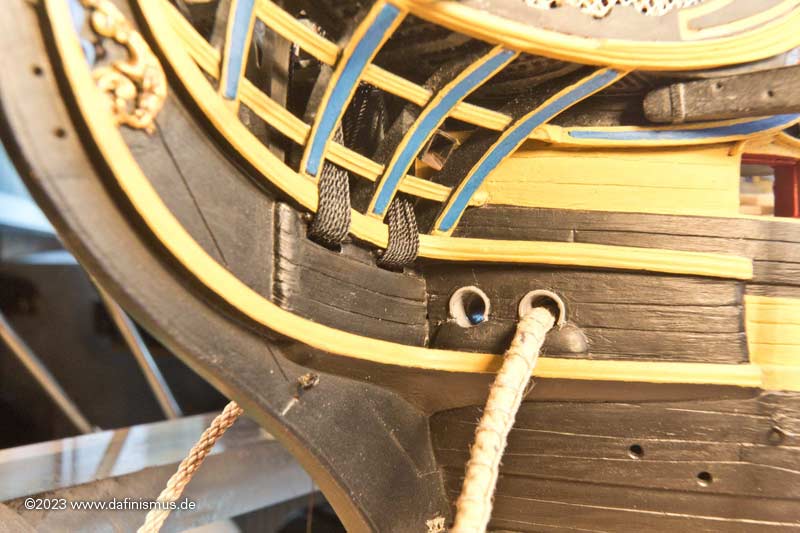
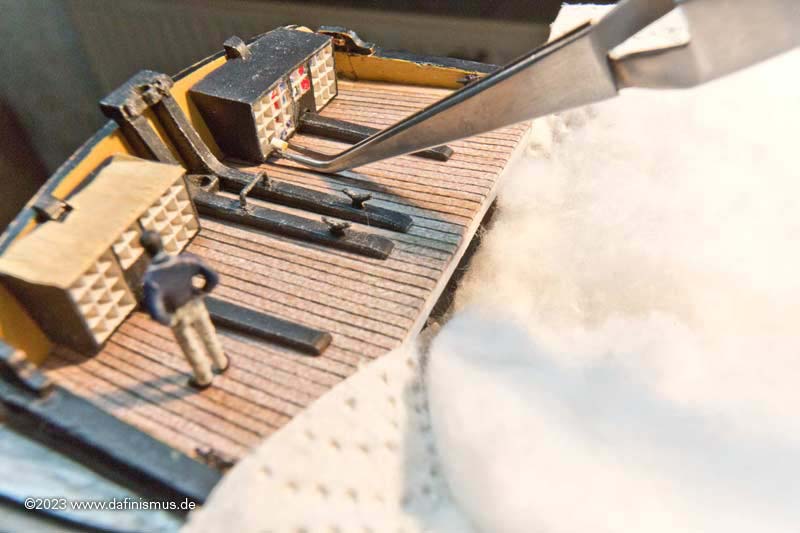
Looks like he has flags one and six ready to hoist. No.16 - Nelson's last signal " Engage the enemy more closely".In the meantime, Lieutenant John Pasco and his assistant have also arrived at their workplace on the poop deck. The canvas curtains in front of the flag lockers have been drawn back ...
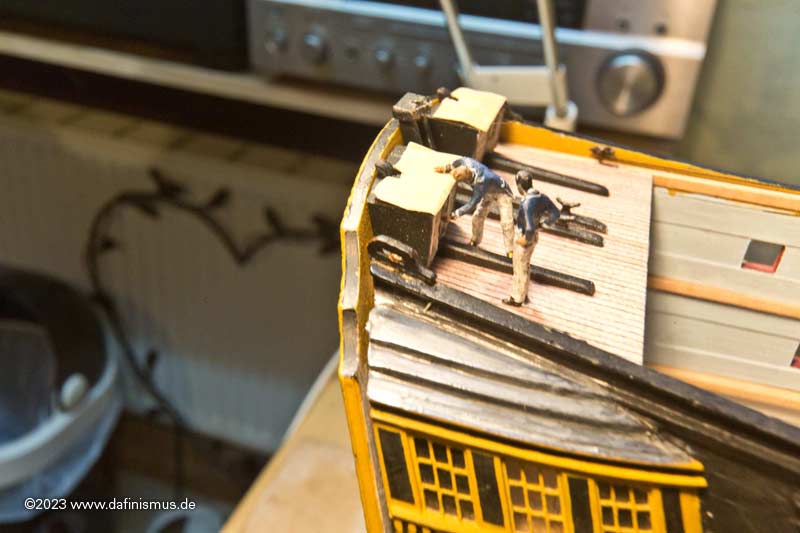
... but oh horror, they are all empty!
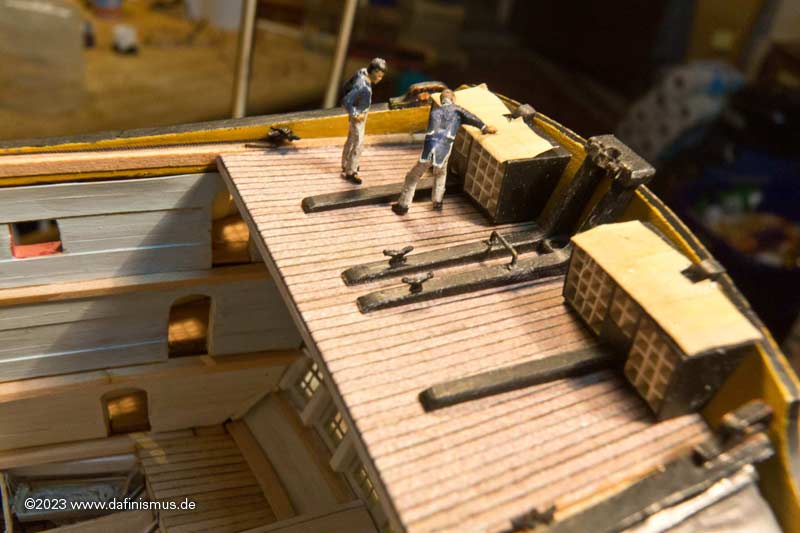
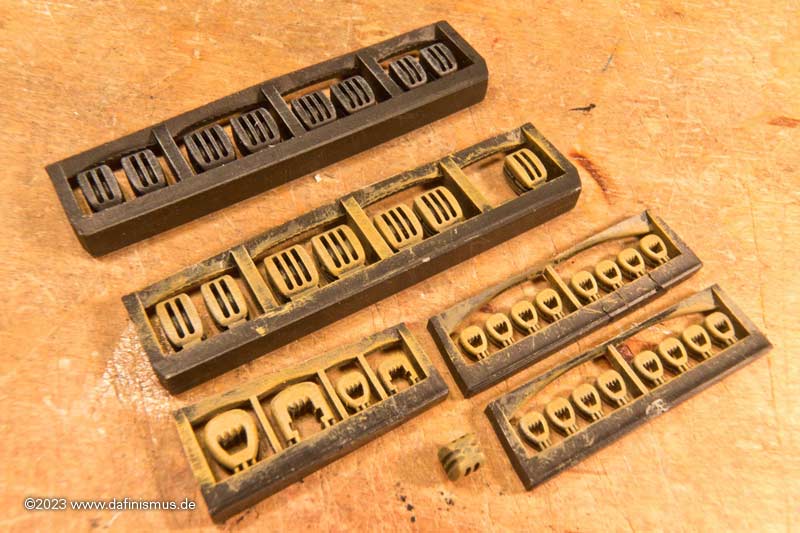
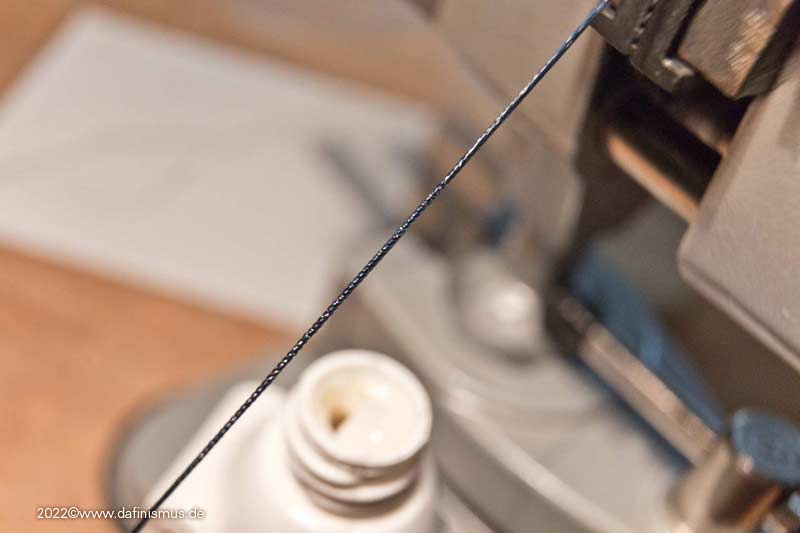
So quickly placed a bulk order of the current signal flags, 64 pieces, carved from 1.5 x 1.5 mm plastic strip, about 2 mm long, in the colors of the 1803 signal flags.
Then covered the hull so no one would get hit by falling flags in the gunroom ...
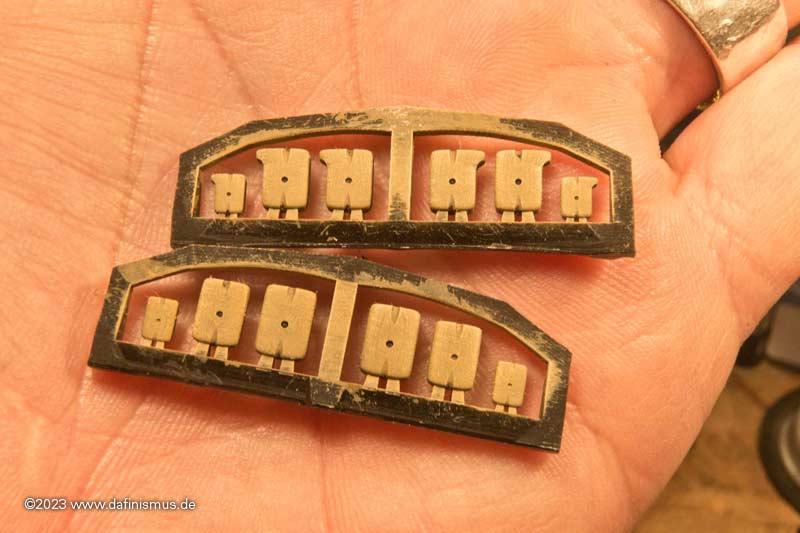
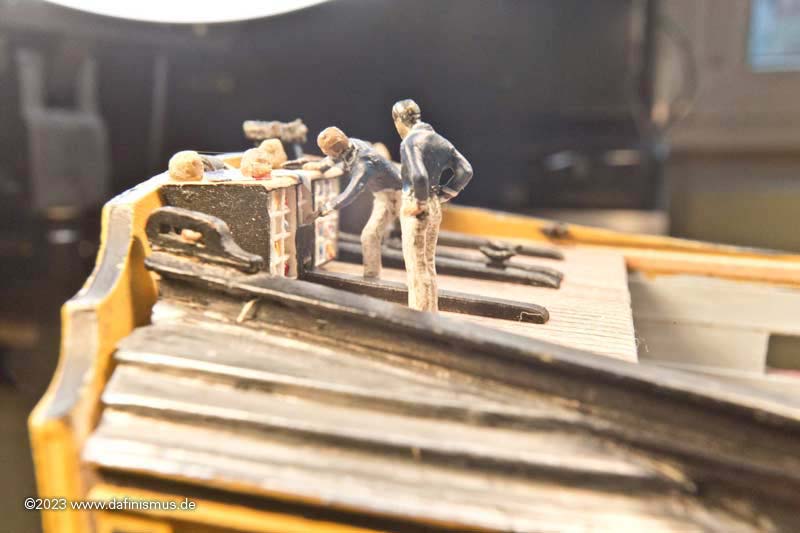
... and generously assisted him in filling it.
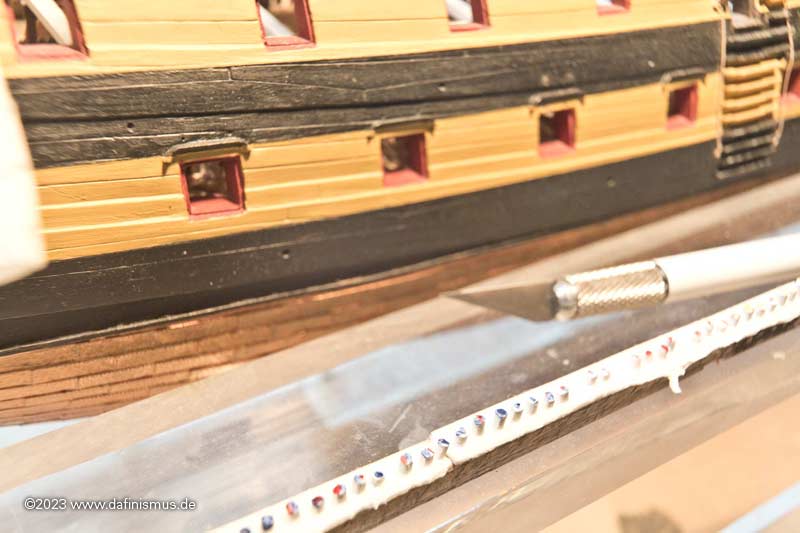
One more brief inspection of the result ...
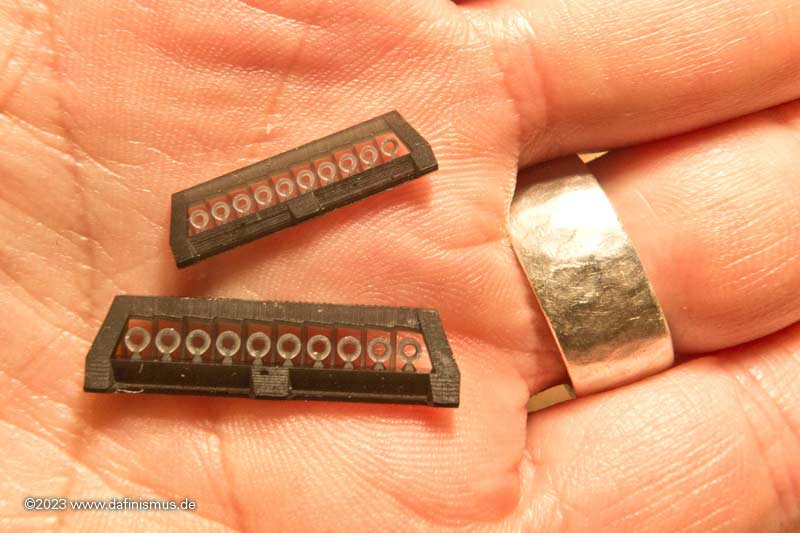
... the flags at the top of the locker secured with weight bags to prevent them from flying away ...
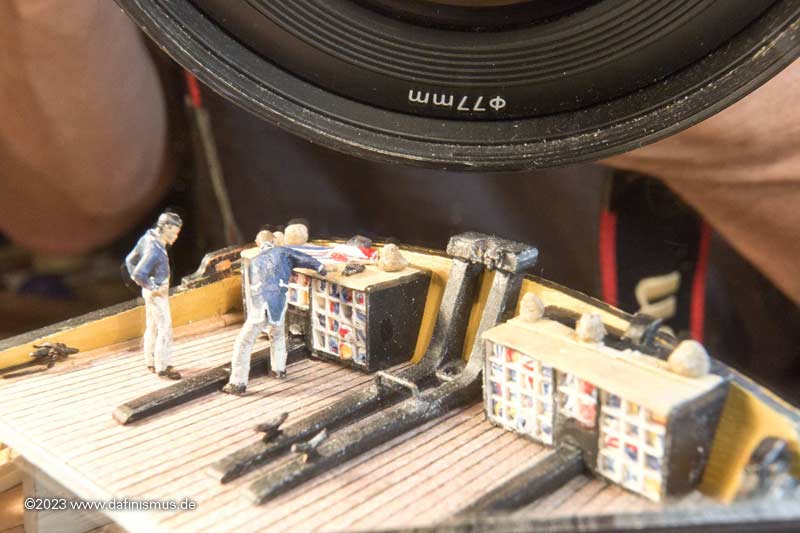
... and he can prepare his flags well ...
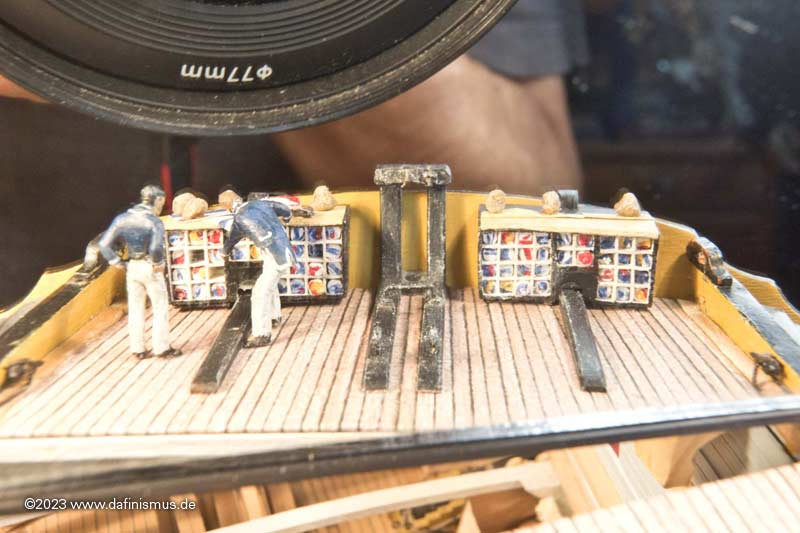
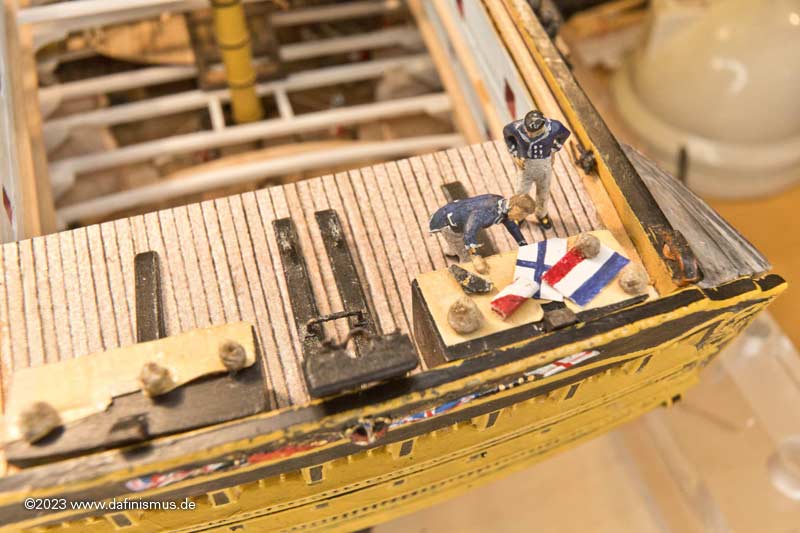
... for, after all, it will be him who will translate Nelson's pre-battle greetings to his fleet into usable signals:
"England expects that every man will do his duty."
XXXDAn