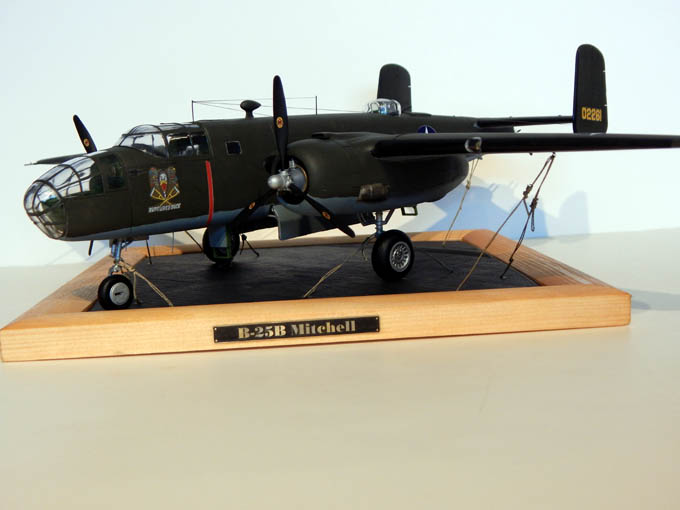
On 1 April 1942 sixteen modified B-25B bombers were loaded aboard the USS Hornet CV-8. The next day the USS Hornet along with the ships of Task Force 18 sailed towards the Hawaiian Islands. They met up with the USS Enterprise and Task Force 16 then headed across the Pacific Ocean. On the morning of 18 April 1942 approximately 650 nautical miles from the Island of Japan, sixteen B-25B’s Led by Lieutenant Colonel James Doolittle launched off the Hornet’s deck to perform the first air operation to strike the Japanese mainland in retaliation for the attack on Pearl Harbor.
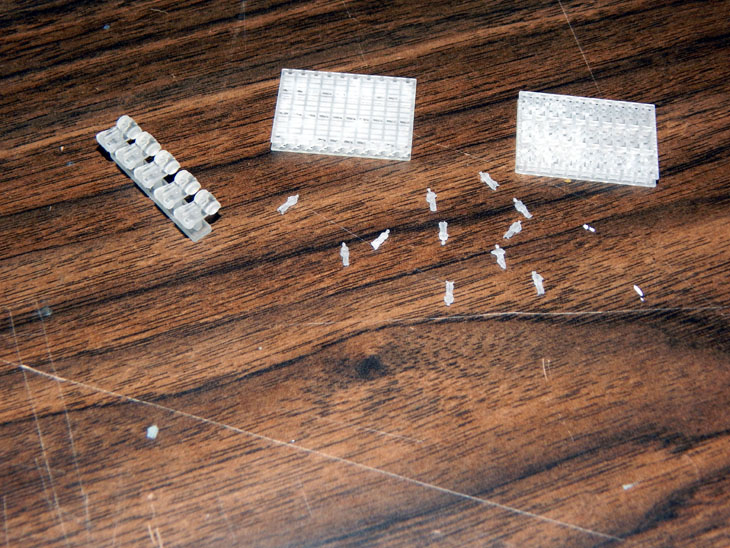
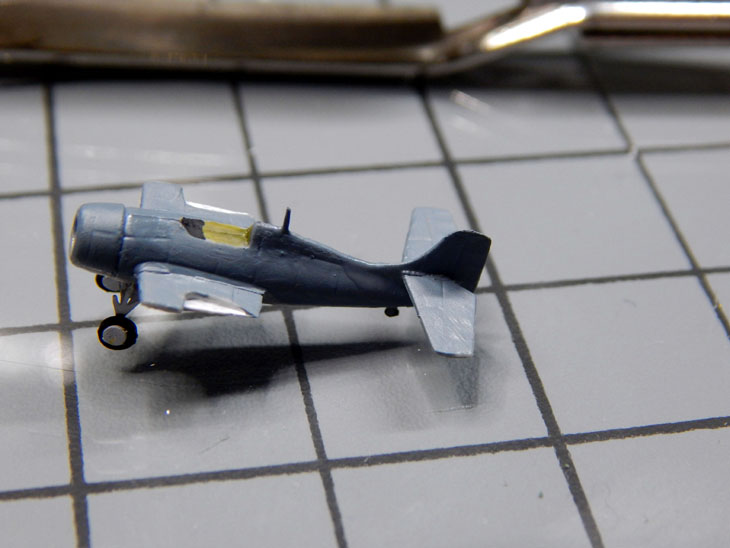
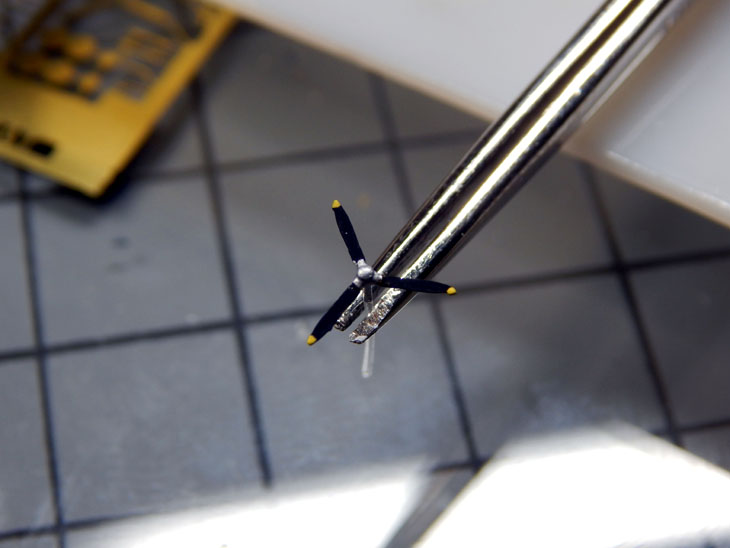
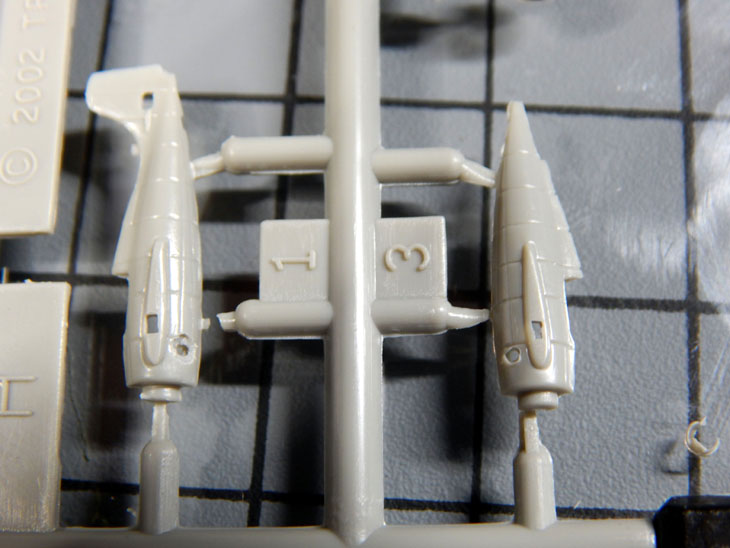
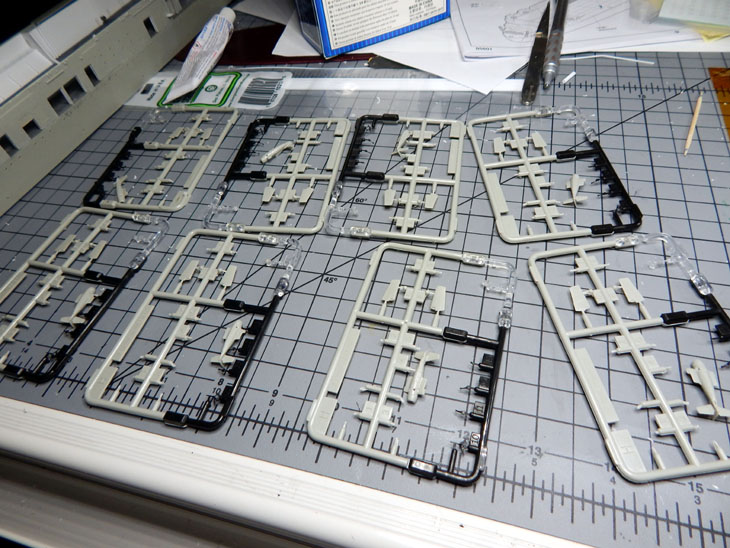
For this next build I am building Trumpeter’s 1/350 USS Hornet as she was during the Doolittle Raid. This is going to be a super-detailed project. It is being built to be displayed at a museum that is creating a display of the raid for the 80th anniversary. This project is estimated to take around 4 – 5 months to complete. There are many aftermarket accessories that will be utilized in this build. So far I have four different sets of photo etch parts just for the ship, a wooden deck, all the B-25B’s as well as all the aircraft that were stored in the hangar bay that were later moved to the flight deck after the bombers departed in case the Task Force was spotted and needed to defend itself. All of the aircraft have multiple photo etch sets for the cockpits and exterior details. I will also be illuminating it as well. I have many accessories still on order like 3-D printed Moto-Tugs and crew members. At the end of the project I will list all of the accessories I used. I also purchased two reference books. One on the USS Hornet itself and the other covers the Doolittle raid. I also located a shipbuilding drawing of the Yorktown class carriers that covers all the decks from keel to the top of the island. I scaled the hangar deck sheet to 1/350 scale and printed it out so that I can accurately place the interior walls and other details.
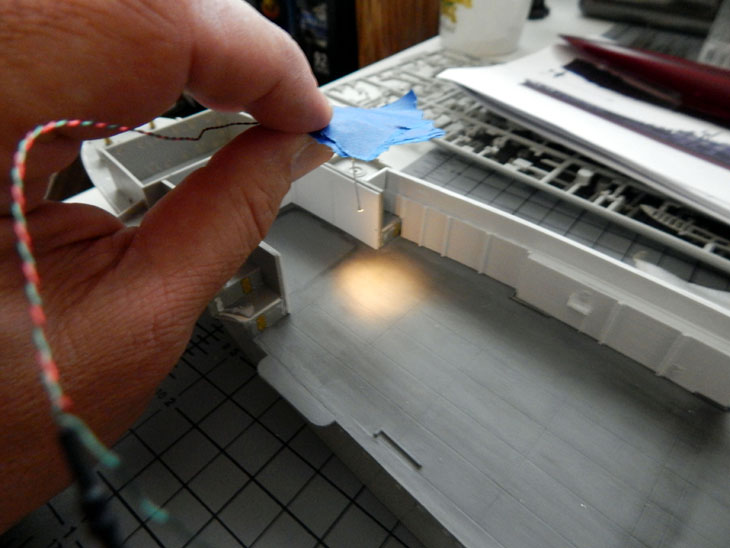
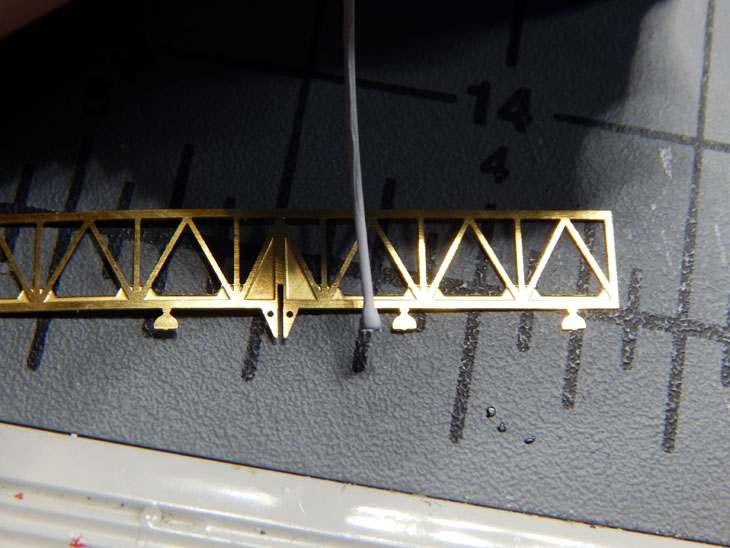
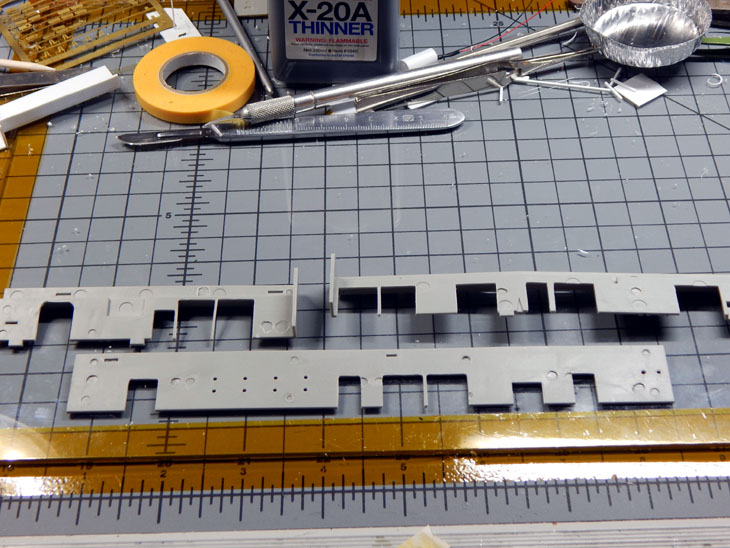
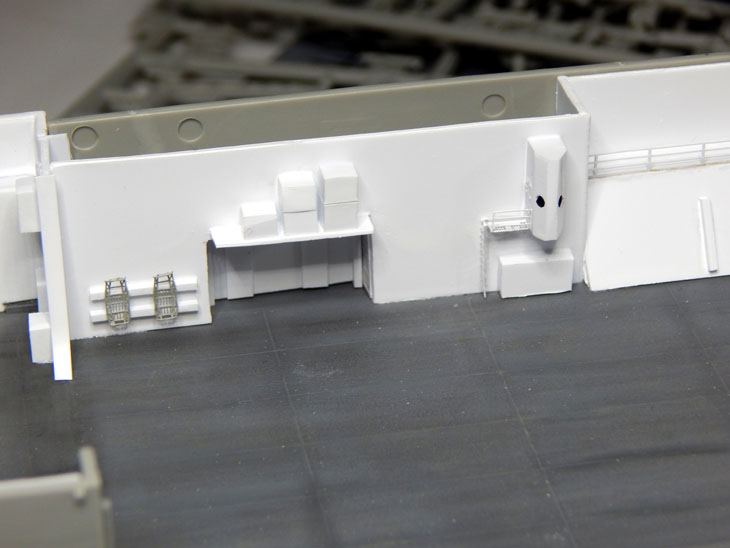
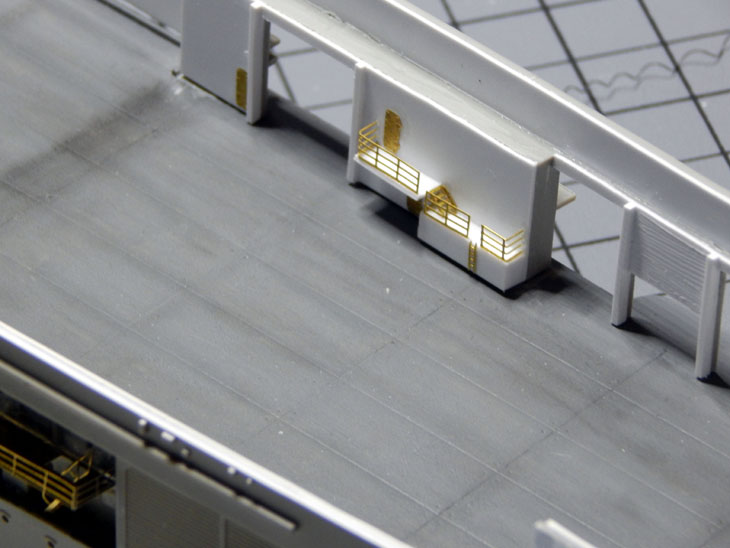
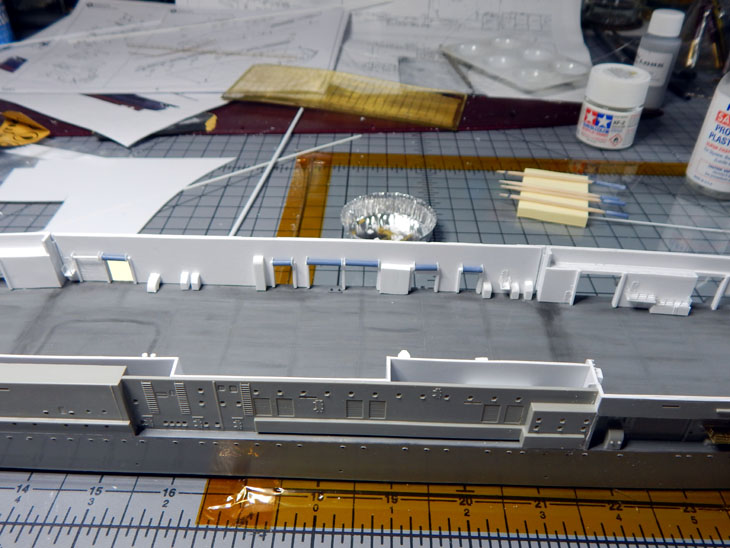
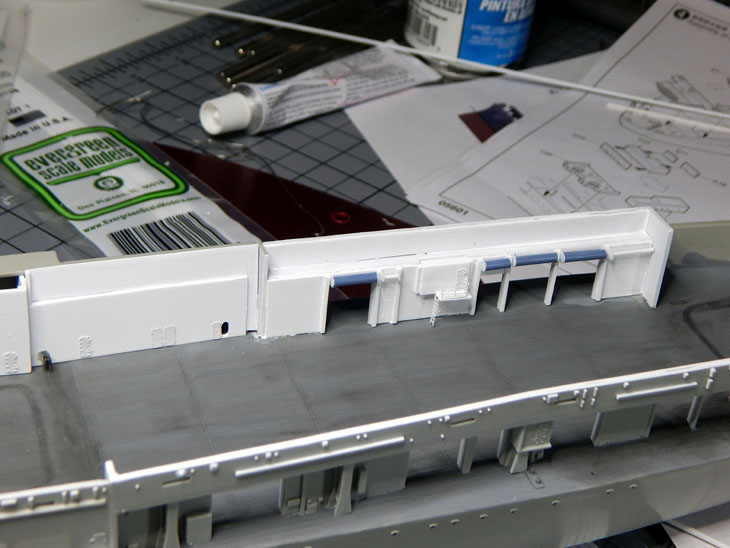
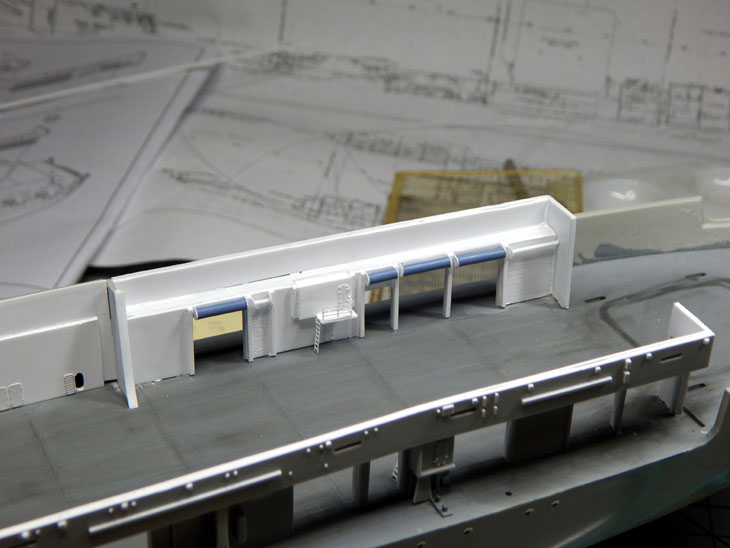
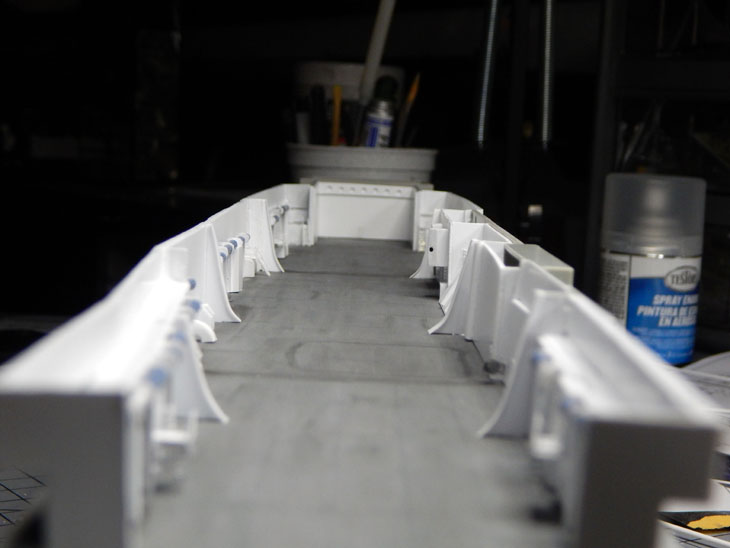
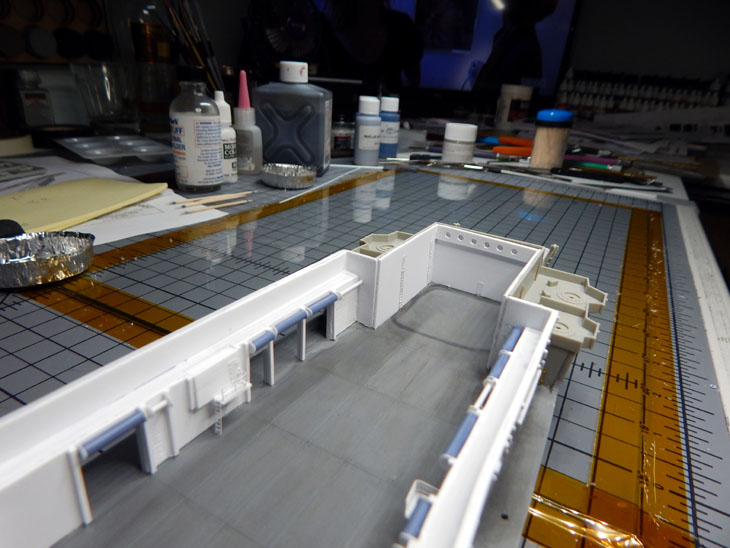
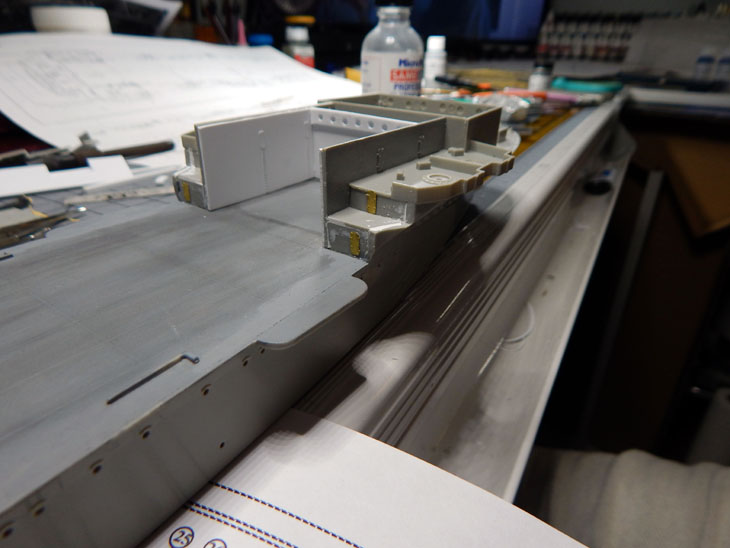
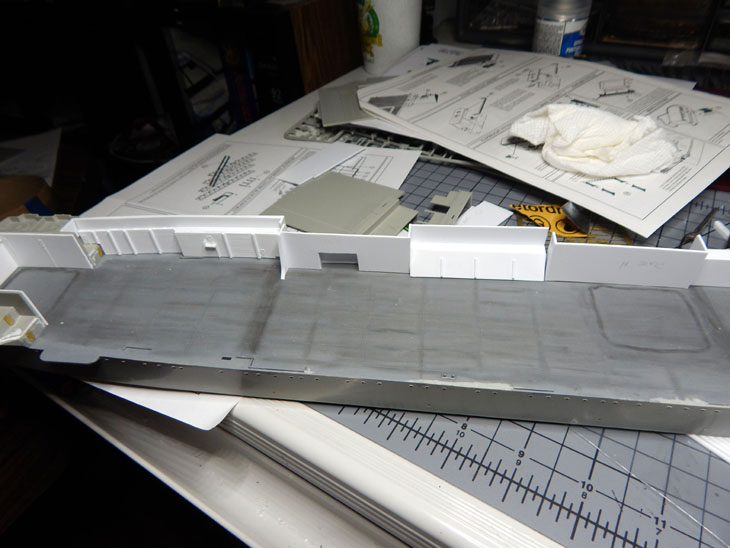
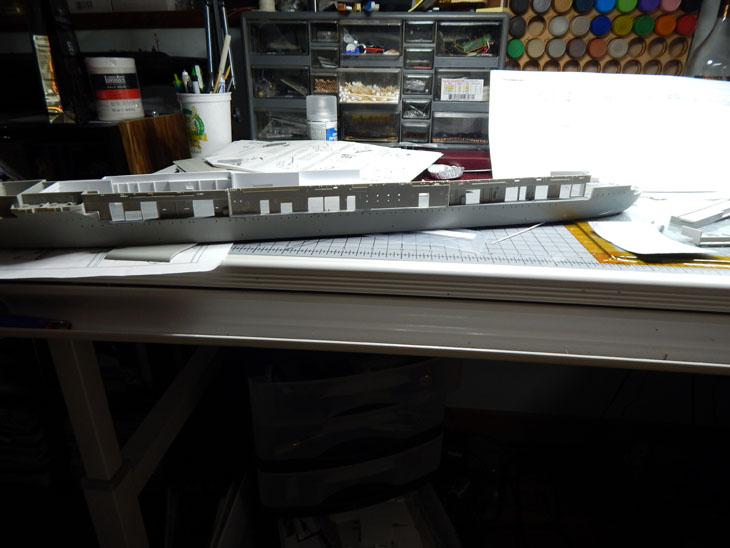
Starting with the hangar I began using the White Ensign Hangar bay photo etch set (#3541). The instructions give you sizes and plans to scratch build the hangar bay walls. I installed the hangar deck then painted it deck grey and gave it a basic weathering. I will be doing more weathering/staining once I figure out the layout of the aircraft. Using Evergreen Models 1.0mm styrene sheets I cut out the parts for the interior walls per the hangar bay detail set instructions. I have a few sheets of extra doors and rails from previous ship sets so after building the walls I added photo etch doors, stairs and rails to match the reference photos. The kit walls have numerous ejector pin marks. Instead of filling and sanding all of them I opted to use sheets of 0.5mm sheets to cover them. Also, since I will be illuminating the hangar bay I cut open many of the hangar bay side doors. With the starboard side interior walls assembled per the photo etch set instructions I added all the fine details as they are shown in the photos from the reference book.
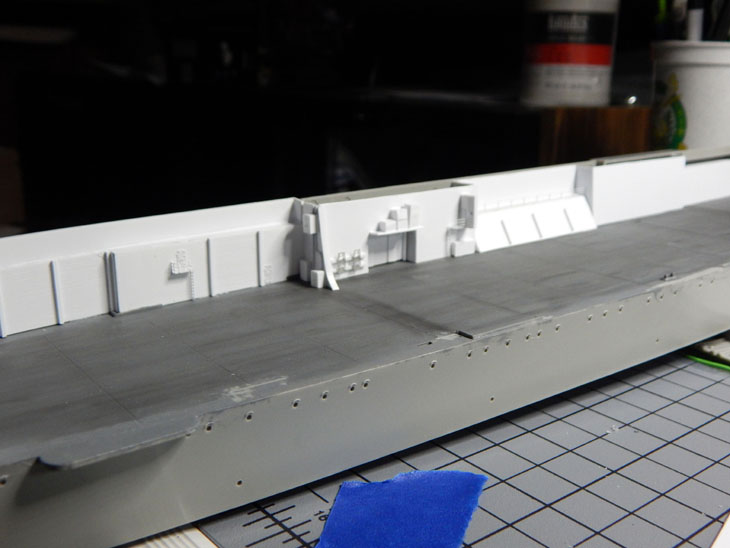
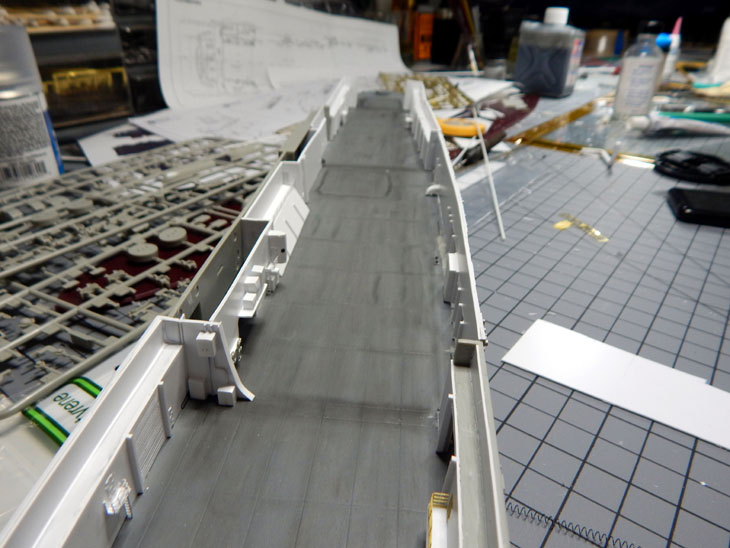
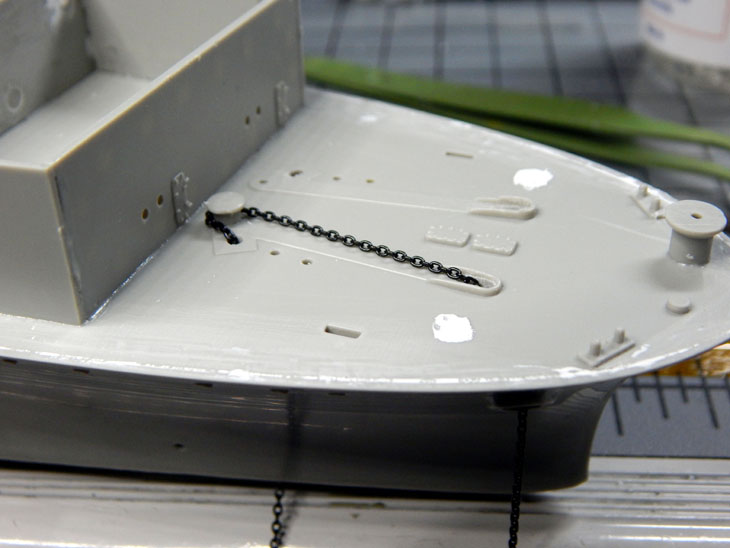
After adding details to the forward elevator bay I did some detail work on the bow. One of the obvious things missing from the model details is the bow mooring guides. I used some styrene tubing to make these. I then reshaped the anchor chain holes. On the kit these were just straight thru holes. I used a file to make them angled and flared. I removed the molded chain and will be replacing it with a real anchor chain. There are two supports for the front of the flight deck. I filled the mounting holes for the kit plastic ones and installed the correctly sized photo etch parts from the White Ensign Detail set (#3525). Working on getting the starboard side interior detailed and installed this coming week.
See more photos and details in my build log at https://davidsscalemodels.com/build-log/1-350-uss-hornet-cv-8-doolittle-raid/


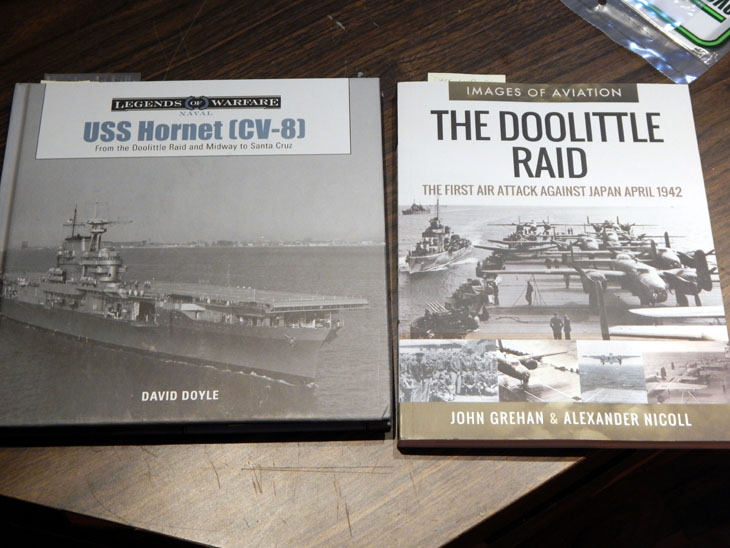


For this next build I am building Trumpeter’s 1/350 USS Hornet as she was during the Doolittle Raid. This is going to be a super-detailed project. It is being built to be displayed at a museum that is creating a display of the raid for the 80th anniversary. This project is estimated to take around 4 – 5 months to complete. There are many aftermarket accessories that will be utilized in this build. So far I have four different sets of photo etch parts just for the ship, a wooden deck, all the B-25B’s as well as all the aircraft that were stored in the hangar bay that were later moved to the flight deck after the bombers departed in case the Task Force was spotted and needed to defend itself. All of the aircraft have multiple photo etch sets for the cockpits and exterior details. I will also be illuminating it as well. I have many accessories still on order like 3-D printed Moto-Tugs and crew members. At the end of the project I will list all of the accessories I used. I also purchased two reference books. One on the USS Hornet itself and the other covers the Doolittle raid. I also located a shipbuilding drawing of the Yorktown class carriers that covers all the decks from keel to the top of the island. I scaled the hangar deck sheet to 1/350 scale and printed it out so that I can accurately place the interior walls and other details.
Starting with the hangar I began using the White Ensign Hangar bay photo etch set (#3541). The instructions give you sizes and plans to scratch build the hangar bay walls. I installed the hangar deck then painted it deck grey and gave it a basic weathering. I will be doing more weathering/staining once I figure out the layout of the aircraft. Using Evergreen Models 1.0mm styrene sheets I cut out the parts for the interior walls per the hangar bay detail set instructions. I have a few sheets of extra doors and rails from previous ship sets so after building the walls I added photo etch doors, stairs and rails to match the reference photos. The kit walls have numerous ejector pin marks. Instead of filling and sanding all of them I opted to use sheets of 0.5mm sheets to cover them. Also, since I will be illuminating the hangar bay I cut open many of the hangar bay side doors. With the starboard side interior walls assembled per the photo etch set instructions I added all the fine details as they are shown in the photos from the reference book.
After adding details to the forward elevator bay I did some detail work on the bow. One of the obvious things missing from the model details is the bow mooring guides. I used some styrene tubing to make these. I then reshaped the anchor chain holes. On the kit these were just straight thru holes. I used a file to make them angled and flared. I removed the molded chain and will be replacing it with a real anchor chain. There are two supports for the front of the flight deck. I filled the mounting holes for the kit plastic ones and installed the correctly sized photo etch parts from the White Ensign Detail set (#3525). Working on getting the starboard side interior detailed and installed this coming week.
See more photos and details in my build log at https://davidsscalemodels.com/build-log/1-350-uss-hornet-cv-8-doolittle-raid/