• LUCZORAMA SHIPWRECK SCAVENGER HUNT GIVEAWAY. 4 Weeks of Fun • 1 Legendary Prize ((OcCre’s Fram Ship)) • Global Crew Welcome!
    **VIEW THREAD HERE**

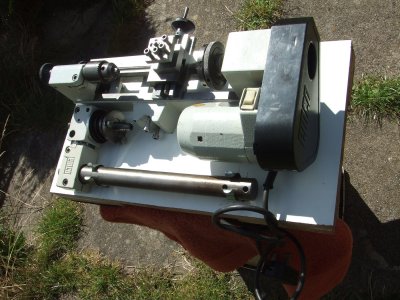
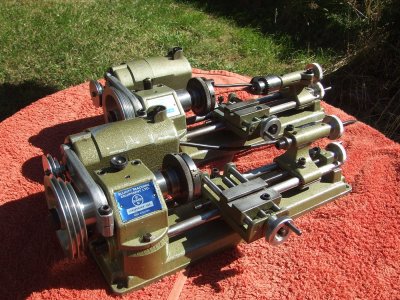
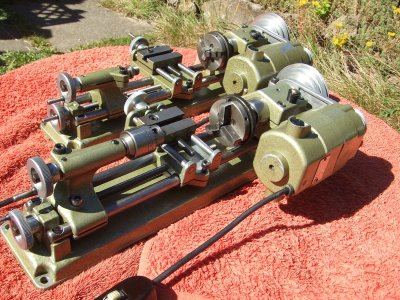
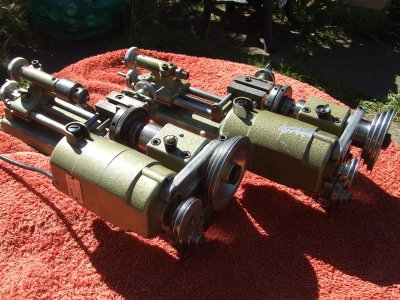
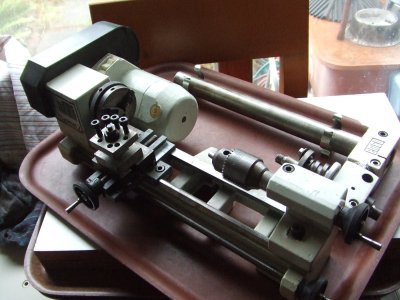
Unimat Hobby Lathe Restoration

Hammerite seems to have been bought by RustOleum, but at least the texture is right. Some automotive nerd boards will say to use the modern hammerite as a base coat and finish with a regular paint to match the color. I'm not sure that is really necessary. Light green is light green, gray is gray. But you can research if you want to match each hue and chroma.
 
Paint it whatever colour suits you!

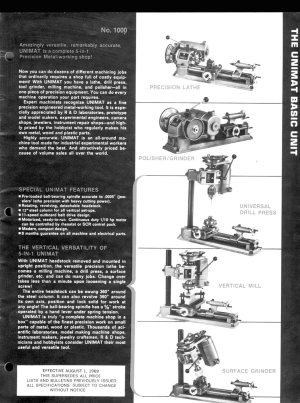
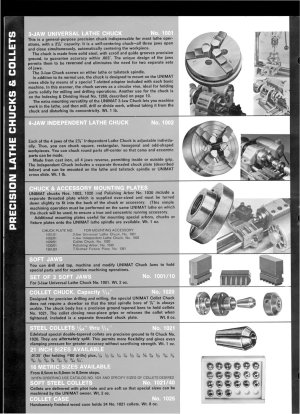
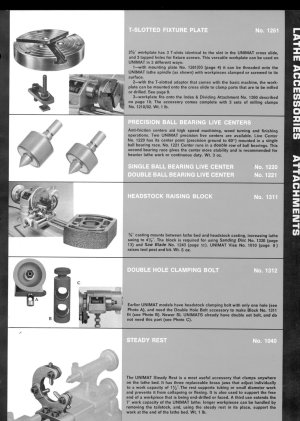
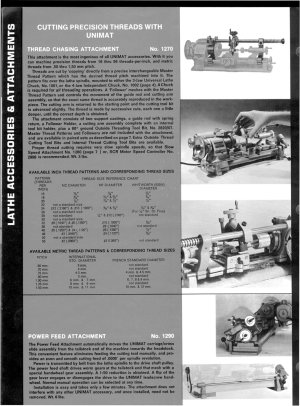
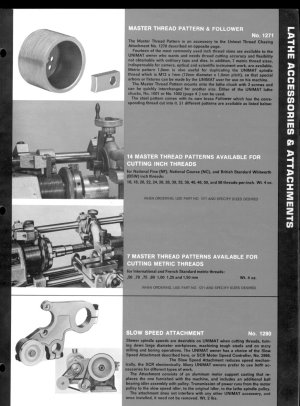
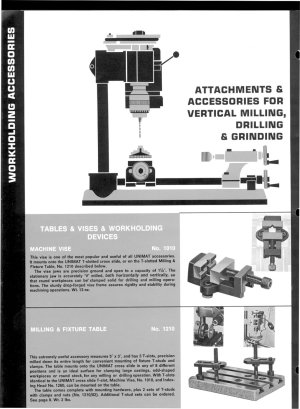
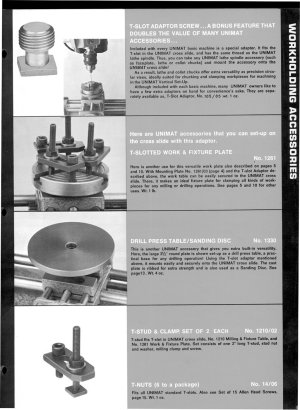
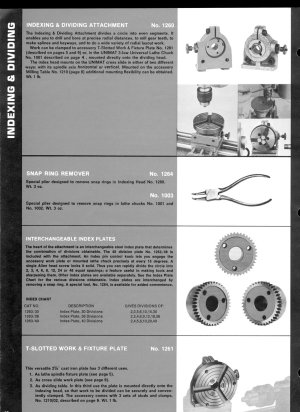
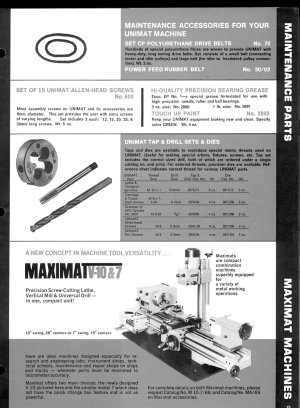
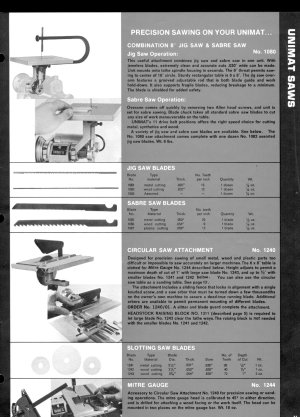
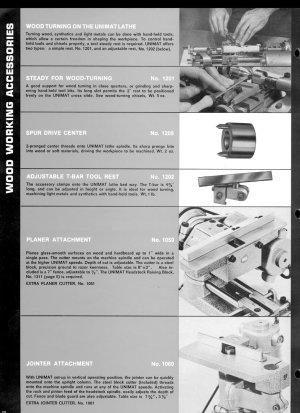
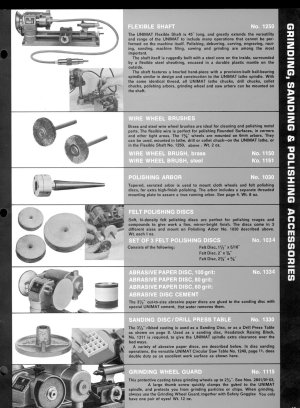
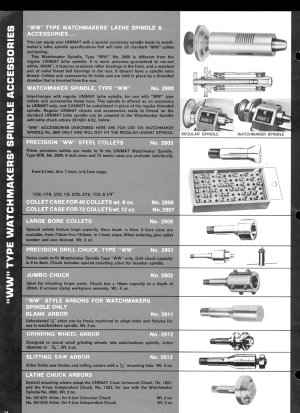
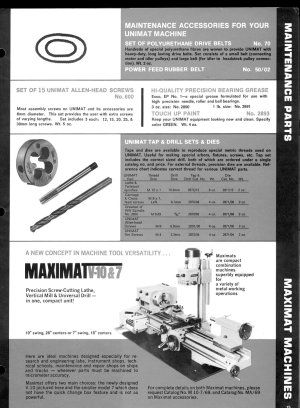
Will attempt to send some UNIMAT catalogue pages, probably in a couple of batches...

an_index.jpgcover_page_1.jpgpage_2.jpgpage_3.jpgpage_4.jpg
 
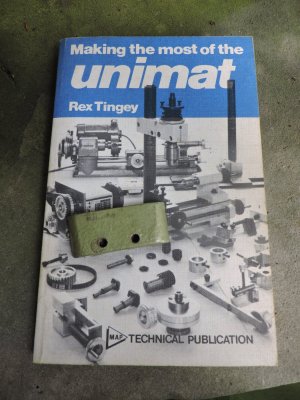
Some good information on these machines is at:
A group from the dawn of the internet but still going and a good archive. The SL is a little later than the DB, and made from Zamak instead of iron. I had a tablesaw attachment for mine but it was pretty puny. I sold it and paid for most of the original machine.
I don't care for the 'Group' cookie policy
 
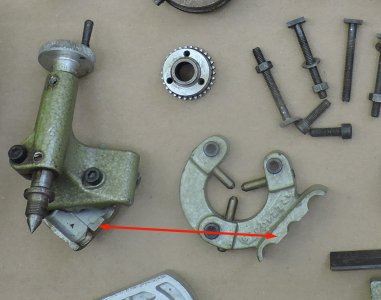
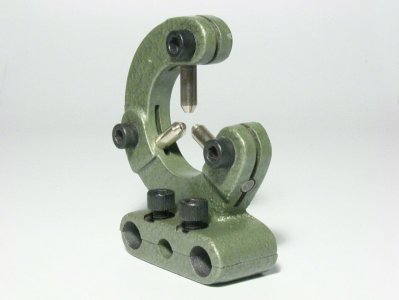
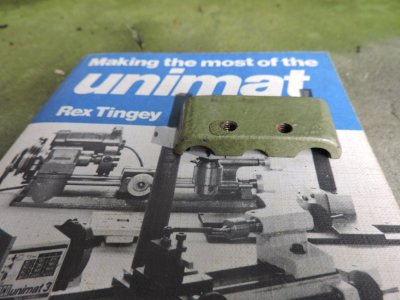
does this piece in the tail stock also fit the center guild piece?

View attachment 534203
It should fit the bed bars, but the widths of the tailstock base and the steady rest base are different, the tailstock being wider. I can't imagine that the steady rest was sold without a bottom to the bed clamp. I've always seen them listed for sale with one. The screw holes on the tailstock clamp bottom half may not match the holes in the steady rest bottom half, however. Also, even if the bottom halves of the bed clamps were interchangeable, having only one leaves you behind the eight ball anyway. If you are using the one clamp half you have to hold the work with the tailstock, you can't use the steady rest. Conversely, if you're using the one clamp half you have to mount the steady rest, you have nothing to mount the tail of your workpiece to because you can't use your tailstock. Steady rests are useful to prevent deflection when turning, but not particularly reliable for holding a workpiece with an untethered end, particularly if the workpiece is long enough to start whipping around. I think your best bet is to machine a new bottom clamp for the steady rest. (I've never seen one for sale alone on fleaBay.)
As I recall, I paid nearly $300 for my U100 continuous duty Unimat motor to replace the 220 VAC / 50 Hz (European mains) U90 motor it came with. On first impression and without closely researching customer ratings, I think I would have done better to have bought this "reverse on the fly," variable speed, digital tach, aftermarket Unimat DB/SL motor package for the same price. Speed isn't that critical, but the Unimat's belt-change speed adjustment feature can surely be improved upon. See: https://www.servomotorkit.com/produ...peed-spindle-motor-upgrade-with-reverse-parts
 
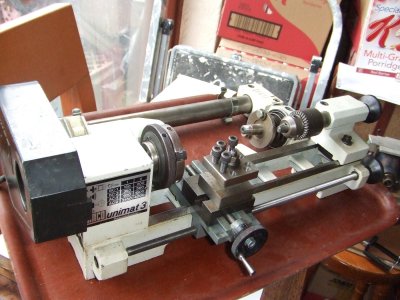
OK, first the easy part was seeing what I could do with the noticeable issue with the power cord for the motor, which had a spot loosely wrapped in electrical tape.

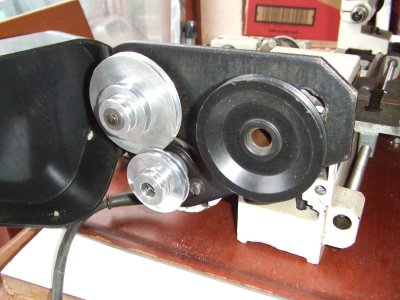
First steps were to remove pully from the motor attachment bracket, which has two screws behind it that hold the motor on, the pully is held on with a single screw and the pulley in on a keyed shaft. A few taps with light hammer and the pulley came off with no issues, and it and screws went into my parts bin for inspection and cleaning. I then pulled the pully off the headstock by removing the jam nut, which also acts as drive pulley for power feed attachment. After that was removed, I loosened the Allan screw and popped bracket off the spindle.

Then I gave the motor a wipe down with paper towels and light brush to remove dust and oil residue. So you can see the headstock and motor assembly which has an idler pulley as part of bracket. After taking the major parts off, I removed the idler pulley which is held by a bolt and has two small ball bearings for the pulley to run on.


View attachment 533978View attachment 533979View attachment 533980View attachment 533981

Next up was inspection of power cord damage, and what I could do to repair or replace it. At first thought I was going to just replace the cord and switch with longer newer cord, but that would involve opening the motor up which I didn't want to do, so I looked at damage and then the switch. As luck would have it the switch back came off and showed a simple three wire mount to end of switch body, which I removed to expose the end of power cord, and this is about two inches from damaged spot, which looked like a rat had for lunch, and I should be able to just shorten the cord and resolder the ends and install back in switch to make as good as new, with no repairs visible.

View attachment 533991View attachment 533986View attachment 533987View attachment 533988View attachment 533989View attachment 533990View attachment 533985View attachment 533984

This should be a short simple repair based on design of the internal switch with mounts for the three wires on each end, I was worried it would be type where ground and neutral wires ran straight thru and only the hot wire was effected by the switch.
I spy Proto 2000 SD60/60M! Those bring back memories of 25 years ago :D
 
Hammerite seems to have been bought by RustOleum, but at least the texture is right. Some automotive nerd boards will say to use the modern hammerite as a base coat and finish with a regular paint to match the color. I'm not sure that is really necessary. Light green is light green, gray is gray. But you can research if you want to match each hue and chroma.
 
Back
Top