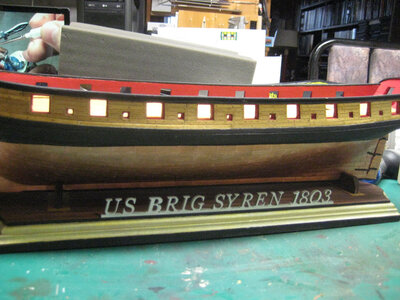
US Brig Syren 1803 Model Shipways MS 2260

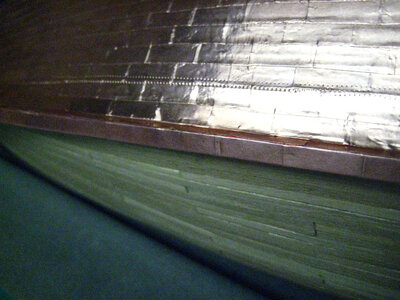
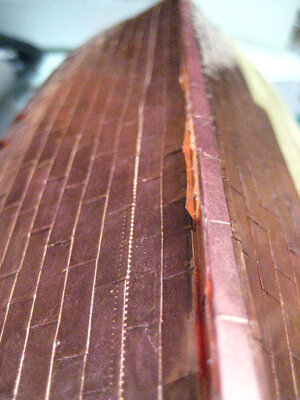
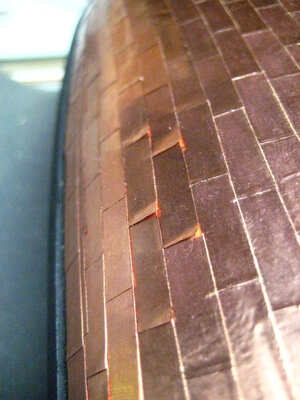
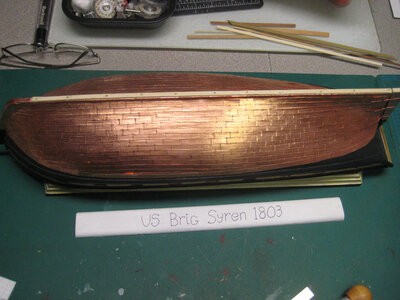
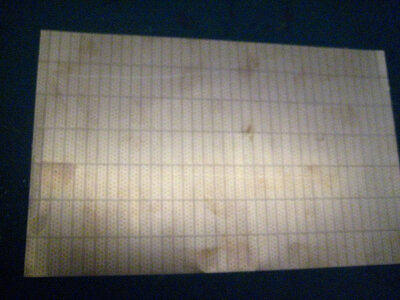
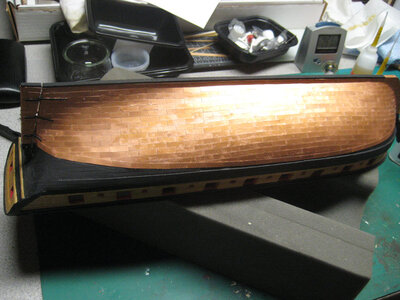
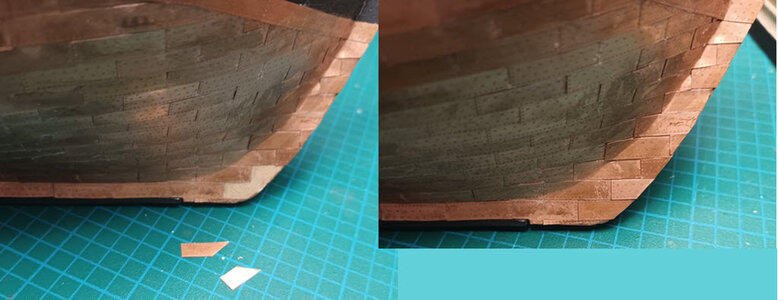
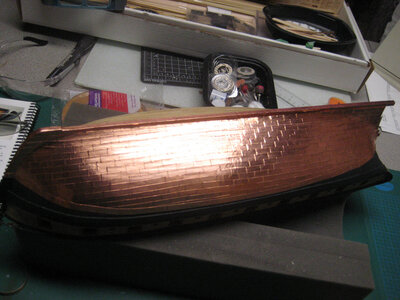
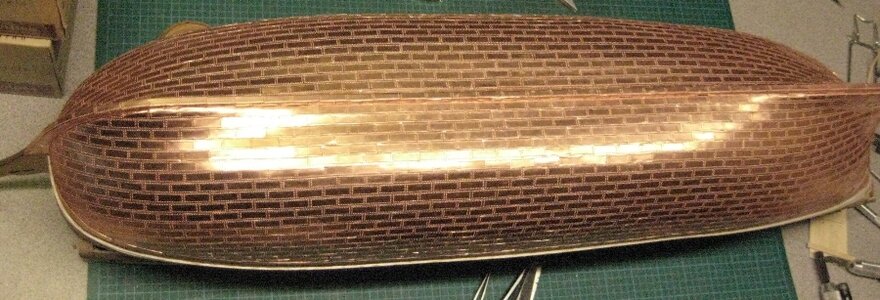
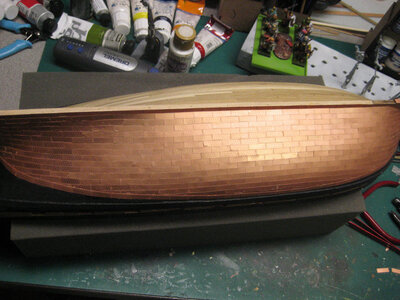
The copper plating of the hull is made with a 6.35mm 1/4’’ wide copper tape on a 33m 36yard roll supplied in the kit.
Each plate should be cut in length of 12mm or11/16’’
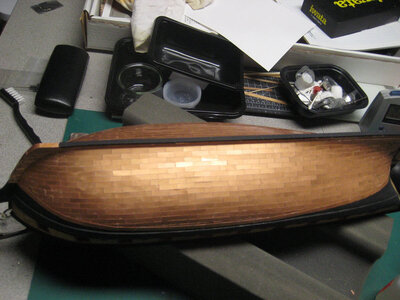
Half of the shell is made
1.JPG

And immediately the problems started.
During the copper plating of the hull of the Santisima Trinidad about ten years ago I had explored the copper tape method and quickly rejected this solution and used copper plates from Mantua with a good result
17-4.JPG

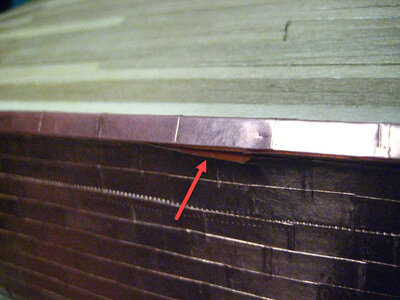
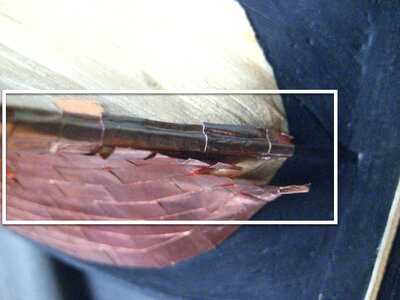
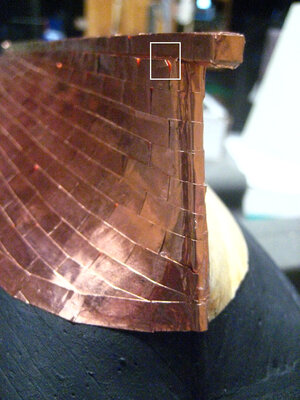
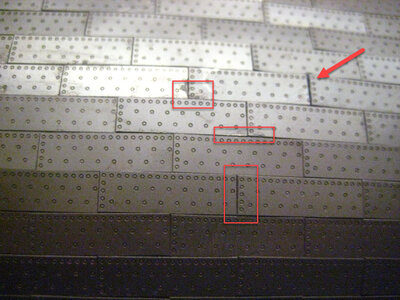
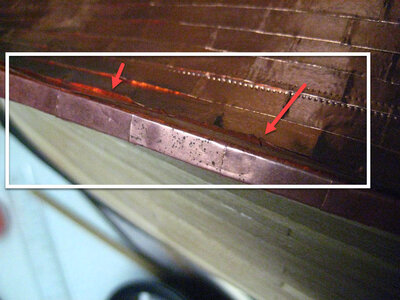
Well the problem is that the @ $ #?% $ # Plates peel off at certain places
2.JPG
3.JPG
4.JPG
5.JPG
6.JPG
7.JPG
8.JPG

I to try to correct with contact glue + - good.
Crying on my older son shoulder he suggested to me to use the heat with a hair dryer I was able to do the most by corrections for the one that was more recalcitrant I used my electric plank bender.
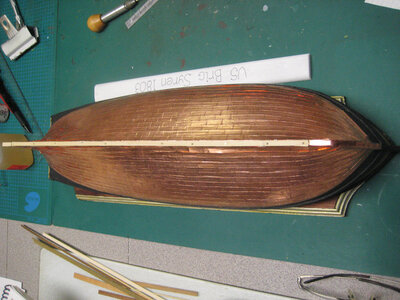
Now the hull is good enough and after 72 hours it staid on so it should hold but should not be manipulated too much
9.JPG
10.JPG

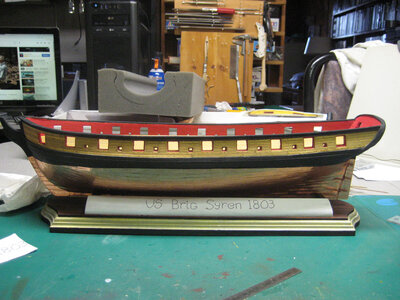
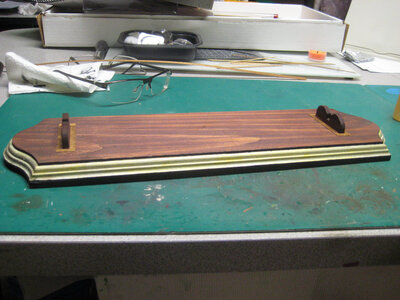
So I decided to make the base immediately
13.JPG
14.JPG

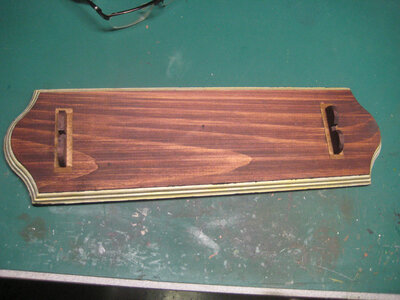
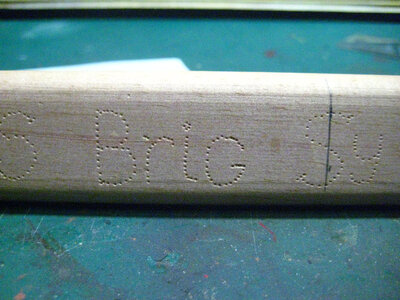
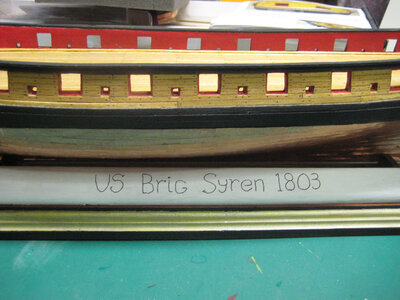
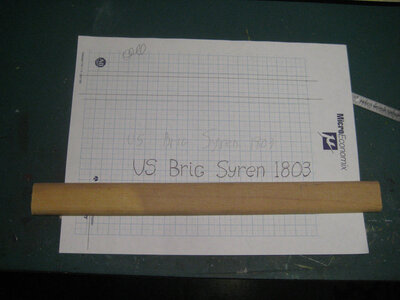
And his identification plate which will be made on a copper bar + later if the mood comes
Write the text I want
11.JPG

Transferred to a wooden support
12.JPG

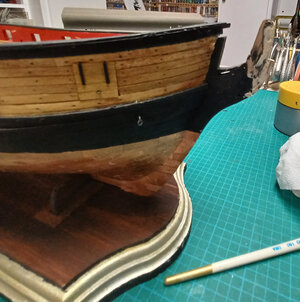
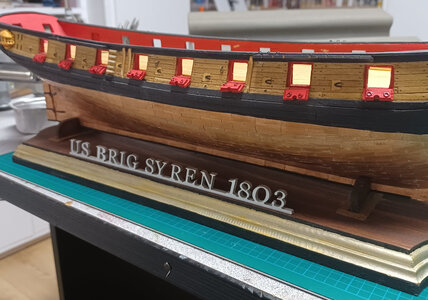
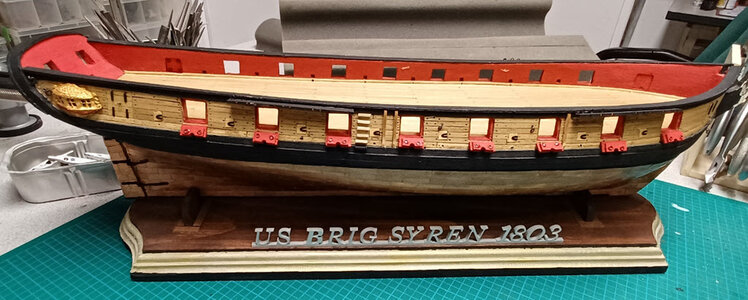
Here is the Syren on its base
15.JPG
16.JPG
 
Well

I waited 2 weeks to see if it was okay

OK NO it was a real disaster, I didn't even bother to take pictures too disgusted.


From that moment on I start to try to find a solution. For the section of the Santisima Trinidad I had used copper plates whose rivets were really off scale. For the ship used Mantua 5x15mm plates much better. 2 different type of plate but really too expensive.


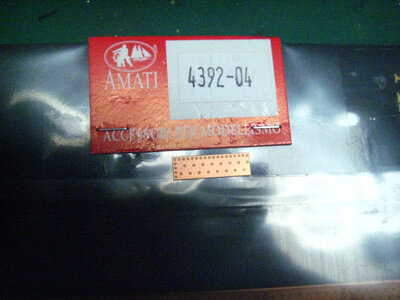
I finally found the Amati 4392/04 sheet plate complete set of 259 port and 259 starboard plates (the difference is the direction of the nailing) needed 2 sets.

In the State they are available for $46.50 US per set

https://www.agesofsail.com/ecommerce/4392-04-set-of-copper-hull-plates-17x5mm-1-72-scale.html

2.JPG
3.JPG


Well I know copper tape is less expensive and it is used successfully and with good results. Me it did not work at all, tape too old, bad base, wrong installation for any reason it did not work voila!

So redo the hull still remains a bit of acetone cleaning to remove traces of glue, but I have a beautiful hull that will not flake
5.JPG
4.JPG
6.JPG
7.JPG


Oh yes my boy brought me in the meantime what will be his name plate finally made of aviation grade aluminum alloy, I still have to decided whether it will be as it is or painted not yet decide

8.JPG
 
Hello Charles.

I am also building the Syren and I’m really interested in your comments about the copper tape. I have only recently started planking the hull but thinking ahead to what will be my first attempt at plating a hull. I think, given your experience with the kit supplied tape, that I might also buy the Amati sheets.

One thing I have found though is I now hate basswood for the planking. It may be my inexperience but I was even thinking of stripping it all off and redoing the hull with pearwood or similar. However, it’s my first go at a sailing vessel so I think I’ll just keep going and put it down to a learning experience.

From the beautiful builds I have seen on this site I know it’s going to be a long learn before I get to a decent standard.

Thanks for your great build log.
Roger

There is a Chinese site on Ebay that sells the tape pre-imprinted. Not plates, tape.
 
@TKAM thanks for the advice. I don’t want to hijack Charles build log so I’ll do some reading of other builds, see what others did and then start my own thread.
Thanks again,
Roger
 
Good 8 months without working on the Syren

Exterior work, and redo the basement + eye surgery and also I think after my mishap with the copper plate I didn't really have the taste to work on her

That said finish chapter 9 details of the hull
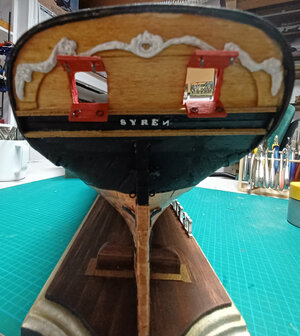
Installation of decorations at the stern

1.jpg

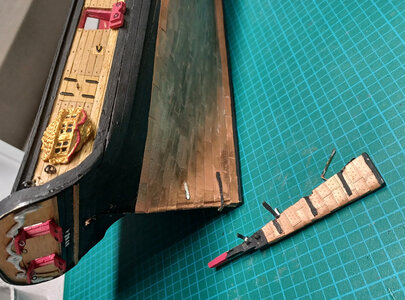
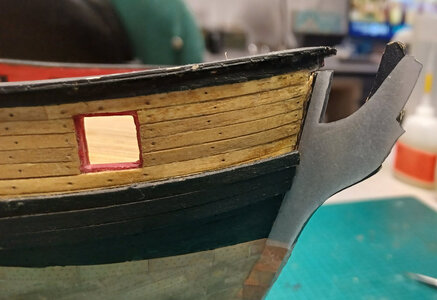
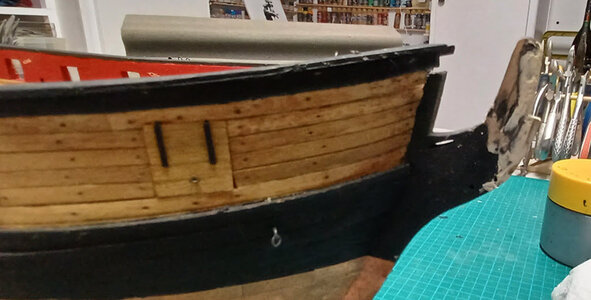
During the work in the basement the ship the rudder was torn off and the bow was seriously damaged too (I will elaborate in chapter 10)

2.jpg
2.5.jpg

Only 2 copper plates came off following the shock when the model fell

3.jpg

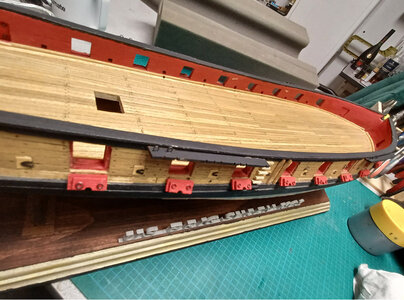
The ladder, accessory, the channel and the ports lids in position

4.jpg5.jpg6.jpg

Next chapter 10 is the bow that won't be easy to do
 
Last edited:
Looking very good
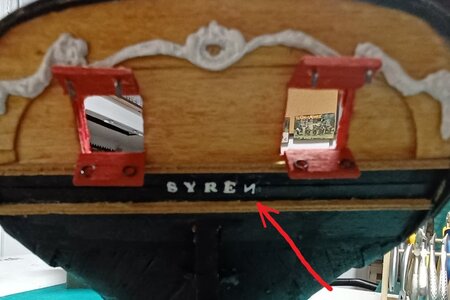
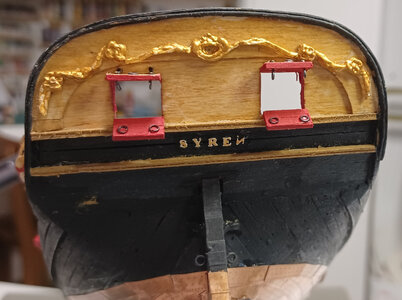
only one small error occured, there seems to be small typewriting error with the "N"
1.jpg
 
For chapter 10 I will divide it into 2 or 3 posts


Ok bow repair

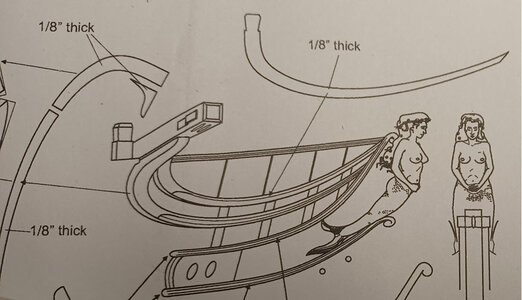
When I made the hull I had noticed that there was perhaps a difference between the plan and the current part and yes not the same draw on a tracing paper the shape and there is a good difference in the 2


1642349935424.jpeg


Fix and have a look


1642349952037.jpeg


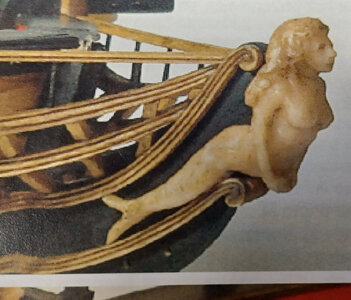
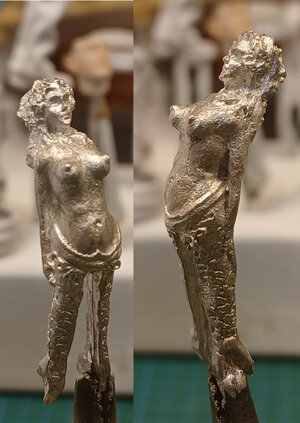
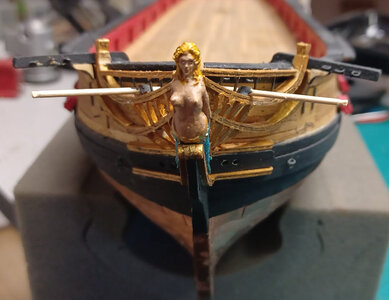
Good other difference the figurehead which according to the instructions comes in 3 parts


1642349974146.jpeg

1642349988969.jpeg


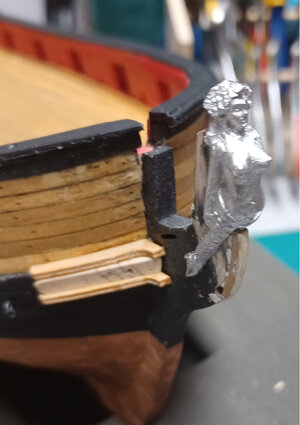
The one supplied with the kit is single metal parts


1642350015785.jpeg


Getting in position to see


1642350034702.jpeg


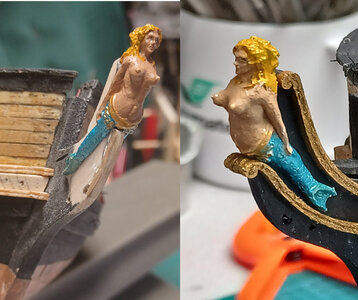
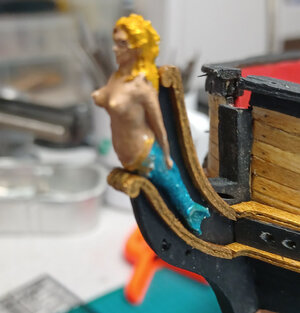
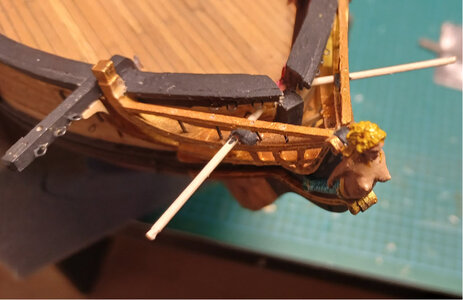
Seen the aspect I do not had the choice to paint the figurine


1642350058150.jpeg


Makes the rails painted GOLD with a discreet line


1642350096723.jpeg


At the same time correct the N of the name (which still seems to have a small defect) and painted the decoration of the stern


1642350114857.jpeg


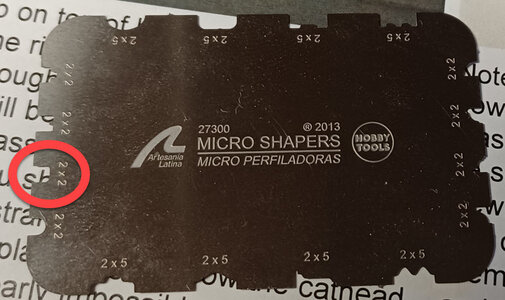
Used this tool to draw small lines

1642350131430.jpeg


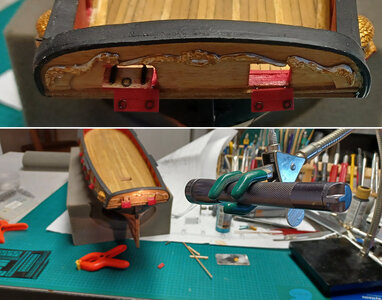
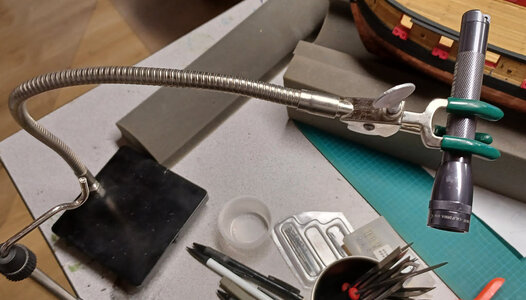
Another very practical tool is a 3rd hand that one of my boys gave me

In this case to paint the stern I have lighting problem that tool solve my problem when I need well focused lighting


1642350154711.jpeg

1642350166919.jpeg
 
The bow is finish
14-7.jpg
14-8.jpg
14-9.jpg

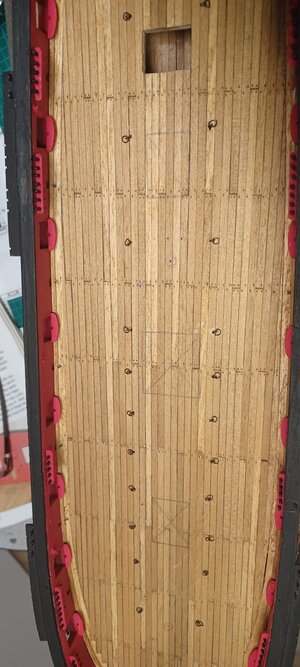
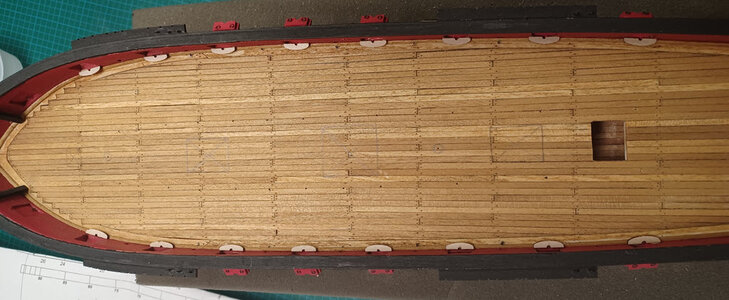
Deck detail
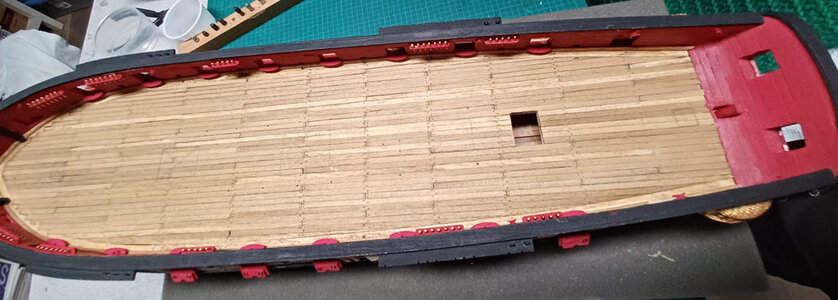
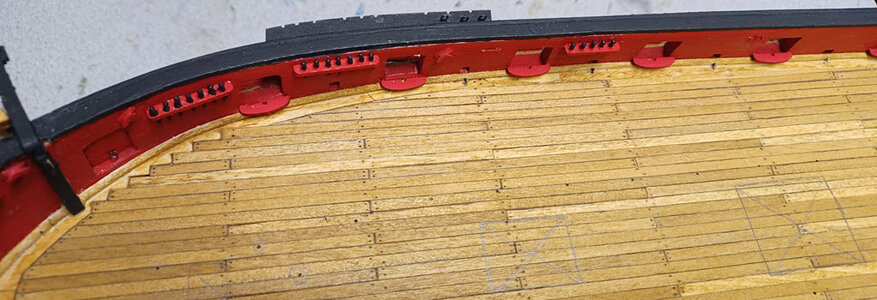
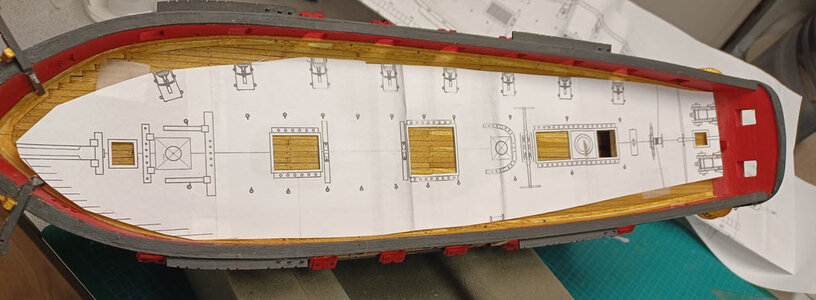
With a copy of the cut plan have marked the locations of certain details on the deck
15-1.jpg

Installation of carronade supports
15-2.jpg
15-3.jpg


Installation of fly rails
15-4.jpg15-5.jpg

Manufacture of rings that I place at this moment as the deck is empty
15-6.jpg


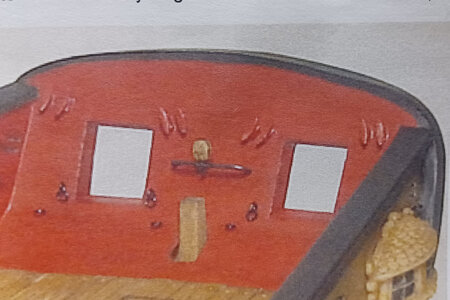
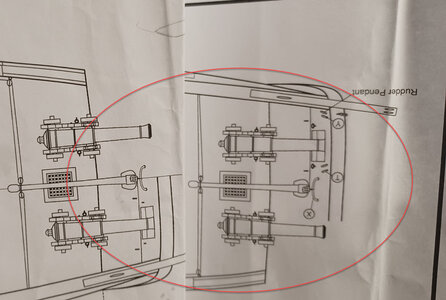
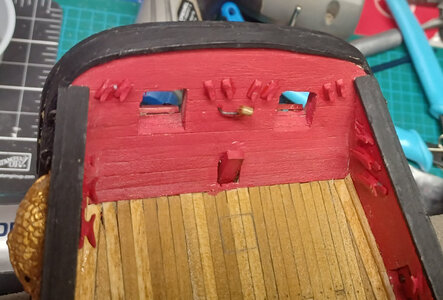
Stern detail
It lacks a drawing a little more precise than what is provided for the placement of the element
15-8.jpg
15-7.jpg


This portion is now complete
15-9.jpg

Next step installation of caronade
 
Hi Charles,

Your Syren is coming on well and you must be pleased to be able to start adding all the fixtures and fittings. I find it a really enjoyable build but it does take time, which I am also short of lately for modelling.

I will continue to follow your build with much interest.
 
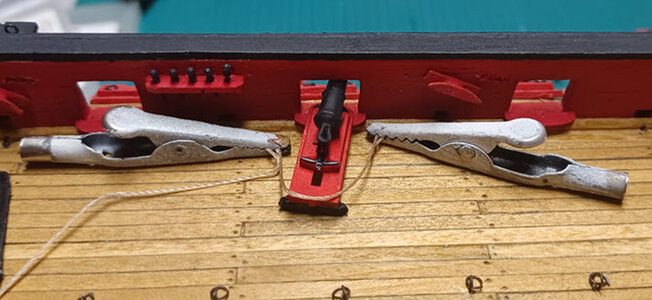
Measure the length needed for the restraint cable

1.jpg

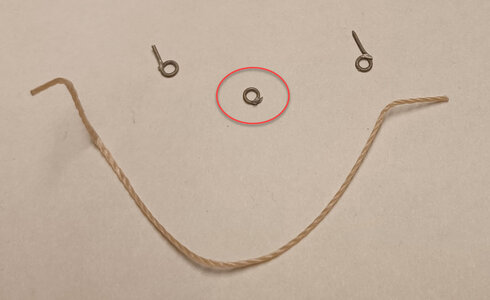
As the barrels do not have rings, make rings that will be put in position and glued with bi-component epoxy glue and placed in place2.jpg

3.jpg

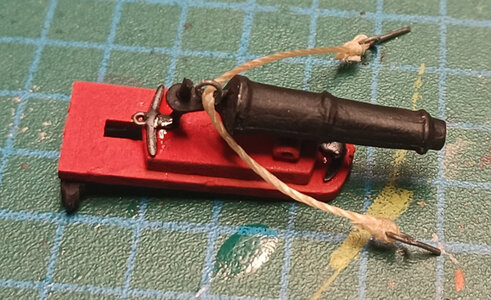
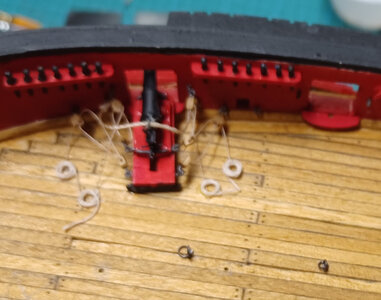
The first is complete and set up as a test

4.jpg
5.jpg

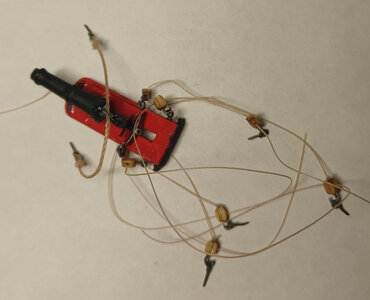
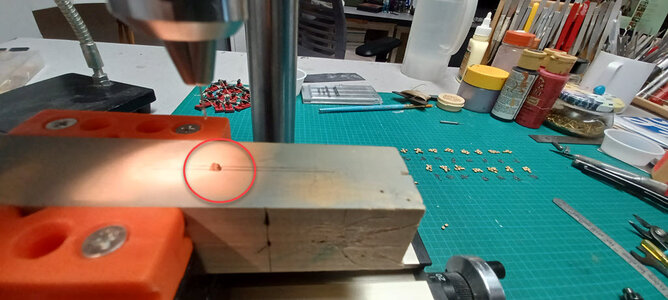
The pulleys are 2.5mm, a hook of 0.4mm in diameter by +- 1mm in length must be placed at one end so I made myself a template to make the hole that will receive the hook. During the manufacture of the first 8 I screwed up 3 of them with my template only 5 out of 120 and it was much faster.
6.jpg
7.jpg

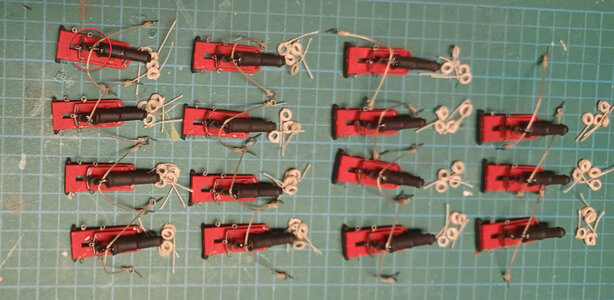
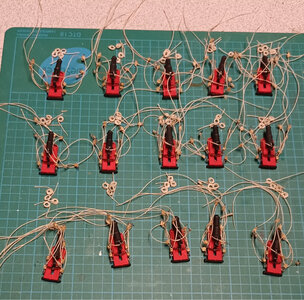
Installation of the last 15 retained cables and manufacture of the 120 rolls of cables
8.jpg

Here are the last 15 done
9.jpg

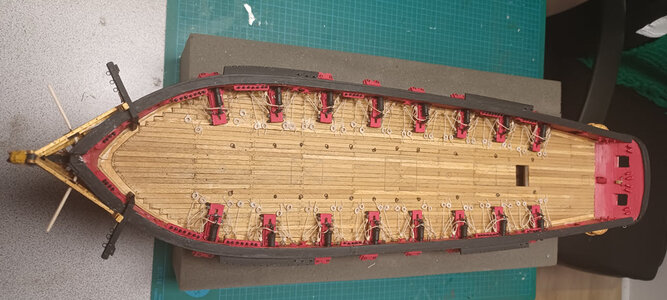
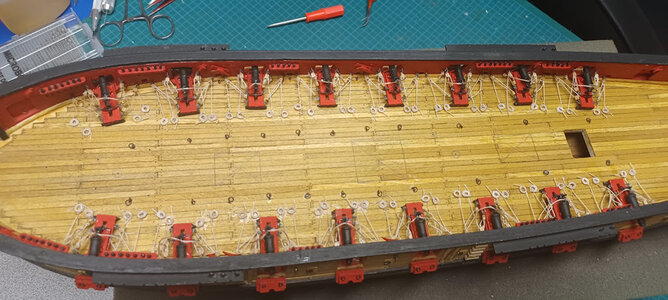
And pose on the deck
10.jpg
11.jpg

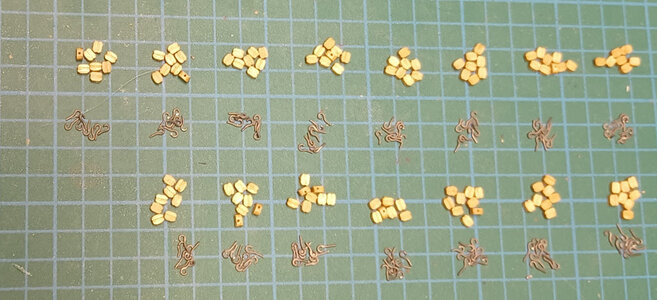
Material for 16 carronades
Each carronade is composed of 5 pieces +
128 hooks
128 pulleys
160 rings
+ 16 rings for retaining cables
64 rolls of cable
The next 4 chapter will be the deck furniture.
 
Back
Top