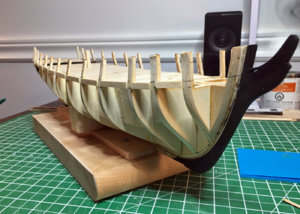
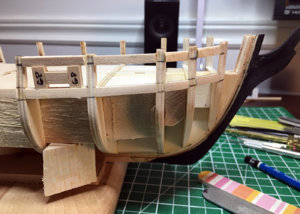
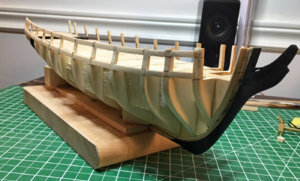
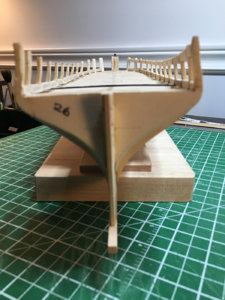
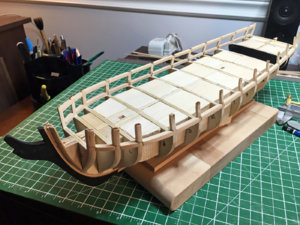
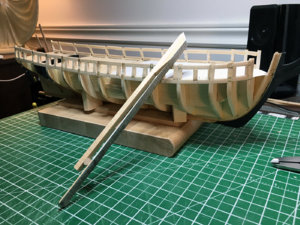
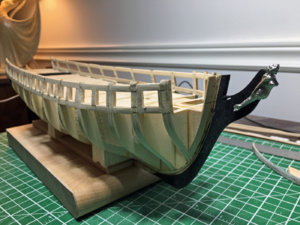
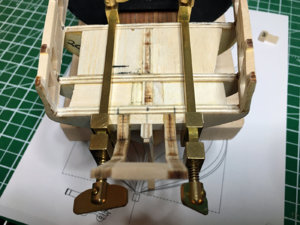
US Brig Syren MS: # 2260 by NovaStorm

Joined
Jul 21, 2019
Messages
162
Points
143

Location
~Nova Scotia~ Canada
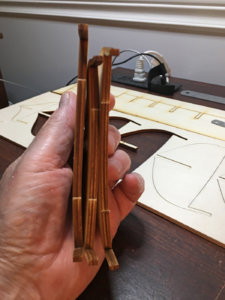
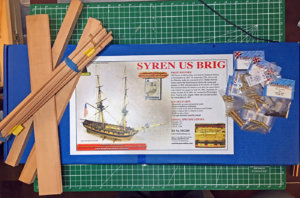
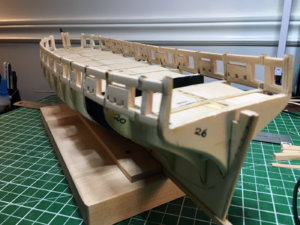
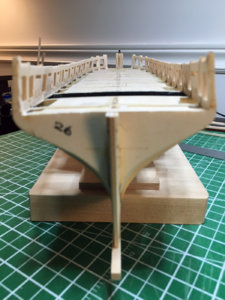
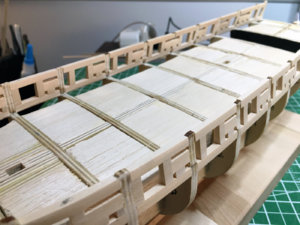
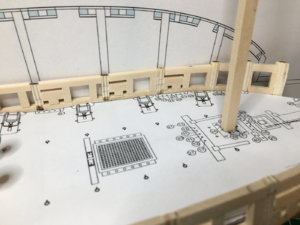
My good friend Charles QC talked me into buying this kit. When the box arrived in early Aug I got around to opening it a couple of weeks later. I was surprised to find I had some pretty warped bulkheads and the bulkhead former. An email was dispatched to MS and a short time later new material arrived. This seems to be a rather prevalent problem with this kit. Sad really when you think about all the work that went into it's creation and how popular it has been. I am really looking forward to slightly bashing the kit with the use of swiss pear for the decking and decorative elements. I will also be replacing the kit cannon's and carronades, ships wheel and a few other features. This will be my second build to date ;)

IMG_1964.jpgIMG_2138.jpg

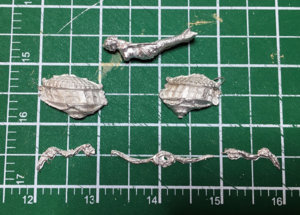
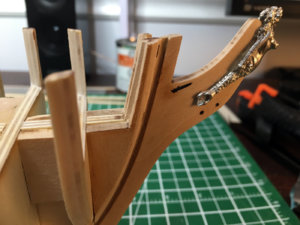
The little mermaid is actually not to bad cleaned up! The galley castings P&S are different sizes, I am going to attempt to make my own. The transom decor is probably pretty hard to cast at this size so I will attempt to make my own. This will be my first time carving soo... we will see!

IMG_1999a.jpg

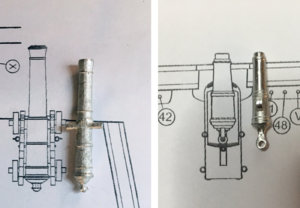
Here are the MS cast cannons and carronades against the plans, I will be using brass cannons from Caldercraft part# 85180A and part# 85818A for the carronades.

IMG_2021b.jpg
 
Last edited:
A bit of Syren History: btw it appears the mermaid figurehead was added by the British
yahoo_winking.gif


USS Syren (1803)

Courtesy Wikipedia, Published under creative commons: https://creativecommons.org/licenses/by-sa/3.0/

History:

United States

Name: USS Syren
Builder: Nathaniel Hutton
Cost: $32,522
Laid down: 1803
Launched: 6 August 1803
Commissioned: 1 September 1803
Renamed: Siren, 1809
Fate: Captured at sea, 12 July 1814
RN EnsignUnited Kingdom
Name: Siren
Acquired: 12 July 1814 by capture
Commissioned: Not commissioned
Fate: Not listed after 1815

General characteristics

Type: Brig
Displacement: 240 long tons (244 t)
Tons burthen: 298 (bm)
Length: 94 ft 3 1⁄2 in (28.7 m) (overall); c,75 ft 0 in (22.9 m)
Beam: 27 ft 0 in (8.23 m)
Depth of hold: 12 ft 6 in (3.81 m)
Propulsion: Sail
Complement: 120 officers and enlisted
Armament: 16 × 24-pounder carronades

USS Syren (later Siren) was a brig of the United States Navy built at Philadelphia in 1803. She served during the First Barbary War and the War of 1812 until the Royal Navy captured her in 1814. The British never commissioned her but apparently used her for a year or so as a lazaretto, or a prison vessel. She then disappears from records.

Description

Syren was designed by Benjamin Hutton, Jr. of Philadelphia and built for the Navy in 1803 at Philadelphia by shipwright Nathaniel Hutton and launched on 6 August 1803. She was commissioned in September and Lieutenant Charles Stewart was appointed in command.
She was sharper, but smaller than USS Argus (1803), yet carried the same armament. Both vessels were built the same year for the First Barbary War.

Service history in US Navy:

First Barbary War

Syren departed Philadelphia on 27 August 1803 and reached Gibraltar on 1 October. A fortnight later she sailed via Livorno to Algiers carrying presents and money to the Dey of Algiers. She then sailed to Syracuse, Sicily, where she arrived early in January 1804.
The first action Syren was involved in was an attack aimed at destroying USS Philadelphia, a frigate that had run aground the previous autumn and that Tripolitan gunboats had then captured. To prevent Philadelphia from opposing his planned operations against Tripoli, the commander of the American squadron in the Mediterranean, Commodore Edward Preble, decided to destroy her. To achieve this, Syren and ketch Intrepid sailed from Syracuse on 3 February 1804 and proceeded to Tripoli, which they reached on 7 February. However, before the American ships could launch their attack, they were driven off by a violent gale and did not get back off Tripoli until 16 February. Before the attack Syren tied up alongside Intrepid to transfer some of her crew for the assault on Philadelphia. Aboard Intrepid, under the command of Stephen Decatur, sailors from both Intrepid and Syren succeeded in burning Philadelphia. Also present during the assault was Thomas Macdonough of Syren.

Bombardment of Tripoli, 1804

Syren returned to Syracuse on the morning of 19 February. On 9 March, she and Nautilus sailed for Tripoli. Soon after their arrival, on 21 March 1804, she captured the armed brig Transfer belonging to the Pasha. Stewart took Transfer into US service and renamed her USS Scourge.[5] She then served in the American squadron. The very next day Syren captured a polacca named Madona Catapolcana and sent her to Malta. Operations in the Mediterranean during the spring and summer of 1804 and participated in the attacks on Tripoli in August and September 1804. The ship continued to support the squadron's operation against Tripoli which forced the Pasha to accede to American demands. After a peace treaty with Tripoli was signed on 10 June 1805, the brig remained in the Mediterranean commanded by Master Commandant John Smith for almost a year helping to establish and maintain satisfactory relations with other Barbary states.
The ship returned to America in May 1806 and reached the Washington Navy Yard in August. She was laid up in ordinary there until recommissioned in 1807 and subsequently carried dispatches to France in 1809. In 1809, her sailing master at the Norfolk Navy Yard was Captain John "Mad Jack" Percival. The following year, her name was changed to Siren.

War of 1812

Little record has been found of the brig's service during the War of 1812, however small news items appeared in the Salem Gazette and the Boston Gazette.

In May 1813 it was reported that within the space of two days a merchant vessel, Pilgrim, was boarded, first by HMS Herald which was searching for Syren, and then by Syren, which was searching for Herald. Syren was now commanded by Lieutenant Joseph Bainbridge. The following month Syren left Belize and proceeded to Cuba where after three weeks searching for a Royal Navy sloop, probably Herald, she sailed for the coast of Florida putting in at New Orleans before departing on 9 May 1813. No prizes were taken during this voyage and the ship needed repairs.
By January 1814 Syren was in Massachusetts and was now commanded by Lieutenant Parker, In February she sailed along with a privateer, Grand Turk. Not long after sailing Parker died and command transferred to Lieutenant N.J. Nicholson.
Syren captured at least three merchant ships off the coast of Africa. On 28 May she captured and burnt Barton, Hassler, master, which had been sailing from Africa to Liverpool. Then on 1 June Syren captured Adventure, which too was from Africa to Liverpool. She took-off their cargoes of ivory and sank them. Lastly, at some point Syren captured Catherine.
On 12 July 1814 Syren while cruising off the West African coast encountered the British ship HMS Medway a 74-gun third rate ship of the line under the command of Captain Augustus Brine. Heavily outgunned, Syren attempted to run. After an 11-hour chase Medway captured her despite Syren having lightened her load by throwing overboard her guns, anchors and boats. During her last voyage she had captured or sunk several British merchantmen. Among the prisoners was Samuel Leech, who later wrote an account of his experiences.
According to Samuel Leech, after being captured the crew of Syren were taken to the Cape of Good Hope, and after landing at Simonstown, marched to a jail in Cape Town. Here they were held until transferred to England when the war was over. On arriving at Simonstown, other American prisoners were seen to be leaving the jail and being shipped off to Dartmoor. The Syren crew met these again in England while waiting for transfer to the United States. Some had been present at 'The Massacre'.

British service history:

After the capture by Royal Navy she had a figurehead of mermaid installed.
The Royal Navy used her as a lazaretto. She is no longer listed after 1815.
 
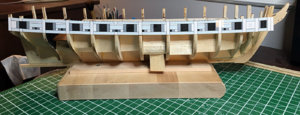
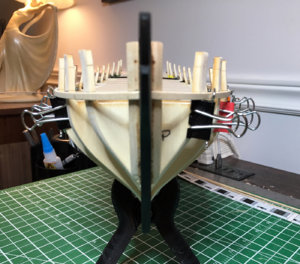
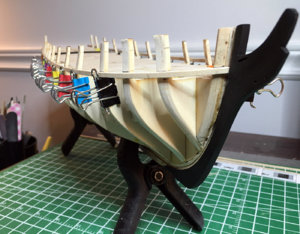
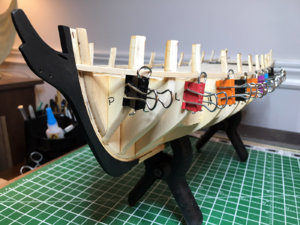
Lets start things rolling, Charles has some things on his plate and will be starting his build shortly. So with a little time on my hands two weekends ago I decided to start pocking around in the kit. Before I knew it I'm picking up the glue and sticking things together. Couldn't help myself. :rolleyes:
IMG_2094a.jpg

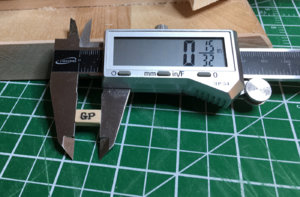
Above: gluing what will become the rabbet strip between the keel and the bearding line.

Below: After cutting and sanding the bearding line into the bulkhead former the stem knee is sanded (tapered) in order to facilitate the mermaid figure head. Followed by gluing it into position on the rabbet strip. IMG_2112a.jpg

Next the keel is glued on. The slight step where the stem knee meets the keel is where the false keel will go running to the stern. Seems to be a little controversy as to weather the false keel is copper plated or left natural wood. As it is designed to come off if the ship should run aground I plan on the un-coppered look which is what it calls for in chucks instructions.

IMG_2114a.jpg

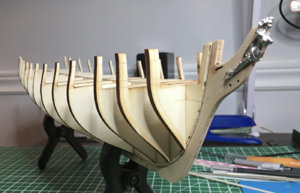
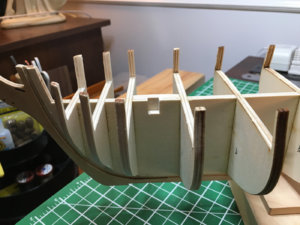
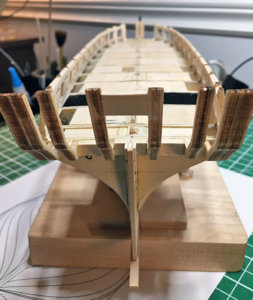
Now I test fitted the bulkheads onto the BF (Bulkhead Former) after sanding out the char. Followed this by ruffing out the bulkhead bevels. Nice to now get a first look at the form of the ship :)

IMG_2123a.jpg
 
One area in the instructions that made me cringe is in Chapter 12. for setting the masts. They want you to take a electric drill and drill out the mast holes down through your deck and the slightly raised section above and into the plywood. By this point the ship is half done including the copper plating etc. The main mast has quite a rake to it and the fore mast is almost perpendicular. This step has given people nightmares lol. So I wondered why they didn't just notch out the plywood with the laser like on the bluenose. I searched for a reason and couldn't find one so I went ahead and did it myself.
It is so easy to do. Using Sheet#1 of the plans, lay out your BF with the stem knee and keel glued on but nothing else
Line it up on the sheet and you can draw the mast lines and angles right onto the BF. Now you just cut out your notch and glue two sandwich boards one each side to make a mortise. When it comes time to set the masts all I've got to do is file two side of the mast base to form a tenon that will fit right in and have my mast all set at the approximate degree required. Doing it this way I should be able to get away with not gluing the masts in also. In the instructions they glue the masts in. Here's hoping anyway!
Pick showing what I did:

IMG_2152a.jpg
IMG_2155a.jpg

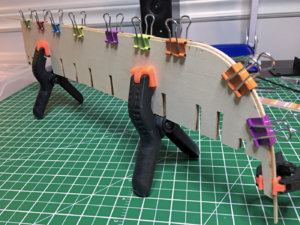
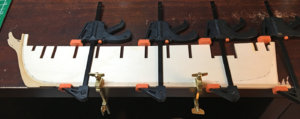
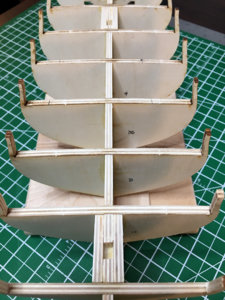
Now with the notches cut. I cut plywood to make the sandwich. Before gluing any of this together I faired up the bulkheads a bit better using a guide plank before gluing them in using a square to keep everything in line.
A few pics below:

IMG_2167a.jpgIMG_2168a.jpgIMG_2171a.jpgIMG_2182a.jpgIMG_2188a.jpg

Next, I will be cutting and installing blocking between the bulkheads to strengthen everything and give the decking better support. I am going to use balsa for the blocking. Easier to deal with (since I haven't got a table saw) sniff sniff (yet) but it will be a lot lighter which I like. Cheers all

:cool:
 
Many thanks for starting this building log of your Syren - very informative - hope you keep this style
It seems, that the warped bulkheads is a principle problem of this kit and / or manufacturer - I was reading about it already several times.
For me more surprising is the fact, that the manufacturer is not reacting and solving this ongoing problem with changing to another supplier of the ply-wood
 
Robin I will probably start my build some time next week same time as the Säo Miguel just complete the small kit I was doing and working at the moment on the mizzen mast of the R.L. that I will put aside temporally. I will work on the 3 kit in alternation as I have to make mi minister happy and my son that want to sell the R.L. to is boss.
It seems, that the warped bulkheads is a principle problem of this kit and / or manufacturer - I was reading about it already several times.
Uwe somebody told me (do not know the accuracy of that) that M.S.W got water damage some time ago after a tornado. I have my Syren since it was first produce in 2009 and it is perfect no damage.
 
Hi Uwe & Jim thanks for showing an interest. Couldn't agree more in regards to MS the manufacturer Uwe. If you know you got a problem (which they must) at least do some quality control and try and catch them before they go out. My Bluenose build had issues with some parts which were suppose to come apart to add additional pieces to. They couldn't be taken apart and I pointed this out to MS and received new ones, which what do you know also couldn't be taken apart lol.
So again a week ago I did email John at MS and asked if they have ever thought of using MDF for the bulkheads or if it was possible, but received no response back. We are just expected to deal with it as best we can I guess.
Charles great to hear you will start your build soon my friend, looking forward to us working on this together at the same time :)
Cheers, Robin ~
 
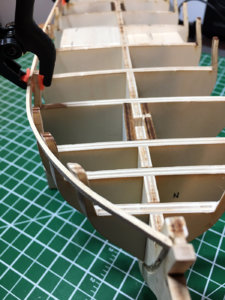
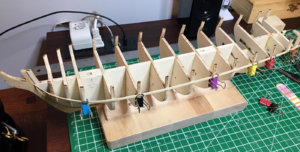
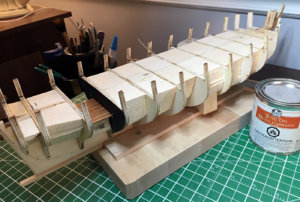
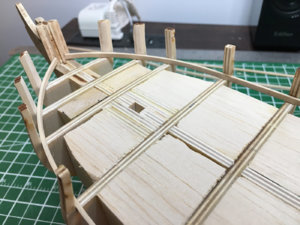
In the meantime, I've blocked in the BH's and BF to stiffen every thing. Don't laugh at my blocking I had it nice and neat then realized I had no room for sanding and filing in the later work along the bulwarks. So I grabbed the axe and knocked it all back
yahoo_at_wits_end.gif

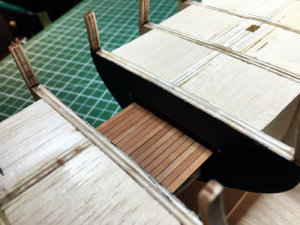
Then came the exciting part as I got to use some pear to fill in the platform (decking) that will be just visible through the galley door. I pulled out and used the least nicest pear ends for this as it will barely be visible and put on a coat of Lee Valley tung oil. I also painted the background black to mask it. Then I installed the bow filler and began checking the inner fairing on the bulwarks. A few pics...

IMG_2198a.jpgIMG_2230a.jpgIMG_2231a.jpgIMG_2233a.jpgIMG_2237a.jpg

That concludes the first two chapters in the instructions. Now I checked the bulkhead placement using the template, spot on!

IMG_2240a.jpg

Then using a batten to try and get the gun port sill line with a nice natural flow bow to stern.

IMG_2243a.jpgIMG_2244a.jpgIMG_2253.jpg

Happy with the sill line it is marked off on the bulwarks and the sills were cut and glued on the starboard side.

IMG_2277a.jpg

I've got my gun port sill and lintel ruffly sanded in on the starboard side. Pretty pleased with the outcome. Decided to do both the sill and lintel on the starboard side first encase it didn't work out. Without making up a carronade to check in the opening I won't know for sure but I think I am almost spot on with where I should be.
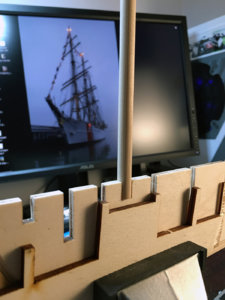
Made a little jig for a spacer to glue in the top lintel. Also works to keep the lintel level as you glue them. They are not suppose to tilt in or outboard. Feeling good I decided to get myself a little treat :) Looking forward to receiving my saw on Thursday Link Here

IMG_2282a.jpg

Using a jig to keep the lintel evenly spaced with the sill and laying flat.
IMG_2288a.jpg

With the gun port lintels glued in and ruff sanded ~
IMG_2291a.jpg

Cheers ~
 
"One area in the instructions that made me cringe is in Chapter 12. for setting the masts. They want you to take a electric drill and drill out the mast holes down through your deck and the slightly raised section above and into the plywood."

You are so right. I was also very nervous about drilling right into the deck. I worked the nerve up and then just did it. The more critical, as you say, was the main mast with its pronounced rake aft. It ended up being a non-event in both instances. I ended up using epoxy adhesive, it hardened enough to let go of the masts after 10 minutes and fully hard overnight. Epoxy gives you enough slop to make sure those masts are squared up and/or raked properly but after drying they're are well and truly set and are ready for rigging. Below is a link to my Syren blog.
 
Last edited:
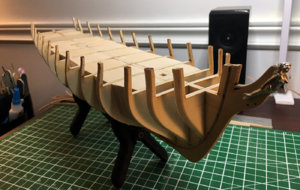
Finished up installing the gun and sweep port framing which brings chapter 3 in the instruction book to a conclusion. Haven't managed to break anything yet.
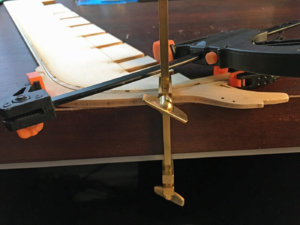
First couple of pics are a sander I made up to fair the frames. Great little rig that conforms to the shape of the hull as pressure is applied.

IMG_2343a.jpgIMG_2344a.jpg

Completing the port framing ~

IMG_2363a.jpgIMG_2404a.jpgIMG_2408a.jpgIMG_2412a.jpg
 
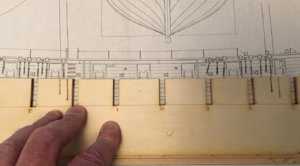
Cheers Jim, thanks for following bud :) Well I might have a possible problem! I put a copy off the deck layout plan onto the bh's to check gun port relationship. But the one gun on the far right seems to be off by quite a piece. If I check my framing with the overhead plan it seems correct. If I measure the distance between the gun port centers and the sweep port they are the same. Strange do you think I have an issue here?

IMG_2414a.jpg
 
Hello, I don't see an issue, at least at this stage (you have not planked yet). Take both: body and desk plans and make a reference line first so this line cross both plans (at the midship), then you can check all gun port sills. It is possible that the plans has errors...
 
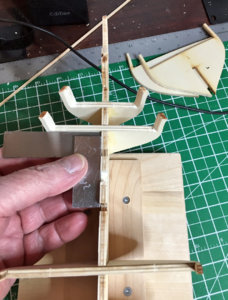
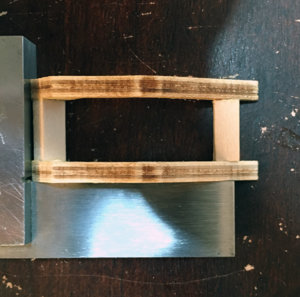
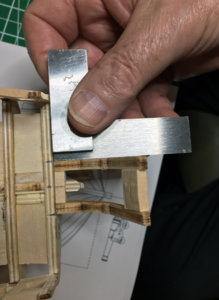
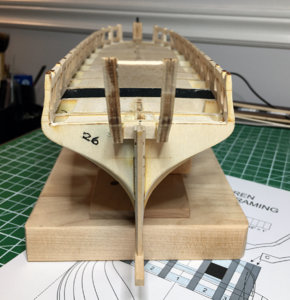
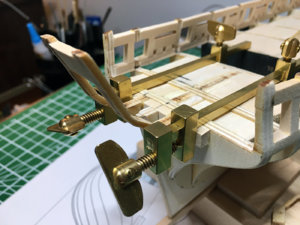
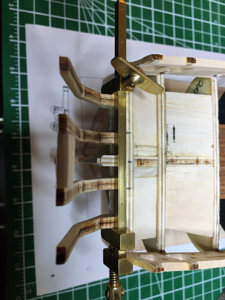
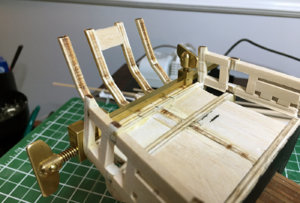
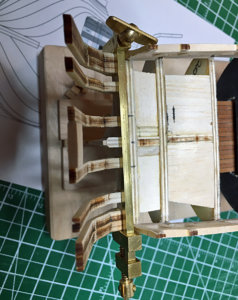
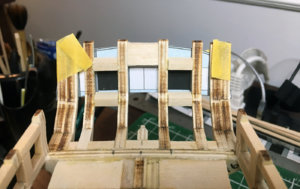
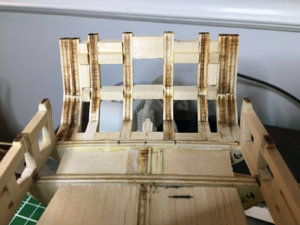
Well with chapter 3 in the instruction book out of the way I dove into the chapter 4. It seems it doesn't seem to matter how many times I read something I still manage to miss the odd detail. In this case it was to have a slight curve when viewed from above to the stern framing. Well my curve is very slight. Looking at a few other logs I suspect this will still be ok and that I am not the only one. At any rate I started out great and decided not to follow the instructions initially because they didn't seem like a good way to keep things square and in line. So instead of doing the first steps on ship I decided to start off ship where I could get things squared up easily.

First pic showing the first two frames marked (A) being assembled and squared off ship.

IMG_2418a.jpg

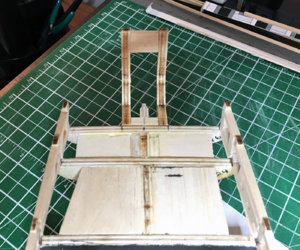
The assembled piece fits snugly into a slot off of bulkhead 26 at the stern.

IMG_2422a.jpg

Happy with the result it is glued in place.

IMG_2425a.jpgIMG_2427a.jpg

Two more filler blocks are added either side of the existing frame followed by two more frames. This is continued as per the instructions going forward to the framing is complete.

IMG_2431a.jpgIMG_2436a.jpg
IMG_2438a.jpg


IMG_2440a.jpg

The outer 2 frames are doubled up as this area will be carved into the hull form. It is now time to add the filler blocks.

IMG_2441a.jpg


A template is used to dial in the gun port sills, lintels and filler blocks. In order as to not have your framing flush across as mine almost is would be to line up the tops of the frames level I believe but I am not positive as the instructions just call for a slight curve if viewed from above.

IMG_2469a.jpg

Here it is with all the filler blocks in place

IMG_2475a.jpg

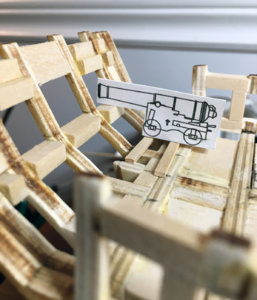
A little cannon cut out is placed on a couple of 1/16 strips to check the gun port opening. I probably should have left a little room for sanding but not to bad for non union work ;)

IMG_2478a.jpg
 

Attachments

  • IMG_2429a.jpg
    IMG_2429a.jpg
    260.7 KB · Views: 13
Last edited:
Back
Top