US Brig Syren MS: # 2260 by NovaStorm

Cheers Jim,
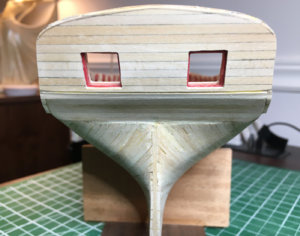
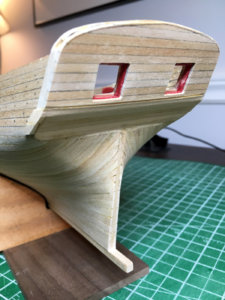
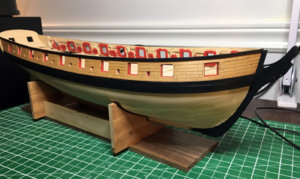
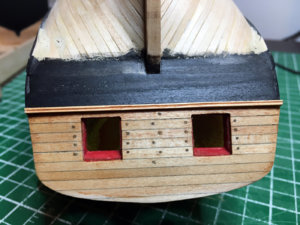
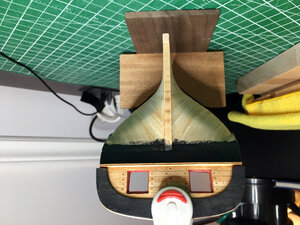
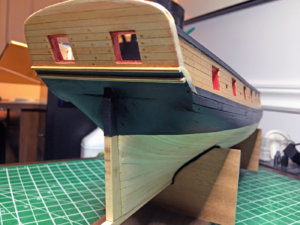
Here is what I've been up to today. Working on sorting out the transom. As you know I am not following the build instructions on this part. Transom planking is fine with the look I was after. Still a little nervous the rail is going to look to wide for the scale. I've planked the transom with 1/16 where the kit laser pieces were 3 /64th's Will see I still have a fair bit of sanding room if I want...

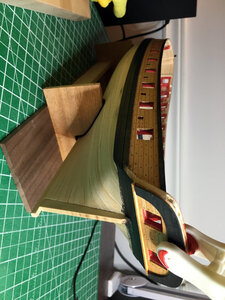
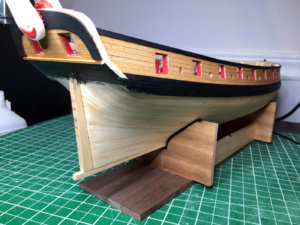
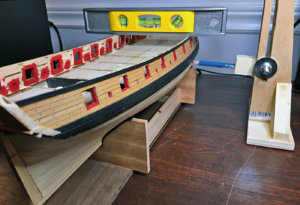
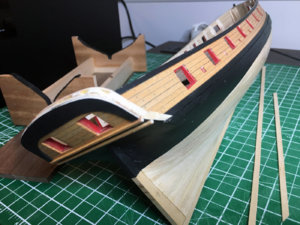
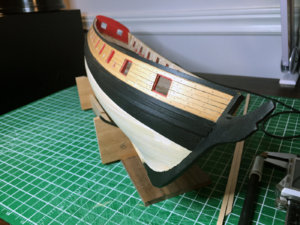
Also working on those fashion pieces, sorting them out and finally putting the second layer of planks over the wales. To get the best effect possible I decided to paint the 2nd layer of the wales planks individually. Easier than taping etc since there are only three planks to each side ... The usual picsIMG_2890a.jpg

IMG_2897a.jpgIMG_2906a.jpgIMG_2910a.jpgIMG_2916a.jpgIMG_2918a.jpgIMG_2922a.jpgIMG_2923a.jpg
 
Long time did not came here I was to busy just finish 3 small projects noting to do with naval building (figurines). So just have a look at were you are in you built.
Nice friend, very nice you are advancing nicely, will not touch mine for some time as I want to complete the Louis.
 
Thanks for the comments appreciated :) 478 holes Janos ;) jk'ing but phew the toothpicks were the worst part.
Now I am working out how I want the finish to look on the transom. I didn't go with the instructions on this part and decided it would look better planked outboard.
I like it but I have yet to decide weather I want to plank and stain or go with black for the additional raised boarder that the carved decoration will be glued onto.
Your thoughts would be appreciated as I don't know if the black boarder is acceptable practice for a Brig? It will certainly make the carved decor to go on top stand out beautifully imho.

Here is what I have done so far. I really like the minwax # 603 Antique Maple stain, it has given me the shade I wanted. Some pics, cleaned up and the transom planking with the black boarder. Again your thought on the transom boarder would be appreciated.

IMG_2985a.jpgIMG_2993a.jpgIMG_2995a.jpgIMG_2997a.jpgIMG_2999a.jpg

I almost feel like the black might be a little to much but once the carved decor goes on it should tone that down and really bring out the decoration. A railing in black will also go over the top.
 
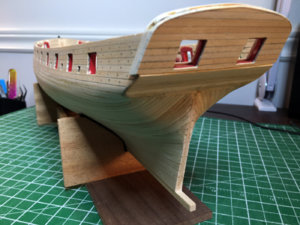
Well continuing on. I added the black arch and second bit of trim to the transom. Then spent a considerable amount of time attempting to bend the rail that will go over the top of the transom. After five try`s at soaking and bending I got a couple rails that were acceptable ( not easy at 1/16 thick) but have decided to put off gluing them on until a later date, after I have the rail on the bulwarks first. It turns out that two davits will stick out off the stern. They get cut into the transom rail so really I will be able to install the rail in three pieces which will be a lot easier to clamp and glue.
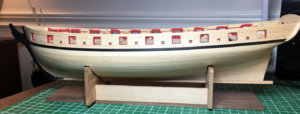
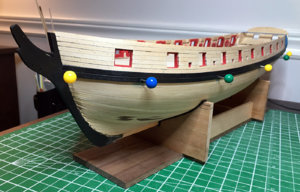
In the meantime I also marked out the water line and continued the painted black below the wales to the waterline.
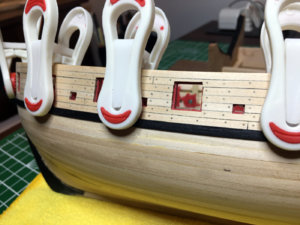
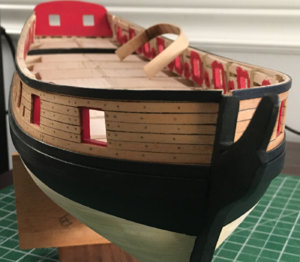
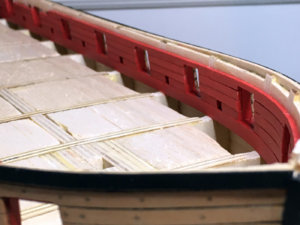
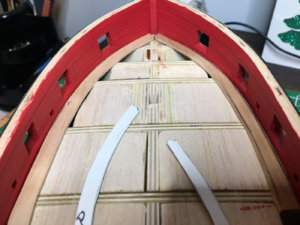
Now I am planking inboard on the bulwarks on up around the gun ports. After planking the transom inboard and painting it I wasn't really happy with the look. It is to flat because the planking really does not stand out at all and it looks more like a painted wall. So I put on my thinking cap and decided to try painting the planking individually first before installing them on the bulwarks and see if that would give it a more planked than painted wall look. I think it does, not sure if you will like it but I think once the rail goes on it will look great. Ran 600 grit over the planks before painting them. The usual pics...


IMG_3003a.jpgIMG_3013a.jpgIMG_3020a.jpgIMG_3027a.jpgIMG_3032a.jpgIMG_3052a.jpgIMG_3055a.jpg

PS: Hope you can appreciate my color coordinated clamps ;)
 
Well continuing on. I added the black arch and second bit of trim to the transom. Then spent a considerable amount of time attempting to bend the rail that will go over the top of the transom. After five try`s at soaking and bending I got a couple rails that were acceptable ( not easy at 1/16 thick) but have decided to put off gluing them on until a later date, after I have the rail on the bulwarks first. It turns out that two davits will stick out off the stern. They get cut into the transom rail so really I will be able to install the rail in three pieces which will be a lot easier to clamp and glue.
In the meantime I also marked out the water line and continued the painted black below the wales to the waterline.
Now I am planking inboard on the bulwarks on up around the gun ports. After planking the transom inboard and painting it I wasn't really happy with the look. It is to flat because the planking really does not stand out at all and it looks more like a painted wall. So I put on my thinking cap and decided to try painting the planking individually first before installing them on the bulwarks and see if that would give it a more planked than painted wall look. I think it does, not sure if you will like it but I think once the rail goes on it will look great. Ran 600 grit over the planks before painting them. The usual pics...


View attachment 124558View attachment 124559View attachment 124560View attachment 124561View attachment 124562View attachment 124563View attachment 124564

PS: Hope you can appreciate my color coordinated clamps ;)


Very nice. I especially like that you planked the transom rather than accept the provided laser cut sheet, I had not thought of doing that. One question: I am nearing the completion to my Syren and am bad need of a cradle. What are your thoughts? Cheers!
 
Real nice work Robin
Hope to have time to work on mine soon (got a commission to paint some War Hammer figurine and that will take a lots of time)

TK my 5 cent about ship cradle is as to be discrete, secure the ship but not be an eye catcher
 
Thanks guys, I haven't put any thought into the cradle yet. I saw one that was very simple just two rods up from a mount block going into the keel, that looked really nice. I usually try to be a little different so I may look around for some driftwood or beach stone to incorporate into mine. Who knows ;)
Charles were is your Louis log bud I haven't found it. Hope you have both had a good xmas or holiday, the Admiral and i have been having a great time.

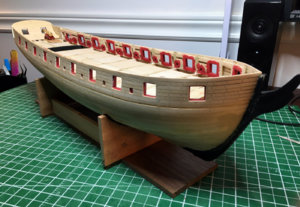
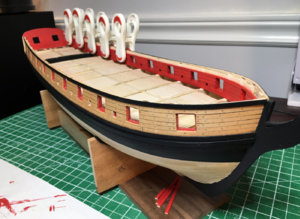
I am picking away at several area's on the ship. Working on the main rail but will install it later rather than sooner. I completed the inboard planking, filling in the top fore and aft. Sanded and painted again as I had it looking to ridged. Also working on the forward margin planks for the deck. These I am making out of Pear wood and will have the pear deck planks nibbed into them.
Some pics:

IMG_3067a.jpgIMG_3074a.jpgIMG_3076a.jpgIMG_3077a.jpgIMG_3078a.jpg
 
Thanks guys, I haven't put any thought into the cradle yet. I saw one that was very simple just two rods up from a mount block going into the keel, that looked really nice. I usually try to be a little different so I may look around for some driftwood or beach stone to incorporate into mine. Who knows ;)
Charles were is your Louis log bud I haven't found it. Hope you have both had a good xmas or holiday, the Admiral and i have been having a great time.

I am picking away at several area's on the ship. Working on the main rail but will install it later rather than sooner. I completed the inboard planking, filling in the top fore and aft. Sanded and painted again as I had it looking to ridged. Also working on the forward margin planks for the deck. These I am making out of Pear wood and will have the pear deck planks nibbed into them.
Some pics:

View attachment 125388View attachment 125389View attachment 125390View attachment 125391View attachment 125392


Nova maybe it's too late if you've already proceeded, but the kit provided laser cut margin planks worked splendidly for me. They are so soft that whatever shape the end of your deck plank is it practically melts into the margin plank without any gaps whatsoever. I'm really happy with the result. If that pear wood proves to be too hard and unforgiving...
 
I had similar problem with one side being higher then the other on upper planks, didnt notice the top wales had lowered almost a full width at the bow (...wasnt brave enough to rip it all off though.
Instead I added a small plank to the top from the bow to the 4th bulwark, which i can sand down after adding the 2nd sheer strake to the correct level...wont be that noticeable if at all...as for the wales...theres a 2nd layer added on top of the first, then painted black to the waterline.
Just have to make sure that those two top layer's (strake / & wales) are correct then its all golden )

I'm following this build btw best I can...2nd sailing kit ive done so the log your doing is much appreciated, I thank you for it.
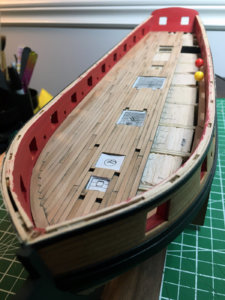

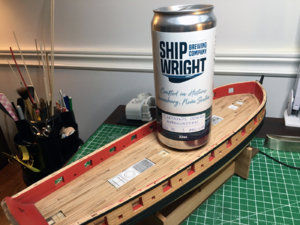
Cheers Savatage I will look up your log, feel free to add any input you might have here as well. This is only my second build also and I've made a few mistakes along the way. The last couple of weeks RL work has kept me away but here is my latest update. Which somehow I thought I had posted a week ago lol. Must of got a call and forgot to hit send.

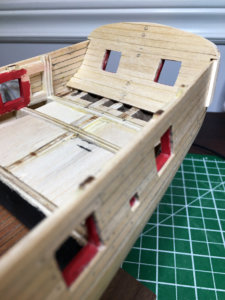
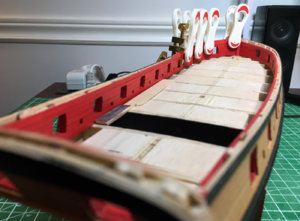
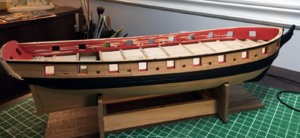
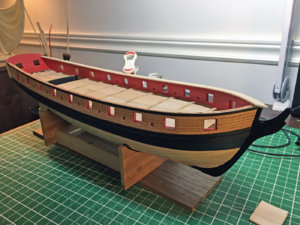
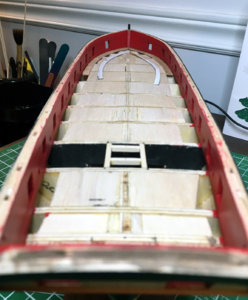
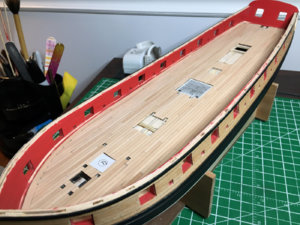
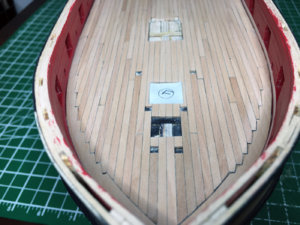
I have managed to get my deck done. I took my time and really enjoyed using the pear wood which was a real pleasure to work with. The method in the instructions goes with a solid planked deck except for the area leading to the lower deck so you would then glue or pin your furniture on top of the planking. I wasn't a real fan of that with my bluenose so opted to go, dare I say the proper way and have the furniture set in. Also left mortise's for the posts to go into. This should make setting and securing everything much easier when the time comes.
I chose to nib the planking into the margin plank both fore and aft. Needed the practice and the pear makes it much easier than with the mushy basswood in the kit. I've also made up a little jig and sanded the waterways which are 1/16 square strips turned into quarter round. It was a fairly easy process and I will be installing them next before doing the rail which I opted to leave off until the planking was done.
Planking pics ~

IMG_3271a.jpgIMG_3293a.jpgIMG_3300a.jpgIMG_3303a.jpg
 
Back
Top