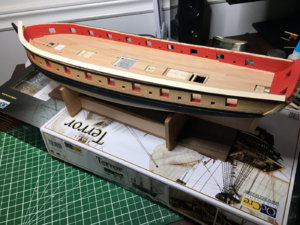
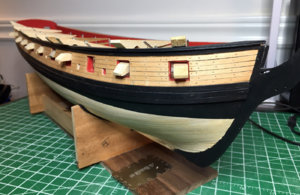
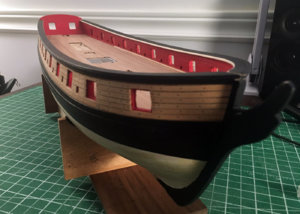
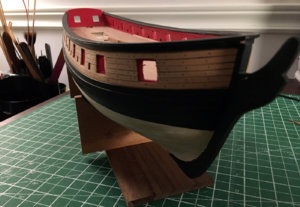
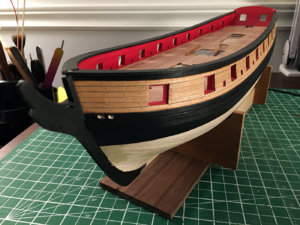
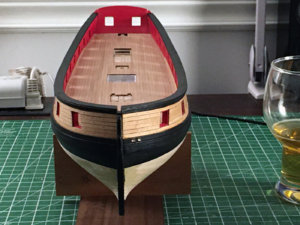
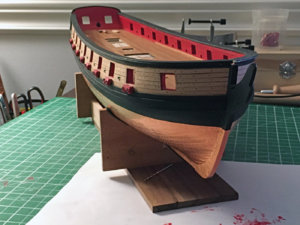
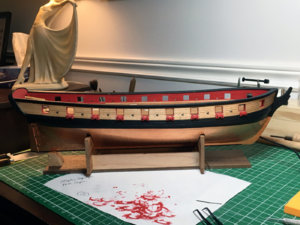
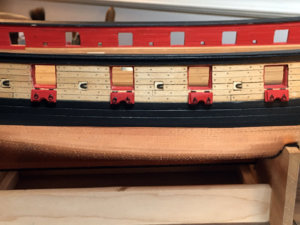
US Brig Syren MS: # 2260 by NovaStorm

If this is the result, after a glass of wine, I will also start to drink it regular in the workshop :)
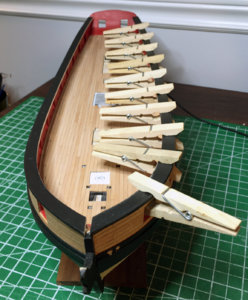
Uwe Cheers!

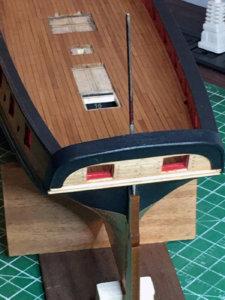
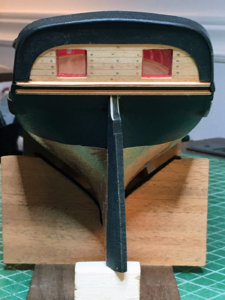
I got the rail on, also working on making my own davits to go off the stern in pear. They get cut into the rail over the transom. Went on a buying spree this week lol. Picked up The Terror by Occre, MS's Glad Tidings Pinky and AL's Hermione. Should keep me outta trouble for a while ;)
More pics:
IMG_3335a.jpgIMG_3324a.jpgIMG_3327a.jpgIMG_3345a.jpgIMG_3356a.jpgIMG_3357a.jpgIMG_3370a.jpg
 
Nice Robin you are progressing nicelyThumbs-Up

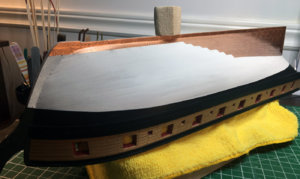
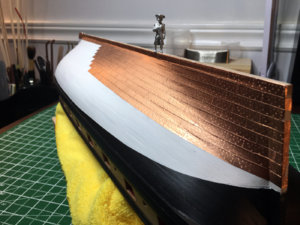
You paint the hill white it is because you do not have intention to copper itQuestion-Mark
 
You paint the hill white it is because you do not have intention to copper it
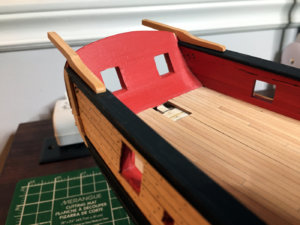
Thanks Charles, coming along slowly. My rail is a 16th wider than called for but I am going to live with it. I still plan to copper plate the hull yes. That pic just makes it look painted white from the wood fill I used along the seams maybe. Working on the davits at the stern right now and the rail over the transom.
Awesome job your doing with the figurine you showed me. Amazing bud :)

IMG_3380.jpg
 
Very good appearance - how you made the surface? Is it oiled? Because also the light treenails (before) are now darker than the planks - looking very good
 
Thank you Brian and Uwe, yes I sanded down the treenail's with 320 grit followed by finish sand with 600. I then pooled tung oil ontop and let it soak right in. I used Lee Valley tung oil, it has no additives. I was going to thin with turpentine but decided not or the warden would have been after me for the smell...
 
Oh were having fun now :)
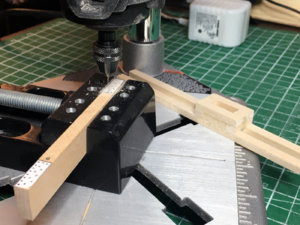
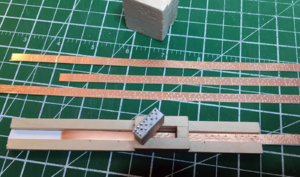
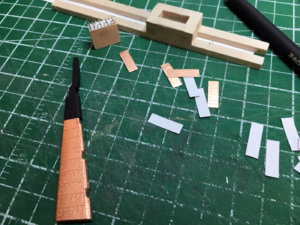
I've started turning out copper plates for the hull, using for the most part the procedure in the instruction's. I made up the jig for imprinting the nails in the copper plates, but the slats (channels) that keep the copper straight and in line I did not glue onto a board! One thing I found doing the first trials was having a poster board thick piece of cardboard under the copper gave me much better impressions vs hard wood. See Pics :

In the first pic, I took a copy of drill pattern for port and starboard, actual size from the plans and glued it onto a 1/4 wide piece of hardwood. The pattern was drilled just enough to allow me to still hammer in brass nails partway to act as pins for making the impression. The heads of the nails were cut off and pins filed even and flat across.


IMG_3406.jpg

Second pic with the finished jig in production. you will notice the white strip of poster board under the slat's or runners...

IMG_3413.jpg

The strips were cut up plate size before installing. As they get installed I use a little block of balsa to flatten and burnish them.

IMG_3432a.jpg
To be continues ;)IMG_3435a.jpg
 
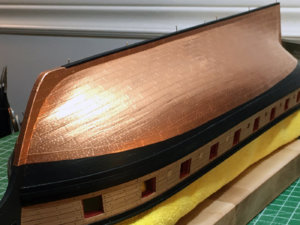
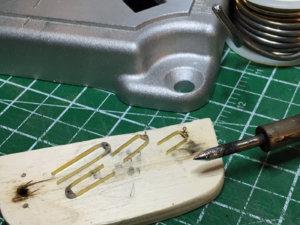
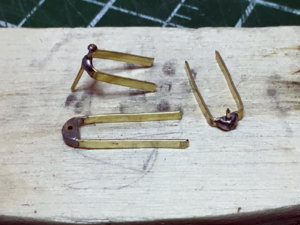
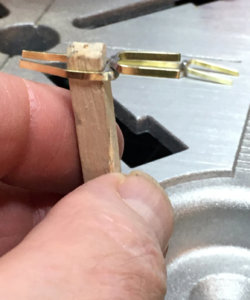
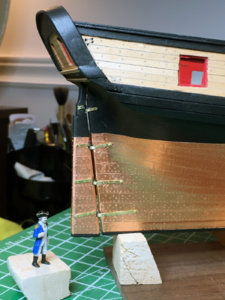
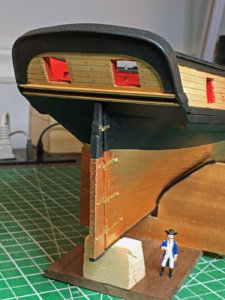
Continuing along, finished up installing all the copper plates below the water line port and starboard. Shaped the rudder then drilled a hole through the transom which then got filed out large enough to take the rudder post. Glued on the false keel which also got pinned into the keel. Next I began making the pintles and gudgeons for the rudder. Used a nail for the pintle pin and a 1/16 bit of brass tube for the gudgeons soldered onto 1/8th brass strip.
Also got the rail on over the top of the transom. Pics to follow... :)

IMG_3521a.jpgIMG_3522a.jpgIMG_3528a.jpgIMG_3538a.jpgIMG_3548a.jpgIMG_3549a.jpgIMG_3554a.jpgIMG_3568a.jpgIMG_3569a.jpg
 
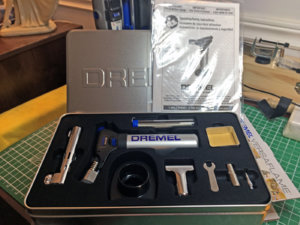
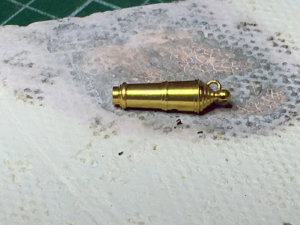
Working away slowly here. Got some brass on order to make the mounts for the carronades. Did up my first breach ring as a test. Used silver solder which might have been a mistake as I forgot to test if the casey brass black would blacken it and it does not! fortunately I got next to no run off so I can fix up the one. The 50/50 seems to blacken but I will do some more tests. Got a new toy for soldering so will have play with it a bit to get the hang of it. Darn thing gets hot fast and will melt small brass parts quickly lol.
Had a go at the lower gun port and sweep port covers. Last couple pics after adding on some bits of brass wire to look like hinge pins. None of it is cemented yet. Your thoughts always appreciated
yahoo_happy.gif


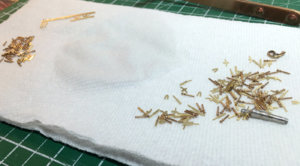
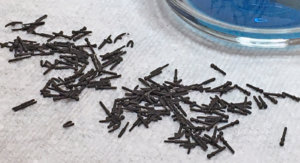
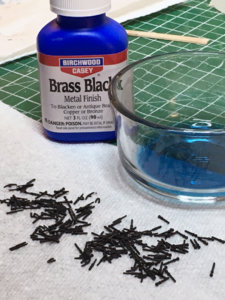
Before blackening the brass the parts were first cleaned using Sparex no2 which was mixed with water into a warming pot from the second hand store. After 1.5 hrs they came out nice and shinny and were then placed into straight Birchwood Casey's Brass Black for all of 7 seconds. I used a bit of cheese cloth over the opening to drain off the casey's so the cloth would catch any parts. This worked really well and the caseys was saved for the next time I would use it.
First pic the parts have come out of the cleaner before going into the Caseys.

IMG_3596a.jpgIMG_3589a.jpgIMG_3598a.jpg

My new toy and my first job a carronade breach ring.

IMG_3588a.jpgIMG_3605a.jpg

Set that aside while waiting for the ordered brass and worked on the covers. Nice to get started on some details finally.

IMG_3615a.jpgIMG_3621a.jpgIMG_3623a.jpg

Cheers ~
 
Back
Top