






Post 35 - The Rudder
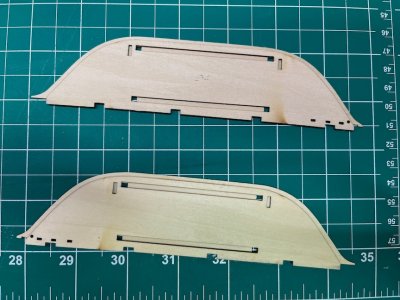
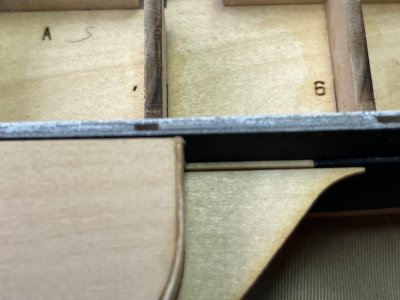
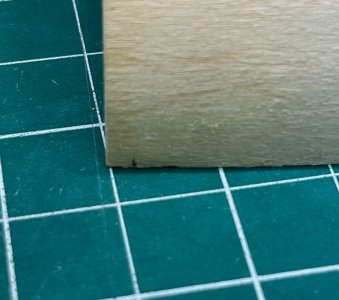
I touched up the damaged paint on the keel using a brush, then test fit and corrected the waterline on the rudder.
The instruction manual has you glue paper or card strips to represent the straps of the rudder pintles and gudgeons, but gives no guidance on size, placement, etc, other than that they are 1/32" wide. The Harriet Lane plans I purchased from the Smithsonian luckily show the top pintle strap, which measures 4.5mm at scale. I used the manual's picture of the rudder with the straps in place to figure out the rest. I measured the diagonal length of the rudder in the picture (68mm) and of the real rudder (44mm), and used that fraction 44/68 = 0.647 to calculate the lengths of the straps and their distance from the bottom of the rudder, based on the measurements in the picture. The bottom strap is 6.5 mm on one side, and the lower edge is 9mm from the bottom of the rudder. The middle is 6mm long and 17mm from the bottom of the rudder. The top is 4.5 mm (happily matching the plans!) and 24.5 mm from the bottom. The straps on the hull are all 11mm long.
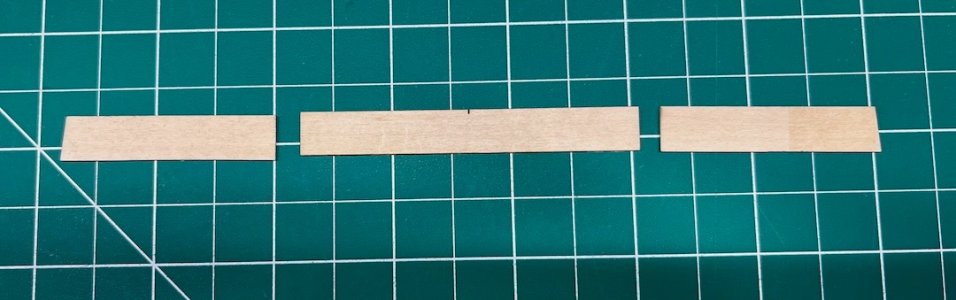
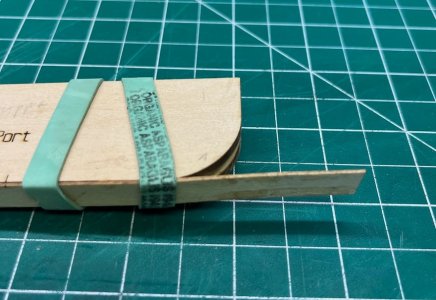
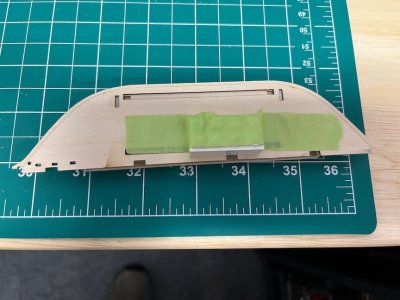
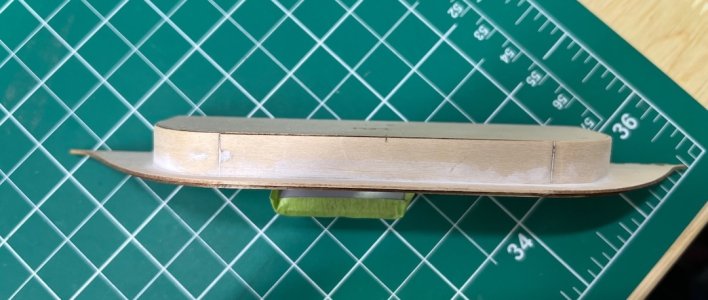
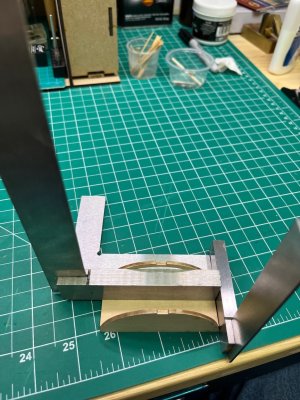
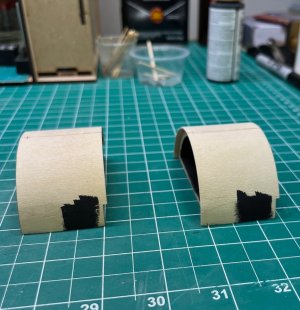
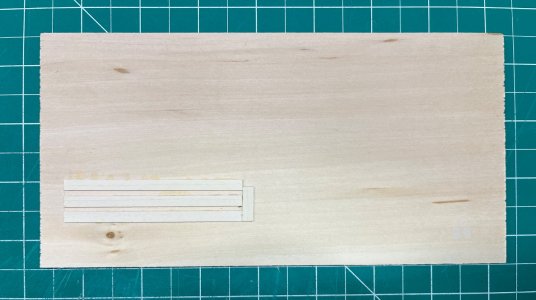
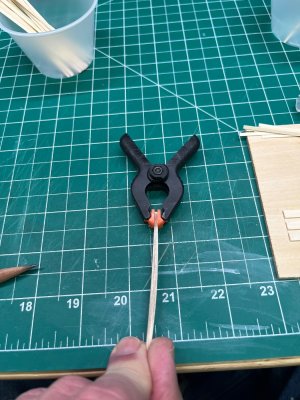
I cut strips from card stock. I made tick marks on the rudder at the appropriate places. I glueed a strip to the rudder lined up with the tick marks (added some tape to keep it from moving), wrapped it around to the other side, marked it at the tick mark there, cut it and glued it.
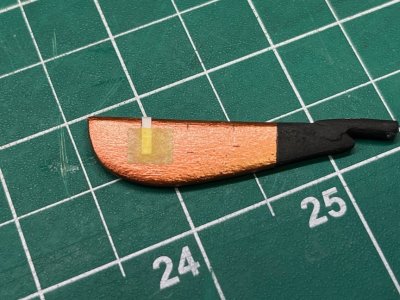
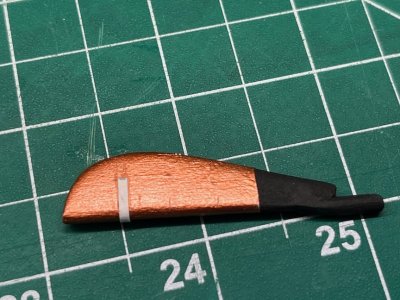
Repeat as necessary:
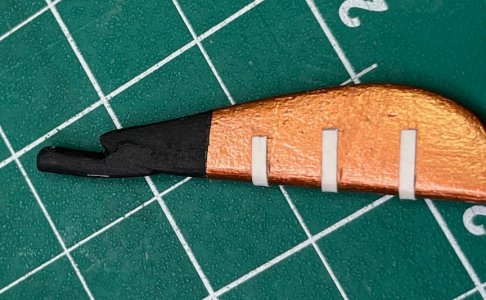
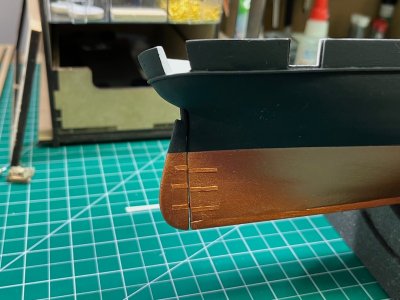
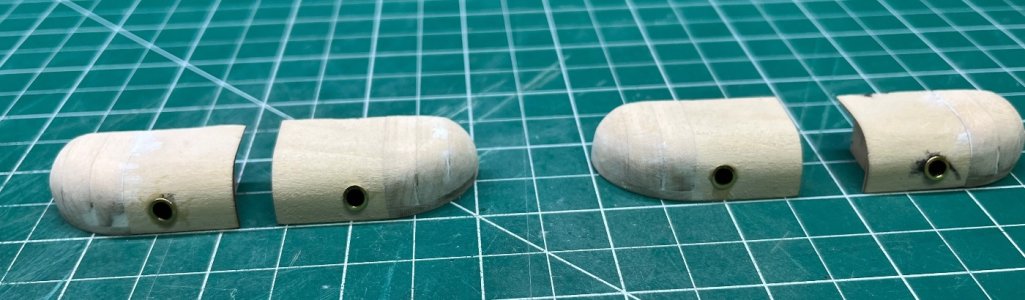
After painting them, I attached the rudder and then the gudgeon straps
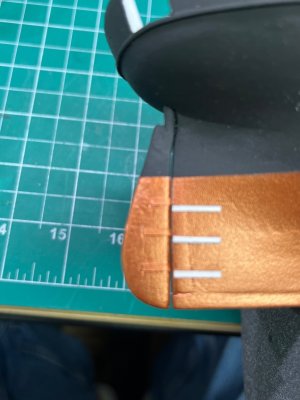
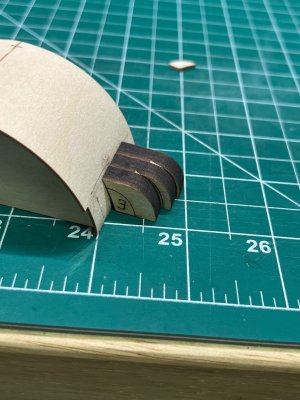
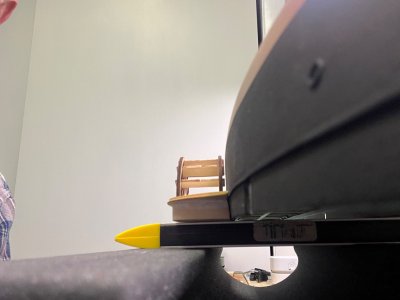
Sorry for the out of focus picture After some more copper paint, the rudder is complete.
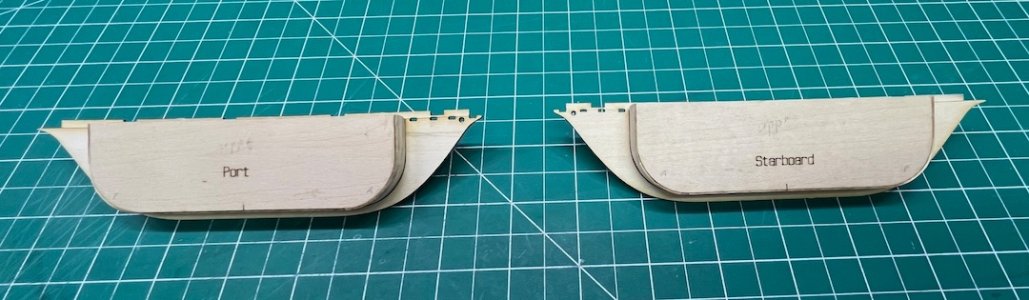
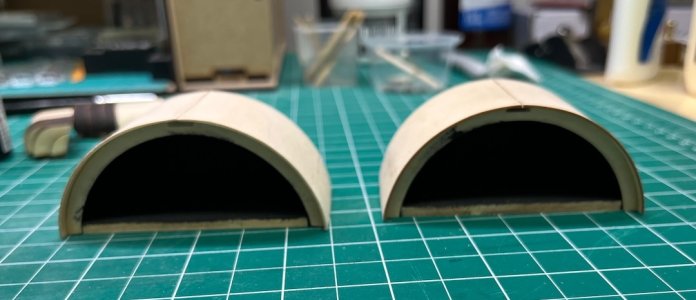
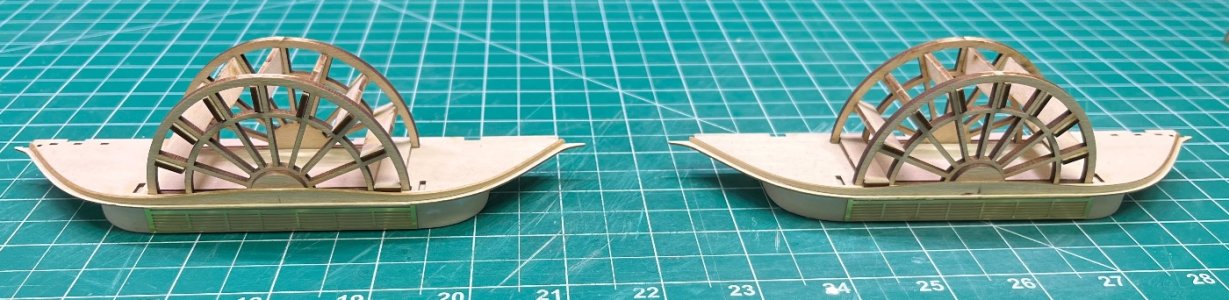
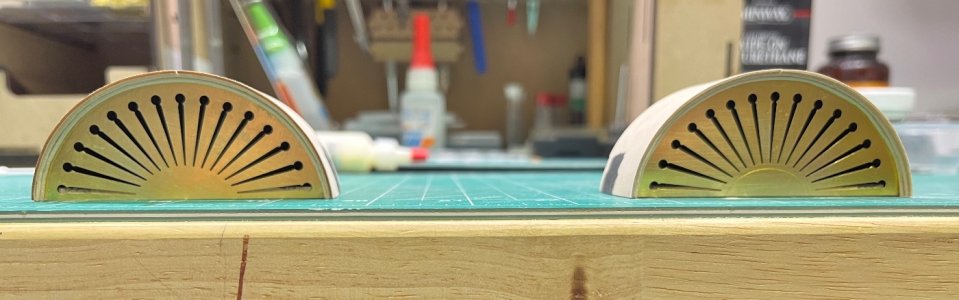
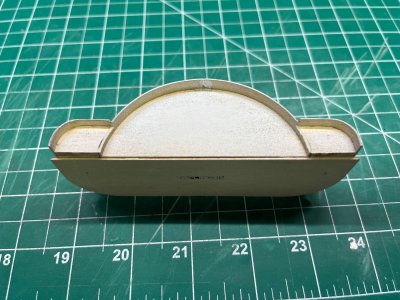
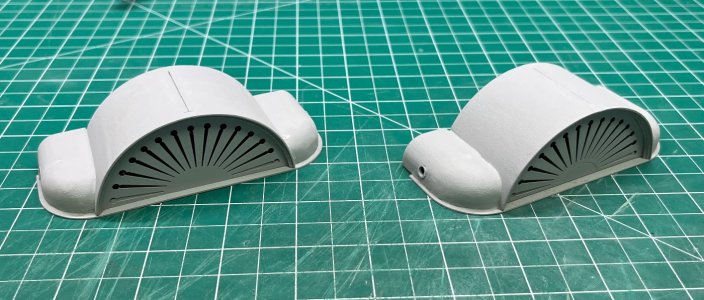
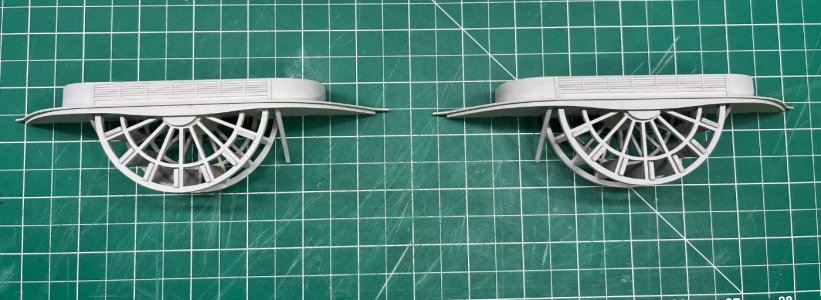
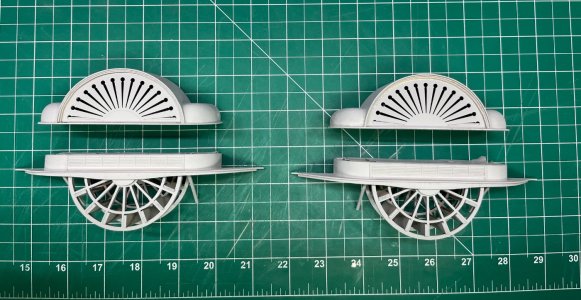
Now I can finally tackle the paddle wheel/water closet assemblies.
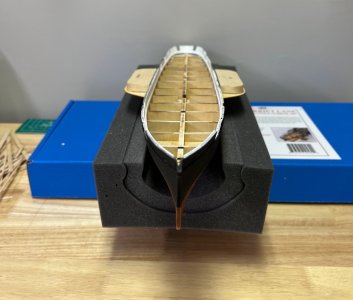
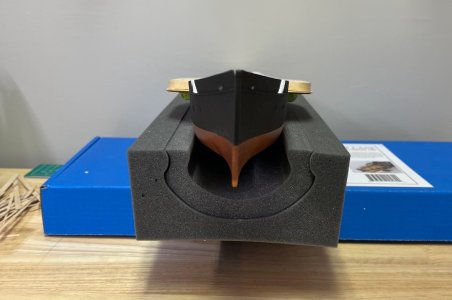
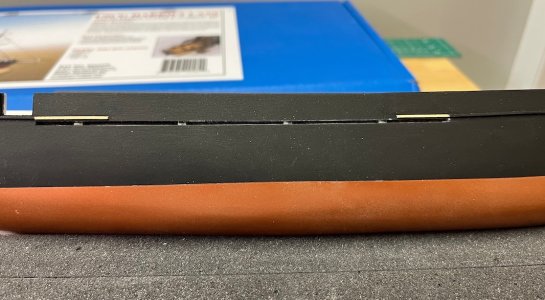
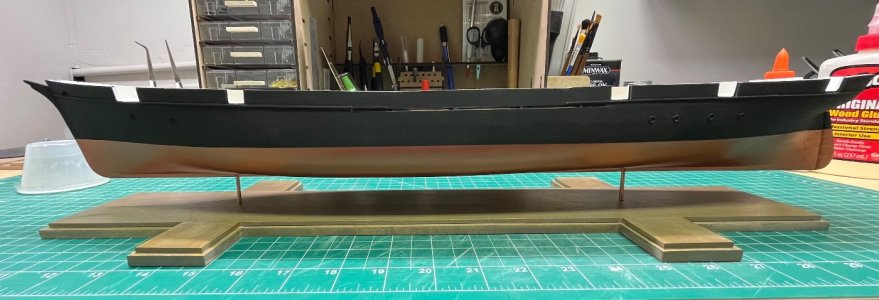
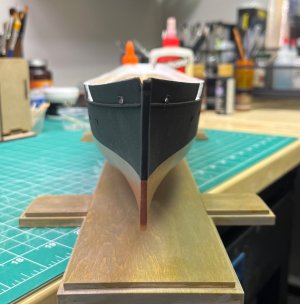
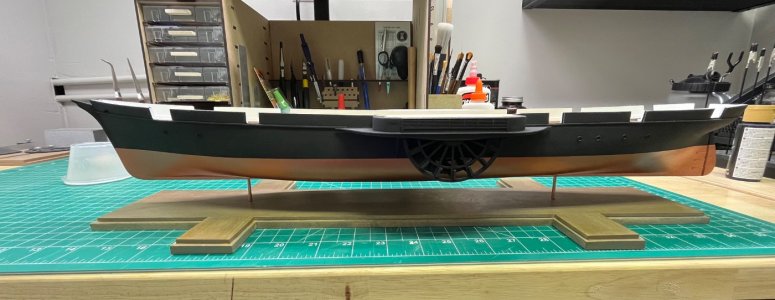
One question I have for the more experienced modelers. Should I put a matte clear coat on the hull? I didn't do that with my prior models, but something tells me I should with the matte black paint. Any advice would be greatly appreciated.
I touched up the damaged paint on the keel using a brush, then test fit and corrected the waterline on the rudder.
The instruction manual has you glue paper or card strips to represent the straps of the rudder pintles and gudgeons, but gives no guidance on size, placement, etc, other than that they are 1/32" wide. The Harriet Lane plans I purchased from the Smithsonian luckily show the top pintle strap, which measures 4.5mm at scale. I used the manual's picture of the rudder with the straps in place to figure out the rest. I measured the diagonal length of the rudder in the picture (68mm) and of the real rudder (44mm), and used that fraction 44/68 = 0.647 to calculate the lengths of the straps and their distance from the bottom of the rudder, based on the measurements in the picture. The bottom strap is 6.5 mm on one side, and the lower edge is 9mm from the bottom of the rudder. The middle is 6mm long and 17mm from the bottom of the rudder. The top is 4.5 mm (happily matching the plans!) and 24.5 mm from the bottom. The straps on the hull are all 11mm long.
I cut strips from card stock. I made tick marks on the rudder at the appropriate places. I glueed a strip to the rudder lined up with the tick marks (added some tape to keep it from moving), wrapped it around to the other side, marked it at the tick mark there, cut it and glued it.
Repeat as necessary:
After painting them, I attached the rudder and then the gudgeon straps
Sorry for the out of focus picture
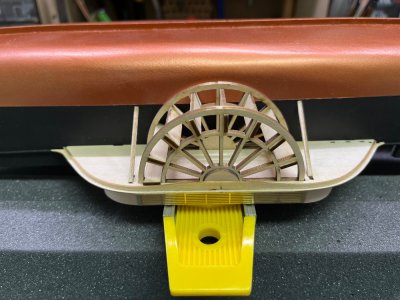
After some more copper paint, the rudder is complete.Now I can finally tackle the paddle wheel/water closet assemblies.
One question I have for the more experienced modelers. Should I put a matte clear coat on the hull? I didn't do that with my prior models, but something tells me I should with the matte black paint. Any advice would be greatly appreciated.






 I hope to be back at it tomorrow.