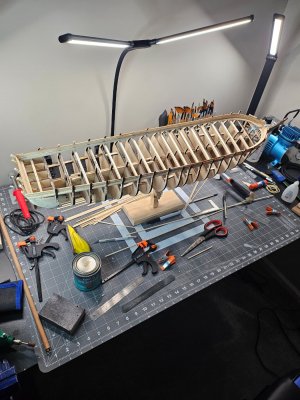
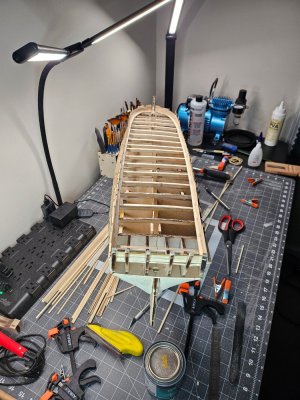
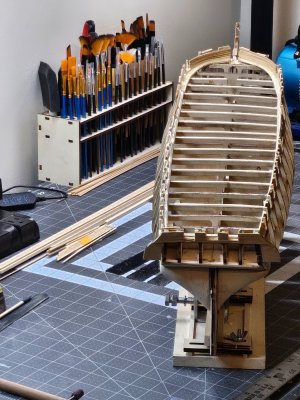
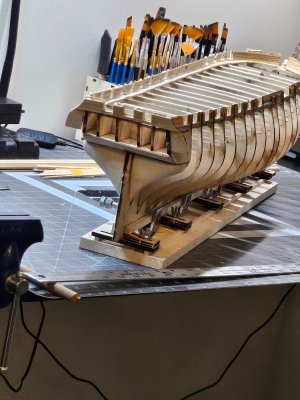
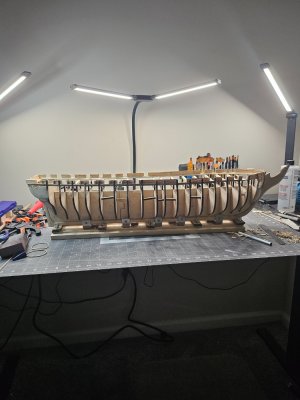
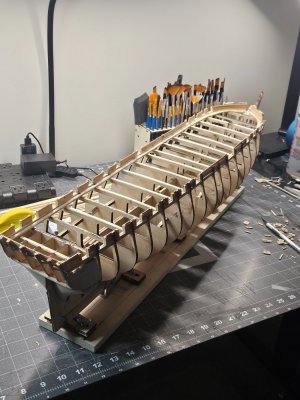
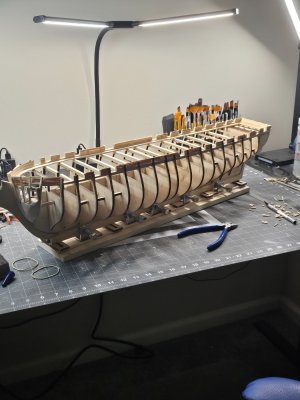
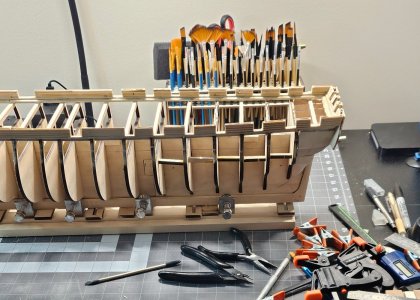
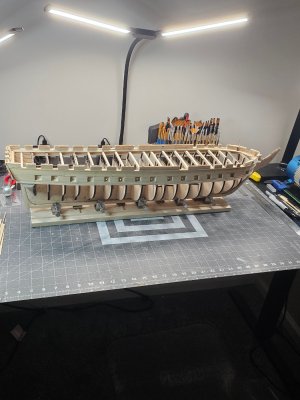
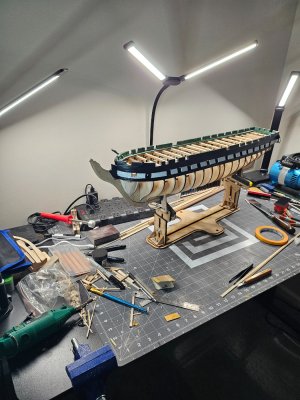
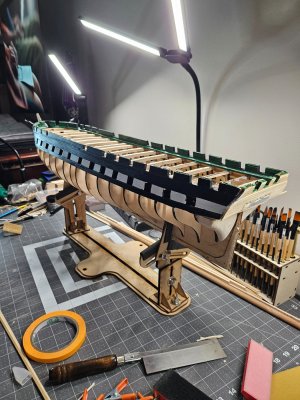
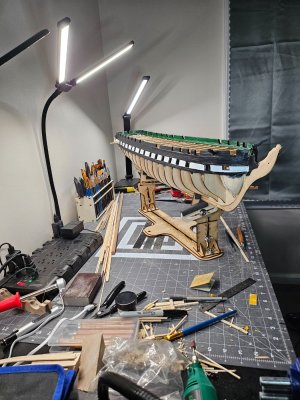
USS Constitution by Model Shipways. - First Build Log

The USS Constitution is my second wooden square rigged ship and my second using Robert Hunt's practicums. For the first model, the Mamoli Rattlesnake, I followed Mr. Hunt's practicum almost religiously, as I knew nothing about build wooden models or rigged ships. As the model progressed, I began to realize that there were other ways (some better, some not so much) of doing things. It was then I discovered model building sites and was able to see how others tackled various tasks and problems and I was able to take their ideas and compare them to Mr. Hunt's. Sometimes I followed the practicum, sometimes I didn't. I will say this, I could not have built the Rattlesnake without his help.

For the Model Shipworld USS Constitution, I again bought his practicum but this time, I used it as a guide, not as an absolute set of instructions. I checked many other builders models before I made a move on my own model. Because I kitbashed the Conny, I didn't have his expertise to follow and I relied a lot on other builders. For this model Mr. Hunt took a lot of shortcuts - skipped certain details, built only one side of the ship and didn't even rig it, which is why you don't see images of a completed model. But again, I could not have built what I have without his help.

The point of all of this, do not take his instructions as definitive, use them as a guide, suggestions, or inspirations.

BTW, you're doing great so far.

Jon
Jon -
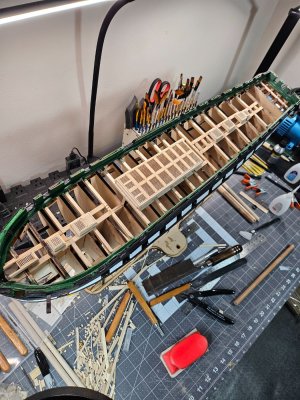
Thanks for your insight and encouragement. I have wondered how many modelers did more work-arounds than exactly what the instruction stated. When it came to the bow fillers, the biggest pain I thought were cutting out the notches so the bow framing would sit in it. I saw another modeler not cut the notched out and shortened the framing by 1/8 achieving the same results and possibly better because you have better control in aligning the framework and not worrying about completely aligning with notches cut into the bow fillers. I went the original route and cut notches and that was painful and that's why you can see putty and clay around the filler to compensate for what I messed up and rebuild it into something that works. Personally, I think the ship plans need to be updated because it doesn't seem organized with having to jump around pages just to accomplish a small task. The manual is a nice read, but horrible for giving instructions. The practicum could use an update like better picture resolution and even additional pictures to explain what is being done and what it should look like instead of relying on a page of instructions that a very technical and takes a while to process in the brain. Some details are great, but some I find myself staring at the instructions until I burn holes in the paper, but in the end, I saw some really good pics of other modeler's Conny builds and that's where I've began to use some of their techniques. You can easily pick out the experienced modelers because they would make minor adjustments and/or tweaks that are not covered anywhere in the instructions and plans that comes with the kit. I know this is one of the hardest builds for a first timer using wood to build a wooden ship, but I don't mind the challenge. I've been so used to plastic models since I was a kid. A plastic Conny is nowhere the same as a wooden Conny regardless of size.
 
Rob, welcome to the world of wooden ship modelers where you buy a box of sticks, some preformed parts, sketchy instructions, and pay a lot of of money for the privilege. And yet we fabricate beautiful models that honestly, a lot of people don't appreciate. But it gives us pleasure and a sense of accomplishment when we do it right!

Jon
 
Hi

I've just caught up with your log it brings back memories of the fun I had with mine. When I first looked at my kit I knew it would be a challenge, now I know that's an understatement. Although there's been lots of hurdles I've learnt more making this ship than all the other three I have built.
The best advice I can give don't rush look ahead there's always something that should have been taken into account before fixing a part in place. Please let me know if I can be of any help with your build.

Tony
 
I'm waiting for tools I ordered. I sent onto the counter block and used Bob Hunts practicum. I did this by hand with a pull saw, chisel, and sandpaper. I've never created so much sawdust, wood shavings, etc. From that small block of wood. Anyway, I was very surprised that I built that counter block by hand. I don't think I would have been able to do this without the practicum. I had used the card stock templates and it made sense. When I glued it on, the practicum stated there should only be 1 inch from the top of BHD R to the top of the counterblock. Sure enough it was 1 inch and those clips cover exactly 1 inch when pushed all the way down. And the rudder was centered in the hole. I started the stern filler blocks and let me tell ya, by hand it's not so fun so far, but I'll press along and then next update will be after i finish the stern filler blocks.

View attachment 513893

View attachment 513894

View attachment 513895

View attachment 513896

View attachment 513897
My better half makes me do all my sanding on the deck!
 
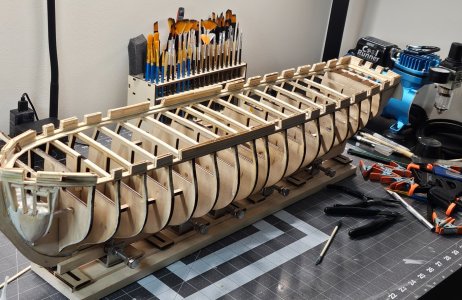
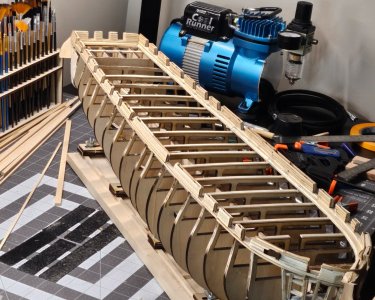
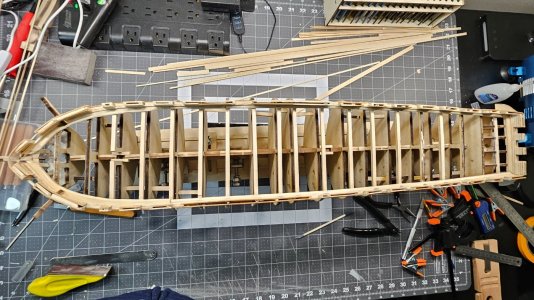
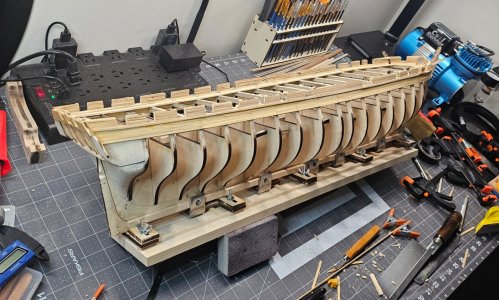
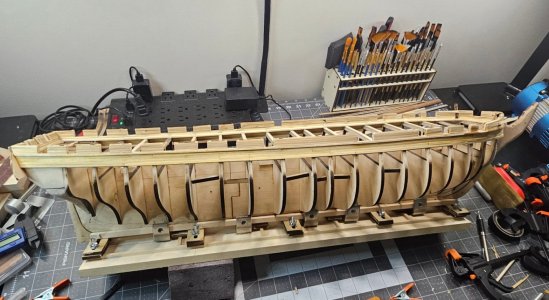
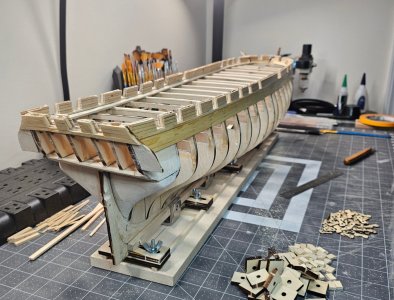
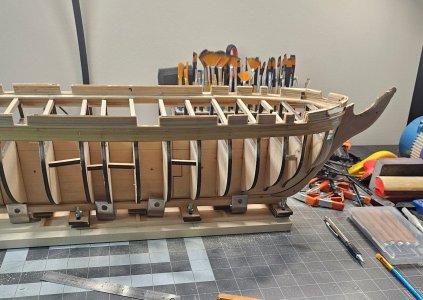
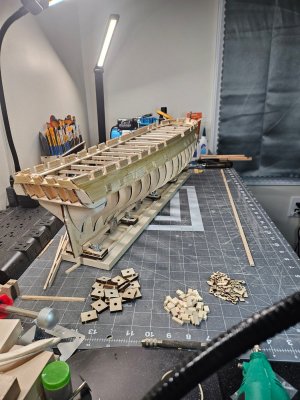
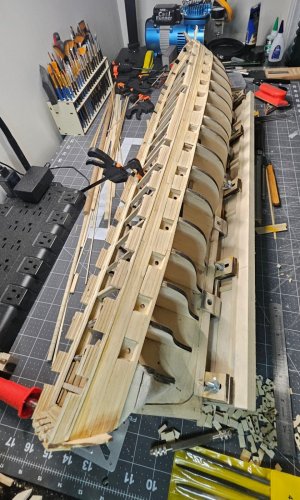
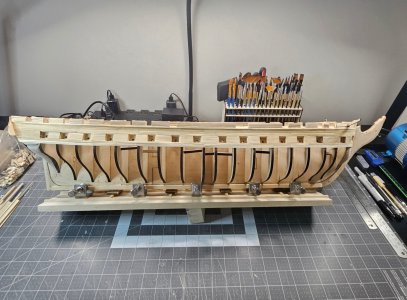
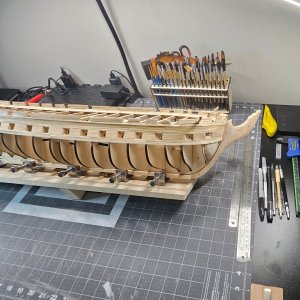
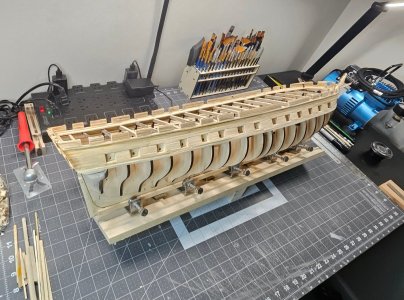
I spent the last few days cutting and gluing the planksheer fillers across the hull of the ship. At the same time, I was following Bob's Practicum and his recommendation of putting a coat of Minwax PolyCrylic on the inside of the covering the waterway, planksheer and the 4 rows of planks on top of the planksheer and then sanding them down. I had to do this 4 times with the sandpaper starting at 100 grit all the way up to 400 grit. This was the precursor for setting up the top gunports and upper planks which would then prepare everything for the lower gunports and planking to include the transom. The last picture below this narrative, is off a pit. I didn't position myself properly to so that it would be nice and straight, because it does look pretty good compared to the snapshot I took. Anyway, I'm slowly progressing, but really beginning to notice that each step takes time and cannot be rushed, even if its just gluing one single plank, lol. Following the practicum has it's own challenge because it takes a while to process tons of details in one paragraph and then look at the plans, and then look back in the forums to get a better visual and then the light bulb turns on with the ah ha moment.


Shipbuild pre-gunport 1.jpgShipbuild pre-gunport 2.jpgShipbuild pre-gunport 3.jpg
 
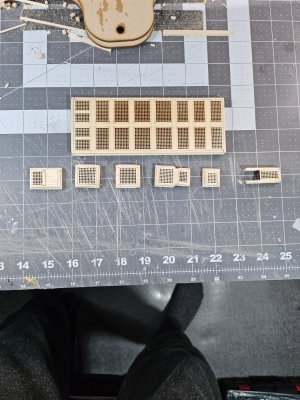
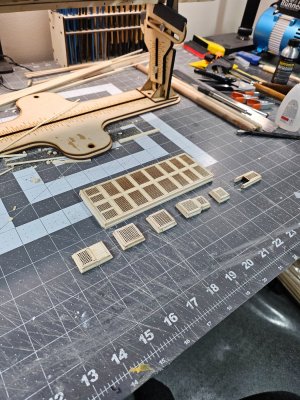
I'm slowly getting to the next stage with prepping the gun deck. It was more time consuming than I expected. The practicum gives instructions on how to cut the the hatches, but then I came across an easier way to cut them out. I used a cutting wrench like the ones that are used for cutting wires. Once I built the frames and the glue dried. I used the wire cutters and cut the left side next to the frame and then the right side. Then you could easily pull off the planks and use the #11 exacto knife to trim down any leftover wood inside the frame. The transom wasn't too bad, but i did find myself making some minor adjustments or make corrections so the gunports would properly line up. This
20250507_225218.jpg20250507_225210.jpg20250507_193241.jpg20250507_193224.jpg20250507_193133.jpg
The transom was a little intimidating. But I was happy it worked out and began looking pretty good and probably where it should be. I began prepping for the exterior planks and should have that finished in a couple days.
 
Well, I managed to complete the exterior planking of the upper gun deck. The port and starboard sides where pretty cut and dry. The bow on the other hand, was a bit more painful. I had to hput the bowsprit in temmporarily so that I could work around it and make sure the planks were not obstructing the area located at the bowsprit. I did experiment with the planks since It got really tedious and had seen what a couple modelers did. One was to cut four strips of wood, line them up in parallel, then tape them together and glue them so they make one single piece and then install them to the exterior of the upper gun deck. The other was outlined in the practicum where Bob preferred laying the planks and glueing them as you went along. I tried both and found the latter to be quicker, while the first way was a cleaner look. Either one works. Just a matter of preference.now it'll be time to read up and start the lower gunports. I'll probably end up fairing the hull again because I figure overtime the humidity changed. So it's likely to there could be some slight warping and I want the planking of the hull to be smooth...

20250511_063706.jpg

20250511_063652.jpg

20250511_063628.jpg

20250511_063742.jpg
 
It's starting to look like a ship...kind of scary, lol! I began the prep for the gunports. Adding the four rows of planks was good practice into getting across the bow into the rabbet. Now I fully understand why these planks need to soak in the water, being the new guy on the block in the realm of wooden ship models after years of building plastic models since I was a kid. This was good practice being able to manipulate and work around the bow to get to the rabbet. I was surprised how challenging it can be following the contours of the ship in parallel with the previous plank you just added. I was expecting may be bending the wood in one direction, but realized it's more like slightly up or down and around not perfectly flat and then around, etc. Most of these changes are very minor, but I went on a clamping frenzy every couple of inches to keep the wood in place while drying and forming its shape as it dries and then again while gluing them onto the bulkheads. This definitely test patience as well. It was very tedious, but at the end of the day and seeing progress is fulfilling.

20250512_220913.jpg20250512_220933.jpg20250513_054327.jpg20250513_054335.jpg20250514_062830.jpg
 
I was able to finish the starboard side, but that took me about a week. I had no idea of the many tweaks I had to make, although I had initially thought it was going to be easy. I did make a booboo halfway through because I had misunderstood what was written in the practicum. I had to remove some of the planks to install gunports that should have been there in the first place. I'm glad I caught it halfway, otherwise I would have been sucking a lot of eggs fixing it all over again. I did have to use some filler for planks that seemed to have sunk or bent inwards, but the filler does a good job fixing it. The toughest part was getting to the rabbet because the bridle port was part of the equation and with the planks bending in more than one direction, it was enough for me to grow extra hair on my chest. But, so far, think it's looking good considering I did most of it by and not machine, although I have some of the mini power tools. It does feel good having a sense of accomplishment at building something by hand like this. Anyway, I'll start the port side and hopefully have it done this weekend.

20250515_063157.jpg20250515_213339.jpg20250515_213346.jpg20250515_213352.jpg20250515_213421.jpg
 
Back
Top