-

Win a Free Custom Engraved Brass Coin!!!
As a way to introduce our brass coins to the community, we will raffle off a free coin during the month of August. Follow link ABOVE for instructions for entering.
-

PRE-ORDER SHIPS IN SCALE TODAY!
The beloved Ships in Scale Magazine is back and charting a new course for 2026!
Discover new skills, new techniques, and new inspirations in every issue.
NOTE THAT OUR FIRST ISSUE WILL BE JAN/FEB 2026
You are using an out of date browser. It may not display this or other websites correctly.
You should upgrade or use an alternative browser.
You should upgrade or use an alternative browser.
USS Constitution - Model Shipways MS2040 - 1:76 - by Jeff T
I am going to try to update my progress (without a lot of written detail) over the next week or so.
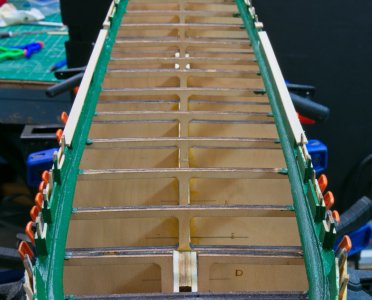
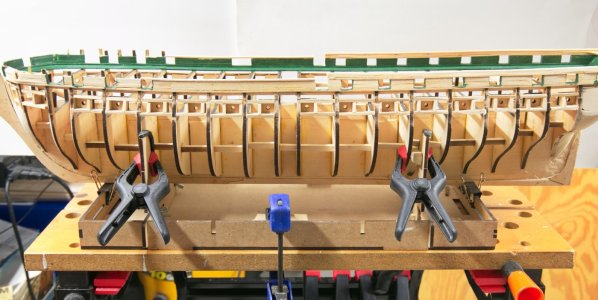
First the waterways were installed.

If you are wondering the black clamps are anchoring the bulkheads to the OcCre build stand I am using. This method really "solids up" the unplanked ship.
Lots of clamps used to hold the waterway while installing to get the gentle bends to flow well.
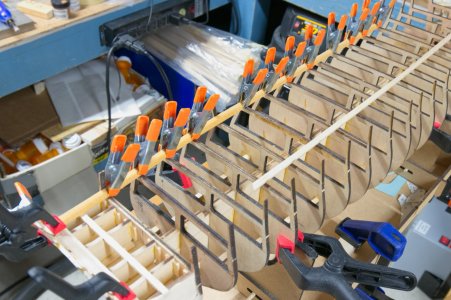
I soaked the more curve pieces at the bow, clamped them in place and allowed them to dry before finally glueing them in place. I used a temporary bowsprit to help shape the forward part of the waterways.
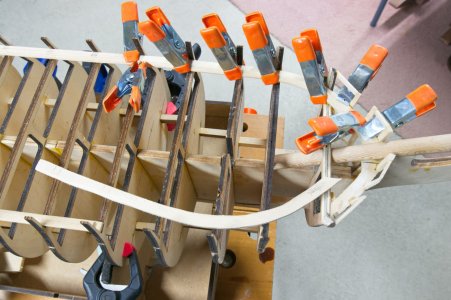
After the glue had dried for a couple of days the waterway was painted in its green color. These will need touch up after/during deck construction.
I did not take any in progress pictures of the strops used around the tops of the bulwarks. It was not very difficult, just a bit time consuming to fit each piece in the middle run of the three pieces.
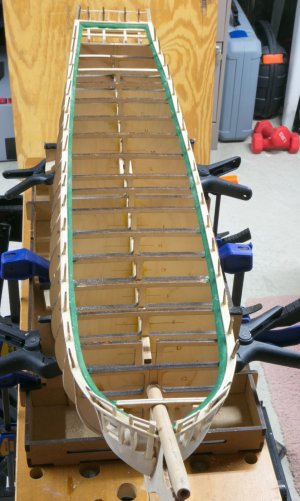

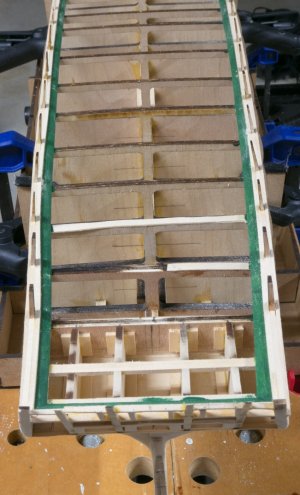
First the waterways were installed.

If you are wondering the black clamps are anchoring the bulkheads to the OcCre build stand I am using. This method really "solids up" the unplanked ship.
Lots of clamps used to hold the waterway while installing to get the gentle bends to flow well.

I soaked the more curve pieces at the bow, clamped them in place and allowed them to dry before finally glueing them in place. I used a temporary bowsprit to help shape the forward part of the waterways.

After the glue had dried for a couple of days the waterway was painted in its green color. These will need touch up after/during deck construction.
I did not take any in progress pictures of the strops used around the tops of the bulwarks. It was not very difficult, just a bit time consuming to fit each piece in the middle run of the three pieces.


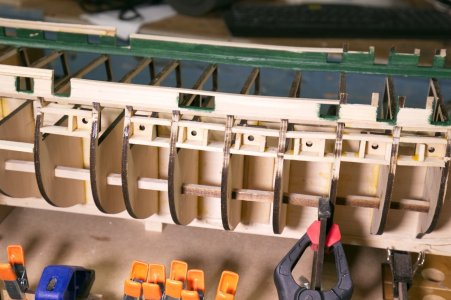
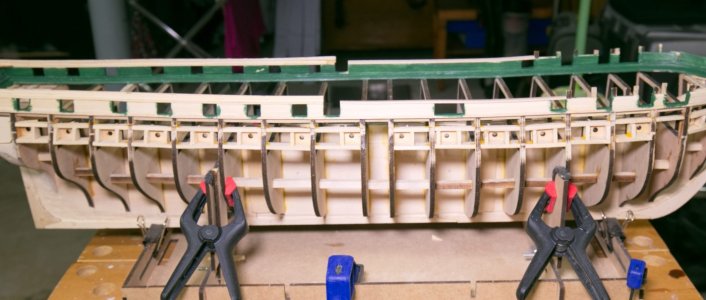
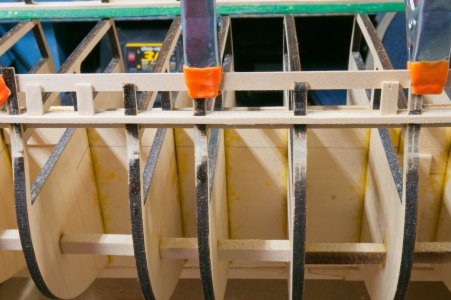
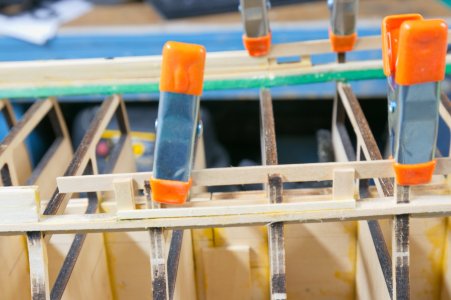
Some pictures of working on the bulwarks. I used a plank on the inner side to stabilize the tops of the bulkheads. Some small pices of wood were used to help frame where the openings will be. The strip I used helped to get these set in at the correct angle to maintain the "flow" that is set by the tops of the bulkheads. Since I broke off a couple of the bulkheads, I use this opportunity to reset them.
Most of the inner and outer planks for the bulwarks are simple straight runs, however, those at the bow have a very curved shape. I soaked the planks in water and clamped them to a roll of duct tape and let them dry to the correct shape. After that they went into position fairly easily. Lots of clamps needed. I got these as a small tub from Amazon. They are a nice size and strength for this use.

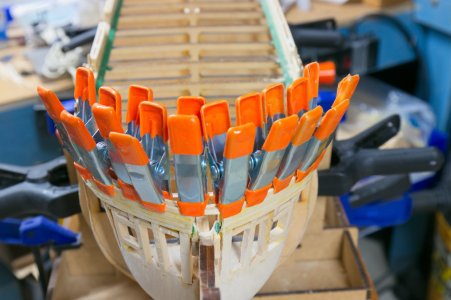
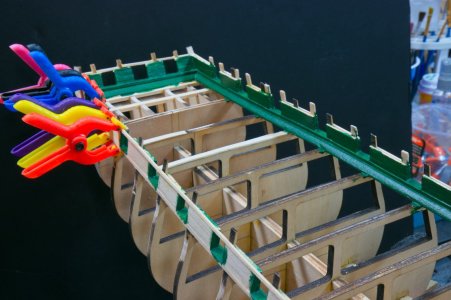


Most of the inner and outer planks for the bulwarks are simple straight runs, however, those at the bow have a very curved shape. I soaked the planks in water and clamped them to a roll of duct tape and let them dry to the correct shape. After that they went into position fairly easily. Lots of clamps needed. I got these as a small tub from Amazon. They are a nice size and strength for this use.


- Joined
- Jun 29, 2024
- Messages
- 1,502
- Points
- 438

Nice work. If you do plan to eventually add sails, Sewn cloth sails are WAY overscale. Several years ago, I compared various thickness of fabric with some #10 cotton duck canvas left over from a canoe rebuilding project.
Results (Thicknesses in inches)
#10 canvas- O.034”
At 1:76 scale = .00045”
Muslin cloth .008”
Washed drafting linen .005”
Rice paper .002”
Very fine cloth at 1:76 scale is, therefore, 11 times too thick compared with heavy cotton sailcloth.
Likewise the weave in any woven cloth would be too coarse and any stitches too big.
Rice paper is still 3.5 times as thick but at least you would avoid the coarse weave ans oversized stitches.
Roger
Thanks for the info Roger. I have not fully made up my mind on sails yet, but I don't think I will add them. I have considered full sails, just topsails, and possibly furled sails. I have some time yet before the decision needs to be made. If I go with furled sails, I am considering silkspan cut to 1/2 or 1/3 length.Nice work. If you do plan to eventually add sails, Sewn cloth sails are WAY overscale. Several years ago, I compared various thickness of fabric with some #10 cotton duck canvas left over from a canoe rebuilding project.
Results (Thicknesses in inches)
#10 canvas- O.034”
At 1:76 scale = .00045”
Muslin cloth .008”
Washed drafting linen .005”
Rice paper .002”
Very fine cloth at 1:76 scale is, therefore, 11 times too thick compared with heavy cotton sailcloth.
Likewise the weave in any woven cloth would be too coarse and any stitches too big.
Rice paper is still 3.5 times as thick but at least you would avoid the coarse weave ans oversized stitches.
Roger
Tom Lauria has a nice 3 part you tube series about using silkspan for sails
Rob
Rob
Once again I am going to attempt to update my progress to date. These photos go back to last fall when I was trying to complete the planking of the hull before it got too cold to sand outside. I pretty much failed at that, but I did get the hull closed up by December. I am only going to say a bit about the process near where I was about to close the hull with planking.


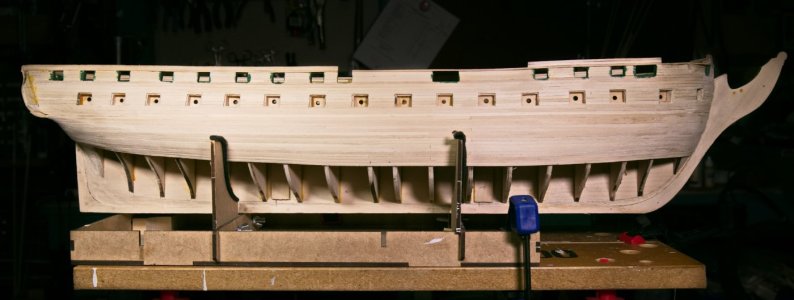
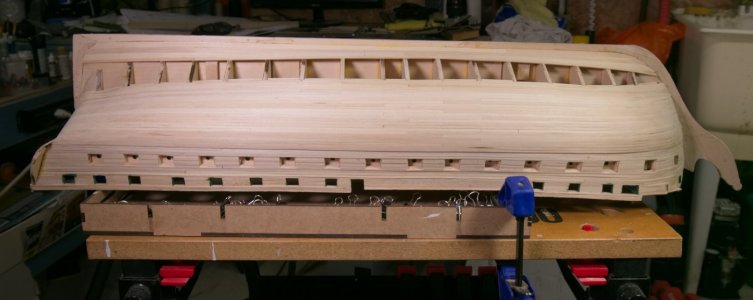
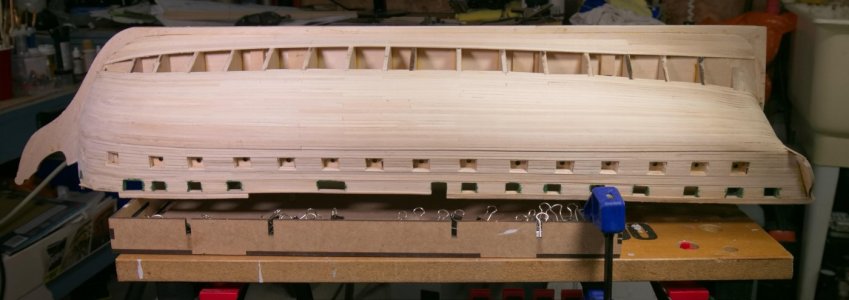
As I got close to closing up the hull planking, I added some support pieces to the edges of the inside of the planking so that the next row of planking could lie on top of it for additional strength. I used thin strips so that they would be fairly flexible as well as giving the next plank something to lie on. I used small strips of wood and map pins to get the new plank to lie flat. I am fairly happy with the way this seemed to give smooth planking where there were limited bulkheads to glue to.
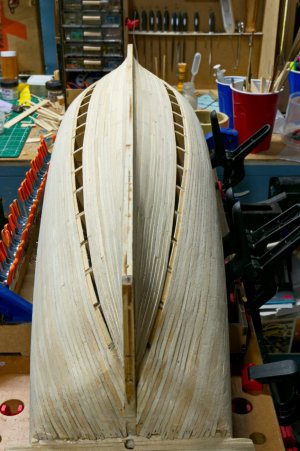
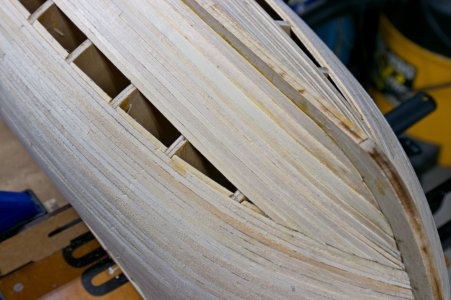
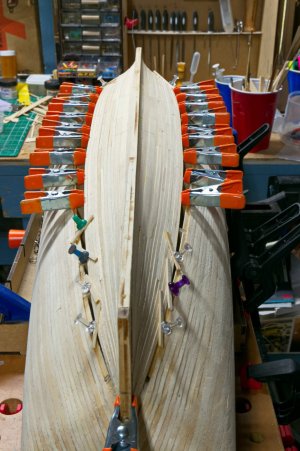
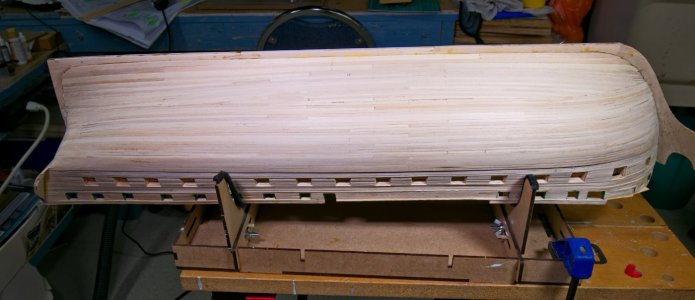


As I got close to closing up the hull planking, I added some support pieces to the edges of the inside of the planking so that the next row of planking could lie on top of it for additional strength. I used thin strips so that they would be fairly flexible as well as giving the next plank something to lie on. I used small strips of wood and map pins to get the new plank to lie flat. I am fairly happy with the way this seemed to give smooth planking where there were limited bulkheads to glue to.


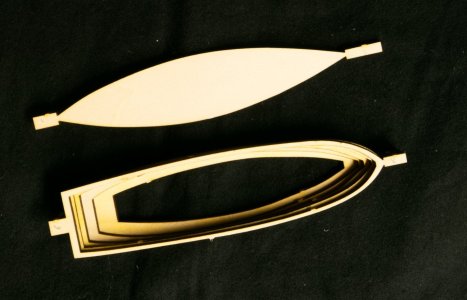
Over the winter I worked on a number of pieces for the final ship. This post focuses on building the ship's boats. The kit provides the materials for 4 boats. The actual ship had around 7 or so, but I only made the 4 supplied with the kit. I used 1/16" square polystyrene strips for the ribs since it molds to the shape of the boats' interiors well and looks good after painting. I still have the rudders & tillers to make for the whaleboats and I am still deciding whether these will be attached or just laid in the boat. The shaping of the boats was not too difficult using the built-up method that is supplied. I did most of my shaping before glueing in the bottom of the boats. This allowed me to shape from both the top and the bottom. Thie shaping would be much more difficult to accomplish with the bottom layer installed first.
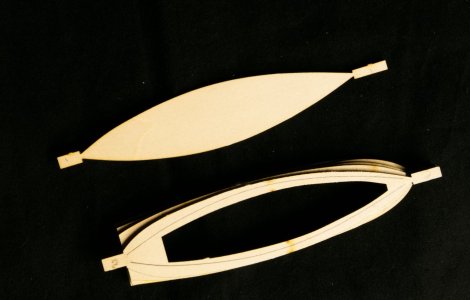
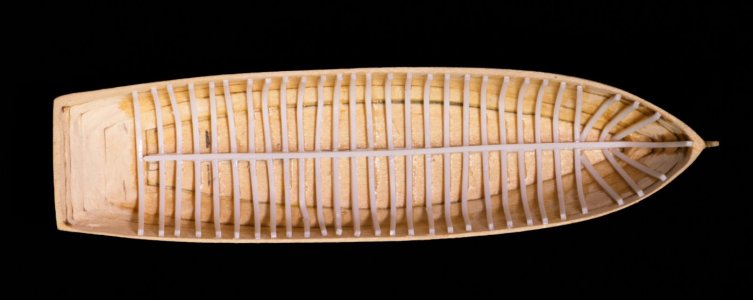
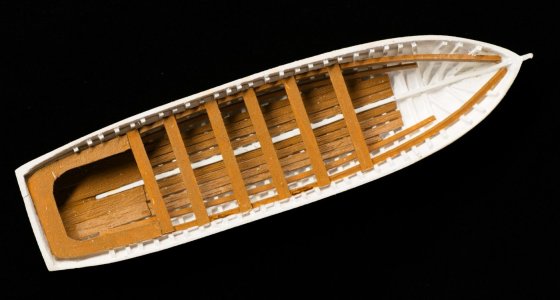
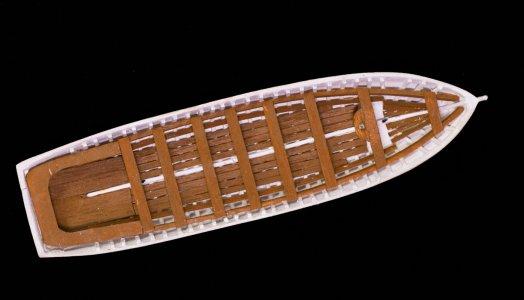
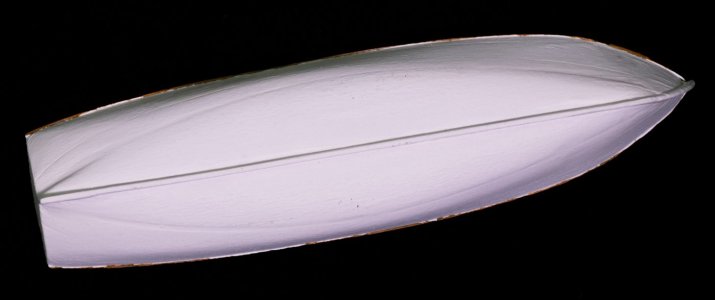
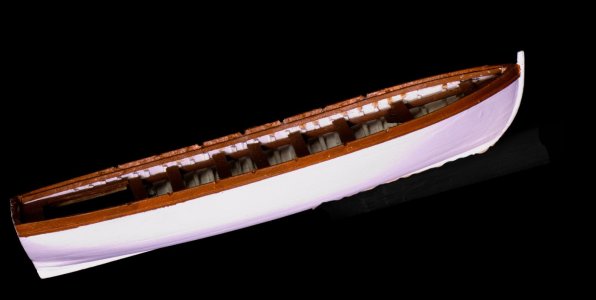
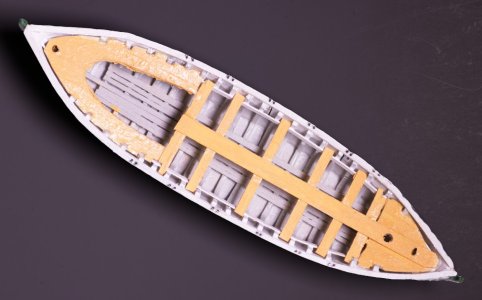
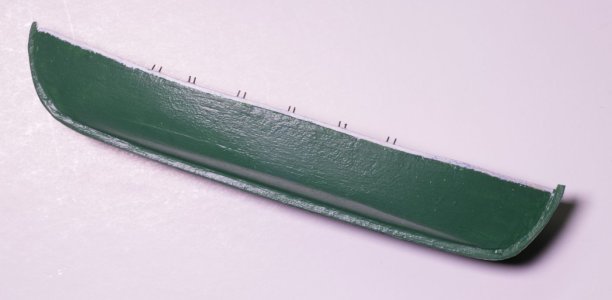
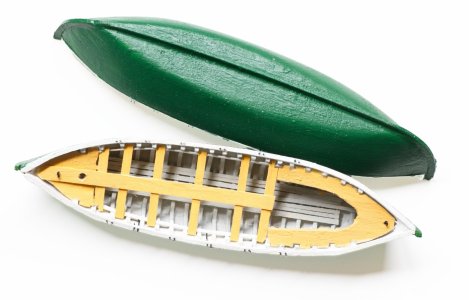
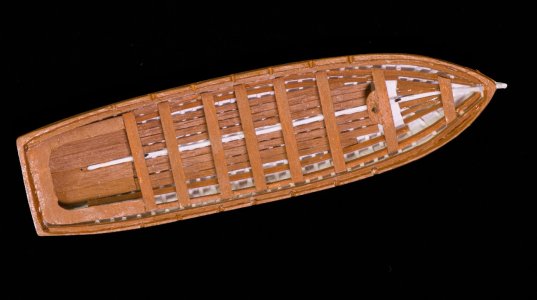


Those ship boat were truly little models in themselves. Great job.
Kurt Konrath
Kurt Konrath
Have you tried SILKSPAN?Nice work. If you do plan to eventually add sails, Sewn cloth sails are WAY overscale. Several years ago, I compared various thickness of fabric with some #10 cotton duck canvas left over from a canoe rebuilding project.
Results (Thicknesses in inches)
#10 canvas- O.034”
At 1:76 scale = .00045”
Muslin cloth .008”
Washed drafting linen .005”
Rice paper .002”
Very fine cloth at 1:76 scale is, therefore, 11 times too thick compared with heavy cotton sailcloth.
Likewise the weave in any woven cloth would be too coarse and any stitches too big.
Rice paper is still 3.5 times as thick but at least you would avoid the coarse weave ans oversized stitches.
Roger
I have heard many talk about it for fine sails.
Kurt Konrath
Kurt Konrath
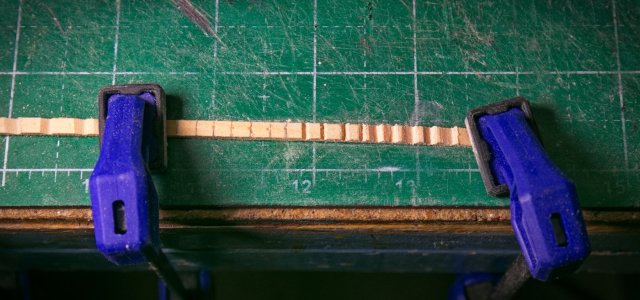
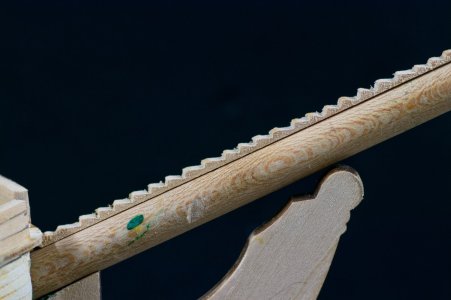
This is one process where a milling machine or mounted bit in fixed drill with moveable table would work out more helpful. After clean up and painting it won't look bad at all under all the rigging up front.The steps on the bowsprit looked to be daunting at first but ended up not being quite so difficult. I clamped the wooden strip to the work bench and then used triangular files to cut in the steps. Not perfect, but acceptable. The steps are shown on a "faux" bowsprit and not glued in place.
View attachment 530589View attachment 530590
Some more work on the bowsprit. I made the martingale per the plans. The junction area was formed from a block of 1/4" wood drilled for the 3 extensions. The junction area was sanded down to after adding the extensions and chocks were added per the plans. This was fairly delicate work, and I went through a couple of wood blocks before I got the angle right after drilling.
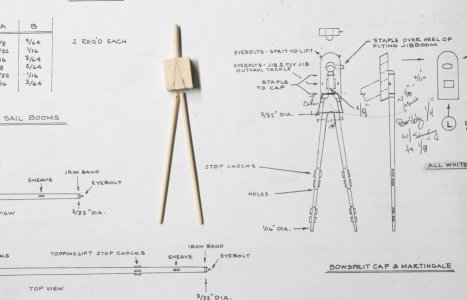
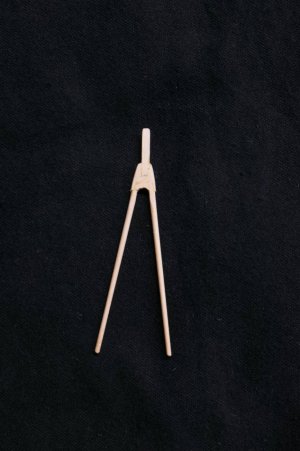
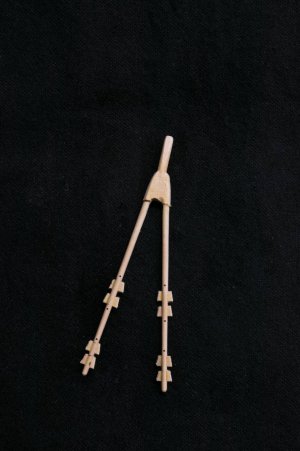
Chocks and other details were added to the bowsprit. I made a decision to use card for the bands instead of brass, especially where the bands are going to be painted. The card is 2 pieces of notecard glued together and then cut to an appropriate width and glued in place.
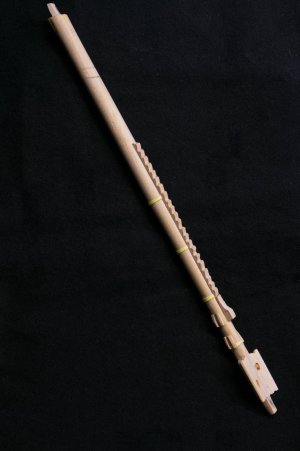


Chocks and other details were added to the bowsprit. I made a decision to use card for the bands instead of brass, especially where the bands are going to be painted. The card is 2 pieces of notecard glued together and then cut to an appropriate width and glued in place.

Good morning Jeff. The bow sprit is brilliant. I like the cardboard option for the bands. Cheers Grant. PS. Very cool photos
Great job on the bowsprit. Do as much rigging off the model as you can to make things easier.
Thanks for the nice comments.Great job on the bowsprit. Do as much rigging off the model as you can to make things easier.
I always try to do as much rigging off the ship as I can. My hands are not so big that they get in the way badly, but I seem to be clumsy in tight spaces.
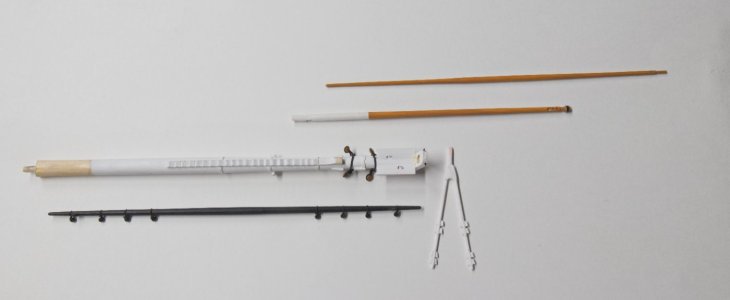
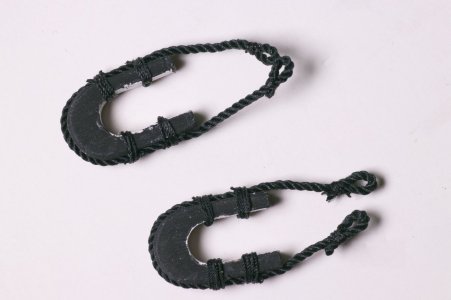
Fore stay hearts will be fitted to the bowsprit and be connected to the fore stays. The "U" shape is a laser cut kit part. so fairly easy to assemble.
The capstan for the deck was made from laser cut parts and stock wood. I will likely cut off the center post more completely prior to glueing it to the deck later in the assembly process.
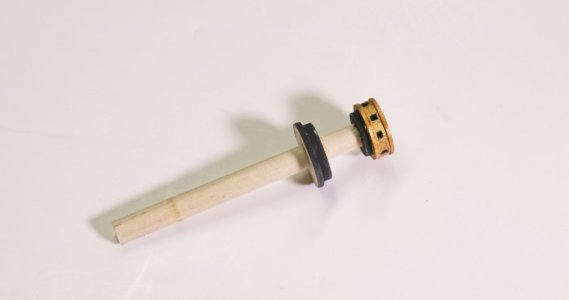
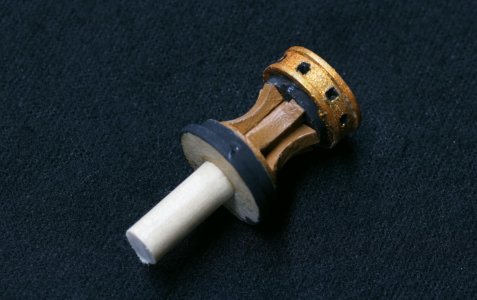

The capstan for the deck was made from laser cut parts and stock wood. I will likely cut off the center post more completely prior to glueing it to the deck later in the assembly process.


I dreaded working on the stern blocks but finally worked on it. I made a significant error here in that I failed to realize that I the piece placed above the carved blocks needed to be cut thinner than what was supplied. After a lot of sawing, cutting and sanding, I thinned it to (nearly) the correct thickness.
View attachment 493014
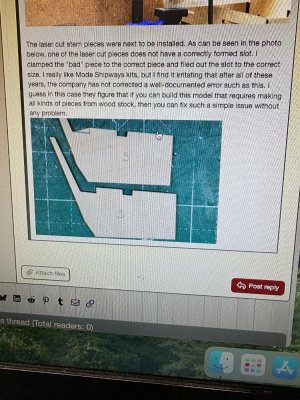
The laser cut stern pieces were next to be installed. As can be seen in the photo below, one of the laser cut pieces does not have a correctly formed slot. I clamped the "bad" piece to the correct piece and filed out the slot to the correct size. I really like Mode Shipways kits, but I find it irritating that after all of these years, the company has not corrected a well-documented error such as this. I guess in this case they figure that if you can build this model that requires making all kinds of pieces from wood stock, then you can fix such a simple issue without any problem.
View attachment 493013
