VASA 490 Build Log - Billing Boats, 1:75 [Completed Build]

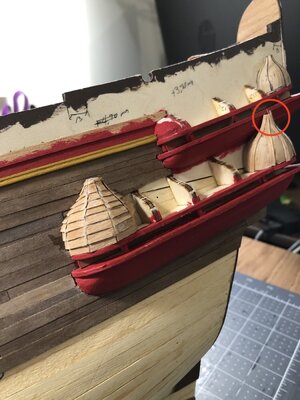
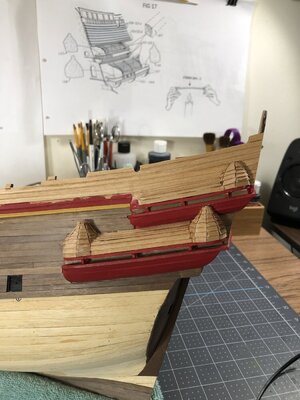
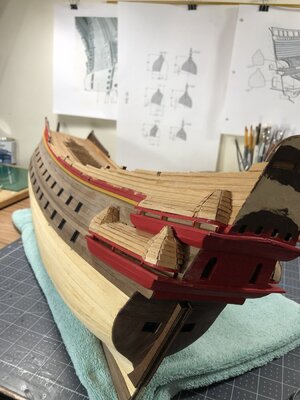
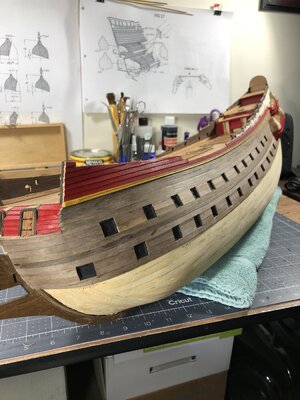
Hello everyone. just a quick update on the inverted hornets nest! Wow one down 5 to go. This is an amazing time consuming process as quite a few of the clinker planks take me some times 3 or 4 do overs. I lightly file the vertical intersections flat to receive the carved figures. Once the galleries and planking are finished I'll paint every thing carmine red prior to placing the figurines. Right now you are seeing the walnut planking before I sand it out and minwax coat it.
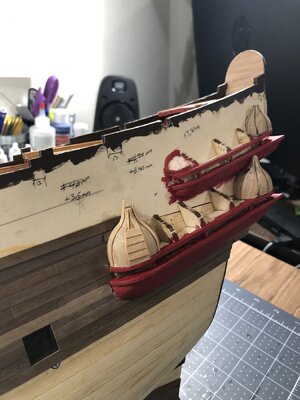
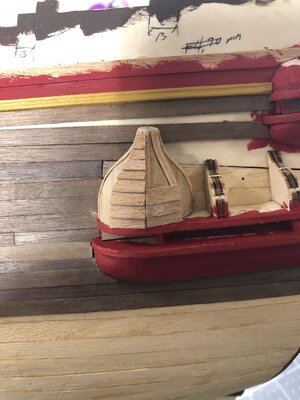
IMG_1083.jpgIMG_1088.jpgIMG_1089.jpg


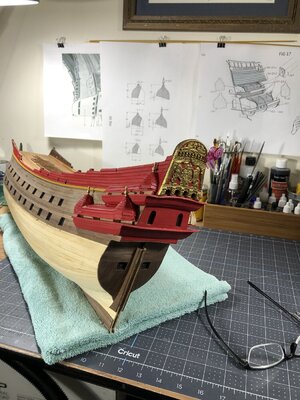
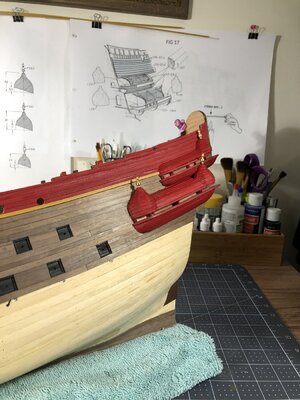
Here are a couple views showing the upper clinker, upper whale, and unfinished walnut planking. I decided to use a subdued hue of yellow called yellow ochre which I think will complement the much darker browns and reds without a shocking contrast that a bright yellow would produce. I just hope I can get the effect I'm looking for.

IMG_1090.jpgIMG_1091.jpg

This stage is slow going so I will try to stay on my 10 day cycle of posting.
Thanks for checking on my build. Have a great time modeling!
Daniel
 
Hello everyone. just a quick update on the inverted hornets nest! Wow one down 5 to go. This is an amazing time consuming process as quite a few of the clinker planks take me some times 3 or 4 do overs. I lightly file the vertical intersections flat to receive the carved figures. Once the galleries and planking are finished I'll paint every thing carmine red prior to placing the figurines. Right now you are seeing the walnut planking before I sand it out and minwax coat it.
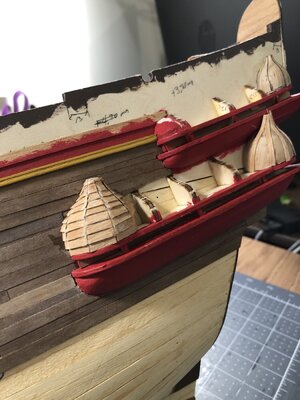
View attachment 243609View attachment 243610View attachment 243611


Here are a couple views showing the upper clinker, upper whale, and unfinished walnut planking. I decided to use a subdued hue of yellow called yellow ochre which I think will complement the much darker browns and reds without a shocking contrast that a bright yellow would produce. I just hope I can get the effect I'm looking for.
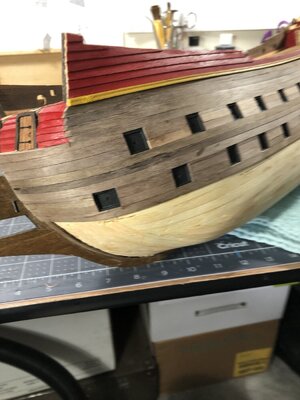
View attachment 243612View attachment 243613

This stage is slow going so I will try to stay on my 10 day cycle of posting.
Thanks for checking on my build. Have a great time modeling!
Daniel
Good progress Daniel. It’s the small details that make a difference, and take the most time! ;)
 
Nice work Daniel. Yes - lining up the clinker planking at 3 different angles is tricky at best. Take your time - you are doing a fine job?
 
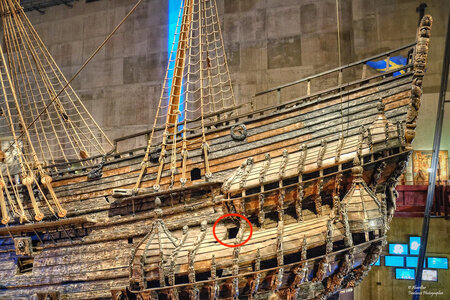
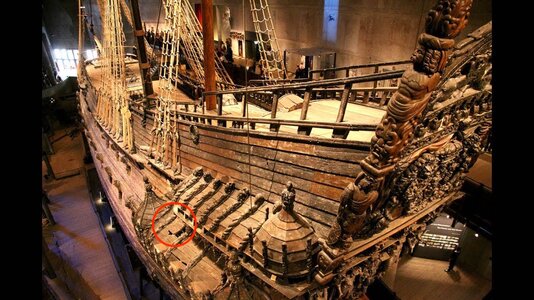
Daniel, just a word of caution, in the Billing kit, there are some small brass, turned shapes that go into the top hole of the turrets. In the placement of the turrets, just check that these brass fittings can be inserted in the turrets correctly. I remember that the lower gallery turrets are VERY close to the galleries above and you have to provide enough clearance for the brass fittings to be inserted and have a little clearance so they fit neatly. The location of this is clearly shown in the first picture of post# 167 by oldflyer. It is worth checking.

PeterG
Hi Peter, I appreciate the heads up. I have checked this and yes its really close but they will fit. I actually predrilled the attachment holes before I started cutting the angles, then periodically checked clearance during the fitting.

Daniel
 
Hi everyone!
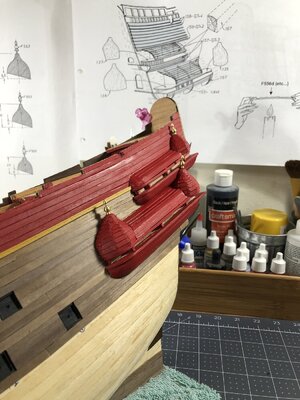
I have a short update. My confidence level shot up several percentage points with the partial result of the VASA's galleries. Paint does wonders at covering certain imperfections. The brass finials and rear deco are just dry fit for this set of photos. I will start next on the starboard gallery's planking's. IMG_1094.jpgIMG_1095.jpgIMG_1096.jpgIMG_1098.jpgIMG_1099.jpg

As always thanks for stopping by and Happy Modeling!
 
Hi everyone!
I have a short update. My confidence level shot up several percentage points with the partial result of the VASA's galleries. Paint does wonders at covering certain imperfections. The brass finials and rear deco are just dry fit for this set of photos. I will start next on the starboard gallery's planking's. View attachment 245823View attachment 245824View attachment 245825View attachment 245826View attachment 245827

As always thanks for stopping by and Happy Modeling!
Really wonderful work Daniel. Marvelous job planking those complex structures with all their angles and joints. And I think the red is just about perfect. Congratulations!
 
Really wonderful work Daniel. Marvelous job planking those complex structures with all their angles and joints. And I think the red is just about perfect. Congratulations!
Thank you Paul. I need to come up with some kind of template to paint or mark on the scallops. I know doing it free hand would most likely be a disaster, I'm open to any suggestions. I will try cutting a pencil erasure to act like a rubber stamp kind of then dip and stamp. Sounds like a lot of practice.
 
Last edited:
Hi Daniel,

Great work. The paint colour looks excellent and when all the sculptures go on, any minor imperfections are just not seen. A couple of things:

Finials - I ensured all mine fitted OK then removed them till the end - They play havoc with rigging later and can be reinserted at a late stage easily. Also, is it a trick of the camera angle or are a couple not quite vertical?

Window: Don’t forget the little window in the lower gallery. Now is the right time (positioned between sculptures) to cut and fit it in.

PeterG
 
Back
Top