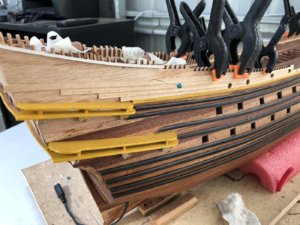
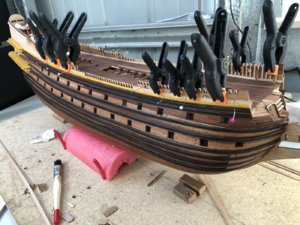
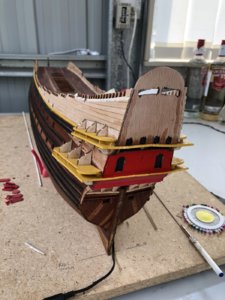
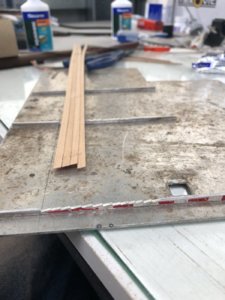
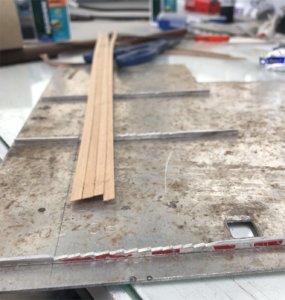
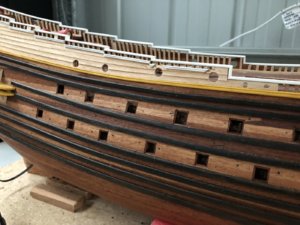
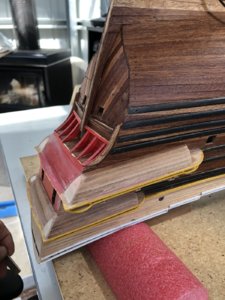
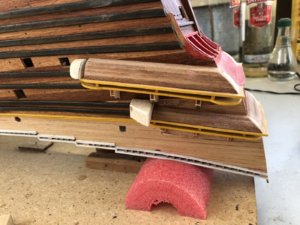
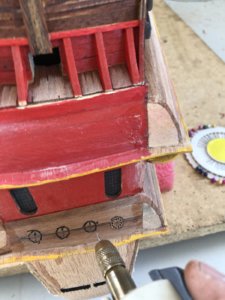
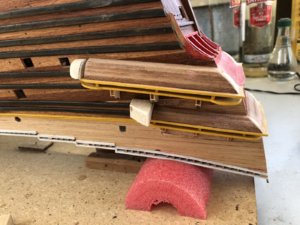
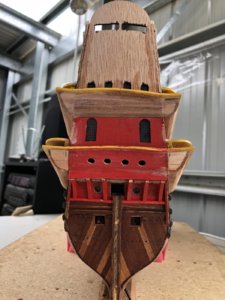
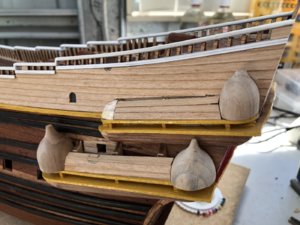
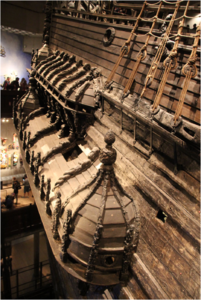
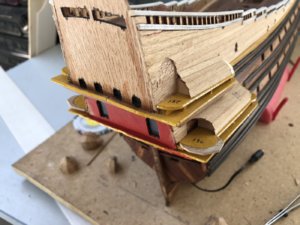
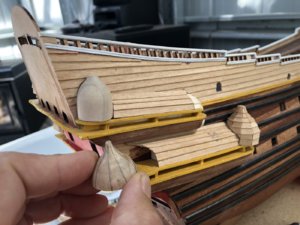
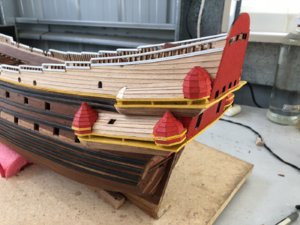
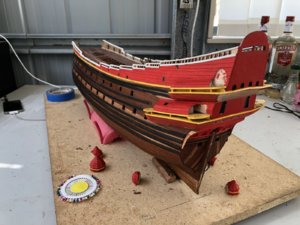
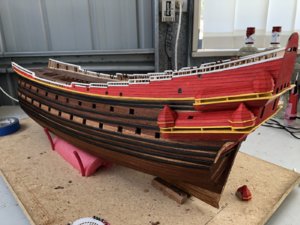
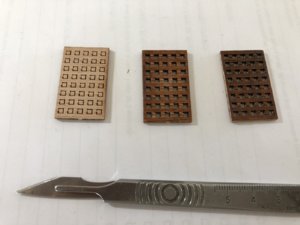
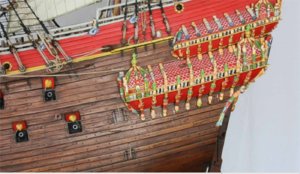
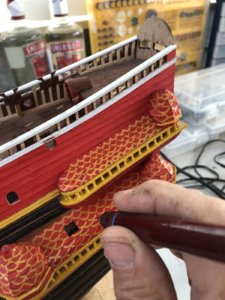
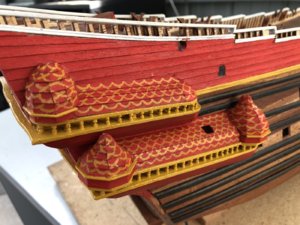
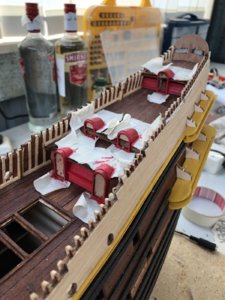
My next venture into using the chosen red paint, was to the newly completed cabin doorways and entrances to below-decks. Some clinker planking (as for the outer topsides, was also used in the internal weather deck areas, and these were also painted. In the pictures below you can see the masking of the deck areas to protect any mishap and below that the paint used for these items.
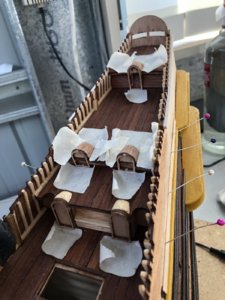
Just in passing (I should have mentioned it a few posts ago), the decking was laid with mahogany strips, similarly to the hull. Joints however were butted but not in any regular or geometric way. There are a number of logs which go into the best way to lay out deck joints and the various patterns used (eg 3-4-5 planking and offsetting), however, for the Vasa, this all predates these systems. The deck planks were laid relatively haphazardly and a picture below shows this, although it is subtle and hard to see. I have added arrows here a butt joint is evident. So, this is more or less the way I have laid my model decking.
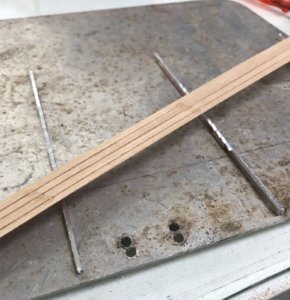
In the decking I have done, I was unsure of how to finish the deck planks, with nails or no nails at the joins or over bulkheads etc. In the end, I have placed four drillholes at each plank butt joint, and used an HB carbon pencil in the hole to add a bit of darkening, before the deck was finished with burnishing oil. This seems to have worked quite well (see photo below the next).
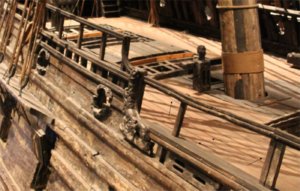
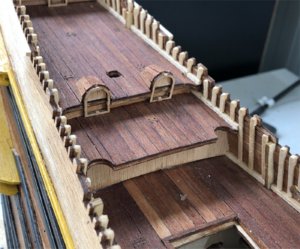
One of the next tasks to be addressed, while the hull is relatively unencumbered by cannon doors, chainplates etc, is whether to add nails. In the 'real' Vasa there is an ongoing programme of nails being replaced by bolts to hold the ship together into the future. The nails are simply corroding and giving away, but to add nails is a BIG job and difficult to get right at this scale (1/75). I have seen comments (I think in Clayton's Vasa scratch build), that there were over 3,000 nails added and this therefore is a major task. So, I thought, I might attempt a few and just see how laborious the job would be.
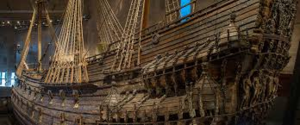
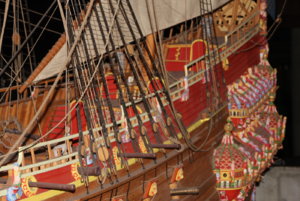
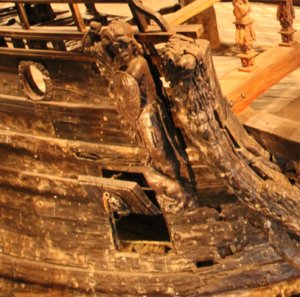
Firstly, how to get the scaled nails. At least two sizes were required, some for the planks and others which appear larger and seem to be used in the more strategic, strengthening parts of the ship's hull. Below is a small portion of the actual ship's starboard bow area. The nails are evident both in the hull planking but also the wales, but these are different in sizes. In reality, there is probably a range of nail sizes used, but for practicality in modelling, I chose to create only two sizes.
The next question was, should I purchase scaled nails (eg model railroad track ties etc), or should I attempt to make them. Making them seemed a daunting task until I came across the brilliant Youtube video by the Russian Alexey Domanoff (this guy is a genius at invention)!! The video is at the link (
). The video uses simply brass or copper wire (of varying thicknesses), which is cut into lengths, made straight by rolling, and then a blunted but angled knife blade edge is simply rolled across the lengths of wire at intervals. The pressure of the knife blade swells the wire material until it breaks/is cut and lo and behold, there is a small length of straight wire with swollen heads at each end. If you cut each short length, you get TWO nails - PERFECT.
Using Alexy's method, you can generate quite a lot of nails in a short time. I generated about 2-300 of two different sizes/thicknesses from two different wire thicknesses. I then placed these into a container, and added some blackening fluid. I used Birchwood's Gun Black (used for blacking the brass shells of gun ammunition) and it works extremely well. You just insert the copper or brass, leave for about 1-2 minutes (depending on how black you want it), and then rinse off in water and let dry. It leaves a slight residue on the items that being blackened which can rub onto your fingers, but nothing that some good soap won't get off.
Having made copper nails, these were not strong enough to hit into the timber of the hull without drilling. So, I drilled a series of holes and then followed with the nails. I did this at strategic locations (eg plank joins, over ribs/bulkheads, around the stern etc etc). Below are pictures of the process. It was not hard, but it did take a few days of work. I estimate, I have inserted over 500 nails!!!
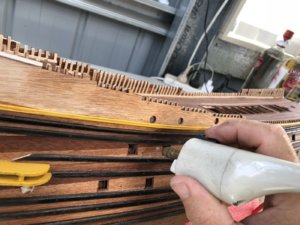
With the holes drilled, I then inserted the nails and tapped them home.
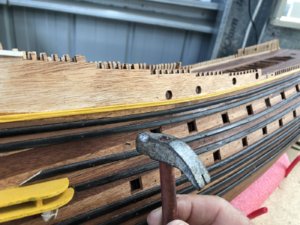
In the end, I was quite pleased with this nail appearance. The nail heads are close to scale, they are for effect rather than structural, but that's OK. Given that the original ship is SO pockmarked by nails around the hull, to make a better representation of the real ship, in the end, I felt the nails added that bit of extra detail and realism.
All for now.
Time elapsed: 595 hours
Regards,
Peter G.


